Latest & Greatest
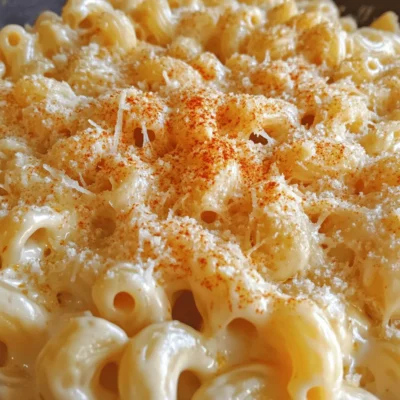
Instant Pot Creamy Mac & Cheese Simple and Quick Dish
If you’re craving a creamy, cheesy delight in no time, you’re in the right place! This Instant Pot Creamy Mac
Read more…
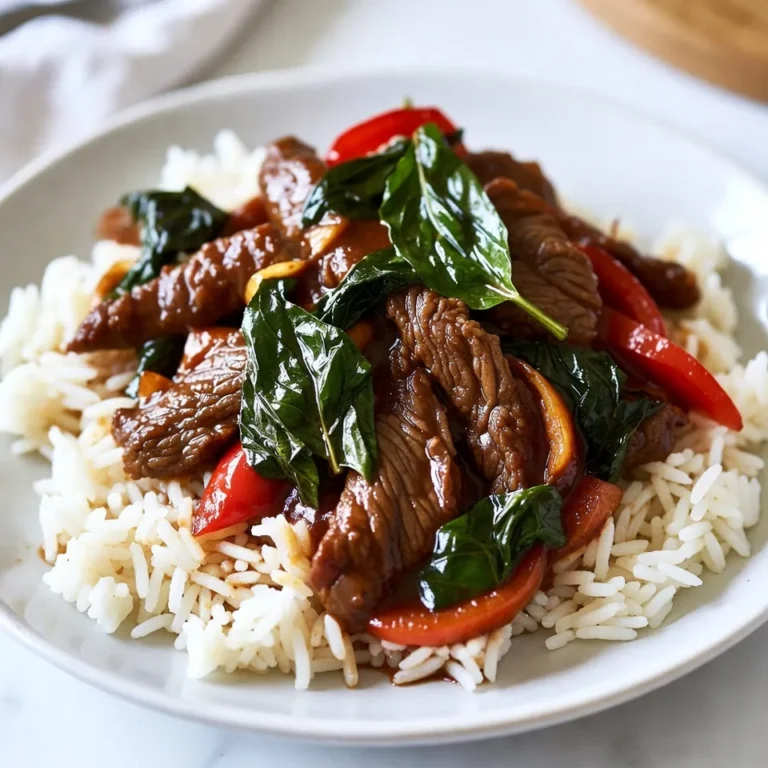
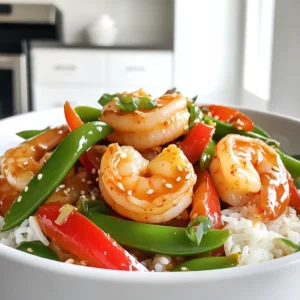
Tex-Mex Chicken Skillet Flavorful One-Pan Recipe
Are you ready to transform your dinner routine? This Tex-Mex Chicken Skillet is a vibrant, one-pan dish that packs a
Read more…
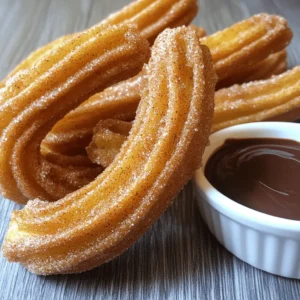
Chocolate Dipped Strawberry Brownies Flavorful Delight
Indulging in a sweet treat has never been easier with my Chocolate Dipped Strawberry Brownies. This recipe marries rich chocolate
Read more…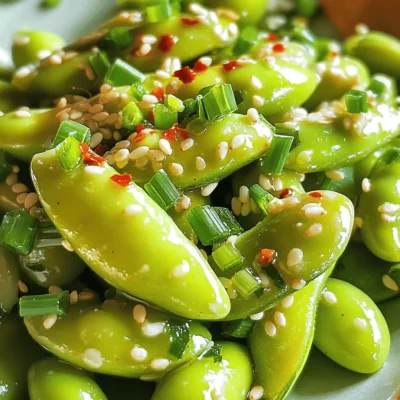
Spicy Garlic Edamame Flavorful and Easy Recipe
Are you ready to spice up snack time? My Spicy Garlic Edamame recipe is packed with flavor and super easy
Read more…
Loaded Sweet Potato Nachos Flavorful Party Dish
Looking for a fun and tasty snack for your next get-together? These Loaded Sweet Potato Nachos are your answer! Packed
Read more…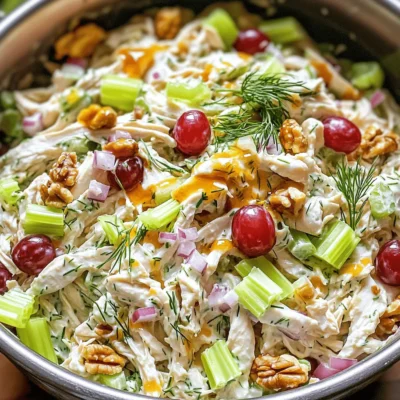
Greek Yogurt Chicken Salad Flavorful and Healthy Meal
Are you ready to elevate your meal game with a tasty and healthy dish? My Greek Yogurt Chicken Salad combines
Read more…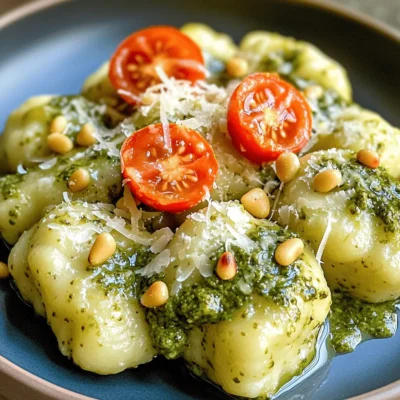
Creamy Pesto Gnocchi Flavorful and Easy Dinner Recipe
Craving a quick and tasty dinner? My Creamy Pesto Gnocchi is your answer! This dish combines fluffy potato gnocchi with
Read more…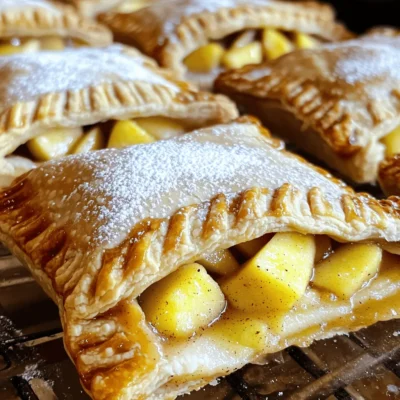
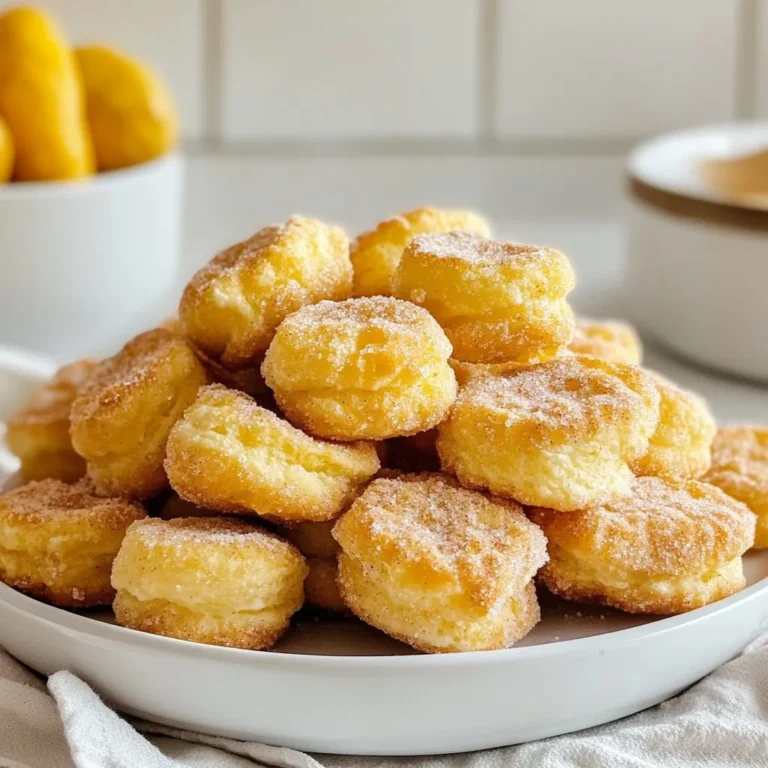
Air Fryer Apple Hand Pies Delicious and Easy Dessert
Craving a sweet treat that’s easy to make? Look no further! These Air Fryer Apple Hand Pies pack all the
Read more…browse recipes


Quick Kimchi Fried Rice Savory Delight for Lunch
Are you craving a quick, tasty lunch that packs a flavorful punch? Look no further than this Quick Kimchi Fried Rice! It’s easy to…
My Latest Desserts
My Latest Recipes

hey,
i’m !
I’m so happy you’re here!
I’m not just sharing recipes I’m sharing a piece of my heart. I hope these dishes bring you comfort, joy, and maybe even a new favorite.

Mocha Oreo Icebox Cake Delicious and Easy Recipe
Are you ready to impress your friends with a dessert that’s both easy and delicious? This Mocha Oreo Icebox Cake is your perfect answer!…
. Can I make this cake ahead of time? Yes, you can make this cake ahead of time. I recommend making it a day before you plan to serve it. This gives the flavors time to blend, and the texture will be even better. Just cover it well and store it in the fridge. How do I make it less sweet? To make it less sweet, reduce the amount of powdered sugar. You can also use less chocolate syrup. Both changes will help balance the sweetness. If you enjoy coffee flavor, add a bit more instant coffee for depth. What can I use instead of instant coffee? If you want to skip instant coffee, you can use brewed coffee. Just let it cool first. You can also try espresso powder for a stronger flavor. Adjust the amount based on your taste. Why isn’t my whipped cream thickening? If your whipped cream isn't thickening, the heavy cream may be too warm. Make sure it is cold before whipping. Also, check that you're using heavy cream, not light cream. Adding a bit of cornstarch can help stabilize it. How do I fix a soggy cake layer? To fix a soggy layer, reduce the soaking time of the cookies. If the cake is already made, try placing it in the fridge to firm up. You can also add a layer of crushed Oreos on top to absorb some moisture. Can I use other types of chocolate syrup? Yes, you can use different types of chocolate syrup. Dark chocolate syrup will give a richer flavor. You can also try flavored syrups, like hazelnut, for a twist. Just ensure it matches the overall taste. This blog covered the key ingredients, steps, and tips to make a delicious cake. I shared ways to enhance texture and presentation. You can also explore recipe variations and storage options. Remember, you can adjust serving sizes based on your needs. With these tips, you'll create a tasty treat that everyone will enjoy. So, roll up your sleeves and get baking. You’ve got this!](https://emmasdish.com/wp-content/uploads/2025/07/a2d200ba-92cd-4280-9fe0-b50dd786bfe2.webp)
