

Latest & Greatest
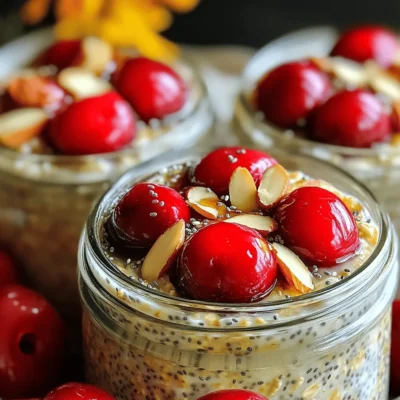
Cherry Almond Overnight Oats Easy and Healthy Recipe
Looking for a quick, tasty breakfast? Try my Cherry Almond Overnight Oats. Packed with healthy ingredients, this easy recipe gives
Read more…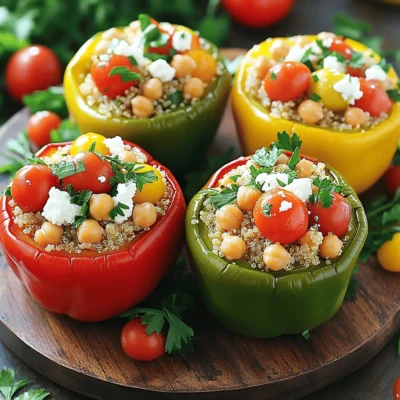
Mediterranean Quinoa Stuffed Peppers Tasty Delight
If you’re looking for a healthy yet delicious meal, you’ll love Mediterranean Quinoa Stuffed Peppers! These bright and colorful peppers
Read more…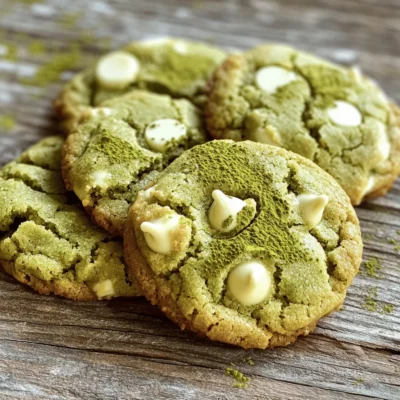
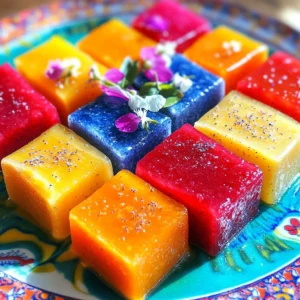
Chewy Matcha White Chocolate Cookies Simple Delight
If you’re craving a sweet treat that bursts with flavor, you’re in for a delight! These Chewy Matcha White Chocolate
Read more…
Garlic Herb Butter Roasted Chicken Juicy and Flavorful
Looking for a meal that’s bursting with flavor and juicy perfection? Let me introduce you to Garlic Herb Butter Roasted
Read more…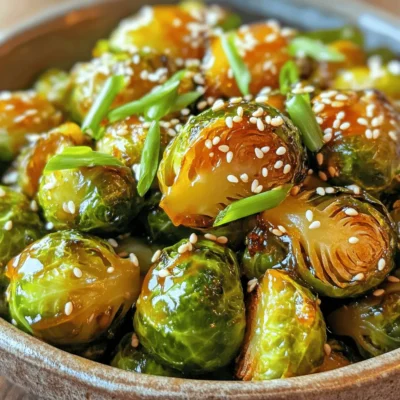
Honey Sriracha Brussels Sprouts Flavorful Side Dish
If you’re looking for a tasty side dish, Honey Sriracha Brussels sprouts are a must-try. The sweet and spicy sauce
Read more…
Sausage Tortellini Soup Warm and Cozy Delight
Get ready for a warm and cozy delight with this Sausage Tortellini Soup! I’ll guide you through each step to
Read more…
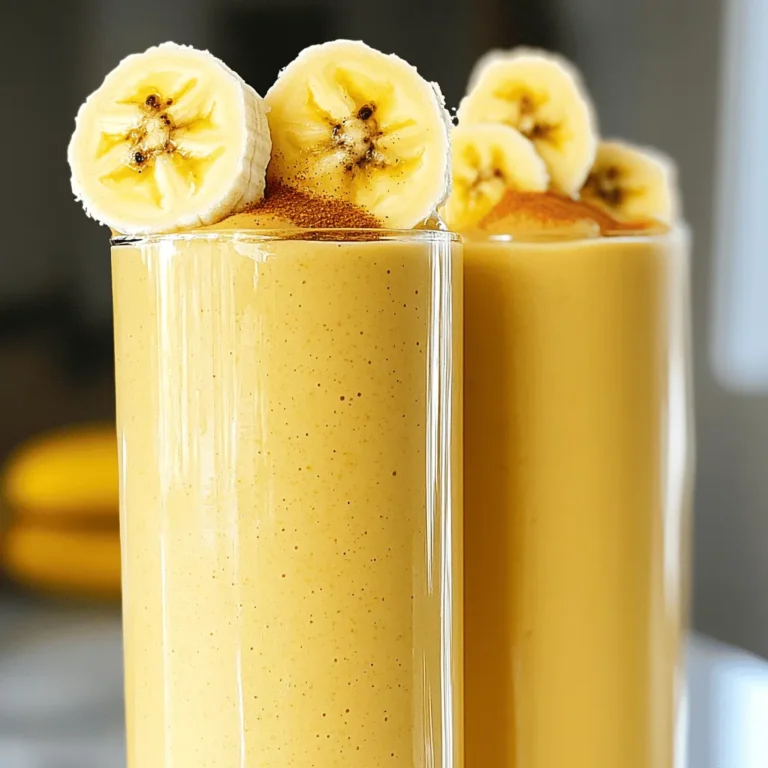
Strawberry Banana Oat Smoothie Quick and Nutritious Recipe
Want a quick and tasty way to fuel your day? The Strawberry Banana Oat Smoothie is your answer! This simple
Read more…
Teriyaki Meatball Bowls Simple and Tasty Delight
Looking for a quick, tasty meal that your whole family will love? Try my Teriyaki Meatball Bowls! They pack a
Read more…browse recipes


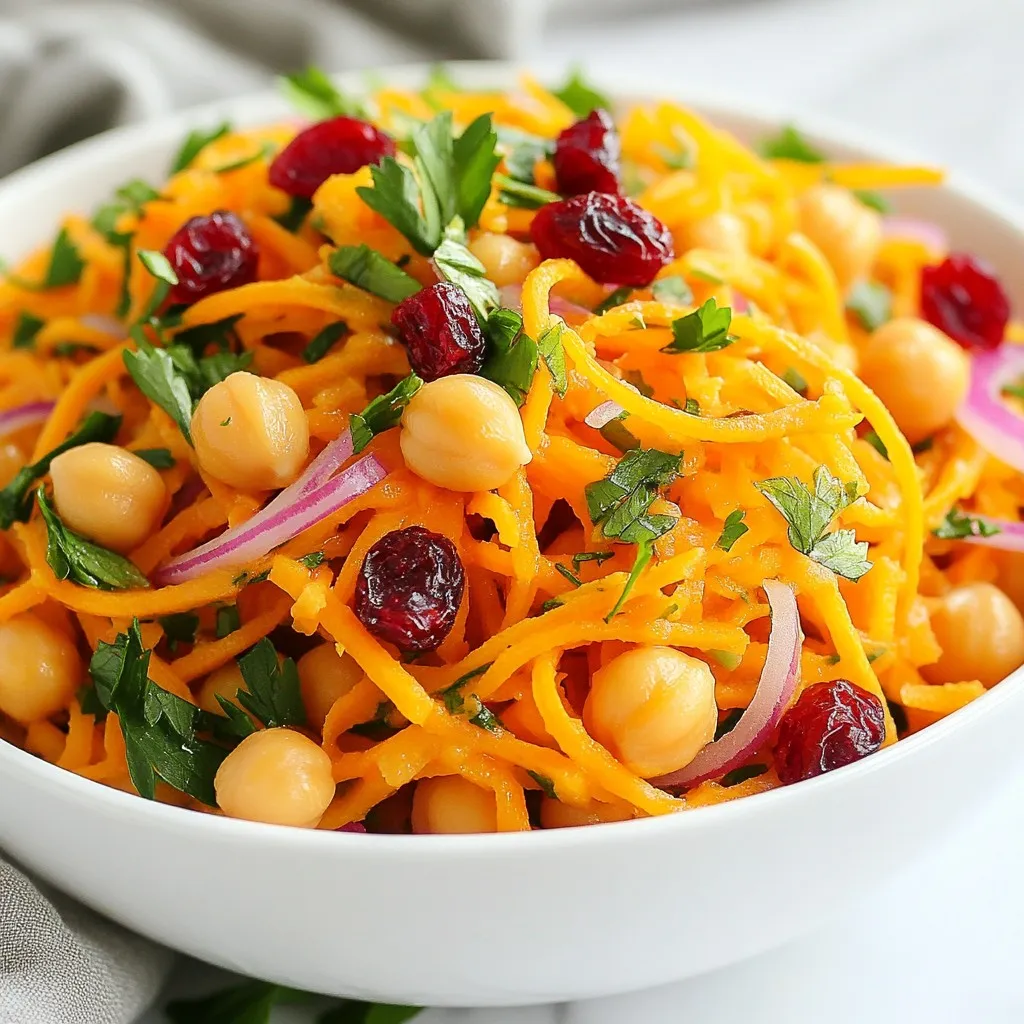
Moroccan Carrot Chickpea Salad Fresh and Flavorful Snack
Looking for a fresh and flavorful snack? This Moroccan Carrot Chickpea Salad brings a burst of taste and color to your plate. Packed with…
My Latest Desserts
My Latest Recipes

hey,
i’m !
I’m so happy you’re here!
I’m not just sharing recipes I’m sharing a piece of my heart. I hope these dishes bring you comfort, joy, and maybe even a new favorite.


![To create a rich and creamy vegan chocolate avocado mousse, gather these ingredients: - 2 ripe avocados, peeled and pitted - 1/2 cup unsweetened cocoa powder - 1/4 cup maple syrup (or agave syrup) - 1/4 cup almond milk (or any non-dairy milk) - 1 teaspoon vanilla extract - A pinch of sea salt - Dark chocolate shavings (for garnish) - Fresh berries (for garnish) These ingredients work together to deliver a smooth texture and a deep chocolate flavor. The ripe avocados provide creaminess without any dairy. Cocoa powder gives that rich chocolate taste we all love. Maple syrup or agave adds sweetness, making this dessert feel indulgent. Almond milk ensures the mousse stays vegan and adds a light touch. I always recommend using ripe avocados for the best results. They blend easily and offer a buttery texture. The sea salt enhances the chocolate flavor, making every bite delightful. Finally, the dark chocolate shavings and fresh berries add a nice pop of color and taste to your mousse. You’ll find the full recipe in the earlier sections. This dessert is not only tasty but also healthy, allowing you to enjoy a guilt-free treat. Start by mashing the ripe avocados. Use a fork to mash them in a bowl. This step makes blending easier. You want a smooth texture with no lumps. Next, measure the cocoa powder and liquids. Use a measuring cup for accuracy. Grab 1/2 cup of unsweetened cocoa powder. Then, measure 1/4 cup of maple syrup and 1/4 cup of almond milk. Ensure all ingredients are ready before blending. Now, it’s time to blend. Place the mashed avocados, cocoa powder, maple syrup, almond milk, vanilla extract, and a pinch of sea salt in a food processor. Blend until you achieve a smooth consistency. Stop to scrape down the sides with a spatula if needed. This ensures everything mixes well. Taste your mousse and adjust sweetness to your liking. If you want it sweeter, add more maple syrup. Blend again briefly to mix in the extra sweetness. Chilling your mousse is key. Place the blended mousse in the fridge for at least 30 minutes. This time helps it firm up and improves the flavor. For serving, use bowls or glasses. You can garnish with dark chocolate shavings and fresh berries. This adds color and a nice touch to your dessert. Enjoy your smooth and creamy Vegan Chocolate Avocado Mousse! For the complete instructions, check out the Full Recipe section. To achieve a creamy mousse, blend your ingredients well. Use a food processor for the best results. The key is to mix until smooth without lumps. Stop and scrape the sides as needed. This ensures every bit gets blended. Common mistakes include not using ripe avocados. Underripe avocados can make your mousse grainy. Another mistake is not blending long enough. Take your time to create that perfect texture. Adding spices or flavor extracts can enhance your mousse. A pinch of cinnamon or a dash of espresso can elevate the taste. You can also try adding a bit of chili powder for a kick. Using different sweeteners is another fun way to mix things up. You could use agave syrup instead of maple syrup. Honey can also work if you’re not strictly vegan. Adjust the sweetness to your liking for the best flavor. Creative garnishing can make your mousse stand out. Top it with dark chocolate shavings and fresh berries for a pop of color. You can also add a mint leaf for a fresh touch. For special occasions, serve your mousse in elegant glasses. Layer it with fruits or granola for a dessert parfait. This adds texture and makes it visually appealing. For the full recipe, check out the details above. {{image_2}} You can play with flavors in your vegan chocolate avocado mousse. One fun option is to add peanut butter or almond butter. This adds a nutty taste and creamy texture. You can use about two tablespoons. Mix it into the mousse until it blends well. Another great idea is to incorporate fruit purees. Think banana or raspberry! These add natural sweetness and a fruity twist. Just one mashed banana or a half-cup of raspberry puree will enhance the mousse with fresh flavors. If you need a nut-free version, swap almond milk for oat or coconut milk. This keeps the mousse creamy without using nuts. You can also use sunflower seed butter if you want that nutty flavor but need a nut-free option. For a low-calorie version, use less maple syrup. You can try one tablespoon and taste it. You can also blend in a few extra avocados for creaminess without added calories. Try serving your mousse as parfaits. Layer the mousse with granola and fresh fruit in a glass. This adds texture and makes it look beautiful. You can also incorporate the mousse into smoothies or desserts. Blend it with some banana and spinach for a healthy drink. Or use it as a filling between cake layers for a rich dessert. For the complete recipe, check out the Full Recipe section! To keep your Vegan Chocolate Avocado Mousse fresh, use airtight containers. Glass or plastic containers work well. Make sure they seal tight to prevent air from spoiling the mousse. Store the mousse in the fridge after you make it. It stays fresh for about three days. The flavors will deepen as it sits, making each bite even better. Can you freeze Vegan Chocolate Avocado Mousse? Yes, you can! Freezing is a great option if you have leftovers. Just scoop the mousse into a freezer-safe container. Leave some space at the top for expansion. It can last up to three months in the freezer. When you're ready to enjoy it again, thaw it in the fridge overnight. Avoid using the microwave. Thawing slowly keeps the texture creamy and smooth. You might need to blend it again for the best consistency. Enjoy your mousse anytime! For the complete recipe, check [Full Recipe]. Avocados are a superfood. They bring many health perks to your desserts. First, they are rich in healthy fats. These fats help your heart and keep you full. They also have fiber, which aids digestion. Using avocado in dessert lowers sugar content. This makes your treat healthier. Avocados are also high in vitamins. They provide Vitamin K, E, C, and B6. These nutrients support your immune system and skin health. In short, avocados make your desserts creamy and nutritious. You enjoy the taste while caring for your body. Yes, you can make this mousse ahead of time! It actually tastes better after chilling. This allows the flavors to blend well. You can store it in the fridge for up to three days. To prep, simply follow the [Full Recipe]. Once you finish blending everything, transfer it into bowls. Cover them tightly with plastic wrap. This keeps the mousse fresh and prevents browning. If you don’t have maple syrup, don’t worry! You can use agave syrup as a great alternative. It has a similar sweetness and flavor. Another option is to use honey if you're not strict vegan. For a sugar-free choice, try using stevia or monk fruit sweetener. Just adjust the amount to your taste. These substitutes will still give your mousse that sweet kick. Enjoy experimenting with different flavors! This blog post covered how to create a tasty Vegan Chocolate Avocado Mousse. You learned the ingredients needed, step-by-step instructions, and tips for the perfect texture. We explored fun variations and smart storage methods. Remember, avocado adds health benefits while keeping your dessert rich and smooth. Try these ideas for a treat that's both delicious and nutritious!](https://emmasdish.com/wp-content/uploads/2025/05/2a6166c1-c3b4-4b18-ae27-3756fea2a6f4-300x300.webp)
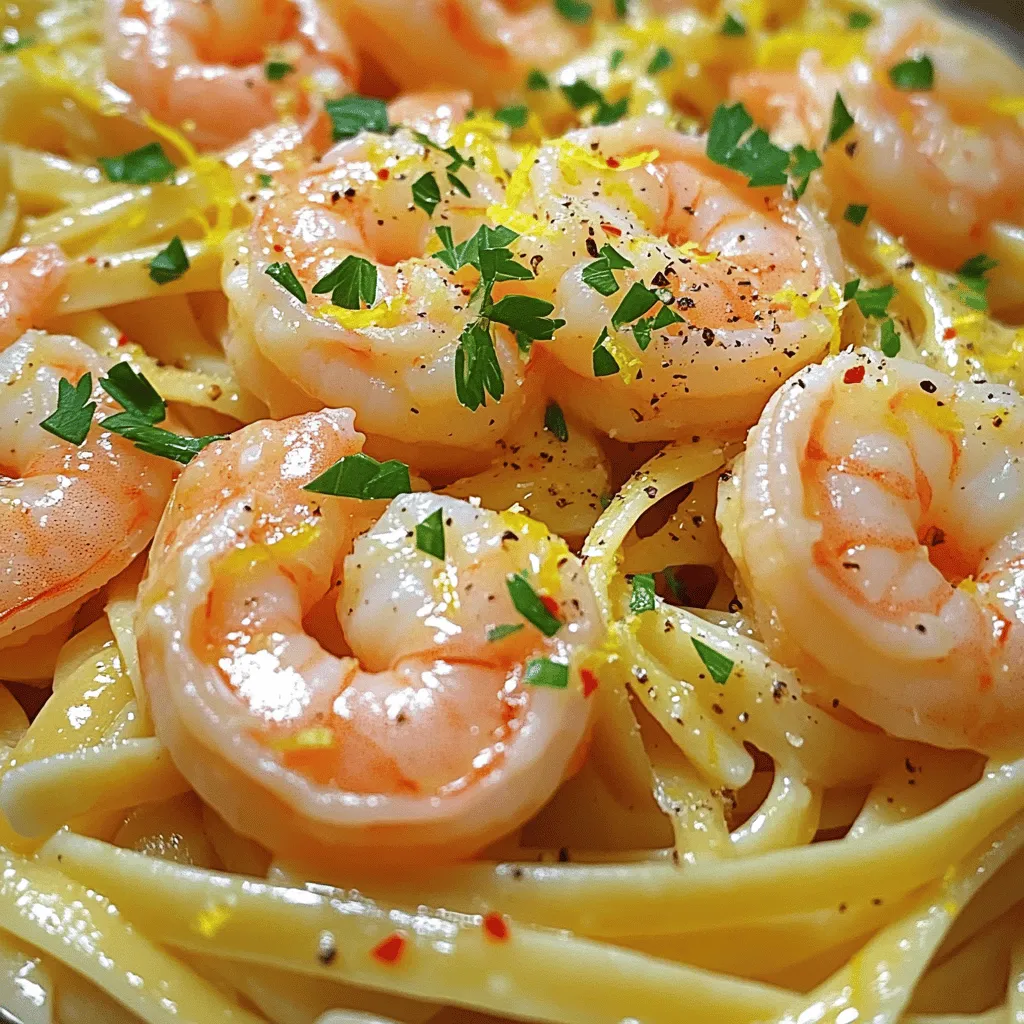
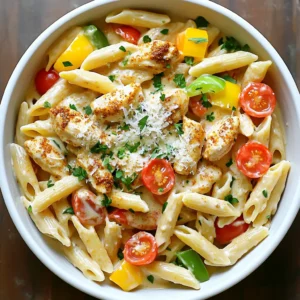
Lemon Butter Shrimp Pasta Simple and Tasty Meal
Looking for a quick, tasty meal that impresses? You’ve found it with Lemon Butter Shrimp Pasta! This dish is bright, creamy, and full of…