
Latest & Greatest
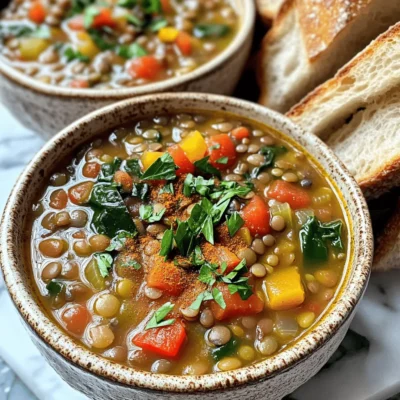
Mediterranean Lentil Soup Flavorful and Easy Recipe
Are you ready to enjoy a warm, tasty Mediterranean Lentil Soup? This simple recipe is packed with flavor and so
Read more…
Crispy Air Fryer Tofu Nuggets Quick and Easy Recipe
Are you ready to transform tofu into a crunchy delight? My Crispy Air Fryer Tofu Nuggets recipe is quick, easy,
Read more…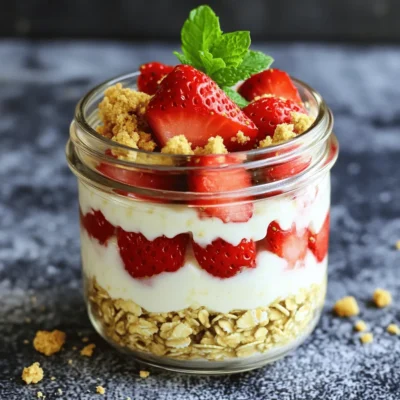
Strawberry Cheesecake Overnight Oats Delightful Recipe
Are you ready to wake up to a delicious breakfast? My Strawberry Cheesecake Overnight Oats offer creamy, sweet goodness packed
Read more…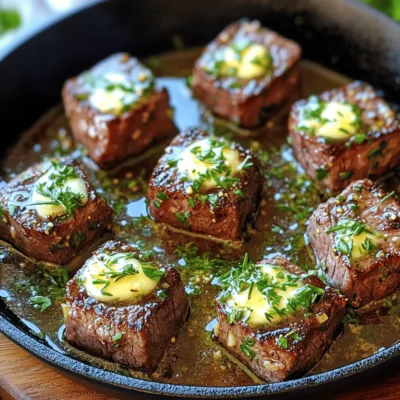
Garlic Herb Butter Steak Bites Savory and Simple Dish
Get ready to tantalize your taste buds with my Garlic Herb Butter Steak Bites! This savory and simple dish delivers
Read more…
Creamy Pesto Tortellini Delightful and Simple Recipe
Are you ready to whip up a quick and tasty meal? Look no further than this Creamy Pesto Tortellini! With
Read more…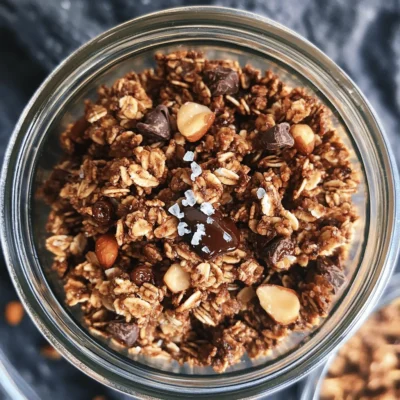
Dark Chocolate Sea Salt Granola Crunchy Snack Delight
Are you ready to indulge in a snack that’s both crunchy and delicious? In this post, I’ll guide you through
Read more…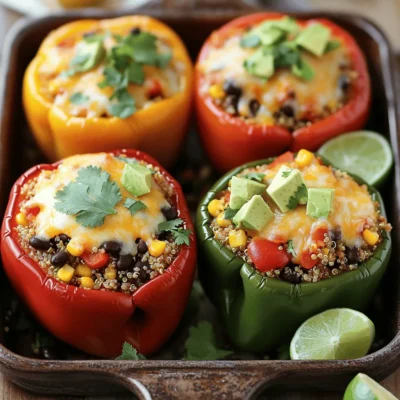
Tex Mex Stuffed Peppers Flavorful and Simple Recipe
Are you ready to spice up your dinner routine? These Tex Mex Stuffed Peppers are easy to make and packed
Read more…
Crispy Coconut Chicken Strips Flavorful and Easy Recipe
Are you ready to enjoy a crunchy and delightful treat? I’m excited to share my easy recipe for Crispy Coconut
Read more…browse recipes


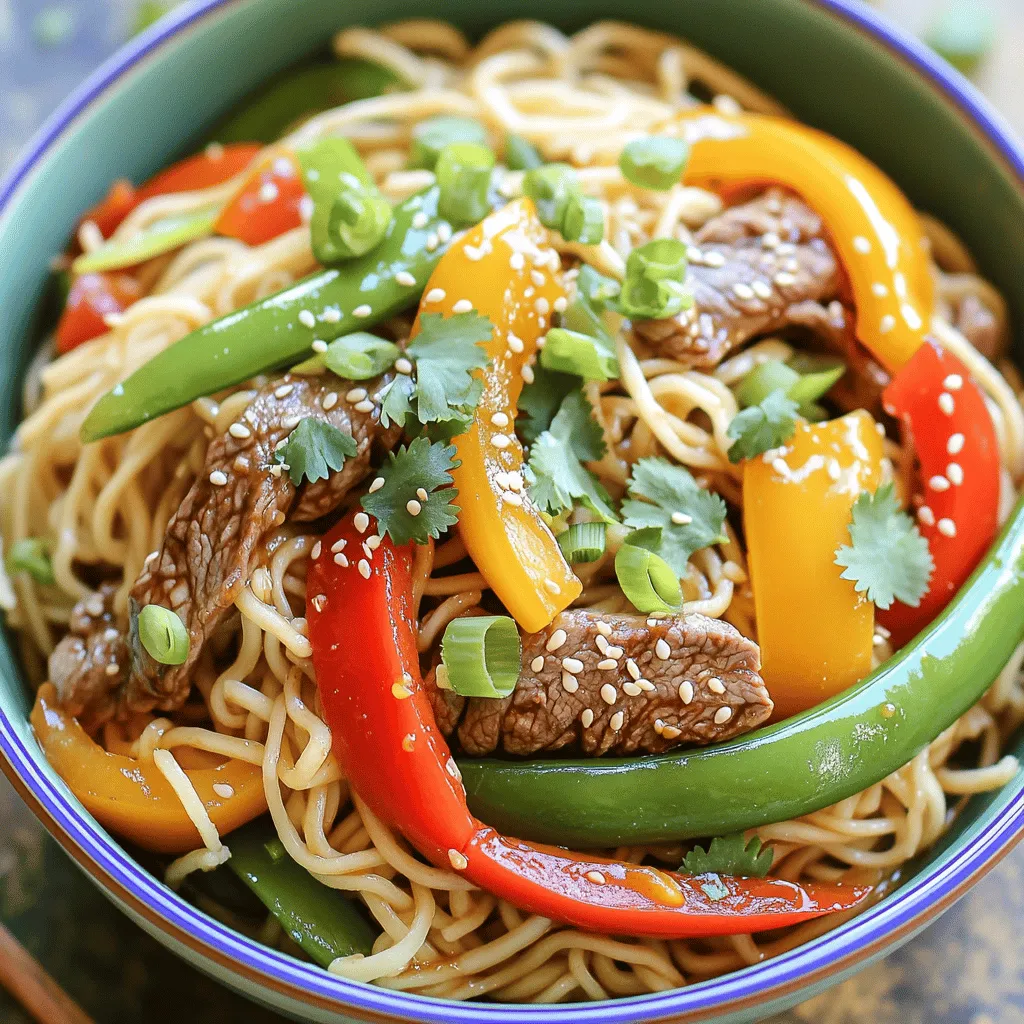
Spicy Sesame Beef Noodles Flavorful and Easy Recipe
Looking for a quick, tasty meal that packs a punch? Spicy Sesame Beef Noodles hit all the right notes! With tender beef sirloin, fresh…
My Latest Desserts
My Latest Recipes

hey,
i’m !
I’m so happy you’re here!
I’m not just sharing recipes I’m sharing a piece of my heart. I hope these dishes bring you comfort, joy, and maybe even a new favorite.

![To make the best chocolate chip pumpkin bread, you need these simple ingredients: - 1 ¾ cups all-purpose flour - 1 teaspoon baking soda - ½ teaspoon baking powder - ½ teaspoon salt - 1 teaspoon ground cinnamon - ½ teaspoon ground nutmeg - ½ teaspoon ground ginger - ½ cup granulated sugar - ½ cup brown sugar, packed - 2 large eggs - 1 cup pumpkin puree (canned or fresh) - ½ cup vegetable oil - 1 teaspoon vanilla extract - 1 cup semi-sweet chocolate chips - ½ cup chopped walnuts (optional) These ingredients come together to create a moist and flavorful bread. The pumpkin adds a rich taste, while the spices bring warmth. The chocolate chips add sweetness and melt in your mouth. You can also add walnuts for a nice crunch. Having the right tools makes cooking easier. You will need mixing bowls, a whisk, a spatula, a loaf pan, and some parchment paper. A toothpick helps check if your bread is done baking. Follow the [Full Recipe] for a step-by-step guide to prepare this delightful treat. - Preheat the oven to 350°F (175°C). - Grease and line the loaf pan with parchment paper for easy removal. - In a medium bowl, whisk together: - 1 ¾ cups all-purpose flour - 1 teaspoon baking soda - ½ teaspoon baking powder - ½ teaspoon salt - 1 teaspoon ground cinnamon - ½ teaspoon ground nutmeg - ½ teaspoon ground ginger This mix of dry ingredients adds warmth and flavor. - In a large bowl, beat together: - ½ cup granulated sugar - ½ cup brown sugar, packed - 2 large eggs Stir until well combined and fluffy. Next, add: - 1 cup pumpkin puree - ½ cup vegetable oil - 1 teaspoon vanilla extract Mix until smooth. - Gradually add the dry mix to the wet mix. - Fold gently until just combined. - Be careful not to overmix! - Finally, fold in: - 1 cup semi-sweet chocolate chips - ½ cup chopped walnuts (optional) This will create a rich batter full of flavor. - Pour the batter into the prepared loaf pan. - Smooth the top with a spatula. - Bake for 55-65 minutes. - Check if done by inserting a toothpick into the center. - Once baked, let the bread cool in the pan for about 10 minutes. - Carefully transfer it to a wire rack to cool completely. Enjoy every bite of this Chocolate Chip Pumpkin Bread! For the full recipe, check the recipe section above. - Use room temperature ingredients. This helps them mix better. - Do not overmix the batter. This keeps the bread soft and fluffy. - Slice the bread and place it on a rustic wooden board. This looks nice. - Dust the top with powdered sugar. A sprig of mint adds color too. - Serve the bread warm with a pat of butter. It tastes amazing! - Enjoy it as breakfast with coffee. It makes a perfect start to your day. For the full recipe, check out the Chocolate Chip Pumpkin Bread section above. {{image_2}} If you need a gluten-free version of chocolate chip pumpkin bread, you can easily make one. Simply substitute all-purpose flour with a gluten-free flour blend. This swap works well and keeps the bread moist. Look for blends that include a mix of different flours to get the best texture. To make this recipe vegan, you can replace the eggs with flax eggs. Just mix one tablespoon of ground flaxseed with three tablespoons of water. Let it sit for a few minutes to thicken. Also, use a plant-based oil instead of vegetable oil. This change keeps the bread rich and delicious. You can add extra flavor to your bread by mixing in dried fruits or different types of nuts. For example, raisins or cranberries add a sweet touch. Chopped pecans or almonds give a nice crunch. Feel free to experiment with your favorite flavors to make this bread your own! To keep your chocolate chip pumpkin bread fresh, store it in an airtight container. It will stay good for up to 2 days at room temperature. This is perfect for a quick snack or breakfast on the go. If you want to enjoy it longer, refrigerate the bread. This will extend its freshness for up to a week. Just make sure to wrap it well to avoid it drying out. When you’re ready to eat, simply take it out and let it come to room temperature or warm it slightly. For even longer storage, you can freeze the bread. Wrap it tightly in plastic wrap or aluminum foil. It will stay fresh for up to 3 months. When you want to indulge, just thaw it overnight in the fridge. Then, warm it in the oven for a cozy treat. Feel free to check out the Full Recipe for more tips on making this delightful bread! Yes, fresh pumpkin puree can be used to enhance flavor. Fresh pumpkin gives the bread a rich taste. To make your puree, simply roast or steam the pumpkin until soft. Then, blend it until smooth. This extra step adds freshness and depth to your bread. A toothpick inserted in the center should come out clean. When you check for doneness, look for a golden top and a slight spring when you touch it. If the toothpick has moist batter on it, give it more time in the oven. Yes, chocolate chips, nuts, or spices can be adjusted to taste. You might love adding walnuts for crunch or extra chocolate chips for sweetness. Feel free to experiment with spices like cloves or allspice. Tailor the recipe to fit your family’s favorites! It pairs well with coffee, tea, or as a breakfast item. The warm, rich flavor of the bread complements hot drinks perfectly. You can also enjoy it with cream cheese or a drizzle of honey for more taste. Use parchment paper and grease the pan thoroughly. This way, the bread slides out easily after baking. Greasing the pan helps create a non-stick surface. Parchment paper ensures no part of your bread is left behind! In this post, we explored the ingredients and steps to make delicious chocolate chip pumpkin bread. You learned about the tools needed, tips for perfecting your bake, and variations to suit your needs. Baking is fun and rewarding. With this recipe, you can impress friends and family. You can easily customize it to fit your tastes. Enjoy your fresh bread warm or with a drink. Now, gather your ingredients and start baking!](https://emmasdish.com/wp-content/uploads/2025/06/f538d1de-de93-4194-9f26-14cc05263462-300x300.webp)

Sweet and Spicy Chicken Wings Irresistible Flavor
Get ready for a flavor explosion with my Sweet and Spicy Chicken Wings! These wings blend heat and sweetness to create an irresistible dish…