

Latest & Greatest

Mini Crème Brûlée Cheesecakes Delightful Sweet Treats
Get ready to indulge in a sweet treat with my Mini Crème Brûlée Cheesecakes! These delightful bites combine the rich
Read more…
Crispy Shrimp Balls with Sweet Chili Sauce Delight
Dive into the world of flavor with my Crispy Shrimp Balls with Sweet Chili Sauce Delight! This dish promises a
Read more…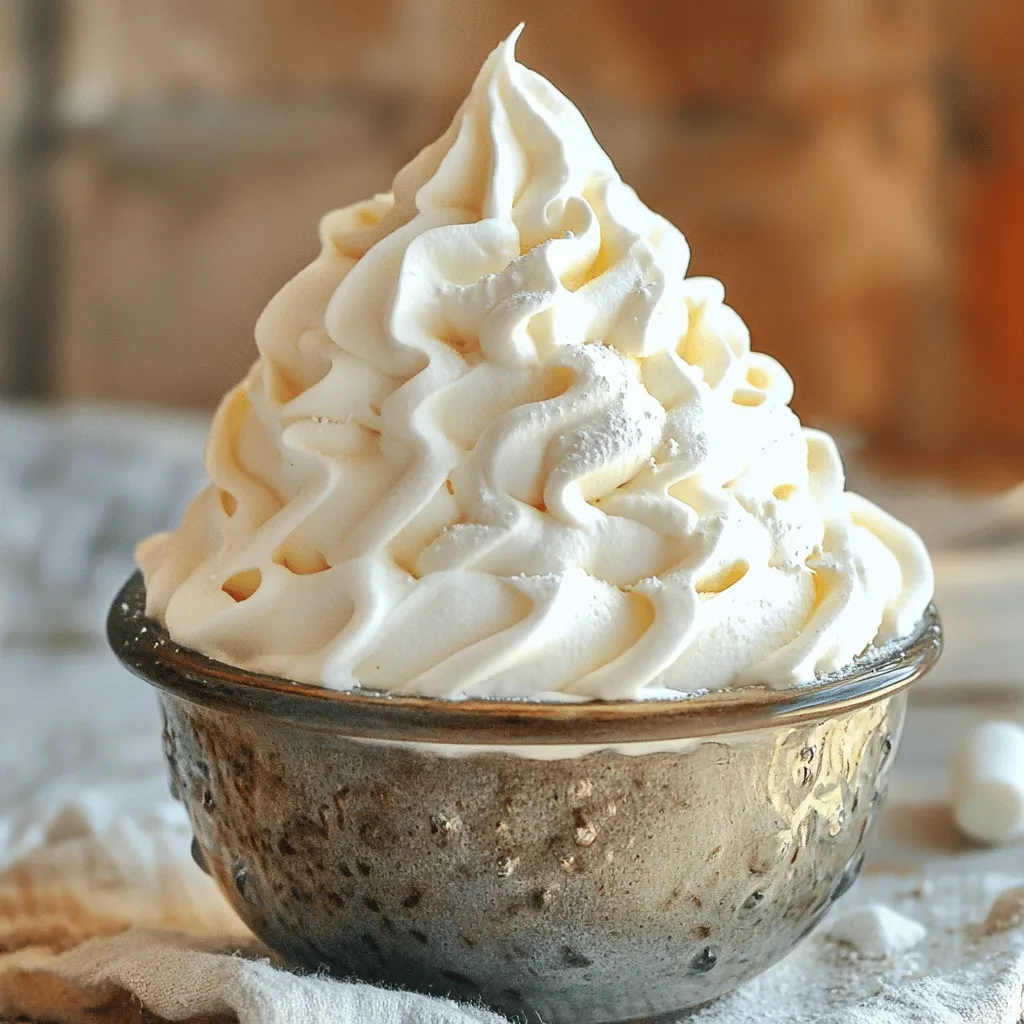
7-Minute Marshmallow Frosting Simple and Sweet Treat
If you’re craving a light and fluffy treat that’s perfect for any dessert, try 7-Minute Marshmallow Frosting! This simple and
Read more…
Air Fryer Falafel Crispy and Delicious Recipe
Are you ready to make crispy and delicious air fryer falafel at home? This recipe will guide you through simple
Read more…
Bang Bang Chicken Sliders Delicious and Easy Recipe
Get ready to spice up your dinner with my Bang Bang Chicken Sliders! This easy recipe combines juicy ground chicken
Read more…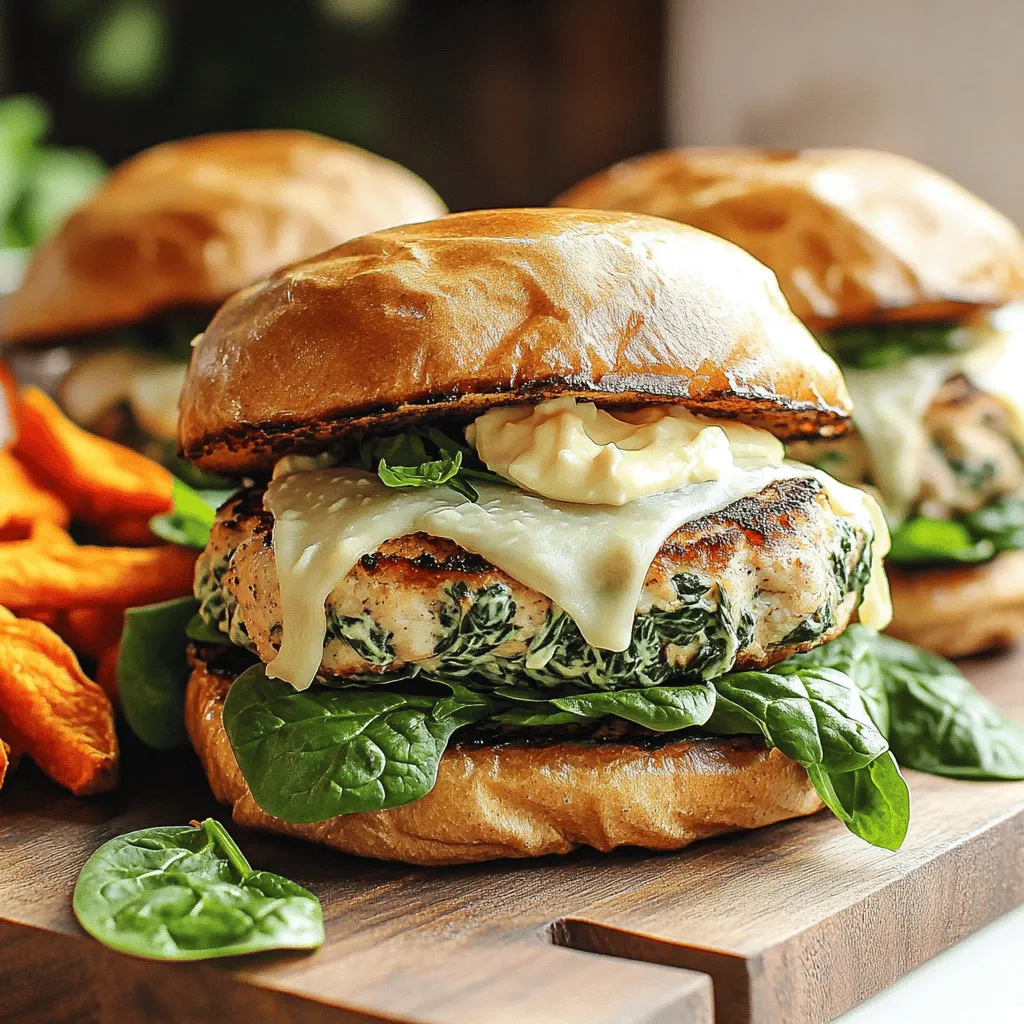
White Cheddar Spinach Chicken Burgers Flavor Boost
If you’re craving a delicious twist on classic chicken burgers, I’ve got just the recipe for you. My White Cheddar
Read more…
Cinnamon Roll French Toast Bites Simple and Sweet Treat
Craving a breakfast treat that’s both fun and delicious? Let’s dive into making Cinnamon Roll French Toast Bites! This simple
Read more…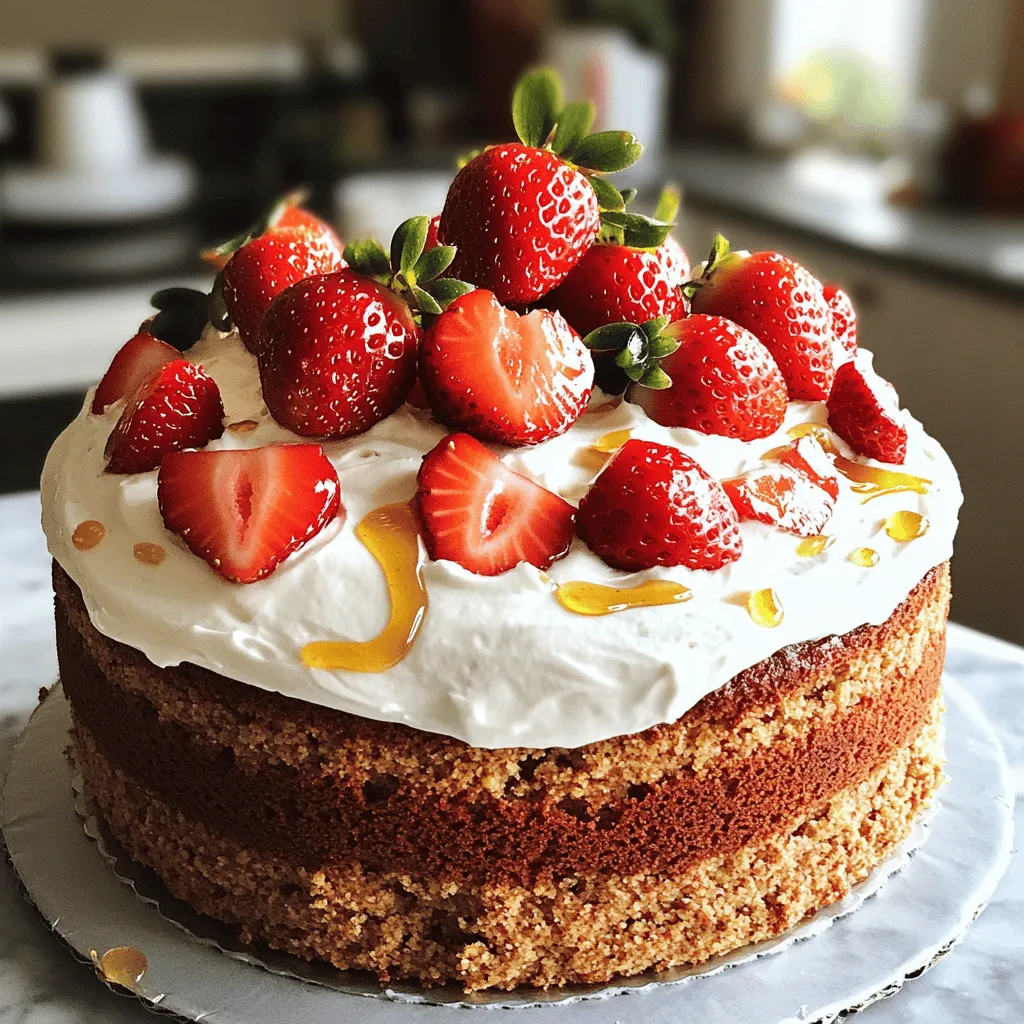
Skinny Strawberry Cake Delightfully Healthy Treat
Looking for a sweet treat that won’t ruin your healthy diet? Let me introduce you to my Skinny Strawberry Cake!
Read more…browse recipes


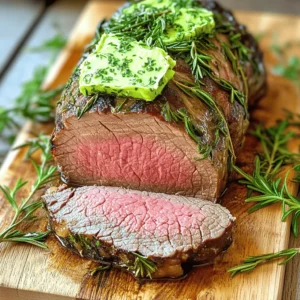
![- 1 lb sirloin steak, cut into 1-inch cubes - 4 tablespoons unsalted butter - 4 cloves garlic, minced For the best flavor, I always choose sirloin steak. It’s tender and easy to work with. Unsalted butter adds richness, while fresh garlic gives a strong, aromatic kick. - 1 teaspoon fresh rosemary, chopped - 1 teaspoon fresh thyme, chopped - Salt and pepper to taste - 2 tablespoons olive oil Fresh herbs like rosemary and thyme brighten the dish. Salt and pepper bring out the steak’s natural taste. Olive oil helps cook the meat evenly and adds a light flavor. - Fresh parsley - Serving suggestions (e.g., with sides) I like to add fresh parsley for color and freshness. These steak bites pair well with sides like mashed potatoes or a crisp salad. For the full recipe, check [Full Recipe]. Start by seasoning the steak cubes with salt and pepper. Use enough to coat each piece well. This step adds flavor right from the start. Let the seasoned steak rest for about 15 minutes. This allows the meat to come to room temperature. Room temperature steak cooks more evenly. It also helps achieve a nice crust when searing. Heat a large skillet over medium-high heat. Add olive oil once the skillet is hot. Place the steak cubes in a single layer. Avoid crowding the pan to ensure even cooking. Sear each side for 2-3 minutes. This timing gives a nice browning. For medium-rare, aim for an internal temperature of 130°F (54°C). Once done, remove the steak from the skillet and set it aside. In the same skillet, lower the heat to medium. Add the unsalted butter and minced garlic. Be careful with the heat; burnt garlic tastes bitter. Stir the mixture for 1-2 minutes. You want the garlic fragrant but not brown. Next, add chopped rosemary and thyme. These herbs bring out a rich flavor. Combine everything well, then return the steak bites to the skillet. Toss them in the garlic butter until well coated. Cook for another minute to warm the steak through. For the full recipe, check out the detailed instructions above. - Choosing the right cut of meat: Sirloin works great for steak bites. It is tender and has good flavor. You can also try ribeye or filet mignon for a richer taste. Always pick fresh meat for the best outcome. - Importance of an accurate thermometer: Use a meat thermometer to check doneness. For medium-rare, aim for 130°F (54°C). This helps you avoid overcooking the meat, keeping it juicy and tender. - Experimenting with spices and herbs: Don’t be afraid to play with flavors. Add chili flakes for heat or smoked paprika for depth. Fresh herbs like parsley or basil can also brighten the dish. - Using additional sauces for flavor depth: A drizzle of balsamic glaze or a spoonful of Dijon mustard can add a nice kick. You can mix these sauces into the garlic butter for a unique twist. - Plating suggestions for aesthetics: Use a clean white plate to showcase the steak bites. Arrange them in a circle or stack them for height. Drizzle some garlic butter around the edges for a visual pop. - Pairing with complementary side dishes: Serve with roasted veggies or a fresh salad. These sides balance the richness of the steak and add color to your plate. For a fun twist, try serving with garlic bread for extra flavor! For the full recipe, check out the Garlic Butter Steak Bites. {{image_2}} You can enjoy garlic butter steak bites with many steak cuts. Ribeye is a great choice. It has a good amount of fat. This makes it tender and juicy. Filet mignon is another option. It is very tender and mild in flavor. Flank steak works well too. It has a strong beef taste and is great for marinating. You can use any of these cuts to make your dish unique and tasty. Want to spice things up? Try adding chili flakes for some heat. This will give your steak bites a nice kick. You can also mix in different herbs. Basil, oregano, or parsley can change the taste. Fresh herbs add brightness and flavor. Feel free to get creative and find your favorite mix! You can cook garlic butter steak bites in different ways. Grilling gives a great smoky flavor. Just make sure to keep the heat high. If you prefer, you can also use a skillet. It gives a nice sear and is easy to control. Baking in the oven is another method. Preheat your oven to 400°F (204°C). Place the seasoned steak bites on a baking sheet. Bake for about 10-12 minutes, or until they are cooked to your liking. This method is simple and requires less attention. Each method gives a different texture and flavor. Choose what works best for you! For the full recipe, check out the [Full Recipe]. To keep your garlic butter steak bites fresh, follow these tips: - Allow the steak bites to cool completely before storing. - Place them in an airtight container to prevent moisture loss. - Store in the fridge for up to 3 days. For longer storage, you can freeze the leftovers: - Wrap the steak bites tightly in plastic wrap. - Place them in a freezer-safe bag or container. - They can last up to 3 months in the freezer. When reheating your steak bites, you have two main options: stovetop or microwave. Stovetop: - Heat a skillet over medium-low heat. - Add a little olive oil or butter. - Place the steak bites in the skillet, turning them often. - This method keeps the steak tender and flavorful. Microwave: - Place steak bites in a microwave-safe dish. - Cover with a damp paper towel to retain moisture. - Heat in short bursts, stirring in between. - Be careful not to overcook them, or they may get tough. Your steak bites can last in the fridge for about 3 days. After that, they may spoil. Signs of spoilage include: - A sour smell or off odor. - Changes in color or texture. - Slimy or sticky surface. If you notice any of these signs, it's best to throw them away. Enjoy your garlic butter steak bites while they are fresh! For the full recipe, check the earlier section. For Garlic Butter Steak Bites, I recommend using sirloin steak. Sirloin is tender, flavorful, and affordable. It cooks quickly, making it perfect for this dish. You can also try ribeye or filet mignon for a richer taste. Ribeye has more marbling, which adds great flavor. Filet mignon is super tender and melts in your mouth. Each cut has its own charm, but sirloin is my go-to for easy cooking. Yes, you can prepare this recipe ahead of time. Cook the steak bites and store them in an airtight container. Keep them in the fridge for up to three days. When you're ready to eat, just reheat them in a skillet. Add a bit of butter and garlic to keep the flavors fresh. You can also cook the garlic butter sauce ahead. Just combine it with the steak bites right before serving for a warm, tasty dish. To check if your steak is perfectly cooked, use a meat thermometer. For medium-rare, look for an internal temperature of 130°F (54°C). If you don’t have a thermometer, look for the following signs: - The steak should feel firm but slightly springy. - The juices should run clear, not pink. - If you cut into it, the inside should be a warm red-pink. These tips will help you nail the perfect steak every time. For more details, check the Full Recipe. Garlic Butter Steak Bites are simple and tasty. We covered key ingredients like sirloin, garlic, and butter. The step-by-step guide helps with cooking perfectly tender steak. Tips on enhancing flavor and presentation can elevate your dish. Don’t forget about variations and storage options for leftovers. With these ideas, you can impress anyone at the table. Enjoy cooking and sharing this delicious meal with friends and family!](https://emmasdish.com/wp-content/uploads/2025/06/ccb2e3ea-6933-4bba-b827-7566143a7229.webp)
Garlic Butter Steak Bites Flavorful and Easy Recipe
Are you ready to elevate your dinner game? Garlic Butter Steak Bites are an easy way to impress family and friends. With just a…
My Latest Desserts
-

No-Bake Lemon Cheesecake Bites Tasty and Simple Dessert
Are you ready to indulge in a creamy treat without turning on the oven? No-Bake Lemon Cheesecake Bites are your Read Full Recipe -

Healthy Banana Oat Pancakes Simple and Quick Recipe
Are you ready to flip the perfect pancake? In just minutes, you can whip up healthy banana oat pancakes that Read Full Recipe -

No-Bake Oreo Cheesecake Delightful and Easy Recipe
Are you craving a dessert that’s both easy and delicious? Look no further than this No-Bake Oreo Cheesecake! With just Read Full Recipe -
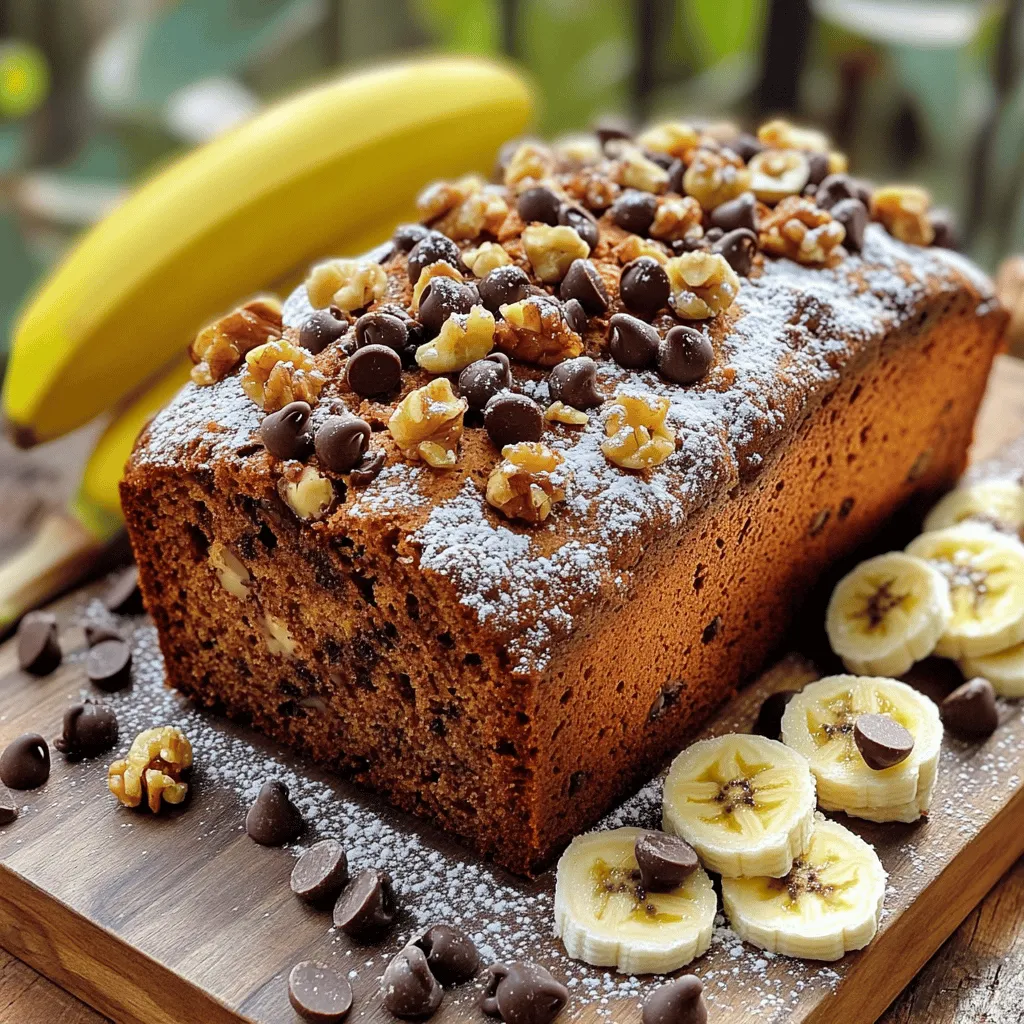
Chocolate Chip Banana Bread Irresistible Flavor Treat
If you love the sweet, comforting taste of banana bread, you’re in for a treat! This Chocolate Chip Banana Bread Read Full Recipe -

Lemon Blueberry Scones Flavorful and Easy Recipe
If you’re craving a delightful treat that’s both zesty and sweet, you’re in the right place. Lemon Blueberry Scones are Read Full Recipe -
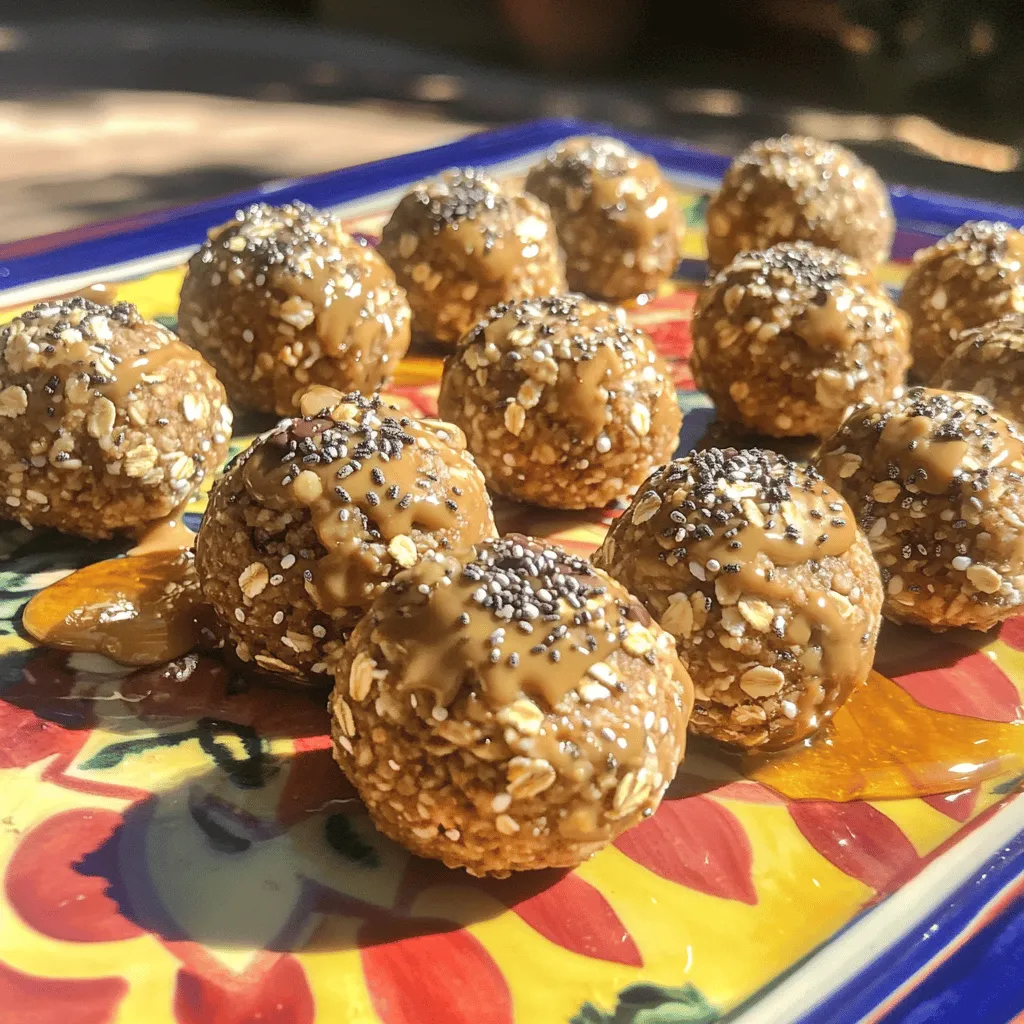
Healthy Peanut Butter Energy Bites Simple Snack Delight
Are you looking for a quick, tasty snack that packs a nutritious punch? Healthy Peanut Butter Energy Bites are the Read Full Recipe -

No-Bake Chocolate Oat Bars Simple and Tasty Snack
Looking for a quick and tasty snack? Try my No-Bake Chocolate Oat Bars! With simple ingredients like oats, nut butter, Read Full Recipe -

S’mores Cookie Bars Irresistible Dessert Recipe
Get ready to satisfy your sweet tooth with my S’mores Cookie Bars! This easy dessert combines soft cookie goodness with Read Full Recipe -

Strawberry Shortcake Trifle Delicious Dessert Delight
Ready for a dessert that wows your guests? Strawberry Shortcake Trifle combines fresh strawberries, whipped cream, and ladyfingers into a Read Full Recipe -

Lemon Blueberry Pound Cake Delightful and Easy Recipe
Looking for a sweet treat that’s simple to make? This Lemon Blueberry Pound Cake combines bright citrus flavors and juicy Read Full Recipe
My Latest Recipes

hey,
i’m !
I’m so happy you’re here!
I’m not just sharing recipes I’m sharing a piece of my heart. I hope these dishes bring you comfort, joy, and maybe even a new favorite.

 for more details on how to make this dish. {{image_2}} You can change the flavor of your pesto. Try a sun-dried tomato pesto. Blend sun-dried tomatoes, garlic, and nuts. This gives a rich taste and a pop of color. Another fun twist is using peanut butter or almond butter. Mix these with basil and garlic for a nutty flavor. It’s great for a unique twist on the classic. Want to make your meal heartier? Add grilled chicken or shrimp. Just cook them on a grill or pan. Slice and mix them with your zucchini noodles. If you prefer vegetarian options, chickpeas work well too. They add protein and a nice texture to the dish. Zucchini noodles are great for fresh, seasonal veggies. In summer, add cherry tomatoes, bell peppers, or arugula. They bring brightness and crunch. In autumn, consider roasted butternut squash or kale. These add warmth and depth to your meal. Enjoy experimenting with seasonal flavors! To keep your zucchini noodles fresh, store them in the fridge. Place them in a sealed container. This helps prevent moisture loss. Keep them for up to three days. Avoid stacking them too high to prevent squishing. For the avocado pesto, use a small jar with a lid. Make sure to press plastic wrap against the surface. This helps reduce air exposure, which can cause browning. The pesto will stay fresh for about two days. When reheating, gently warm the zucchini noodles. Use a skillet over low heat. This method helps them stay firm. Avoid the microwave as it can make them mushy. For the avocado pesto, add a bit of water when reheating. This will help keep it creamy. Stir well to combine. Both ingredients can handle gentle reheating without losing their taste. Can you freeze zucchini noodles? Yes, you can! However, they may lose some texture. To freeze, spread them on a tray first. Once frozen, transfer them to a bag. They can last up to three months in the freezer. For the avocado pesto, freezing is also possible. Pour it into ice cube trays. Once frozen, pop them out and store in a bag. This way, you can use small portions later. It’s perfect for quick meals! You can make zucchini noodles without a spiralizer! Use a knife to cut the zucchini into thin strips. Another method is to use a box grater. Grate the zucchini lengthwise. You can also use a vegetable peeler to create wide, flat noodles. Each method gives a unique shape and texture. Yes, you can use store-bought pesto. It saves time and offers great taste. However, homemade pesto can taste fresher and brighter. Store-bought options may have preservatives. Check the label for quality and ingredients. Choose a brand with fresh ingredients for the best flavor. Yes, this recipe is low-carb. Zucchini is low in carbs and calories. It is a great substitute for traditional pasta. If you're on a low-carb diet, this dish fits well. The avocado in the pesto adds healthy fats without many carbs. You can serve zucchini noodles with many things. Grilled chicken or shrimp adds protein. Roasted vegetables add color and flavor. A simple side salad pairs well too. You can also serve garlic bread for a nice crunch. Zucchini noodles last about 2 to 3 days in the fridge. Store them in an airtight container to keep them fresh. If you notice excess moisture, use a paper towel to absorb it. For the best taste, eat them within the first day after cooking. This recipe for zucchini noodles with avocado pesto is both simple and tasty. You learned how to prepare fresh ingredients, create a creamy pesto, and cook zucchini noodles for the best texture. I shared tips to enhance flavor and offered variations to keep meals exciting. Remember, you can store leftovers efficiently and even freeze them. This dish is perfect for a light meal, full of nutrients. Enjoy making it and feel great about your simple, healthy choices. Happy cooking!](https://emmasdish.com/wp-content/uploads/2025/05/ba5b18e9-9034-4260-9cd7-8f72d5cd19f9-300x300.webp)

Crispy Air Fryer Chicken Wings Tasty and Easy Recipe
Are you ready to enjoy the best chicken wings ever? My Crispy Air Fryer Chicken Wings are an easy way to bring your favorite…

