

Latest & Greatest

Chicken Alfredo Stuffed Garlic Bread Delightful Recipe
Are you ready to elevate your dinner game? This Chicken Alfredo Stuffed Garlic Bread is a delicious twist on two
Read more…
Voodoo Fries Spicy and Flavorful Snack Delight
Get ready to spice up your snack game with Voodoo Fries! This tasty treat packs a punch of flavor and
Read more…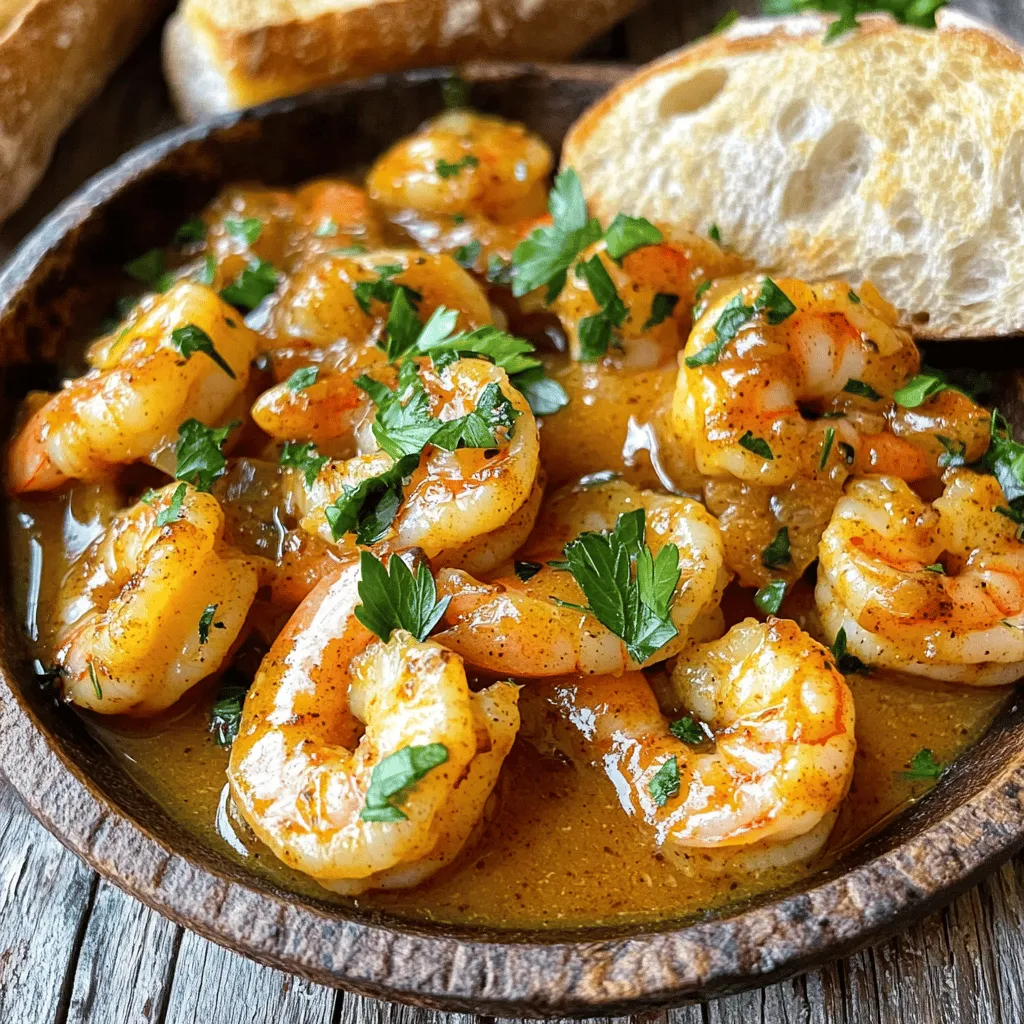
Louisiana BBQ Shrimp Flavorful and Easy Recipe Guide
If you crave bold flavors and a taste of the South, you’ll love Louisiana BBQ Shrimp. This dish combines juicy
Read more…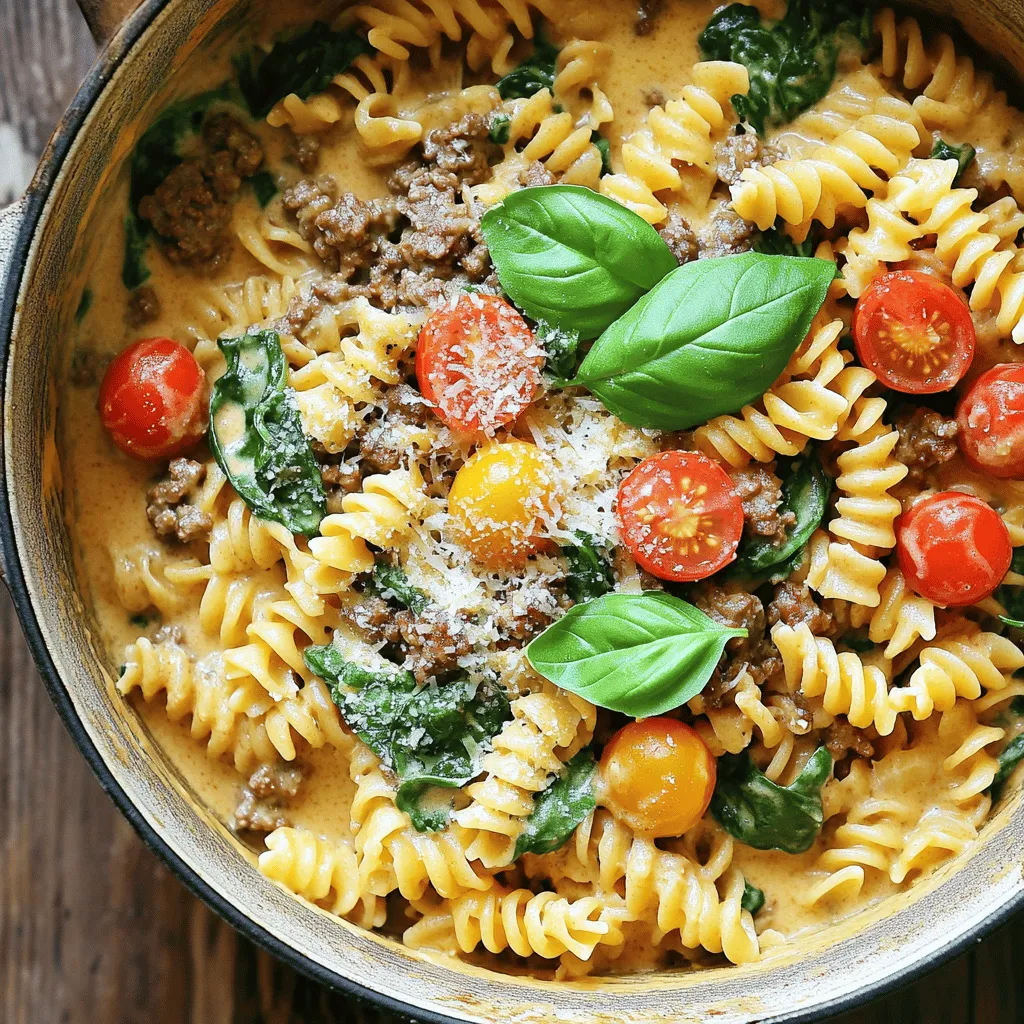
One-Pot Creamy Beef Pasta Simple and Tasty Meal
Are you looking for a simple and tasty meal that packs a punch? This One-Pot Creamy Beef Pasta is your
Read more…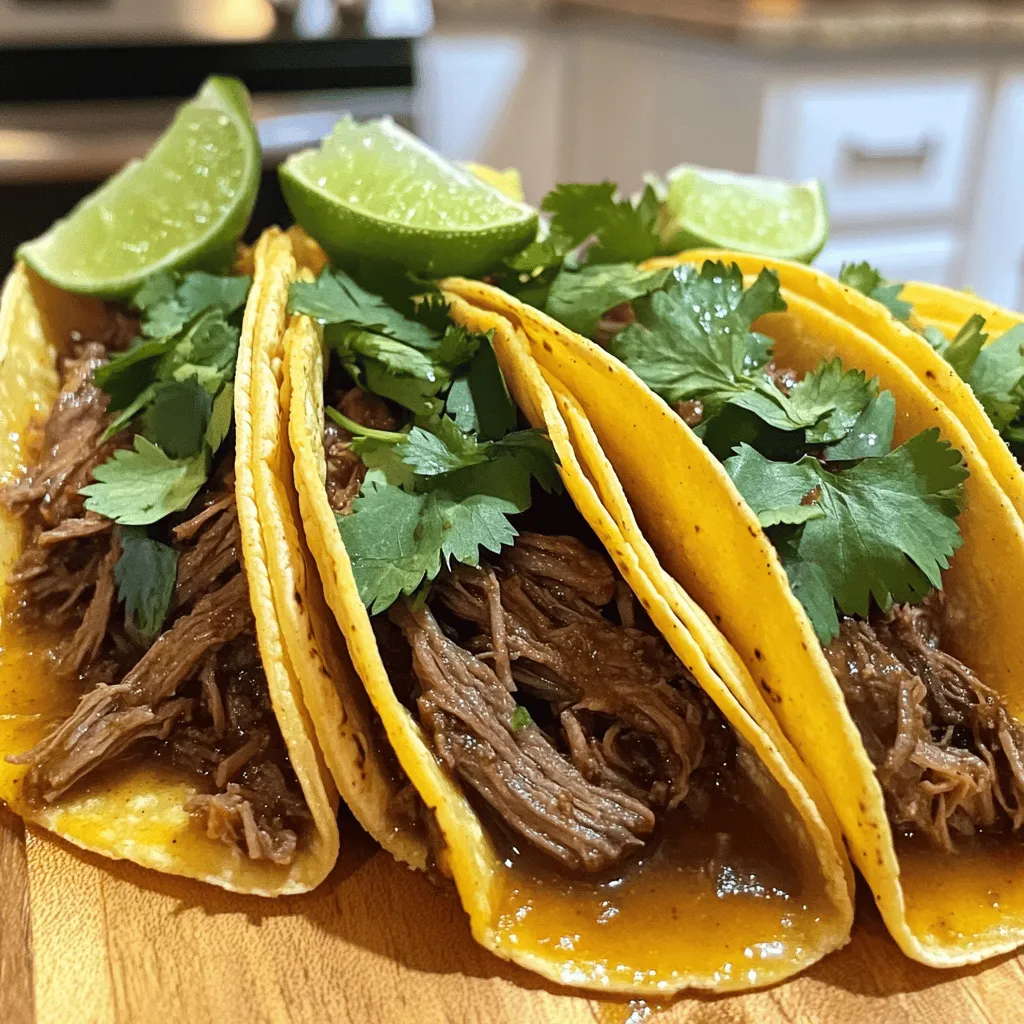
Crock Pot Birria Tacos Flavorful and Simple Recipe
Are you ready to savor the flavors of authentic Crock Pot Birria Tacos? This dish is simple, delicious, and perfect
Read more…
Japanese Katsu Bowls Simple and Flavorful Meal Guide
Are you ready to take your dinner game to the next level? Japanese Katsu Bowls are simple, tasty, and fun
Read more…
Mini Crème Brûlée Cheesecakes Delightful Easy Dessert
If you’re craving a sweet treat that’s both simple and fancy, mini crème brûlée cheesecakes are for you! These tiny
Read more…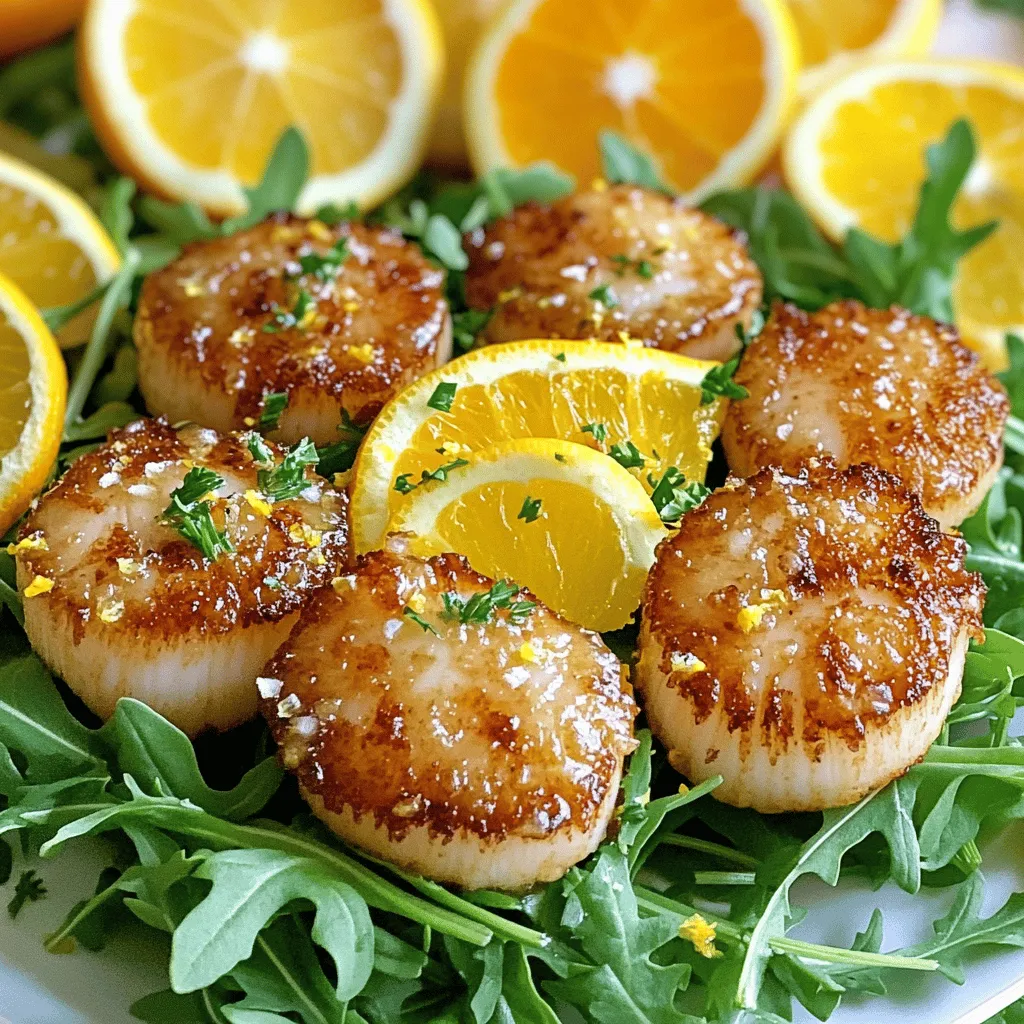
Crispy Pan-Seared Scallops Perfectly Cooked Delight
If you want a dish that impresses, look no further than crispy pan-seared scallops. This simple recipe turns fresh scallops
Read more…browse recipes


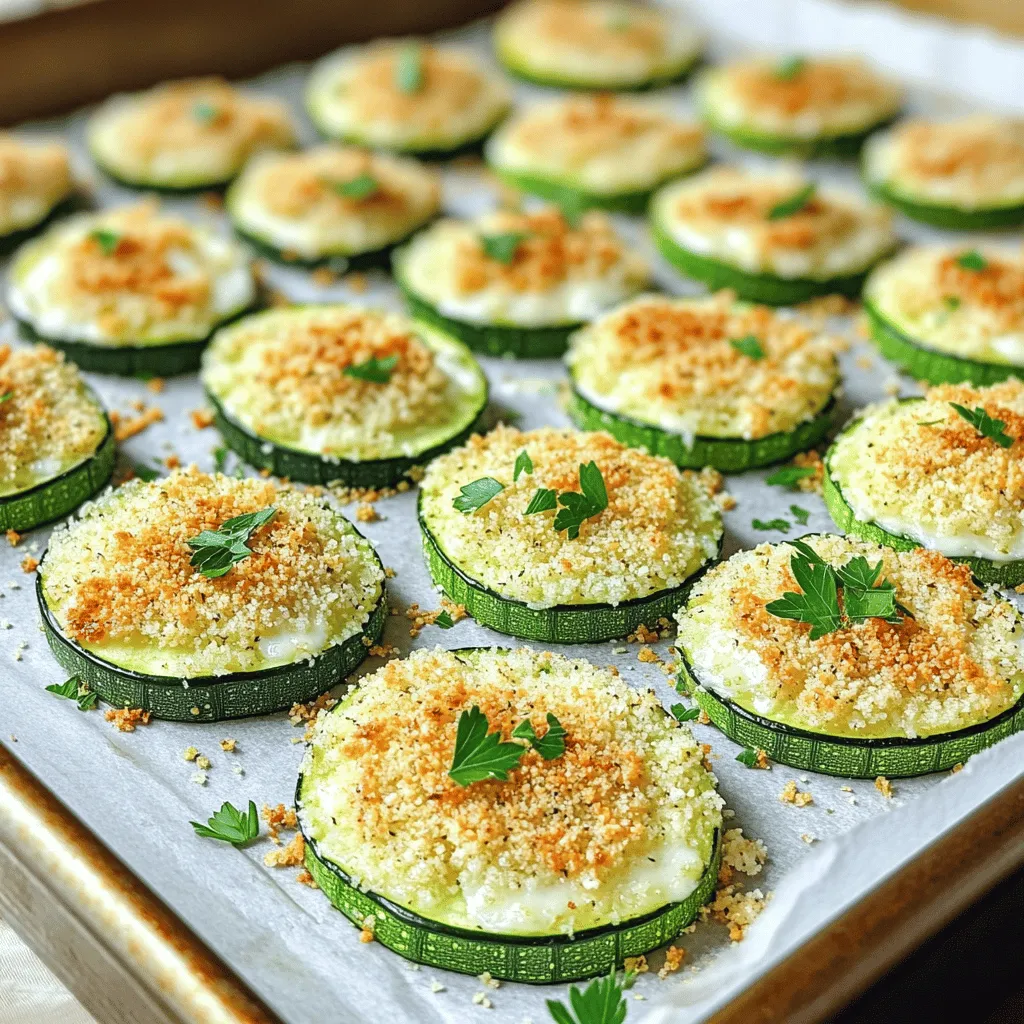
Baked Parmesan Zucchini Crispy and Flavorful Snack
Are you ready to take your snacking game to the next level? Baked Parmesan Zucchini is the answer! This crispy, flavorful treat is easy…
My Latest Desserts
-

No-Bake Lemon Cheesecake Bites Tasty and Simple Dessert
Are you ready to indulge in a creamy treat without turning on the oven? No-Bake Lemon Cheesecake Bites are your Read Full Recipe -

Healthy Banana Oat Pancakes Simple and Quick Recipe
Are you ready to flip the perfect pancake? In just minutes, you can whip up healthy banana oat pancakes that Read Full Recipe -

No-Bake Oreo Cheesecake Delightful and Easy Recipe
Are you craving a dessert that’s both easy and delicious? Look no further than this No-Bake Oreo Cheesecake! With just Read Full Recipe -

Chocolate Chip Banana Bread Irresistible Flavor Treat
If you love the sweet, comforting taste of banana bread, you’re in for a treat! This Chocolate Chip Banana Bread Read Full Recipe -

Lemon Blueberry Scones Flavorful and Easy Recipe
If you’re craving a delightful treat that’s both zesty and sweet, you’re in the right place. Lemon Blueberry Scones are Read Full Recipe -
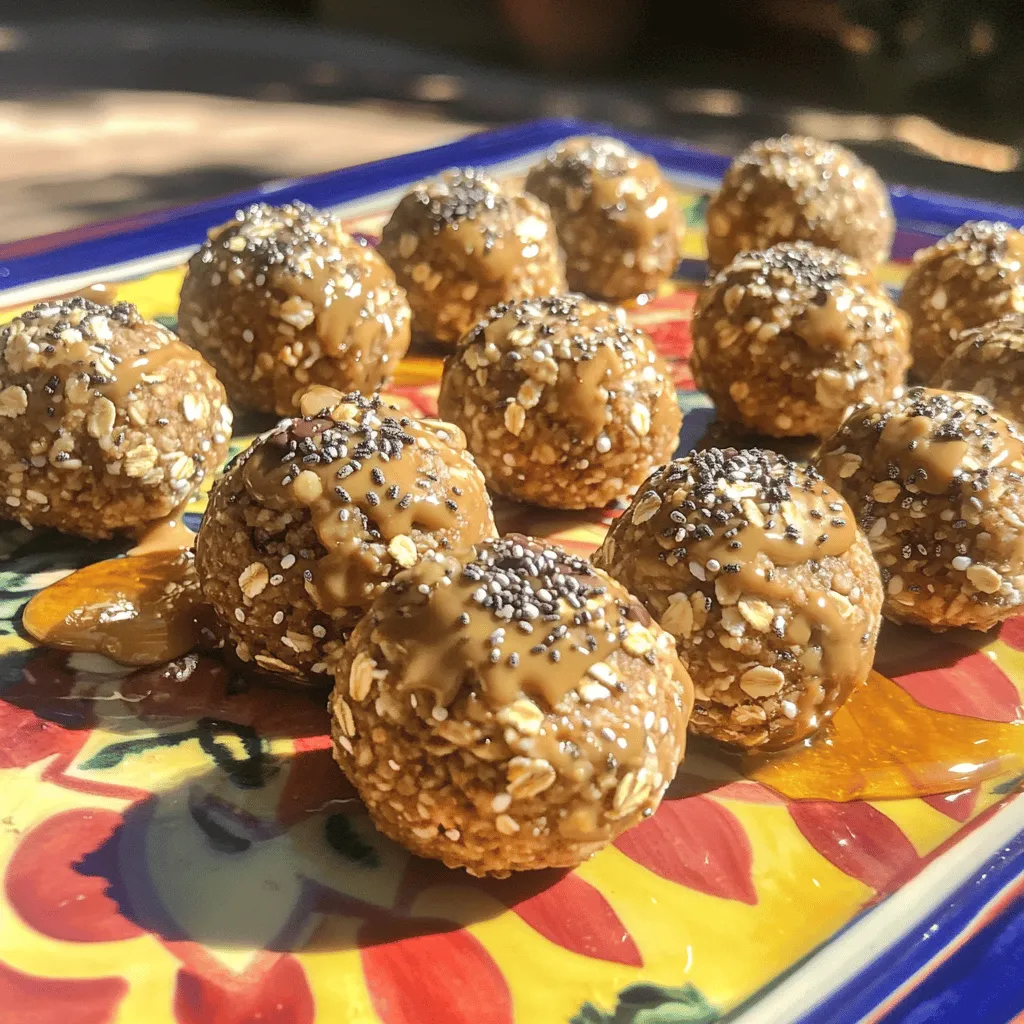
Healthy Peanut Butter Energy Bites Simple Snack Delight
Are you looking for a quick, tasty snack that packs a nutritious punch? Healthy Peanut Butter Energy Bites are the Read Full Recipe -

No-Bake Chocolate Oat Bars Simple and Tasty Snack
Looking for a quick and tasty snack? Try my No-Bake Chocolate Oat Bars! With simple ingredients like oats, nut butter, Read Full Recipe -

S’mores Cookie Bars Irresistible Dessert Recipe
Get ready to satisfy your sweet tooth with my S’mores Cookie Bars! This easy dessert combines soft cookie goodness with Read Full Recipe -

Strawberry Shortcake Trifle Delicious Dessert Delight
Ready for a dessert that wows your guests? Strawberry Shortcake Trifle combines fresh strawberries, whipped cream, and ladyfingers into a Read Full Recipe -

Lemon Blueberry Pound Cake Delightful and Easy Recipe
Looking for a sweet treat that’s simple to make? This Lemon Blueberry Pound Cake combines bright citrus flavors and juicy Read Full Recipe
My Latest Recipes

hey,
i’m !
I’m so happy you’re here!
I’m not just sharing recipes I’m sharing a piece of my heart. I hope these dishes bring you comfort, joy, and maybe even a new favorite.

. - Start by boiling salted water in a large pot. - Add 8 oz of your favorite pasta. - Cook the pasta until it is al dente, about 8-10 minutes. - Before draining, reserve about 1/2 cup of the pasta water. - Drain the pasta and set it aside. - In the same pot, heat 1 tablespoon of olive oil over medium heat. - Add 3 cloves of minced garlic and sauté for 30 seconds. - Stir in 1 can of diced tomatoes, undrained. - Let the mixture simmer for about 5 minutes, stirring occasionally. - Lower the heat and pour in 1/2 cup of heavy cream. - Stir well and let it simmer for 2-3 minutes until thick. - Add 1 cup of chopped fresh spinach and stir until it wilts. - Mix the cooked pasta into the sauce, coating it well. - If the sauce is too thick, add some reserved pasta water to adjust. - Finally, stir in 1/2 cup of grated Parmesan cheese and season with salt and pepper. - Serve hot, garnished with fresh basil leaves. For more details and variations, check the Full Recipe. To make your sauce thick and creamy, you can use a few techniques. First, let the sauce simmer longer. This helps reduce the liquid and concentrate the flavors. You can also use less cream. Try adding a bit of flour or cornstarch mixed with water for thickness. To boost flavor without adding calories, think about using herbs and spices like basil or oregano. A squeeze of lemon juice can also brighten the sauce without extra fat. Cooking pasta is key to your dish’s success. Always boil your pasta in salted water. This adds flavor from the start. Cook it until it is al dente, which means firm to the bite. This gives the best texture. Remember to save some pasta water before draining. This water is starchy and can help adjust the sauce’s thickness later. Presentation matters! Serve your creamy tomato spinach pasta in a wide bowl to show off its colors. Top it with fresh basil leaves for a pop of green. Sprinkling extra cheese on top adds a nice touch too. For side dishes, consider a crisp salad or garlic bread. These add texture and balance to your meal. Looking for something lighter? A simple steamed vegetable can be a perfect match. For the full recipe, check out the steps to create this delicious dish! {{image_2}} You can make this dish even tastier with more veggies. Add mushrooms for an earthy taste. Bell peppers bring a nice crunch and sweetness. Try mixing in zucchini or asparagus for color and flavor. For cheese, you have choices! Use mozzarella for a gooey texture. Feta adds a salty kick. Goat cheese can give a tangy twist to your pasta. Pick what you like best. If you want a vegan version, swap heavy cream for coconut cream. This gives a rich, creamy feel. Nutritional yeast is a great cheese substitute and adds a nutty flavor. You can also use herbs like oregano and thyme. These add depth to the dish. A pinch of smoked paprika will give a hint of warmth. Want to boost the protein? Add grilled chicken or shrimp for a savory touch. Cook them in the pan before adding the sauce. You can also use beans like chickpeas for a plant-based option. Just stir them in when you mix the pasta and sauce. This keeps everything simple and quick. For all the variations, I suggest checking the full recipe for details. Store your creamy tomato spinach pasta in a tight container. This keeps it fresh. It will last for up to three days in the fridge. Make sure it cools down before sealing it. This step helps prevent sogginess. To reheat pasta, use a pan on low heat. Add a splash of water or cream. This helps keep the pasta moist. Stir gently to mix the sauce back in. If you use the microwave, cover the bowl. This traps steam and helps warm the dish evenly. Yes, you can freeze creamy tomato spinach pasta! To freeze, let it cool completely first. Lay it flat in a freezer bag to save space. When you’re ready to eat, take it out and thaw overnight in the fridge. Reheat on the stove with a bit of water or cream for best results. To get the full recipe, click [Full Recipe]. Yes, you can use whole wheat pasta. It adds more fiber and nutrients. The taste is a bit nuttier. Cook it the same way as regular pasta. You may need extra water for the sauce. Whole grain pasta can be a healthy choice. You have many options. For a dairy-free choice, use coconut cream. It gives a nice flavor. You can also try cashew cream or almond milk. Both can work well. If you want low-fat, use half-and-half for a lighter sauce. To add heat, use red pepper flakes. Add more if you like it spicy. You can also use hot sauce or diced jalapeños. Other spices like cayenne pepper work too. These will enhance the flavor and kick up the heat. Salads are great with this pasta. A fresh green salad with a light dressing works well. Garlic bread is another tasty option. It’s perfect for soaking up the sauce. Grilled chicken or shrimp can add protein and make a fuller meal. Yes, you can make this recipe gluten-free. Use gluten-free pasta made from rice or corn. Always check the label to ensure it’s safe. For the sauce, make sure no gluten-containing ingredients are used. This way, everyone can enjoy the dish. For the full recipe, check out the detailed instructions above. This blog post shared all you need for making creamy tomato spinach pasta. We covered key ingredients, from pasta to spices. I detailed step-by-step instructions, tips for better sauce, and serving ideas. You also learned storage tips and fun recipe variations. Incorporating these elements will help you create a delicious dish that fits your taste. Enjoy experimenting with flavors and sharing this meal with others. Cooking can be simple and fun!](https://emmasdish.com/wp-content/uploads/2025/05/2923260a-a41d-4608-8bf7-ce67ef8b68f4-300x300.webp)
![- 8 oz. fusilli pasta - 2 cups cherry tomatoes, halved - 1 cup fresh mozzarella balls (bocconcini) - 1 cup fresh basil leaves, torn - 3 tablespoons extra-virgin olive oil - 1 tablespoon balsamic glaze - 2 cloves garlic, minced - Salt and pepper to taste - 1 teaspoon dried oregano - Additional vegetables (e.g., bell peppers, cucumbers) - Protein options (e.g., grilled chicken or shrimp) To make a great Caprese Pasta Salad, you need fresh and simple ingredients. The fusilli pasta serves as a perfect base. It holds the dressing and adds a nice texture. Cherry tomatoes bring sweetness and color. Fresh mozzarella balls add creaminess. Basil leaves give that classic Caprese flavor. You can also choose to add extra veggies. Bell peppers and cucumbers work well. If you want protein, consider grilled chicken or shrimp. These additions can make the salad more filling. Using high-quality olive oil and balsamic glaze is key. They enhance the taste and richness of the dish. Don't forget to season with salt, pepper, and oregano. These spices tie everything together. For the full recipe and detailed steps, check out the [Full Recipe]. Enjoy making this fresh and flavorful pasta salad! First, you need to boil the fusilli in salted water. Bring a large pot of water to a boil. Add salt to the water; it enhances the pasta's flavor. Then, add the fusilli. Cook it until it is al dente, following the package instructions. Once done, drain the pasta. Rinse it under cold water to stop the cooking process. This helps keep the pasta firm. Next, it’s time to mix the pasta with the other fresh ingredients. In a large mixing bowl, combine the cooled fusilli, halved cherry tomatoes, fresh mozzarella balls, and torn basil leaves. The colors will look bright and inviting. Make sure to mix gently so you don’t break the mozzarella. Now, let’s prepare the dressing. In a small bowl, whisk together the olive oil, balsamic glaze, minced garlic, dried oregano, salt, and pepper. Whisking helps blend all the flavors. Make sure the mixture is smooth and well combined. Pour the dressing over the pasta mixture. Gently toss everything together until the pasta and veggies are evenly coated. Taste it, and adjust the seasoning as needed. If you like, add more salt or pepper. Cover the bowl with plastic wrap and refrigerate for at least 30 minutes. This allows the flavors to come together beautifully. When ready to serve, give the salad another gentle toss. Enjoy this vibrant dish! For the complete recipe, check out the Full Recipe. To make your Caprese pasta salad just right, avoid overcooking the pasta. Cook it until it is al dente. This means it should be firm to the bite. Overcooked pasta turns mushy and ruins the dish. After cooking, rinse the pasta in cold water. This helps stop the cooking process and keeps the pasta fresh. Next, use cold ingredients to enhance freshness. Cold cherry tomatoes and mozzarella balls keep the salad crisp and tasty. Fresh basil also shines when it is cold. This makes each bite burst with flavor. When it comes to flavor, salt and pepper are key. Start by adding a little salt and pepper. You can always add more later. A pinch of salt brings out the tomatoes’ sweetness. Fresh mozzarella also benefits from a sprinkle of salt. For the dressing, balance the olive oil and balsamic glaze to your taste. If you like it tangy, add more balsamic. If you prefer a smoother taste, add more olive oil. This dressing ties all the flavors together. Taste before serving and adjust as needed. Presentation matters! To make your salad look great, garnish with fresh basil leaves. You can also add a drizzle of balsamic glaze on top. This adds a nice touch and a hint of sweetness. Serve in a clear bowl to show off the colorful ingredients. For a fun twist, consider adding some sliced bell peppers or olives. These add color and extra flavor. You can find the full recipe in the article to explore more. Enjoy your delicious Caprese pasta salad! {{image_2}} You can change the vegetables based on the season. In summer, use sweet cherry tomatoes and fresh basil. In winter, swap in roasted bell peppers or spinach. These changes keep the salad fresh and tasty. Seasonal veggies add color and flavor. Try adding zucchini or asparagus in spring for a bright touch. If you want a vegan dish, use plant-based mozzarella. You can also choose gluten-free pasta made from rice or quinoa. This makes the salad friendly for more diets. Just ensure the other ingredients, like the balsamic glaze, are also vegan. Feel free to add your own twist! For an Italian flair, mix in some prosciutto or olives. You can also toss in sun-dried tomatoes for a richer taste. Each cultural twist brings a new flavor dimension. Experiment with herbs like oregano or thyme for extra depth. For a complete recipe, check out the Full Recipe for Caprese Pasta Salad. To store leftover Caprese Pasta Salad, follow these steps: - Place the salad in an airtight container. - Make sure it cools to room temperature first. - Seal the container tightly to keep air out. - Store it in the fridge. This will help keep it fresh. Caprese Pasta Salad will stay fresh for about 3 days in the fridge. After that, it may lose its flavor and texture. Check for any signs of spoilage before eating. If the tomatoes look mushy or the cheese smells off, it is best to throw it away. For the best taste, serve the salad cold. However, if you prefer it warm, here are some tips: - Heat it gently in a pan on low heat. - Add a splash of olive oil to keep it moist. - Stir often to avoid burning. You can also enjoy it at room temperature as a tasty option. To make Caprese Pasta Salad, follow these steps: 1. Cook 8 oz. of fusilli pasta in salted boiling water until al dente. 2. Drain and rinse the pasta under cold water to stop cooking. 3. In a large bowl, mix the cooked pasta with 2 cups of halved cherry tomatoes, 1 cup of fresh mozzarella balls, and 1 cup of torn fresh basil leaves. 4. In a small bowl, whisk together 3 tablespoons of extra-virgin olive oil, 1 tablespoon of balsamic glaze, 2 minced garlic cloves, 1 teaspoon of dried oregano, salt, and pepper. 5. Pour the dressing over the pasta and toss gently to coat. 6. Taste and adjust the seasoning, adding more salt or pepper if needed. 7. Cover and refrigerate for at least 30 minutes. This helps the flavors blend well together. For the complete recipe, check the Full Recipe section. Yes, you can add protein to your Caprese Pasta Salad. Here are some great options: - Grilled chicken - Shrimp - Chickpeas - Salami These proteins will add flavor and make your salad more filling. Mix them in when you combine the pasta and veggies. You can keep Caprese Pasta Salad in the fridge for 3 to 5 days. Make sure to store it in an airtight container. If you notice any signs of spoilage, like odd smells or changes in texture, toss it out to be safe. This Caprese Pasta Salad is simple and tasty. We covered key ingredients like fusilli, cherry tomatoes, mozzarella, and basil. You learned how to cook the pasta, mix in fresh veggies, and whip up a zesty dressing. I shared tips to enhance texture and flavor, plus ways to customize your salad for any season or diet. Remember, you can store leftovers for a few days and still enjoy their fresh taste. I hope you create your own delicious version of this salad soon!](https://emmasdish.com/wp-content/uploads/2025/06/9c170759-3078-49bf-bd58-25cf7643b122-300x300.webp)

No-Bake Lemon Icebox Pie Refreshing Dessert Recipe
Looking for a cool and easy dessert? You’ll love this No-Bake Lemon Icebox Pie! With just a few simple ingredients, you can whip up…