


Latest & Greatest

Bang Bang Shrimp Tasty Dish to Impress Guests
Looking to impress your guests with a mouthwatering dish? Bang Bang Shrimp is the way to go! This crispy, spicy
Read more…
S’mores Cookies Deliciously Sweet and Chewy Treat
Get ready to indulge in the ultimate treat—S’mores Cookies! This sweet and chewy delight combines classic s’mores flavors with a
Read more…
Southwest Chicken Soup Flavorful and Easy Recipe
Looking for a soup that warms you up and excites your taste buds? Dive into this flavorful Southwest Chicken Soup
Read more…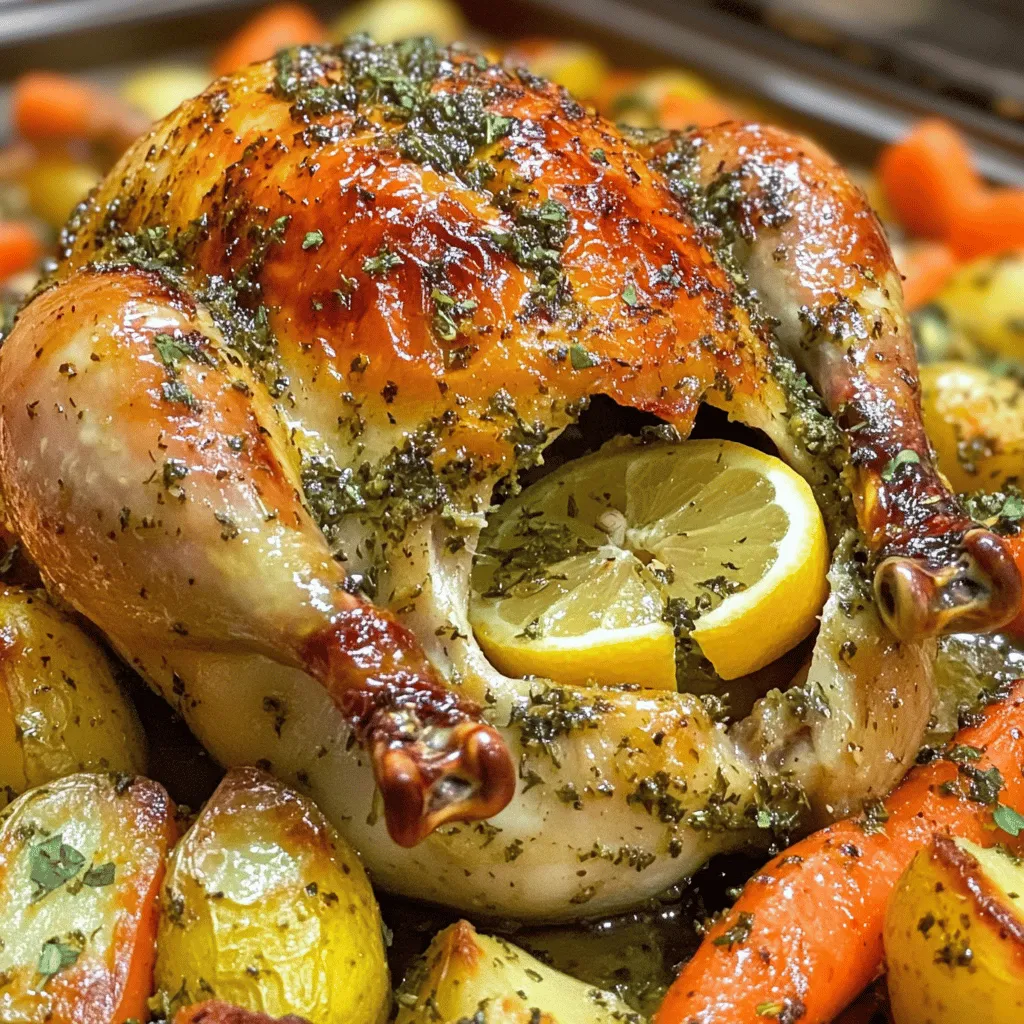
Garlic Butter Herb Roasted Chicken Simple and Juicy
Welcome to the ultimate guide for making Garlic Butter Herb Roasted Chicken! This dish is simple, juicy, and perfect for
Read more…
Classic French Toast with Maple Syrup Delight
Welcome to Classic French Toast with Maple Syrup Delight! If you crave a warm, sweet breakfast that brightens your day,
Read more…
Cinnamon Roll Casserole Irresistible Breakfast Delight
Are you ready for a breakfast treat that will wow your family? Look no further than this Cinnamon Roll Casserole!
Read more…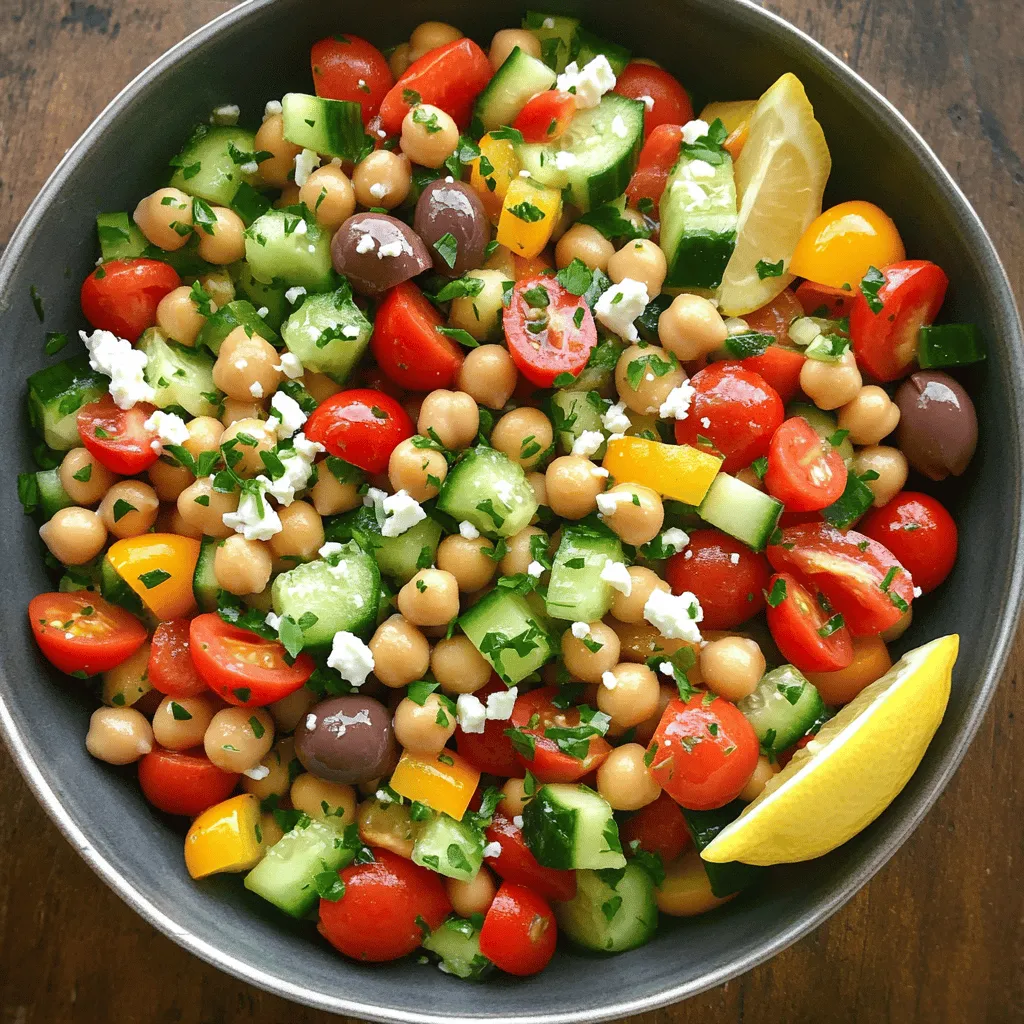
Mediterranean Chickpea Salad Packed with Flavor
If you crave a fresh, vibrant dish that bursts with flavor, this Mediterranean Chickpea Salad is for you. It’s simple
Read more…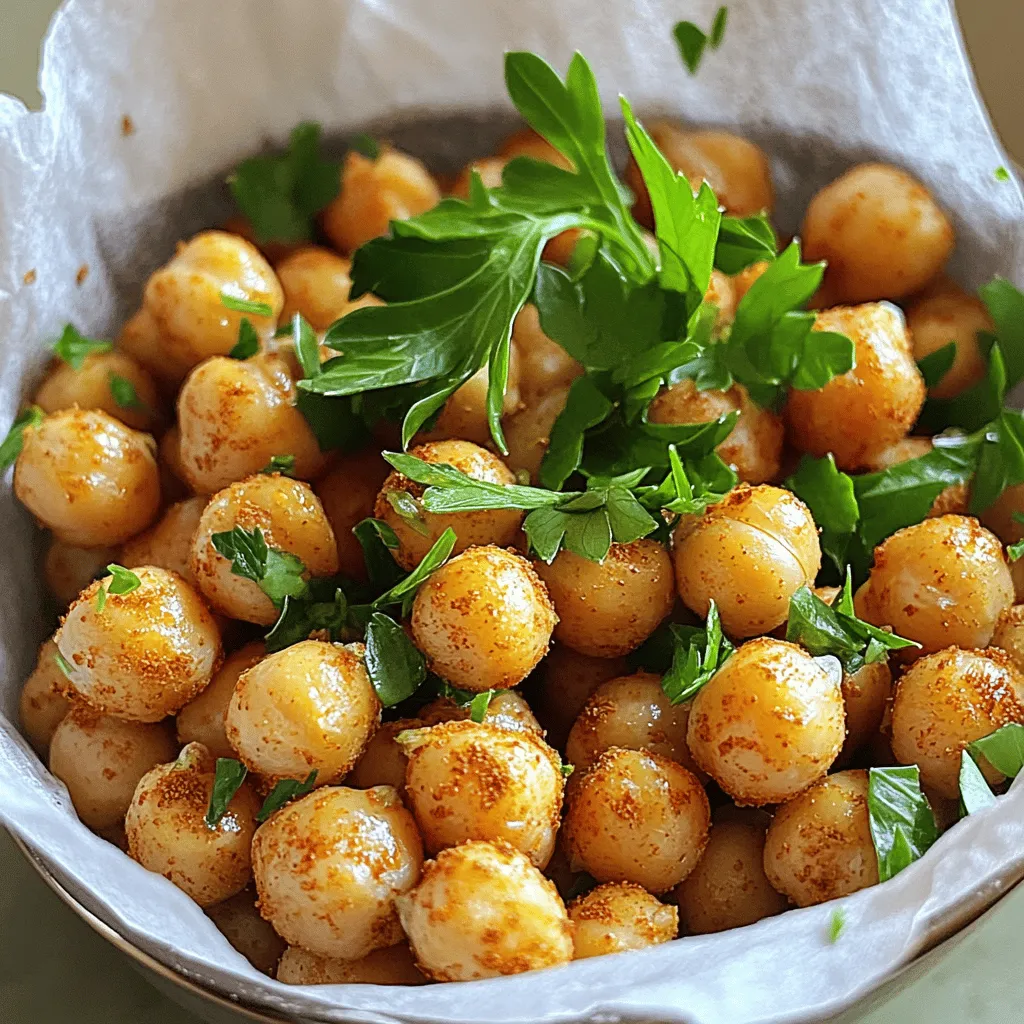
Air Fryer Crispy Chickpeas Crunchy and Flavorful Snack
Looking for a tasty, healthy snack? Let’s talk about air fryer crispy chickpeas! This easy recipe turns simple chickpeas into
Read more…browse recipes


Zesty Lemon Tahini Dressing Flavorful and Versatile Recipe
Looking to spice up your meals? My Zesty Lemon Tahini Dressing packs bold flavor in every bite. This creamy, tangy sauce is perfect for…
My Latest Desserts
-

No-Bake Lemon Cheesecake Bites Tasty and Simple Dessert
Are you ready to indulge in a creamy treat without turning on the oven? No-Bake Lemon Cheesecake Bites are your Read Full Recipe -

Healthy Banana Oat Pancakes Simple and Quick Recipe
Are you ready to flip the perfect pancake? In just minutes, you can whip up healthy banana oat pancakes that Read Full Recipe -

No-Bake Oreo Cheesecake Delightful and Easy Recipe
Are you craving a dessert that’s both easy and delicious? Look no further than this No-Bake Oreo Cheesecake! With just Read Full Recipe -

Chocolate Chip Banana Bread Irresistible Flavor Treat
If you love the sweet, comforting taste of banana bread, you’re in for a treat! This Chocolate Chip Banana Bread Read Full Recipe -

Lemon Blueberry Scones Flavorful and Easy Recipe
If you’re craving a delightful treat that’s both zesty and sweet, you’re in the right place. Lemon Blueberry Scones are Read Full Recipe -
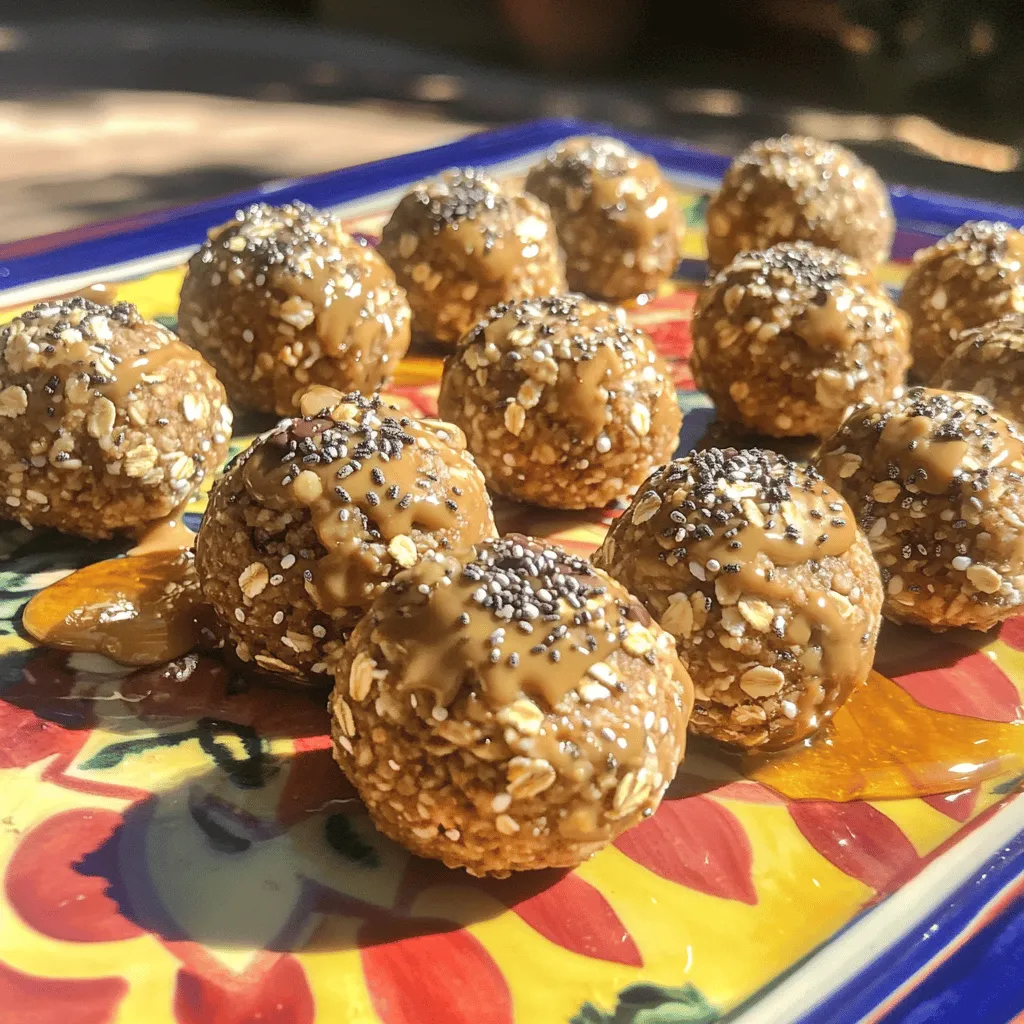
Healthy Peanut Butter Energy Bites Simple Snack Delight
Are you looking for a quick, tasty snack that packs a nutritious punch? Healthy Peanut Butter Energy Bites are the Read Full Recipe -

No-Bake Chocolate Oat Bars Simple and Tasty Snack
Looking for a quick and tasty snack? Try my No-Bake Chocolate Oat Bars! With simple ingredients like oats, nut butter, Read Full Recipe -

S’mores Cookie Bars Irresistible Dessert Recipe
Get ready to satisfy your sweet tooth with my S’mores Cookie Bars! This easy dessert combines soft cookie goodness with Read Full Recipe -

Strawberry Shortcake Trifle Delicious Dessert Delight
Ready for a dessert that wows your guests? Strawberry Shortcake Trifle combines fresh strawberries, whipped cream, and ladyfingers into a Read Full Recipe -

Lemon Blueberry Pound Cake Delightful and Easy Recipe
Looking for a sweet treat that’s simple to make? This Lemon Blueberry Pound Cake combines bright citrus flavors and juicy Read Full Recipe
My Latest Recipes

hey,
i’m !
I’m so happy you’re here!
I’m not just sharing recipes I’m sharing a piece of my heart. I hope these dishes bring you comfort, joy, and maybe even a new favorite.

![- 8 oz. fusilli pasta - 2 cups cherry tomatoes, halved - 1 cup fresh mozzarella balls (bocconcini) - 1 cup fresh basil leaves, torn - 3 tablespoons extra-virgin olive oil - 1 tablespoon balsamic glaze - 2 cloves garlic, minced - Salt and pepper to taste - 1 teaspoon dried oregano - Additional vegetables (e.g., bell peppers, cucumbers) - Protein options (e.g., grilled chicken or shrimp) To make a great Caprese Pasta Salad, you need fresh and simple ingredients. The fusilli pasta serves as a perfect base. It holds the dressing and adds a nice texture. Cherry tomatoes bring sweetness and color. Fresh mozzarella balls add creaminess. Basil leaves give that classic Caprese flavor. You can also choose to add extra veggies. Bell peppers and cucumbers work well. If you want protein, consider grilled chicken or shrimp. These additions can make the salad more filling. Using high-quality olive oil and balsamic glaze is key. They enhance the taste and richness of the dish. Don't forget to season with salt, pepper, and oregano. These spices tie everything together. For the full recipe and detailed steps, check out the [Full Recipe]. Enjoy making this fresh and flavorful pasta salad! First, you need to boil the fusilli in salted water. Bring a large pot of water to a boil. Add salt to the water; it enhances the pasta's flavor. Then, add the fusilli. Cook it until it is al dente, following the package instructions. Once done, drain the pasta. Rinse it under cold water to stop the cooking process. This helps keep the pasta firm. Next, it’s time to mix the pasta with the other fresh ingredients. In a large mixing bowl, combine the cooled fusilli, halved cherry tomatoes, fresh mozzarella balls, and torn basil leaves. The colors will look bright and inviting. Make sure to mix gently so you don’t break the mozzarella. Now, let’s prepare the dressing. In a small bowl, whisk together the olive oil, balsamic glaze, minced garlic, dried oregano, salt, and pepper. Whisking helps blend all the flavors. Make sure the mixture is smooth and well combined. Pour the dressing over the pasta mixture. Gently toss everything together until the pasta and veggies are evenly coated. Taste it, and adjust the seasoning as needed. If you like, add more salt or pepper. Cover the bowl with plastic wrap and refrigerate for at least 30 minutes. This allows the flavors to come together beautifully. When ready to serve, give the salad another gentle toss. Enjoy this vibrant dish! For the complete recipe, check out the Full Recipe. To make your Caprese pasta salad just right, avoid overcooking the pasta. Cook it until it is al dente. This means it should be firm to the bite. Overcooked pasta turns mushy and ruins the dish. After cooking, rinse the pasta in cold water. This helps stop the cooking process and keeps the pasta fresh. Next, use cold ingredients to enhance freshness. Cold cherry tomatoes and mozzarella balls keep the salad crisp and tasty. Fresh basil also shines when it is cold. This makes each bite burst with flavor. When it comes to flavor, salt and pepper are key. Start by adding a little salt and pepper. You can always add more later. A pinch of salt brings out the tomatoes’ sweetness. Fresh mozzarella also benefits from a sprinkle of salt. For the dressing, balance the olive oil and balsamic glaze to your taste. If you like it tangy, add more balsamic. If you prefer a smoother taste, add more olive oil. This dressing ties all the flavors together. Taste before serving and adjust as needed. Presentation matters! To make your salad look great, garnish with fresh basil leaves. You can also add a drizzle of balsamic glaze on top. This adds a nice touch and a hint of sweetness. Serve in a clear bowl to show off the colorful ingredients. For a fun twist, consider adding some sliced bell peppers or olives. These add color and extra flavor. You can find the full recipe in the article to explore more. Enjoy your delicious Caprese pasta salad! {{image_2}} You can change the vegetables based on the season. In summer, use sweet cherry tomatoes and fresh basil. In winter, swap in roasted bell peppers or spinach. These changes keep the salad fresh and tasty. Seasonal veggies add color and flavor. Try adding zucchini or asparagus in spring for a bright touch. If you want a vegan dish, use plant-based mozzarella. You can also choose gluten-free pasta made from rice or quinoa. This makes the salad friendly for more diets. Just ensure the other ingredients, like the balsamic glaze, are also vegan. Feel free to add your own twist! For an Italian flair, mix in some prosciutto or olives. You can also toss in sun-dried tomatoes for a richer taste. Each cultural twist brings a new flavor dimension. Experiment with herbs like oregano or thyme for extra depth. For a complete recipe, check out the Full Recipe for Caprese Pasta Salad. To store leftover Caprese Pasta Salad, follow these steps: - Place the salad in an airtight container. - Make sure it cools to room temperature first. - Seal the container tightly to keep air out. - Store it in the fridge. This will help keep it fresh. Caprese Pasta Salad will stay fresh for about 3 days in the fridge. After that, it may lose its flavor and texture. Check for any signs of spoilage before eating. If the tomatoes look mushy or the cheese smells off, it is best to throw it away. For the best taste, serve the salad cold. However, if you prefer it warm, here are some tips: - Heat it gently in a pan on low heat. - Add a splash of olive oil to keep it moist. - Stir often to avoid burning. You can also enjoy it at room temperature as a tasty option. To make Caprese Pasta Salad, follow these steps: 1. Cook 8 oz. of fusilli pasta in salted boiling water until al dente. 2. Drain and rinse the pasta under cold water to stop cooking. 3. In a large bowl, mix the cooked pasta with 2 cups of halved cherry tomatoes, 1 cup of fresh mozzarella balls, and 1 cup of torn fresh basil leaves. 4. In a small bowl, whisk together 3 tablespoons of extra-virgin olive oil, 1 tablespoon of balsamic glaze, 2 minced garlic cloves, 1 teaspoon of dried oregano, salt, and pepper. 5. Pour the dressing over the pasta and toss gently to coat. 6. Taste and adjust the seasoning, adding more salt or pepper if needed. 7. Cover and refrigerate for at least 30 minutes. This helps the flavors blend well together. For the complete recipe, check the Full Recipe section. Yes, you can add protein to your Caprese Pasta Salad. Here are some great options: - Grilled chicken - Shrimp - Chickpeas - Salami These proteins will add flavor and make your salad more filling. Mix them in when you combine the pasta and veggies. You can keep Caprese Pasta Salad in the fridge for 3 to 5 days. Make sure to store it in an airtight container. If you notice any signs of spoilage, like odd smells or changes in texture, toss it out to be safe. This Caprese Pasta Salad is simple and tasty. We covered key ingredients like fusilli, cherry tomatoes, mozzarella, and basil. You learned how to cook the pasta, mix in fresh veggies, and whip up a zesty dressing. I shared tips to enhance texture and flavor, plus ways to customize your salad for any season or diet. Remember, you can store leftovers for a few days and still enjoy their fresh taste. I hope you create your own delicious version of this salad soon!](https://emmasdish.com/wp-content/uploads/2025/06/9c170759-3078-49bf-bd58-25cf7643b122-300x300.webp)


Savory Sweet Potato Hash Flavorful Breakfast Delight
Start your day with a burst of flavor! My Savory Sweet Potato Hash is not just a breakfast—it’s a delightful way to fuel your…
![To make a tasty savory sweet potato hash, gather these ingredients: - 2 large sweet potatoes, peeled and diced - 1 red bell pepper, diced - 1 green bell pepper, diced - 1 medium onion, diced - 3 cloves garlic, minced - 2 tablespoons olive oil - 1 teaspoon smoked paprika - 1/2 teaspoon ground cumin - Salt and pepper to taste - 4 large eggs (optional) - Fresh parsley or cilantro for garnish If you have dietary needs, here are some swaps: - Use butternut squash instead of sweet potatoes for a different taste. - Substitute olive oil with avocado oil for a higher smoke point. - For a vegan dish, skip the eggs or use tofu instead. - Choose low-sodium options for salt and spices if needed. You can boost the flavor with these add-ins: - Add chopped spinach or kale for some greens. - Mix in cooked bacon or sausage for a meatier dish. - Sprinkle feta or goat cheese on top for creaminess. - Try some hot sauce or red pepper flakes for heat. The full recipe can guide you through making this delicious dish. Enjoy! To start, gather your sweet potatoes and dice them into small cubes. You want even sizes for even cooking. Next, chop the red and green bell peppers, onion, and garlic. Toss all these veggies in a big bowl. Add the olive oil, smoked paprika, cumin, salt, and pepper. Mix it well to coat everything. Then, spread the mixture on a baking sheet lined with parchment paper. This helps with cleanup later! Preheat your oven to 400°F (200°C). Once it’s hot, place your baking sheet in the oven. Bake for about 25 minutes. Remember to stir the hash halfway through. This step helps to get that nice crispy texture on all sides. Keep an eye on it; you want the sweet potatoes tender and slightly crispy. For the best texture, ensure the sweet potatoes are cut evenly. This way, they all cook at the same rate. Stirring halfway through baking allows for even cooking and crisping. If you like your hash extra crispy, leave it in the oven for a few more minutes. When it’s done, taste it and adjust the seasoning if needed. If you're adding eggs, poach them while the hash cooks for a delightful finish. Enjoy this flavorful breakfast delight with the full recipe for more details! When making savory sweet potato hash, avoid cutting sweet potatoes too small. They may burn easily. Also, don't skip preheating the oven. This step helps the potatoes cook evenly. Ensure you stir the hash halfway through roasting. This keeps it from sticking to the pan. Finally, taste your hash before serving. Adjust the salt and pepper to your preference. To make your sweet potato hash pop, use smoked paprika. It adds a rich, smoky taste. Ground cumin brings warmth and depth too. You can also add a pinch of cayenne for heat. Fresh herbs, like parsley or cilantro, add brightness. If you want more flavor, try adding some onion powder or garlic powder. These spices boost the overall taste without much effort. Serve your savory sweet potato hash hot. Top it with a poached egg for a delicious twist. The runny yolk adds creaminess and richness. You can also add some avocado slices. They bring a nice, creamy texture. For a colorful plate, sprinkle fresh herbs on top. This makes your dish look great and adds flavor. Use a colorful plate to make your meal more inviting. For more details, check out the Full Recipe. {{image_2}} To make this dish vegetarian, simply skip the eggs. You can add more veggies instead. Try using spinach, mushrooms, or zucchini. For a vegan twist, use avocado instead of eggs. This will add creaminess and healthy fats. You can also swap olive oil for coconut oil for a different flavor. If you want more protein, add sausage or bacon. Cook them until crispy, then mix them into the hash. Chicken sausage or turkey bacon work well too. These meats bring a savory taste and make the dish heartier. You can even use leftover meats from dinner to save time. You can cook sweet potato hash in different ways. Skillet cooking gives a nice char and crispy edges. Just add oil to a pan, then cook over medium heat. Stir often until the sweet potatoes are tender. If you love grilling, use a grill basket. This method adds a smoky flavor. You can also bake it as in the Full Recipe. Roasting in the oven gives a hands-off approach and evenly cooked veggies. To keep your savory sweet potato hash fresh, let it cool first. Then, transfer it to an airtight container. This helps to lock in flavors and keep the dish moist. Make sure to use a clean spoon when serving to avoid contamination. Store it in the fridge, where it will stay tasty for a few days. When it's time to enjoy your leftovers, reheat them in the oven or on the stovetop. For the oven, preheat it to 350°F (175°C) and spread the hash on a baking sheet. Heat for about 10–15 minutes until it warms through. If using the stovetop, add a splash of olive oil and cook over medium heat. Stir often until hot. This keeps the hash crispy and delicious. If stored properly, sweet potato hash lasts about 3 to 5 days in the fridge. For longer storage, consider freezing it. In the freezer, it can last up to 3 months. Just place it in a freezer-safe container or bag. When ready to eat, thaw it overnight in the fridge before reheating. Enjoy your savory sweet potato hash from the [Full Recipe] anytime! You can use regular potatoes, butternut squash, or even carrots. Each adds a unique taste. Regular potatoes give a classic flavor. Butternut squash offers a sweet twist. Carrots add a nice crunch and sweetness. Adjust your cooking time as needed for each substitute. Yes, you can make it ahead! Cook the hash and let it cool. Store it in an airtight container in the fridge. It stays fresh for about three days. When ready to eat, just reheat on the stove or microwave. This makes breakfast so easy! To get that crispy texture, spread the sweet potatoes in a single layer. Use enough olive oil to coat them well. Roast at a high temperature, like 400°F (200°C). Stir halfway to ensure even cooking. You can also finish it off under the broiler for a minute or two. Yes, you can freeze sweet potato hash! Let it cool completely, then transfer it to a freezer-safe bag. Remove as much air as possible before sealing. It can last up to three months in the freezer. When ready, thaw it overnight in the fridge and reheat. To adjust the spice level, add more or less smoked paprika and cumin. For a kick, try adding cayenne pepper or chili powder. If you prefer milder flavors, reduce the spices. Taste as you go to find your perfect balance. In this post, I covered everything about sweet potato hash. You learned about the best ingredients and how to swap them for your needs. I shared step-by-step instructions for perfect texture and cooking times. Plus, I gave tips on avoiding common mistakes and enhancing flavors. You also discovered delicious variations, smart storage tips, and answered common questions. Feel free to try new twists on this dish. Get creative, and make it your own! Enjoy your cooking journey!](https://emmasdish.com/wp-content/uploads/2025/05/f682d46c-a724-4e4c-acaa-1d5eafb54ca0.webp)
