


Latest & Greatest

Cheesy Broccoli Rice Casserole Creamy and Flavorful Dish
Are you ready to dive into a dish that’s creamy, cheesy, and packed with flavor? My Cheesy Broccoli Rice Casserole
Read more…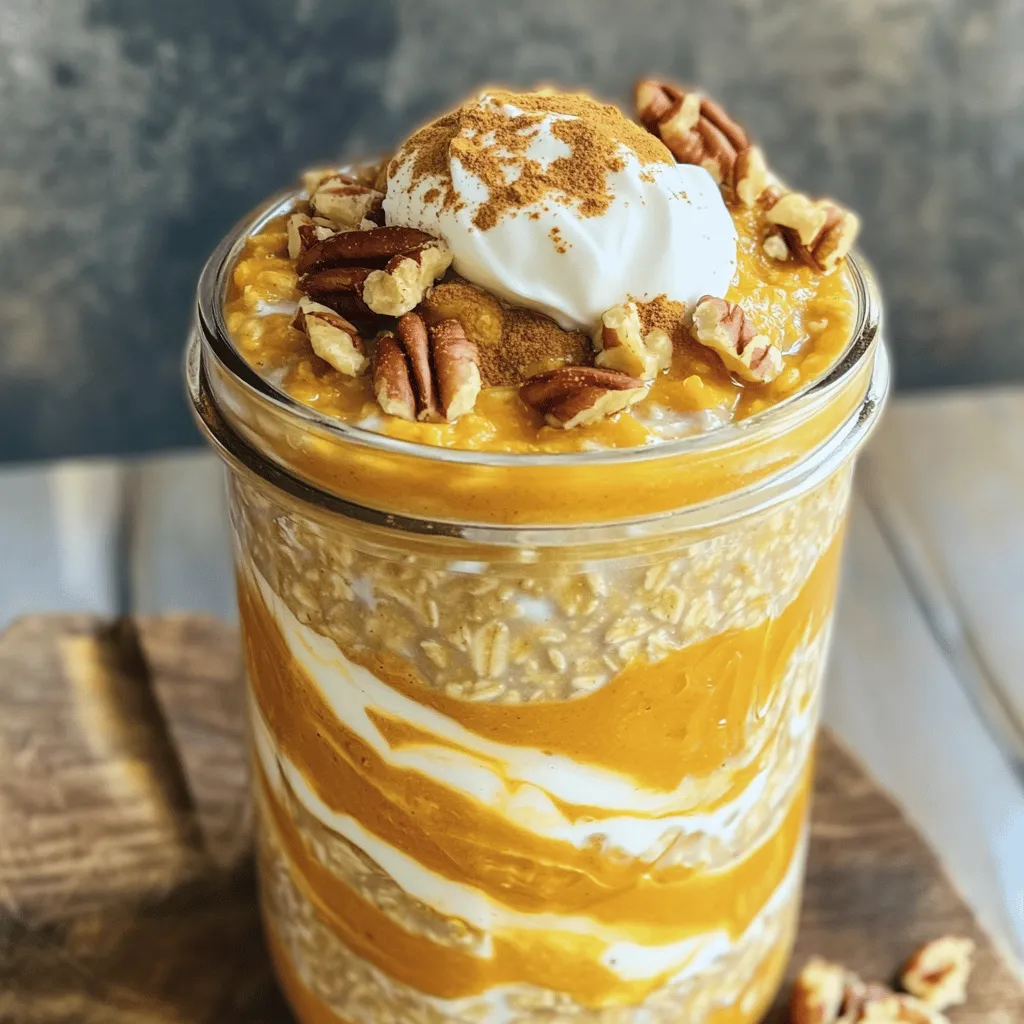
Pumpkin Spice Overnight Oats Cozy and Healthy Delight
Fall is here, and what better way to embrace the season than with Pumpkin Spice Overnight Oats? These cozy and
Read more…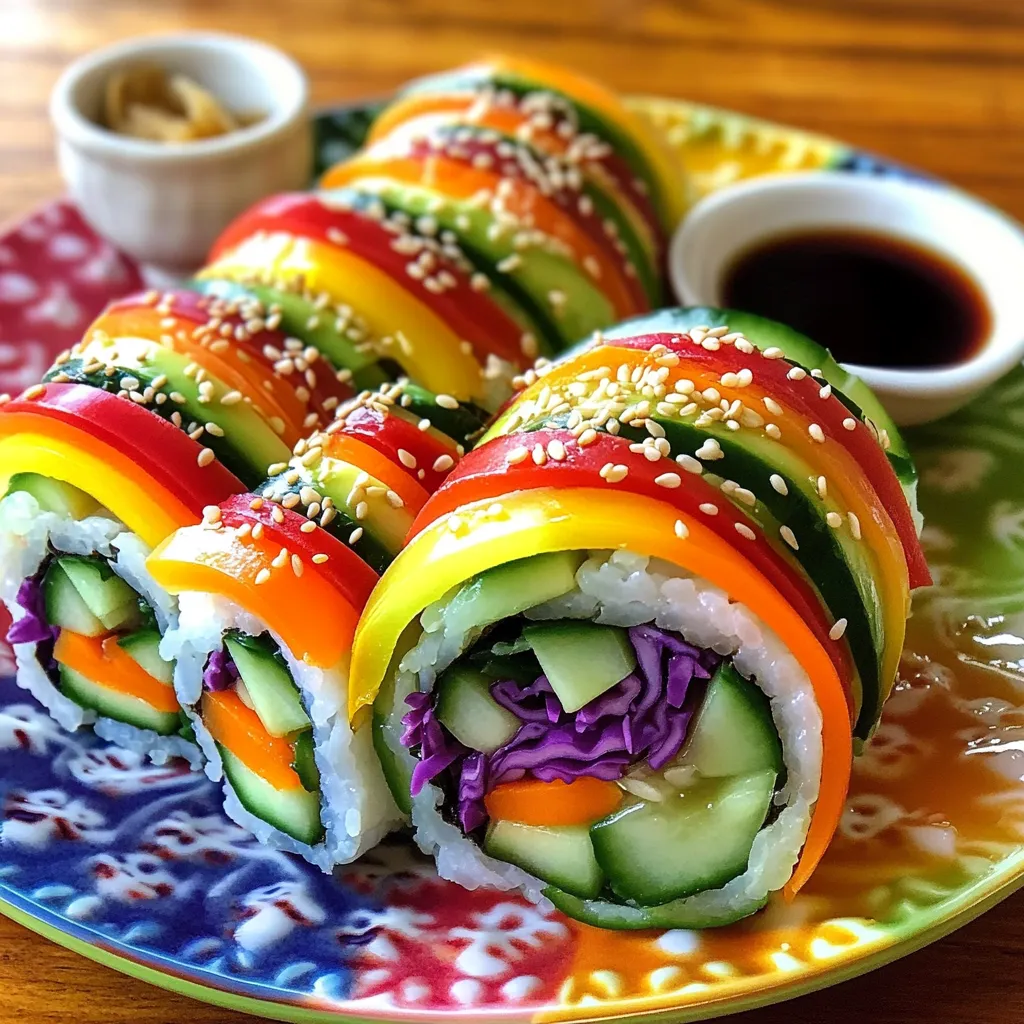
Rainbow Veggie Sushi Rolls Fresh and Colorful Delight
If you crave something fresh and colorful, let’s make Rainbow Veggie Sushi Rolls! These vibrant treats are packed with flavor
Read more…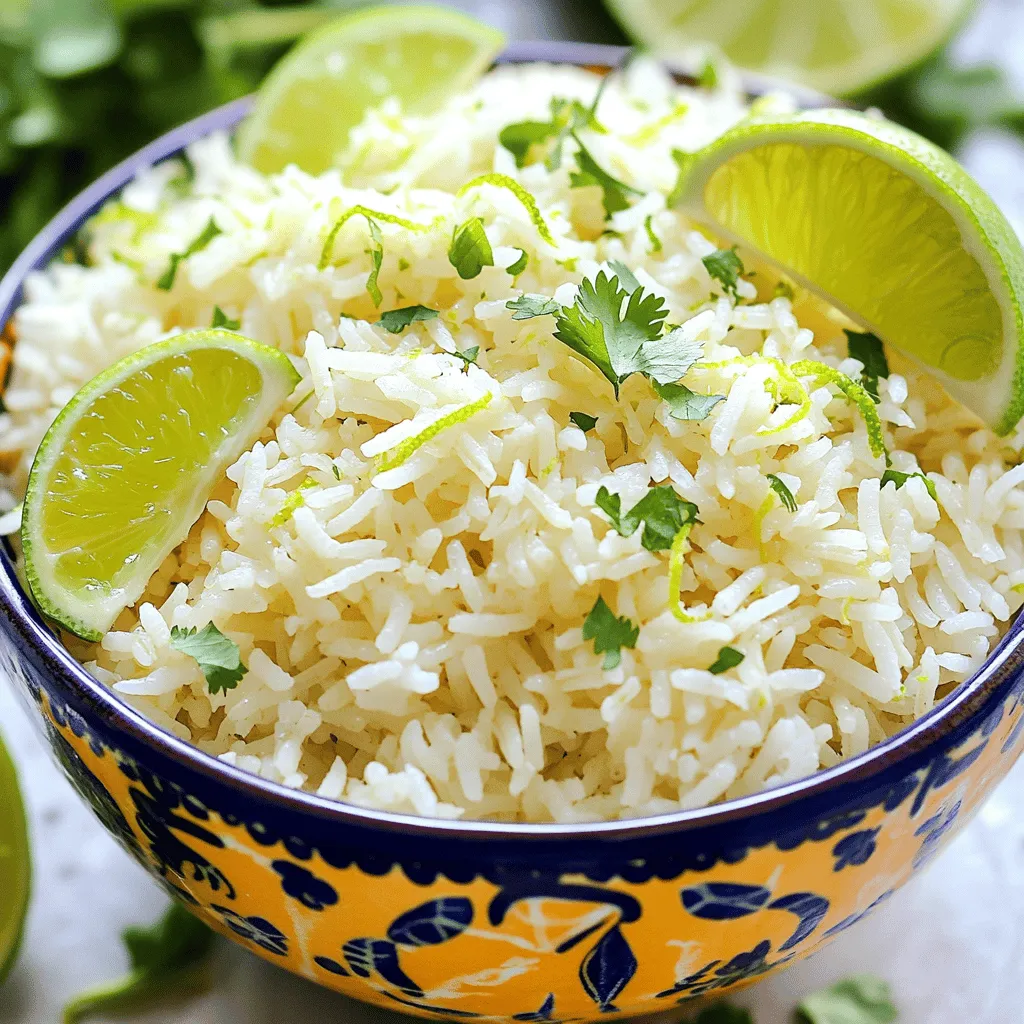
Coconut Lime Rice Flavorful and Easy Side Dish
If you’re looking for a quick and tasty side dish, you’ve come to the right place! Coconut Lime Rice is
Read more…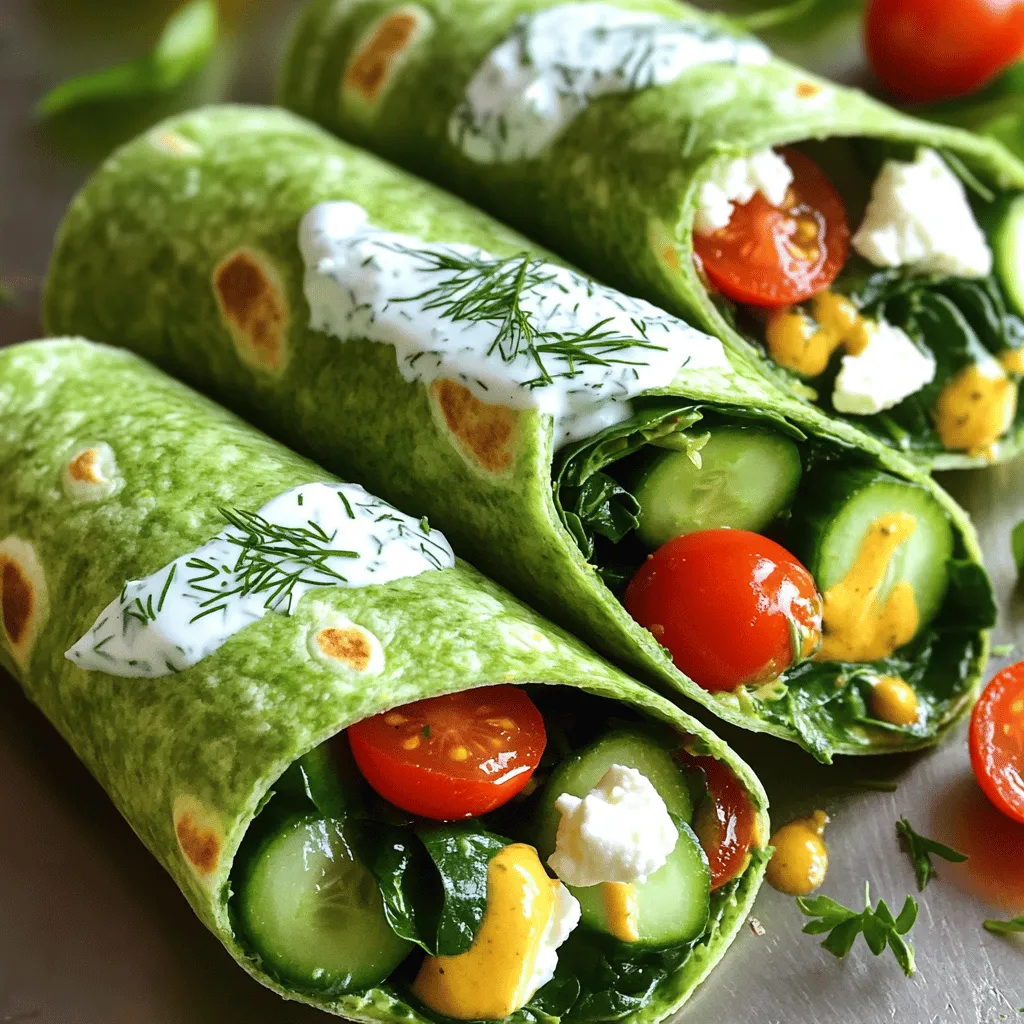
Healthy Spinach and Feta Wraps Tasty and Simple Meal
Do you want a quick, healthy meal that bursts with flavor? These Healthy Spinach and Feta Wraps are perfect for
Read more…
Nutella Rolls with Cream Cheese Irresistible Treat
Looking for a sweet treat that combines gooey Nutella and creamy goodness? Nutella Rolls with Cream Cheese are your answer!
Read more…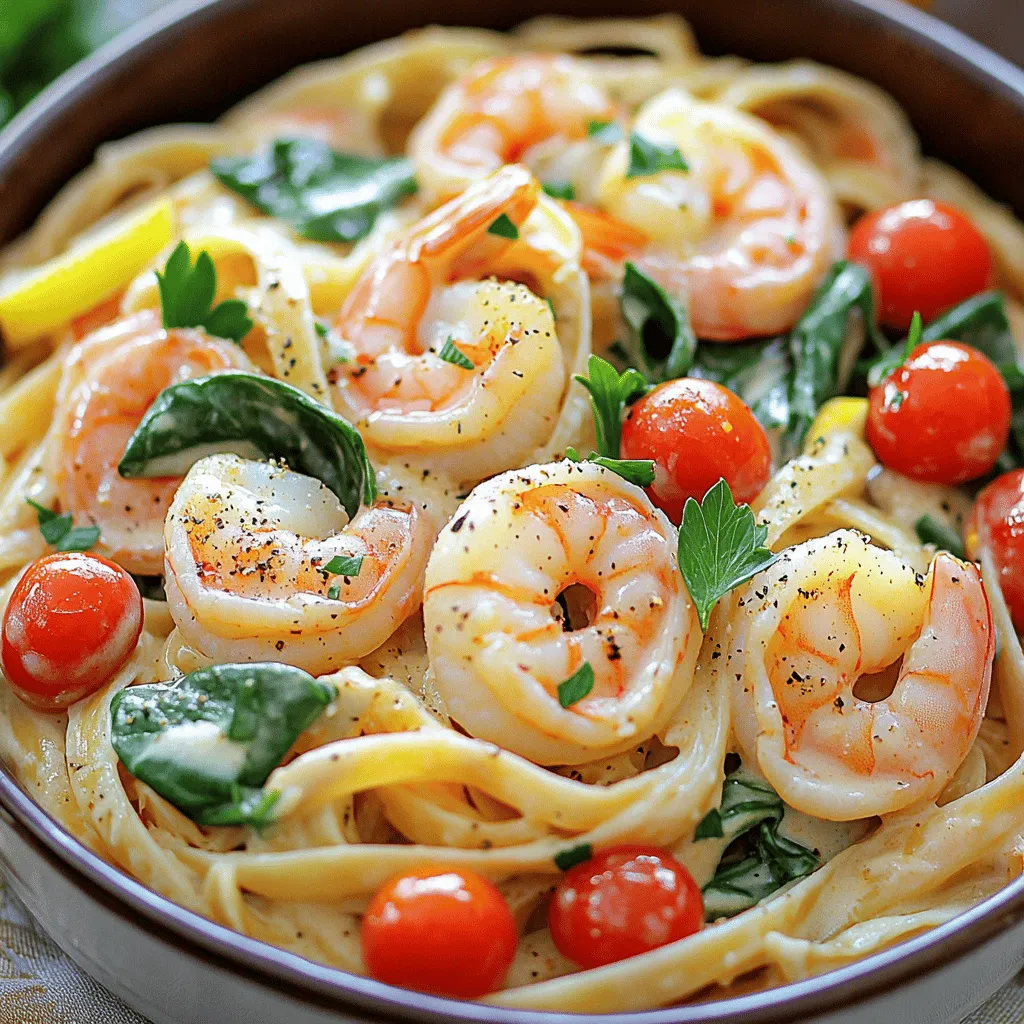
Creamy Shrimp Pasta Quick and Tasty Dinner Option
Looking for a quick and tasty dinner option that impresses? Try my creamy shrimp pasta! It’s simple, rich, and packed
Read more…
Pineapple Heaven Cake Delightful and Easy Recipe
Welcome to your new favorite dessert: Pineapple Heaven Cake! If you love fluffy, fruity treats, this recipe checks all the
Read more…browse recipes


Glazed Lemon Sugar Cookies Delightful and Easy Treat
Get ready to brighten your day with these delightful Glazed Lemon Sugar Cookies! With their tangy lemon flavor and soft, chewy texture, these cookies…
My Latest Desserts
-
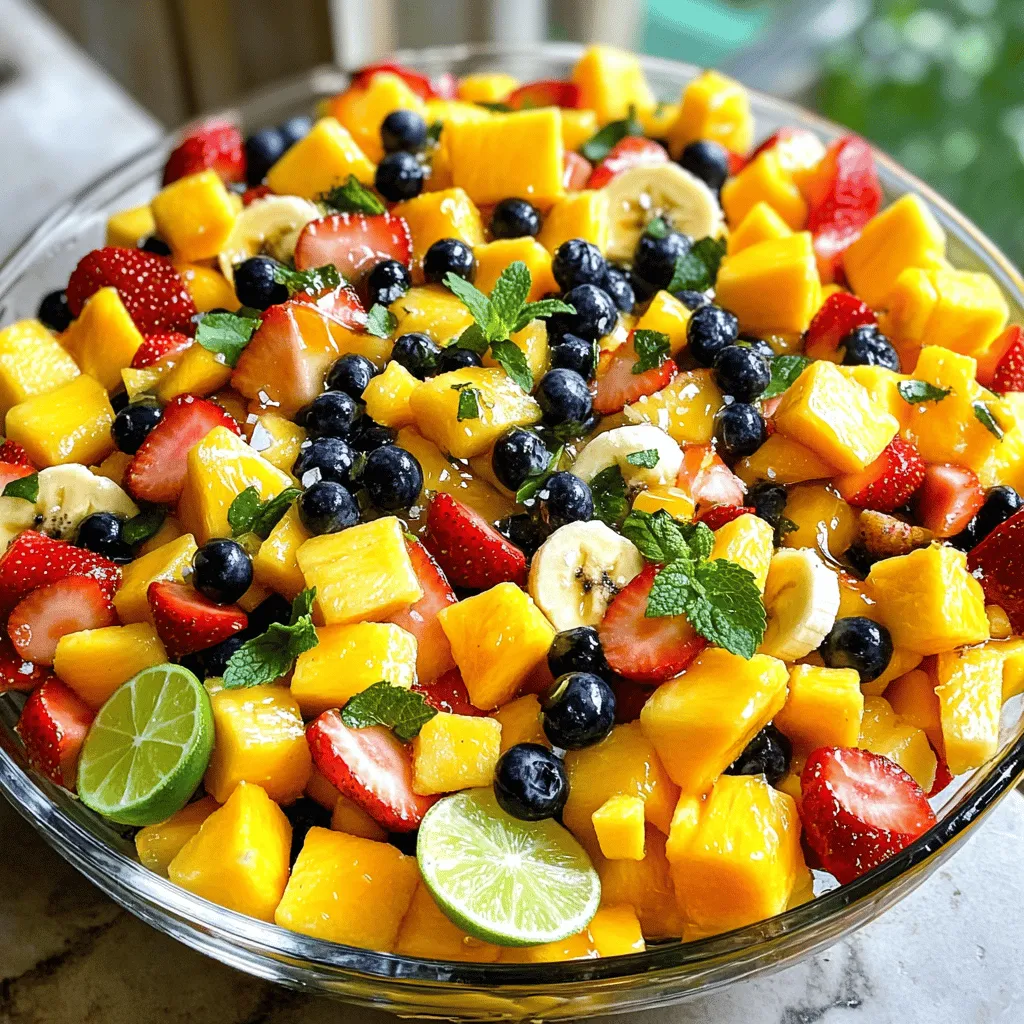
Tropical Fruit Salad Refreshing and Healthy Mix
Dive into a colorful world of flavors with my Tropical Fruit Salad! This healthy mix is bursting with fresh, tropical Read Full Recipe -

No-Bake Lemon Cheesecake Bites Tasty and Simple Dessert
Are you ready to indulge in a creamy treat without turning on the oven? No-Bake Lemon Cheesecake Bites are your Read Full Recipe -

Healthy Banana Oat Pancakes Simple and Quick Recipe
Are you ready to flip the perfect pancake? In just minutes, you can whip up healthy banana oat pancakes that Read Full Recipe -

No-Bake Oreo Cheesecake Delightful and Easy Recipe
Are you craving a dessert that’s both easy and delicious? Look no further than this No-Bake Oreo Cheesecake! With just Read Full Recipe -
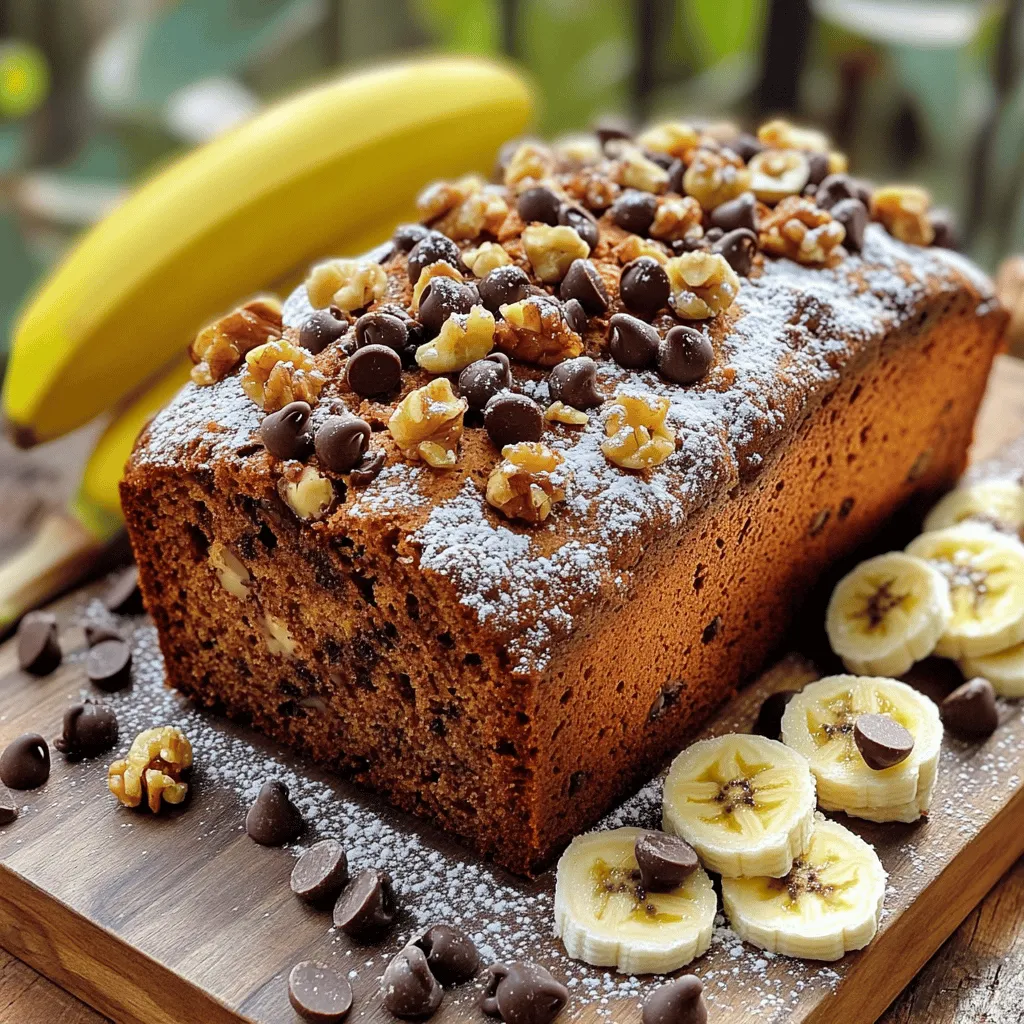
Chocolate Chip Banana Bread Irresistible Flavor Treat
If you love the sweet, comforting taste of banana bread, you’re in for a treat! This Chocolate Chip Banana Bread Read Full Recipe -

Lemon Blueberry Scones Flavorful and Easy Recipe
If you’re craving a delightful treat that’s both zesty and sweet, you’re in the right place. Lemon Blueberry Scones are Read Full Recipe -
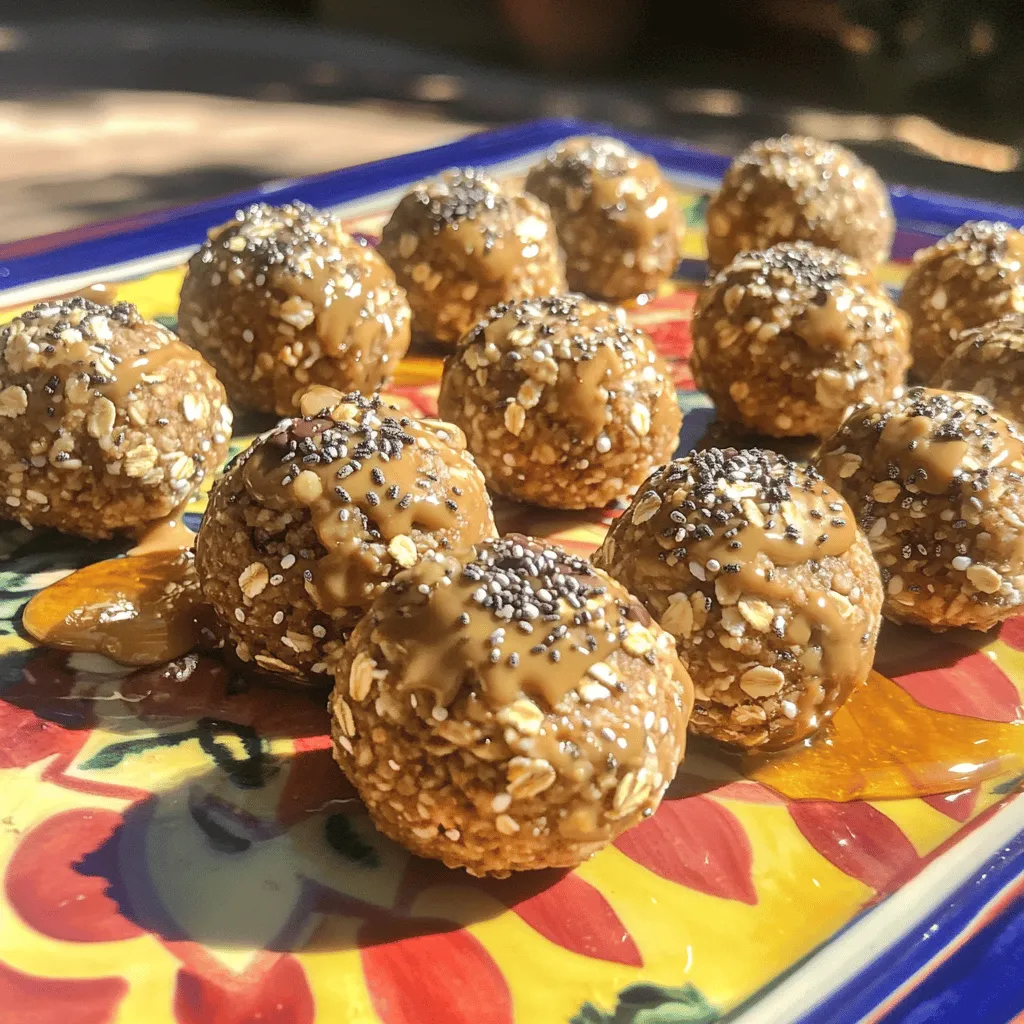
Healthy Peanut Butter Energy Bites Simple Snack Delight
Are you looking for a quick, tasty snack that packs a nutritious punch? Healthy Peanut Butter Energy Bites are the Read Full Recipe -

No-Bake Chocolate Oat Bars Simple and Tasty Snack
Looking for a quick and tasty snack? Try my No-Bake Chocolate Oat Bars! With simple ingredients like oats, nut butter, Read Full Recipe -

S’mores Cookie Bars Irresistible Dessert Recipe
Get ready to satisfy your sweet tooth with my S’mores Cookie Bars! This easy dessert combines soft cookie goodness with Read Full Recipe -

Strawberry Shortcake Trifle Delicious Dessert Delight
Ready for a dessert that wows your guests? Strawberry Shortcake Trifle combines fresh strawberries, whipped cream, and ladyfingers into a Read Full Recipe
My Latest Recipes

hey,
i’m !
I’m so happy you’re here!
I’m not just sharing recipes I’m sharing a piece of my heart. I hope these dishes bring you comfort, joy, and maybe even a new favorite.

![To make this simple Avocado Chickpea Salad, gather these fresh ingredients: - 1 can (15 oz) chickpeas, drained and rinsed - 1 ripe avocado, peeled and pitted - 1 cup cherry tomatoes, halved - 1 cucumber, diced - 1/4 red onion, finely chopped - 1/4 cup fresh cilantro, chopped - 2 tablespoons lemon juice - 1 tablespoon olive oil - Salt and pepper to taste - Optional: 1/4 teaspoon cumin for an extra flavor boost These ingredients create a tasty and colorful dish. The chickpeas add protein and fiber, while the avocado gives a creamy texture. Fresh veggies like tomatoes and cucumber offer crunch and flavor. The lemon juice and olive oil blend perfectly for a zesty dressing. If you want a hint of spice, add cumin! This Avocado Chickpea Salad is not only quick to make, but it is also nourishing and satisfying. Check out the Full Recipe for complete steps! Making this salad is quick and easy. You’ll mash the avocado, mix in chickpeas, and add fresh veggies. A simple dressing ties everything together. In just 20 minutes, you will have a vibrant salad. Step 1: Mash avocado Start by taking your ripe avocado. Cut it in half, remove the pit, and scoop the flesh into a bowl. Use a fork to mash it. Aim for a smooth texture but keep some chunks for crunch. Step 2: Combine chickpeas with avocado Next, open a can of chickpeas. Drain and rinse them under cold water. Add the chickpeas to your mashed avocado. Gently fold them together to combine. Step 3: Add vegetables and mix Now, add your chopped veggies. Include halved cherry tomatoes, diced cucumber, finely chopped red onion, and fresh cilantro. Stir everything gently to mix well. Step 4: Prepare dressing In a small bowl, whisk together lemon juice, olive oil, salt, and pepper. If you like, add cumin for a little extra flavor. This dressing will enhance the salad’s taste. Step 5: Toss salad and adjust seasoning Pour the dressing over the salad mixture. Toss everything together to coat the veggies and chickpeas evenly. Taste the salad and adjust the seasoning if needed. You can add more salt or lemon juice based on your preference. Serve the salad in bowls or on plates. You can garnish with extra cilantro or a sprinkle of pepper. This salad looks great and tastes even better. Enjoy it right away or chill it in the fridge for 15-20 minutes. For the full recipe, check out the Creamy Avocado Chickpea Delight. To get the best avocado texture, choose one that feels slightly soft when you press it. This means it’s ripe and ready. When you mash it, leave some small lumps. This adds a nice creaminess and texture to the salad. For seasoning, keep it simple. Use fresh lemon juice and olive oil. This combination brightens the dish. Add salt and pepper to taste. If you want more flavor, mix in a pinch of cumin. It adds a warm, earthy note. Add fresh herbs for more flavor. Cilantro works well, but you can try parsley or dill, too. For a bit of heat, sprinkle in some red pepper flakes. You can also enhance the taste by adding optional ingredients. Chopped bell peppers or radishes add crunch. If you like a bit of sweetness, diced mango or pineapple is great. These options keep your salad exciting and fun. For the full recipe, refer to the previous section. {{image_2}} You can easily switch the chickpeas for white beans. They have a similar texture and taste. This swap keeps the salad creamy and tasty. You can also try using black beans for a darker color and different flavor. For dressings, mix it up! Instead of olive oil and lemon, use tahini for a nutty touch. A splash of balsamic vinegar adds a sweet tang. Experiment with your favorite flavors to find what you love best. If you want a vegan option, this salad is already perfect! It’s plant-based and full of nutrients. For gluten-free needs, check your dressing. Some dressings may contain gluten. But lemon juice and olive oil are safe for everyone. Enjoy this salad without worry, no matter your diet! To keep your avocado chickpea salad fresh, store it in an airtight container. This helps prevent air from getting in and keeps the salad crisp. If you have leftovers, cover the salad tightly with plastic wrap or a lid. This way, you can enjoy it later without losing flavor or texture. Try to keep the dressing separate if you can. This keeps everything fresh and prevents sogginess. When you're ready to eat, simply drizzle the dressing over the salad and mix. This salad stays fresh in the fridge for about 2 to 3 days. The avocado may brown a bit after a day, but the taste will still be good. If you notice it becoming too mushy, it’s best to toss it out. Always check for off smells or changes in texture before eating. For the best experience, enjoy your salad within the first couple of days. How long does avocado chickpea salad last in the fridge? Avocado chickpea salad lasts about 2 days in the fridge. The avocado may brown after a day, but it still tastes good. Just give it a good stir before serving. Can I make this salad in advance? Yes, you can make this salad in advance. However, I suggest you add the avocado right before serving. This keeps it fresh and bright. What can I serve with avocado chickpea salad? You can serve it with whole grain bread or crackers. It pairs well with grilled chicken or fish too. You can also enjoy it on its own as a light meal. Is avocado chickpea salad suitable for meal prep? Absolutely! This salad is great for meal prep. Just store it in an airtight container. It’s a quick and healthy option for busy days. For the best taste, add the dressing right before eating. Feel free to check out the [Full Recipe] for detailed steps! This blog post covers an easy and tasty avocado chickpea salad. You learned about the key ingredients and how to prepare them step by step. I shared tips to perfect your salad and ideas to customize it. I also discussed how to store leftovers and answered common questions. Enjoy making this healthy dish. It’s great for meal prep, lunch, or a snack. I hope you try it and enjoy every bite!](https://emmasdish.com/wp-content/uploads/2025/06/f9e70452-dbea-4dff-b8d7-5421933c3ab4-300x300.webp)


Savory Shrimp and Grits Casserole Delicious Comfort Dish
If you’re craving a warm, comforting dish, look no further than my Savory Shrimp and Grits Casserole. This Southern classic combines tender shrimp with…