Latest & Greatest

Chinese Style Shrimp Fried Rice Flavorful Easy Recipe
Are you ready to whip up a delicious Chinese Style Shrimp Fried Rice? This easy recipe packs tons of flavor
Read more…
German Potato Dumplings Simple and Tasty Recipe
If you’re ready to dive into a hearty and delightful dish, you’ve come to the right place! German Potato Dumplings
Read more…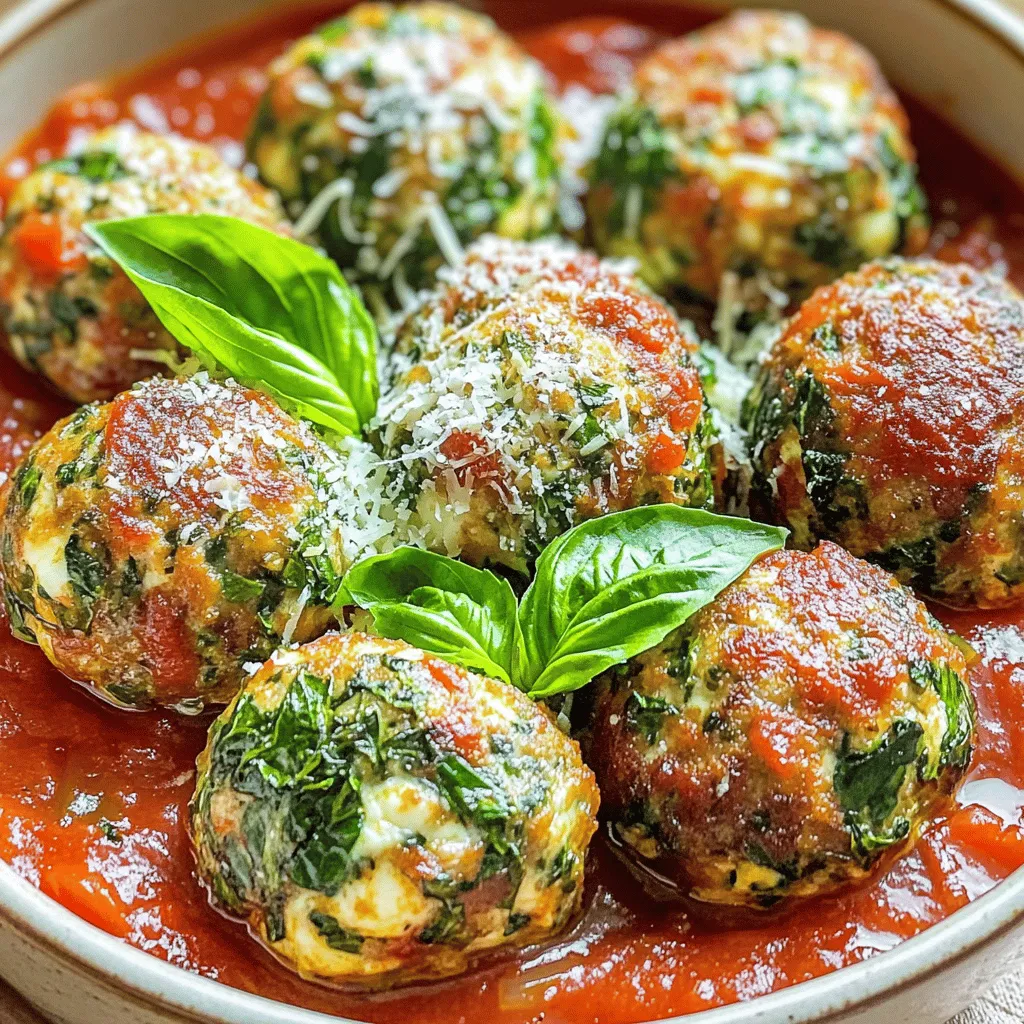
Spinach Garlic Mozzarella Meatballs Tasty and Simple
Looking for a tasty and simple recipe that packs a flavor punch? These Spinach Garlic Mozzarella Meatballs are just what
Read more…
Asian Mushroom Ramen Noodles Flavorful and Easy Recipe
Are you craving a warm, hearty bowl of ramen? You’re in for a treat! This Asian Mushroom Ramen Noodles recipe
Read more…
Herb & Garlic Swirl Rolls Flavorful and Easy Recipe
If you’re craving warm, flavorful bread, you’re in the right place! My Herb & Garlic Swirl Rolls are easy to
Read more…
Cajun Potato Soup Flavorful and Easy Comfort Dish
Looking for a hearty and easy dish that warms the soul? Cajun Potato Soup is your answer! Packed with rich
Read more…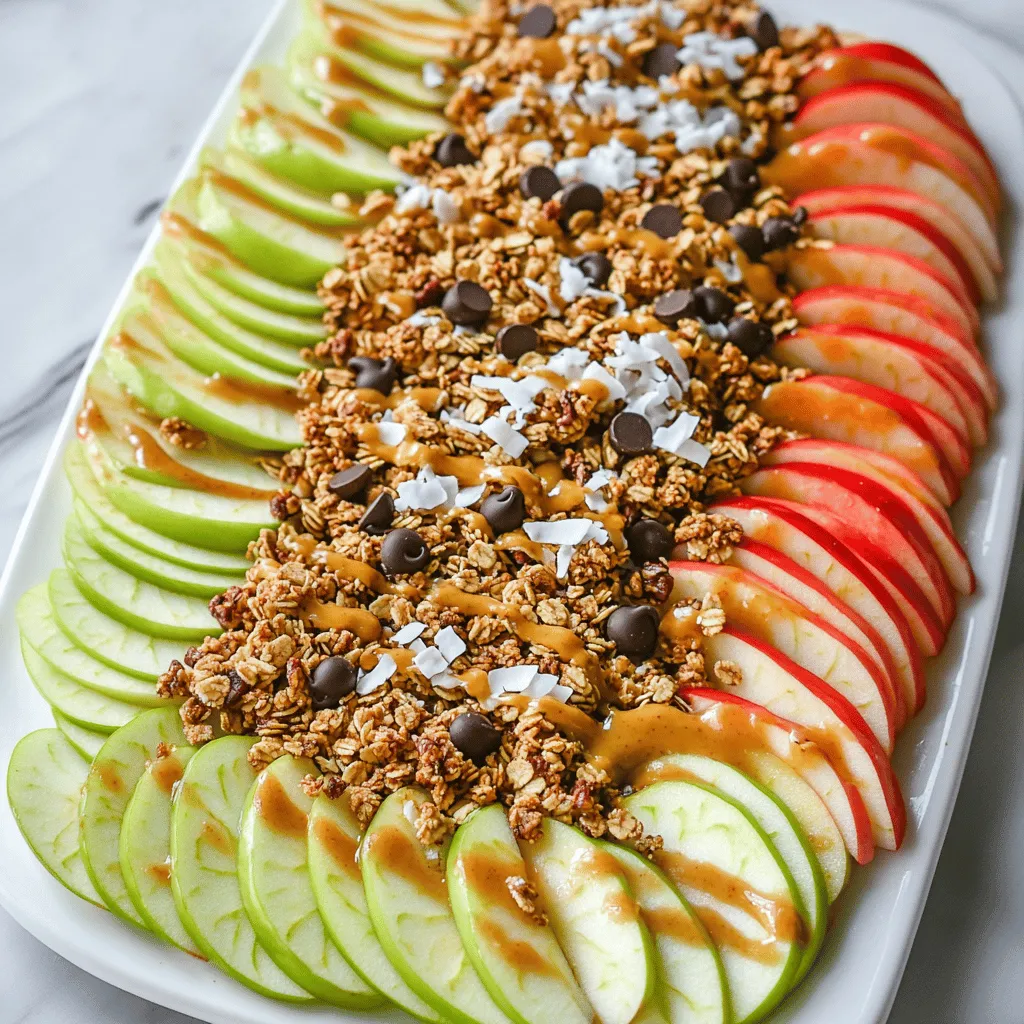
Healthy Apple Nachos Irresistible Tasty Snack
Are you looking for a fun and tasty snack that’s also good for you? Let me introduce you to Healthy
Read more…
Milk and Cookies Fudge Delightful Sweet Treat
Are you ready to enjoy a treat that combines classic flavors with a fun twist? This Milk and Cookies Fudge
Read more…browse recipes

Zucchini Carrot Apple Muffins Moist and Tasty Recipe
Are you looking for a delicious muffin recipe that packs a punch? Try my Zucchini Carrot Apple Muffins! They’re moist, tasty, and perfect for…
My Latest Desserts
-
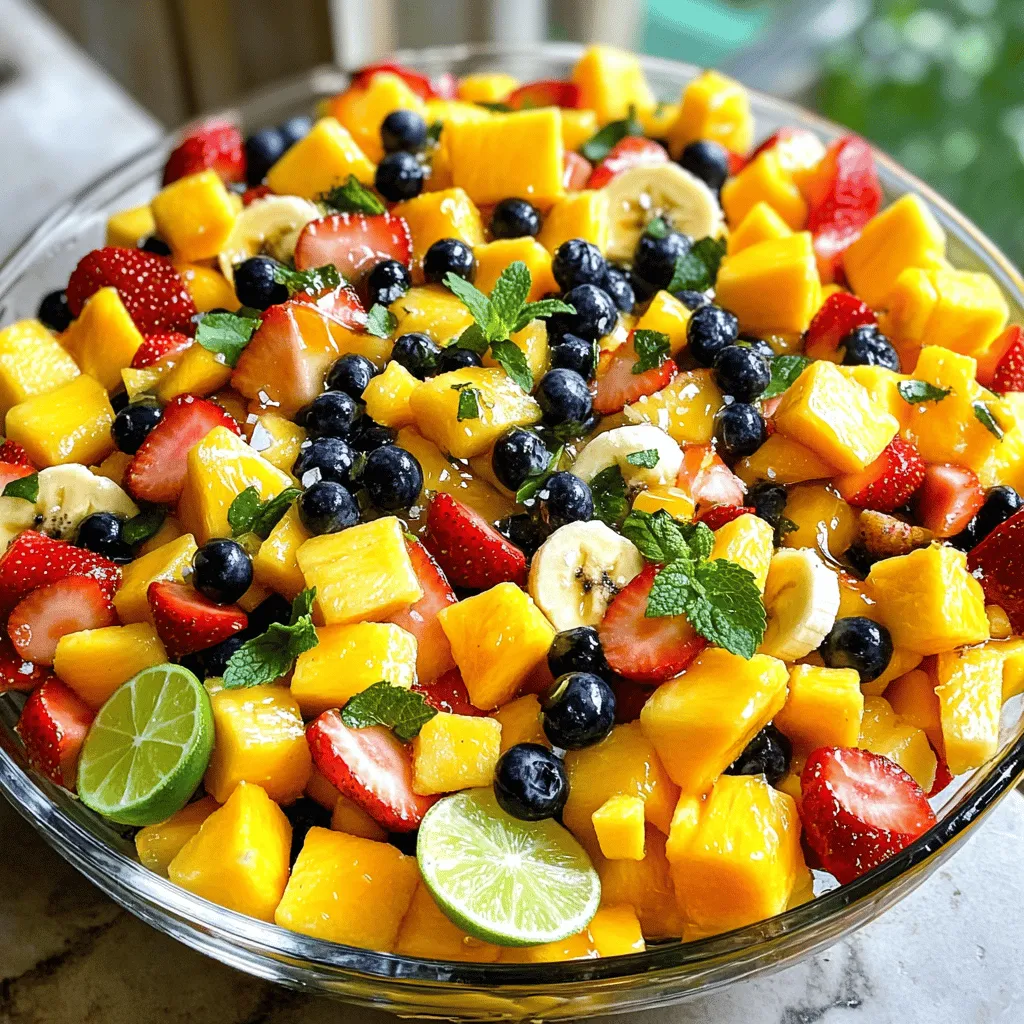
Tropical Fruit Salad Refreshing and Healthy Mix
Dive into a colorful world of flavors with my Tropical Fruit Salad! This healthy mix is bursting with fresh, tropical Read Full Recipe -
No-Bake Lemon Cheesecake Bites Tasty and Simple Dessert
Are you ready to indulge in a creamy treat without turning on the oven? No-Bake Lemon Cheesecake Bites are your Read Full Recipe -
Healthy Banana Oat Pancakes Simple and Quick Recipe
Are you ready to flip the perfect pancake? In just minutes, you can whip up healthy banana oat pancakes that Read Full Recipe -
No-Bake Oreo Cheesecake Delightful and Easy Recipe
Are you craving a dessert that’s both easy and delicious? Look no further than this No-Bake Oreo Cheesecake! With just Read Full Recipe -
Chocolate Chip Banana Bread Irresistible Flavor Treat
If you love the sweet, comforting taste of banana bread, you’re in for a treat! This Chocolate Chip Banana Bread Read Full Recipe -
Lemon Blueberry Scones Flavorful and Easy Recipe
If you’re craving a delightful treat that’s both zesty and sweet, you’re in the right place. Lemon Blueberry Scones are Read Full Recipe -
Healthy Peanut Butter Energy Bites Simple Snack Delight
Are you looking for a quick, tasty snack that packs a nutritious punch? Healthy Peanut Butter Energy Bites are the Read Full Recipe -
No-Bake Chocolate Oat Bars Simple and Tasty Snack
Looking for a quick and tasty snack? Try my No-Bake Chocolate Oat Bars! With simple ingredients like oats, nut butter, Read Full Recipe -
S’mores Cookie Bars Irresistible Dessert Recipe
Get ready to satisfy your sweet tooth with my S’mores Cookie Bars! This easy dessert combines soft cookie goodness with Read Full Recipe -
Strawberry Shortcake Trifle Delicious Dessert Delight
Ready for a dessert that wows your guests? Strawberry Shortcake Trifle combines fresh strawberries, whipped cream, and ladyfingers into a Read Full Recipe
My Latest Recipes
hey,
i’m !
I’m so happy you’re here!
I’m not just sharing recipes I’m sharing a piece of my heart. I hope these dishes bring you comfort, joy, and maybe even a new favorite.
Easy Greek Salad Flavorful and Quick Meal Option
Looking for a quick and tasty meal? This Easy Greek Salad combines fresh veggies, salty feta, and olives for a burst of flavor. In…
. Enjoy this salad as a quick meal. It’s healthy, easy to make, and simply delicious! - Combine diced tomatoes, cucumber, bell pepper, and red onion in a large mixing bowl. Start with juicy tomatoes. Their sweetness brings life to the salad. Next, chop a cucumber into small pieces. It adds a refreshing crunch. Use any color bell pepper for extra color. Finally, slice the red onion thinly for a sharp bite. This mix creates a bright and vibrant base. - Incorporate crumbled feta cheese and Kalamata olives into the vegetable mix. Feta cheese is the star here. Its creamy texture contrasts nicely with the crisp veggies. Kalamata olives add a rich, briny flavor that ties everything together. Mix them in gently, so they don’t break apart too much. This step adds layers of flavor to the salad. - Whisk together olive oil, vinegar, oregano, salt, and pepper in a small bowl. The dressing is simple yet flavorful. Olive oil brings smoothness, while vinegar adds zing. Dried oregano gives a hint of earthiness. Don't forget to sprinkle in salt and pepper for balance. - Pour the dressing over the salad and gently toss to coat all ingredients. Make sure every piece of vegetable gets a taste of that zesty dressing. This is where the magic happens! - Allow the salad to sit for 10 minutes before serving to enhance flavors. Letting the salad rest allows the flavors to blend. It also brings out the best in each ingredient. - Garnish with freshly chopped parsley. Sprinkle parsley on top for a pop of color and freshness. It makes the salad look even more inviting. Enjoy this Easy Greek Salad as a quick and delicious meal option. For the full recipe, check out the details above! Opt for ripe, seasonal tomatoes and crisp cucumbers for best flavor. Fresh ingredients make a big difference. When you pick your tomatoes, look for ones that are firm and fragrant. For cucumbers, choose ones that feel heavy for their size. This ensures crunchiness and juiciness in every bite. Modify the dressing ingredients according to personal preference. If you like a bolder flavor, add more vinegar or oregano. You can also play with the olive oil amount for richness. Experiment with more or less feta cheese for desired creaminess. If you want a lighter salad, reduce the cheese. The key is to taste as you go. Use a colorful serving bowl to showcase the salad's vibrant ingredients. A bright bowl can make the salad pop. Arrange the salad attractively for a festive appeal. You can layer the ingredients or create a beautiful spiral. This not only makes it look good but also makes it more fun to eat. {{image_2}} You can make your Greek salad even better. Consider adding artichoke hearts or sun-dried tomatoes. These ingredients add a nice twist and extra flavor. Artichoke hearts bring a tender bite, while sun-dried tomatoes add a sweet tang. Both pair well with the fresh veggies and feta cheese. Want a filling meal? Add grilled chicken or chickpeas. Grilled chicken adds a savory taste and makes the salad more hearty. Chickpeas are a great plant-based option. They boost protein and add a nice texture. Either choice makes the salad a complete meal, perfect for lunch or dinner. Fresh herbs can change the whole taste of your salad. Try adding basil or mint for new flavors. Basil gives a sweet, aromatic touch, while mint offers a refreshing burst. You can mix and match to find your favorite flavor combo. This small change can create a new experience with each bite. For the recipe to get started, check out the [Full Recipe]. Store any leftovers in an airtight container for up to 2 days. This helps keep the salad fresh and crisp. I often use glass containers since they seal well and show off the rainbow of colors in the salad. If you want to take your salad for lunch, keep the dressing separate. This keeps the veggies fresh and crunchy until you are ready to eat. I use small containers for the dressing. It makes it easy to pour over the salad just before eating. Avoid freezing the salad. Freezing can ruin the texture of the vegetables and cheese. When thawed, the salad may become mushy and lose its vibrant taste. Enjoy it fresh for the best flavor and texture. Make sure to check out the Full Recipe for all the tips on creating this delicious dish! Greek salad, also known as "Horiatiki," comes from Greece. It features fresh vegetables, olives, and feta cheese. This salad reflects the simple and healthy Mediterranean diet. Yes, you can prepare Greek salad ahead of time. However, add the dressing just before serving. This keeps the veggies crisp and fresh. You can boost protein by adding grilled chicken, shrimp, or chickpeas. These options make the salad filling and satisfying. Absolutely! The classic Greek salad is vegetarian. It contains no meat, focusing on veggies and cheese. This makes it a great choice for everyone. For a detailed recipe, check out the Full Recipe. This blog post covered how to make a tasty Greek salad. I shared easy steps to prepare fresh vegetables, add cheese and olives, and mix a simple dressing. Remember to let the salad sit for a few minutes to boost the flavors. You can switch up the ingredients or dressings to suit your taste. Enjoy this healthy dish as a side or main meal. With these tips, you can make a vibrant salad that impresses everyone. Try it out and savor every bite!](https://emmasdish.com/wp-content/uploads/2025/07/4f191652-193c-4961-a53d-bdc187f89d9a.webp)



















. To get tender beef, slice it against the grain. This helps break down the muscle fibers. Use sirloin for the best flavor. Sear the beef quickly over high heat. It should take about 2-3 minutes per batch. Do not overcrowd the pan; it will steam instead of brown. When sautéing onions and garlic, keep an eye on the time. Cook onions until they are soft and clear, about 3-4 minutes. Then, add garlic and cook for just one more minute. This way, your garlic won’t burn and will keep its nice flavor. Beef stroganoff pairs well with egg noodles or rice. Both soak up the rich sauce, making each bite tasty. Serve in deep bowls for a nice look. For garnish, sprinkle fresh parsley on top. It adds color and a fresh taste. You can also serve crusty bread on the side. It’s perfect for dipping into the sauce. Want to kick up the flavor? Try adding a splash of red wine or a dash of hot sauce. You can also mix in a teaspoon of smoked paprika for a deeper taste. If you love herbs, fresh thyme or dill makes a great addition. These small changes can take your stroganoff to the next level. For the complete recipe, check out the Full Recipe section. {{image_2}} You can switch beef for other proteins. Chicken or turkey works well in this dish. Simply cut the meat into thin strips like beef. Cook it the same way. For those who prefer plant-based meals, try using mushrooms or lentils. These options can give a hearty texture and flavor. Stroganoff is great over egg noodles, but you can mix it up. Try serving it over mashed potatoes or polenta for a twist. You can also use rice or quinoa for a healthy touch. For fun presentations, serve in hollowed-out bread bowls or layered in a casserole dish. Garnish with fresh herbs for color. Beef Stroganoff has many regional versions. In Hungary, they add paprika for a smoky flavor. In Germany, you might find it with spaetzle instead of noodles. Each country adds its own flair to this classic dish. Explore these twists to expand your culinary experience. To keep your beef stroganoff fresh, store leftovers in an airtight container. This helps lock in moisture and flavor. Place the container in your fridge after it cools down. Aim to eat it within three to four days. If you want to freeze it, use freezer-safe bags or containers. Make sure to remove as much air as possible. The stroganoff can last in the freezer for about two to three months. When you’re ready to eat, just thaw it in the fridge overnight. To reheat beef stroganoff without losing its great taste, use a stove or microwave. If using the stove, place it in a skillet over low heat. Stir often to keep it from sticking. Add a splash of beef broth or water to help it warm evenly. If you choose the microwave, place it in a microwave-safe bowl. Cover it with a damp paper towel to keep moisture in. Heat in short bursts, stirring in between until it’s hot. Your beef stroganoff lasts about three to four days in the fridge. If you freeze it, you can keep it for two to three months. Just remember that the longer you store it, the more flavor it may change. Always check for signs of spoilage before eating. You can use Greek yogurt as a great substitute for sour cream. It adds creaminess and tang. Another option is crème fraîche, which has a similar taste and texture. If you want a dairy-free choice, try coconut cream. It gives a nice richness to the dish. Yes, you can make Beef Stroganoff ahead of time. Cook the dish and let it cool. Store it in an airtight container in the fridge for up to three days. When ready to eat, just reheat it gently on the stove or in the microwave. Traditional Beef Stroganoff is not gluten-free due to egg noodles or flour in the sauce. To make it gluten-free, use gluten-free noodles or skip the noodles altogether and serve it over rice. Always check your broth and sauce for gluten content. To thicken your stroganoff sauce, add a cornstarch slurry. Mix one tablespoon of cornstarch with two tablespoons of cold water. Stir it into the sauce and let it simmer until thickened. You can also use more sour cream for a thicker texture. Beef Stroganoff pairs well with many sides. Consider serving it with egg noodles or rice. Steamed green beans or a simple salad also make great choices. Crusty bread is perfect for soaking up the sauce. Beef Stroganoff comes from Russia. It dates back to the 19th century. The dish was named after the Stroganov family, who were wealthy merchants. Over time, it spread to other countries, each adding their twist. You can make a healthier Beef Stroganoff by using leaner cuts of beef, like tenderloin. Swap sour cream for Greek yogurt to cut fat. Add more vegetables, like spinach or bell peppers, for extra nutrition. Serve it over whole-grain noodles or brown rice. Check out the Full Recipe for Classic Beef Stroganoff, which gives you step-by-step guidance on how to make this delicious dish. Beef Stroganoff is a tasty dish with simple ingredients and easy steps. We covered what to use, how to cook, and ways to serve it. Remember, you can swap ingredients and try different styles. This recipe fits any taste. Store leftovers properly so they stay fresh. Experiment with flavors and make it your own. Enjoy every bite of this comforting meal!](https://emmasdish.com/wp-content/uploads/2025/05/73f9a926-bc88-451e-821a-e1d834890265-300x300.webp)


