Latest & Greatest

Cheap Meals to Make When You Are Broke and Easy
Are you feeling the pinch of a tight budget but still want tasty meals? I get it! Cooking cheap doesn’t
Read more…
Easy Creamy Garlic Shrimp Irresistible Dinner Recipe
Are you ready to impress dinner guests with a dish that’s simple yet elegant? My Easy Creamy Garlic Shrimp brings
Read more…
Tuscan Shrimp with Spinach Artichokes Creamy Delight
Ready to delight your taste buds with a dish that’s both creamy and savory? In this blog post, I’m sharing
Read more…
French Onion Soup Burgers Flavorful and Hearty Meal
Imagine a burger bursting with the rich, hearty flavors of French onion soup. That’s exactly what you get with French
Read more…
Grilled Shrimp Bowl with Avocado Corn Salsa Delight
If you crave a fresh and vibrant meal, you’re in for a treat! The Grilled Shrimp Bowl with Avocado Corn
Read more…
Savory Shanghai Fried Noodles Quick and Easy Recipe
Looking for a quick and tasty dinner? You’ve stumbled upon the right recipe! My Savory Shanghai Fried Noodles are easy
Read more…
Homemade Fruit Snacks Simple and Healthy Treat
Are you tired of store-bought snacks loaded with sugar? You can easily make delicious, healthy fruit snacks at home! In
Read more…
Southern-Style Honey Butter Cornbread Poppers Recipe
Get ready to delight in the warmth and joy of Southern cooking with my Southern-Style Honey Butter Cornbread Poppers! This
Read more…browse recipes

Easy Creamy Garlic Shrimp Irresistible Dinner Recipe
Are you ready to impress dinner guests with a dish that’s simple yet elegant? My Easy Creamy Garlic Shrimp brings rich flavors together in…
My Latest Desserts
-
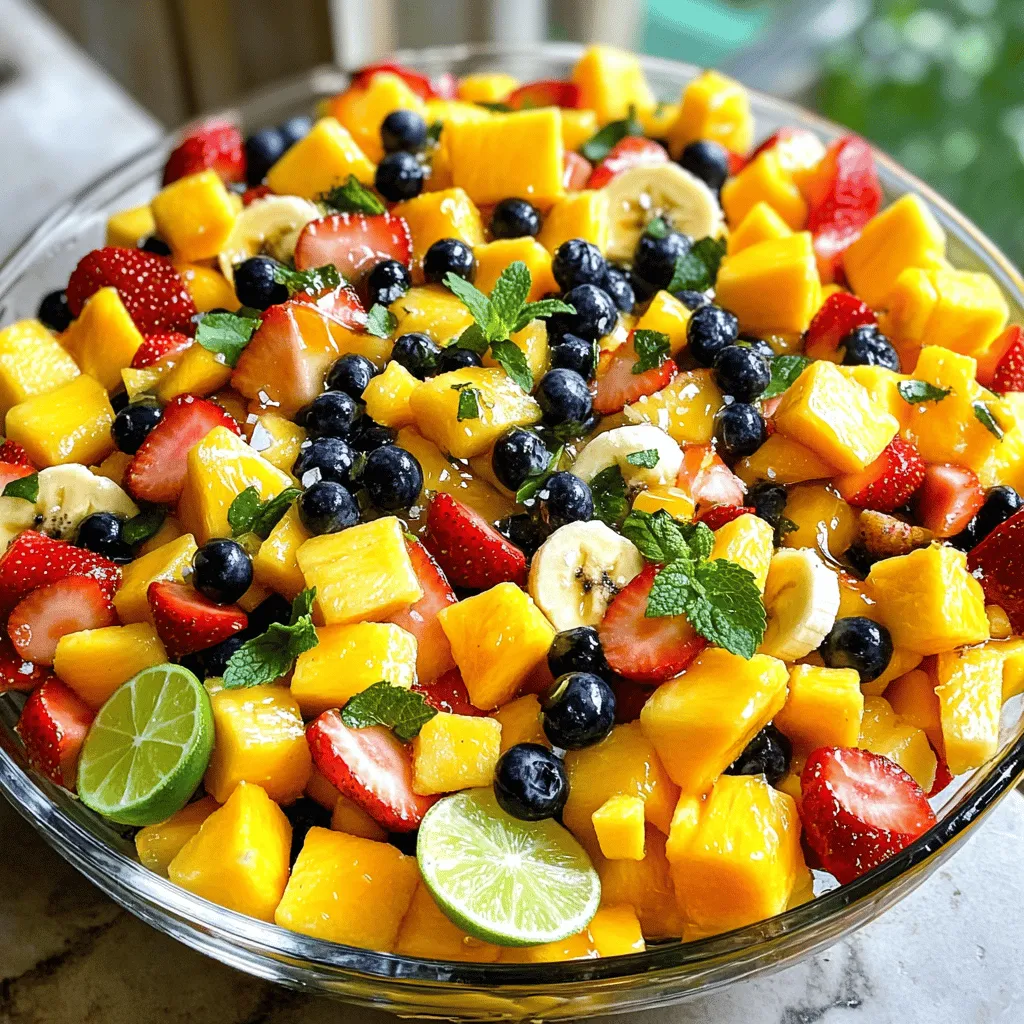
Tropical Fruit Salad Refreshing and Healthy Mix
Dive into a colorful world of flavors with my Tropical Fruit Salad! This healthy mix is bursting with fresh, tropical Read Full Recipe -
No-Bake Lemon Cheesecake Bites Tasty and Simple Dessert
Are you ready to indulge in a creamy treat without turning on the oven? No-Bake Lemon Cheesecake Bites are your Read Full Recipe -
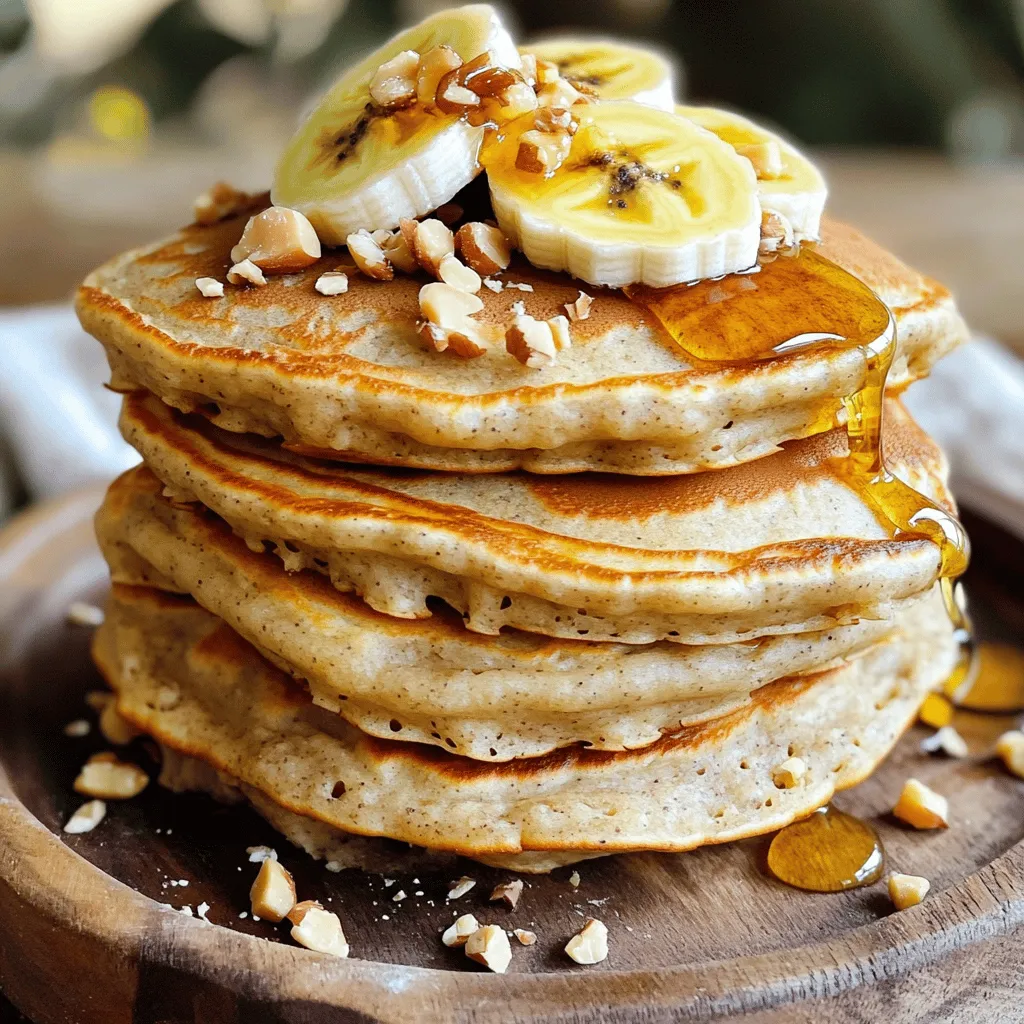
Healthy Banana Oat Pancakes Simple and Quick Recipe
Are you ready to flip the perfect pancake? In just minutes, you can whip up healthy banana oat pancakes that Read Full Recipe -
No-Bake Oreo Cheesecake Delightful and Easy Recipe
Are you craving a dessert that’s both easy and delicious? Look no further than this No-Bake Oreo Cheesecake! With just Read Full Recipe -
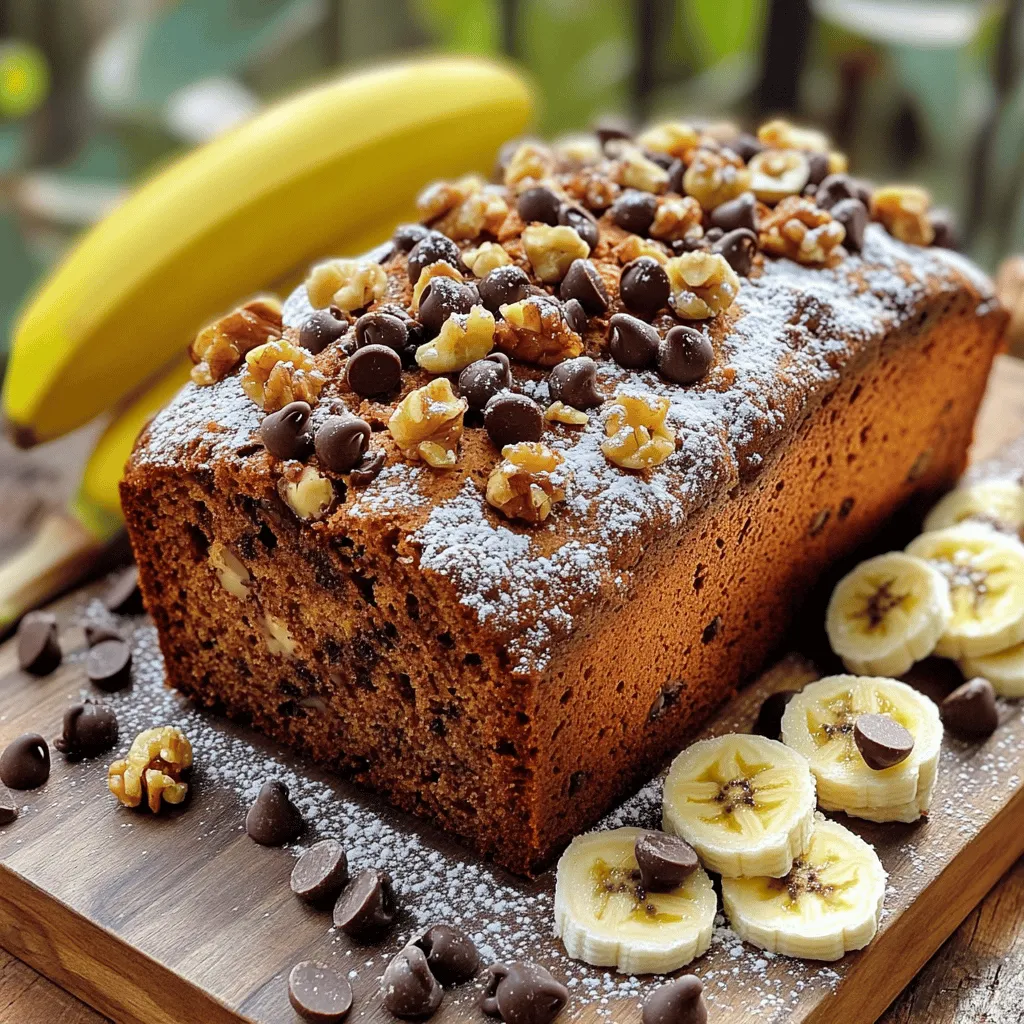
Chocolate Chip Banana Bread Irresistible Flavor Treat
If you love the sweet, comforting taste of banana bread, you’re in for a treat! This Chocolate Chip Banana Bread Read Full Recipe -
Lemon Blueberry Scones Flavorful and Easy Recipe
If you’re craving a delightful treat that’s both zesty and sweet, you’re in the right place. Lemon Blueberry Scones are Read Full Recipe -
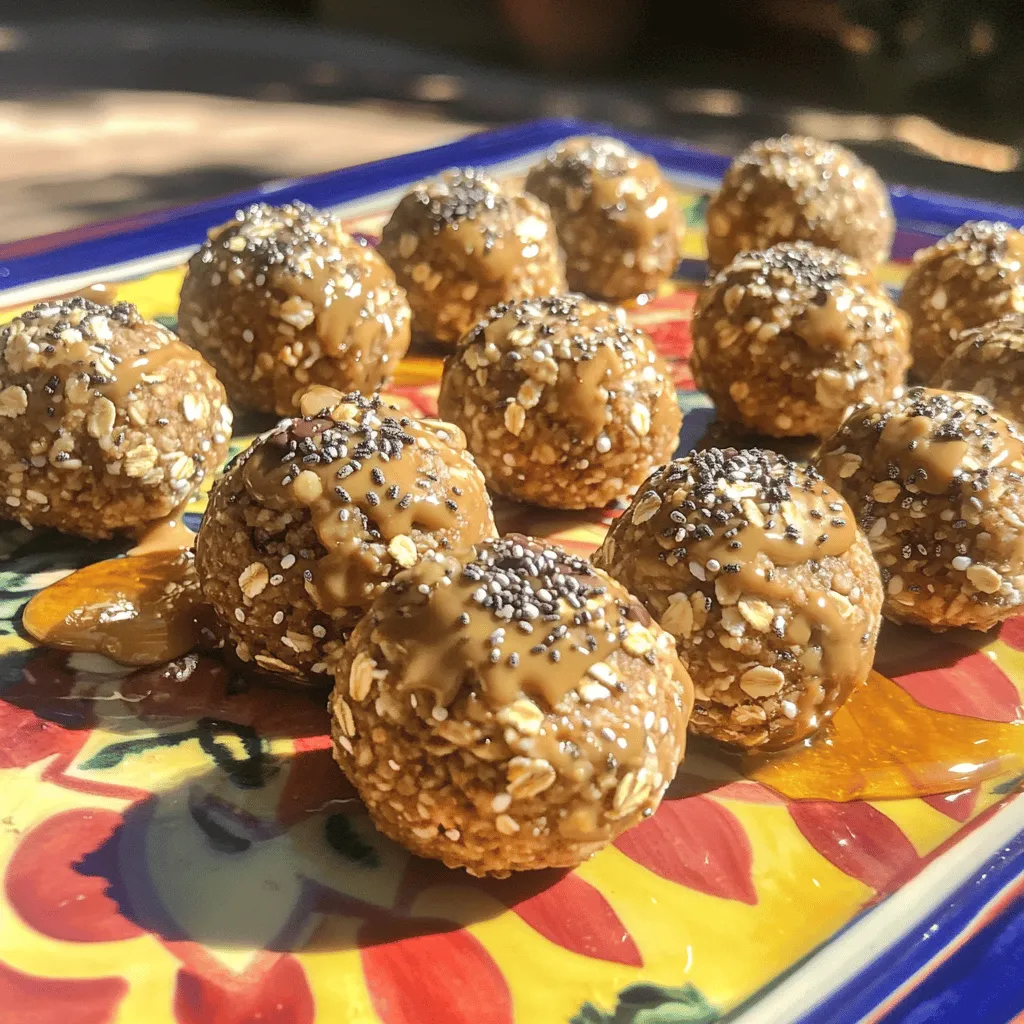
Healthy Peanut Butter Energy Bites Simple Snack Delight
Are you looking for a quick, tasty snack that packs a nutritious punch? Healthy Peanut Butter Energy Bites are the Read Full Recipe -
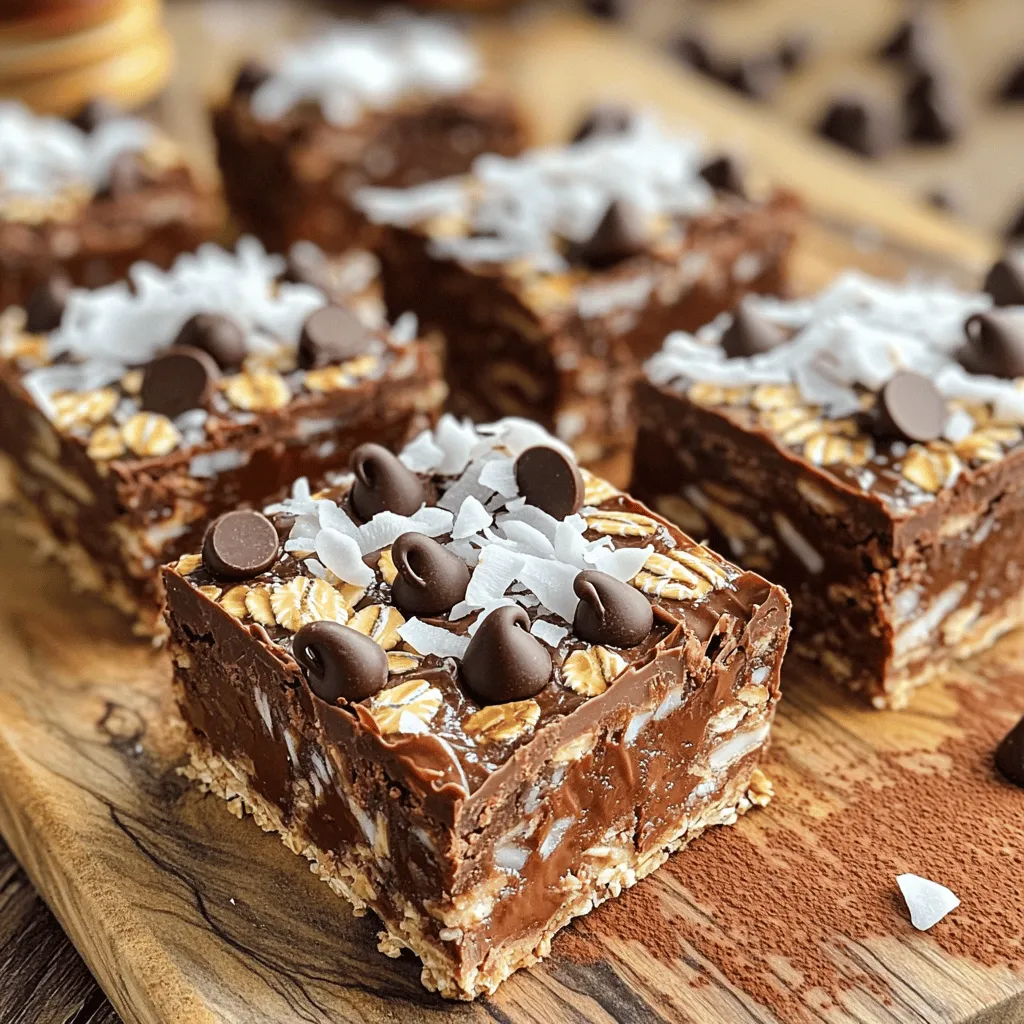
No-Bake Chocolate Oat Bars Simple and Tasty Snack
Looking for a quick and tasty snack? Try my No-Bake Chocolate Oat Bars! With simple ingredients like oats, nut butter, Read Full Recipe -
S’mores Cookie Bars Irresistible Dessert Recipe
Get ready to satisfy your sweet tooth with my S’mores Cookie Bars! This easy dessert combines soft cookie goodness with Read Full Recipe -
Strawberry Shortcake Trifle Delicious Dessert Delight
Ready for a dessert that wows your guests? Strawberry Shortcake Trifle combines fresh strawberries, whipped cream, and ladyfingers into a Read Full Recipe
My Latest Recipes
hey,
i’m !
I’m so happy you’re here!
I’m not just sharing recipes I’m sharing a piece of my heart. I hope these dishes bring you comfort, joy, and maybe even a new favorite.
Banana Bread Overnight Oats Simple Healthy Recipe
If you love banana bread, you’ll adore these Banana Bread Overnight Oats! With just a few simple ingredients, this recipe lets you enjoy a…
![- 1 cup rolled oats - 1 ripe banana, mashed - 1 tablespoon maple syrup (optional) - 1 cup almond milk (or any milk of your choice) - 1 teaspoon vanilla extract - 1 teaspoon ground cinnamon - 1 tablespoon chia seeds - Pinch of salt - ¼ cup chopped walnuts (or pecans) - Slices of banana and additional walnuts for topping Banana bread overnight oats are both tasty and healthy. You just need a few simple ingredients to create this delightful breakfast. Start with rolled oats. They give the base a hearty texture. Next, add a ripe banana. The banana not only adds sweetness but also makes the oats creamy. If you want a bit more sweetness, you can use maple syrup. It’s optional but great. For the liquid, I like almond milk. You can use any milk that you prefer. It helps to blend all the flavors together. Now for the flavor enhancers! Vanilla extract adds a warm touch. Ground cinnamon brings that cozy banana bread flavor to life. Chia seeds add fiber and a nice crunch. A pinch of salt balances the sweetness. Finally, let’s talk toppings. Chopped walnuts or pecans add a nice crunch. Plus, some banana slices make it look pretty and tasty. You can find the full recipe [here]. Enjoy this simple and healthy breakfast! - In a medium bowl, combine 1 cup rolled oats, 1 ripe banana (mashed), and 1 tablespoon maple syrup, if you want a touch of sweetness. Mix well until the banana is evenly spread. - Next, add 1 cup almond milk, 1 teaspoon vanilla extract, 1 teaspoon ground cinnamon, 1 tablespoon chia seeds, and a pinch of salt. Stir until everything is well mixed. - Now, gently fold in ¼ cup chopped walnuts. This adds a nice crunch. - Divide the mixture into two jars or containers with tight lids. Cover them and place them in the refrigerator overnight. - In the morning, take the jars out of the fridge. If the oats look too thick, add a splash of almond milk for your desired creaminess. - Top with banana slices and extra walnuts before serving. Enjoy your Banana Bread Overnight Oats! For the full recipe, click here. To get the best texture, adjust the almond milk based on your taste. If you want creamier oats, add more milk. For thicker oats, use less. Letting the mixture sit overnight helps the oats absorb all the flavors. This step is key for a tasty breakfast. Don't be afraid to mix things up! You can try different nuts or seeds. Chopped almonds or sunflower seeds work great. You can also add chocolate chips for a sweet twist. Dried fruits like raisins or cranberries add a nice touch too. Be creative! For a yummy breakfast, pair your oats with yogurt. A drizzle of honey makes it even better. You can also enjoy them with fresh fruit. Slices of strawberries or blueberries add color and flavor. These toppings make your meal more fun and tasty! For the complete recipe, check out the [Full Recipe]. {{image_2}} If you want a vegan twist, here are some easy swaps. - Skip the maple syrup for an unsweetened version. - Replace almond milk with oat milk. These small changes keep it plant-based and still tasty. You can enjoy the same creamy texture without losing flavor. Feel free to mix in a bit of nut butter for extra richness. Want to boost the protein? Here’s how: - Add Greek yogurt for extra protein. - Include protein powder in the mixture. This version helps you start the day strong. Greek yogurt gives a creamy texture and a protein punch. Just mix it in with the other ingredients. It makes your breakfast more filling and satisfying. You can switch up the flavor easily! Try these ideas: - Substitute mashed banana with applesauce for apple cinnamon oats. - Use pumpkin puree for a seasonal twist. These variations keep breakfast exciting. Applesauce gives a cozy apple flavor, while pumpkin adds warmth and spice. Each option makes your overnight oats unique and fun to eat. Try them out and see what you like best! Store your Banana Bread Overnight Oats in airtight containers. This keeps them fresh and tasty. I find that they are best eaten within 3 to 5 days. The flavors mix well over time, but they won't last forever. You can freeze these oats for longer storage. Just divide them into single servings and seal them tightly. When you want to eat them, thaw in the fridge overnight. Stir well before serving. This helps bring back their creamy texture. To warm them up, use the microwave. Add a splash of almond milk for moisture. You can enjoy your oats cold or warm, depending on your mood. Both ways taste great! Generally, they last for up to 5 days when stored properly. To keep them fresh, use airtight containers. You can also check for any changes in smell or texture before eating. Yes, you can prepare them up to 5 days in advance. This makes them a great option for busy mornings. Just make sure to store them in the fridge. Grab a jar and enjoy a quick, healthy breakfast. Steel-cut oats will require significantly more soaking time and may alter the texture. They are chewier and take longer to soften. If you prefer the texture of rolled oats, stick with them for this recipe. In this post, we covered how to make Banana Bread Overnight Oats with simple ingredients. You learned about the main components, flavor enhancers, and how to store them. I also shared tips for great texture and fun variations. Try different nuts, fruits, or sweeteners to make this recipe your own. These oats are an easy way to enjoy a healthy breakfast. Experiment with flavors and discover your favorite combination!](https://emmasdish.com/wp-content/uploads/2025/06/56e7e2bb-9fbf-43d9-ad22-9afed4909695.webp)












![When making lemon blueberry muffins, using fresh and quality ingredients is key. Here’s what you need: - 1 ½ cups all-purpose flour - 1 cup fresh blueberries - ½ cup granulated sugar - ½ cup unsalted butter, melted - 2 large eggs - 1 teaspoon vanilla extract - 1 teaspoon baking powder - ½ teaspoon baking soda - ½ teaspoon salt - Zest of 1 lemon - 2 tablespoons fresh lemon juice - ¼ cup milk Each ingredient plays a role in creating that delightful taste. The flour provides structure, while the sugar adds sweetness. Blueberries bring bursts of flavor and antioxidants, making these muffins both tasty and healthy. The butter adds richness and moisture. Eggs help bind everything together, giving the muffins a fluffy texture. Vanilla extract enhances the overall flavor. Baking powder and baking soda are crucial for that perfect rise. The lemon zest and juice give a bright, zesty flavor that pairs wonderfully with blueberries. Finally, milk adds the right amount of liquid to keep the muffins soft. With this full recipe, you can create a batch of muffins that are fresh, fluffy, and bursting with flavor. Enjoy the process of mixing and baking, and get ready for a treat! - Preheat your oven to 375°F (190°C). - Line a muffin tin with paper liners or spray it with cooking spray. - In a large bowl, whisk together 1 ½ cups of all-purpose flour, 1 teaspoon of baking powder, ½ teaspoon of baking soda, and ½ teaspoon of salt. - In another bowl, mix ½ cup of melted butter and ½ cup of sugar. - Add 2 large eggs, 1 teaspoon of vanilla extract, the zest of 1 lemon, and 2 tablespoons of fresh lemon juice. Mix well. - Gradually add the dry mix to the wet mix, alternating with ¼ cup of milk. - Fold in 1 cup of fresh blueberries gently. - Fill each muffin cup about 2/3 full with batter. - Bake for 18 to 22 minutes. - Check doneness by inserting a toothpick into the center. It should come out clean. You can find the full recipe for Lemon Blueberry Muffins in this article. To ensure even distribution of blueberries, add them last. Gently fold them into the batter. This keeps them whole and juicy. If you mix too hard, they can break apart. Avoiding overmixing is key for fluffy muffins. When you combine wet and dry ingredients, mix just until you see no dry flour. Lumps in the batter are okay. This will help your muffins rise well. Dusting muffins with powdered sugar makes them look extra special. This adds a sweet touch and a nice contrast to the lemon zest. Use a fine sieve for even coverage. For serving, add fresh blueberries and lemon slices. This makes your plate pop with color. You can also place the muffins on a rustic wooden board. It gives a cozy, inviting feel. If you need alternatives for butter, try using coconut oil. It gives a nice flavor. For milk, almond or oat milk works well. These swaps can make the muffins dairy-free. You can also use other berries or flavorings. Try raspberries or strawberries for a twist. A dash of almond extract can add a nice layer of flavor too. {{image_2}} Sticking with the traditional recipe gives you a cozy, familiar taste. The classic version is simple and uses fresh blueberries and zesty lemon. You will love the sweet and tart mix in every bite. This version is light and fluffy, making it a perfect snack or breakfast. Using the [Full Recipe], you can create these delightful muffins easily. Want a better twist? Use whole wheat flour instead of white flour. This adds fiber and makes the muffins more filling. You can also swap sugar for natural sweeteners like honey or maple syrup. These changes keep the muffins tasty while making them a bit more nutritious. They still taste great and are a fun way to enjoy a classic. If you like to mix it up, try adding poppy seeds or coconut. Poppy seeds add a nice crunch and a bit of nutty flavor. Coconut gives a tropical touch, making each bite unique. You can also experiment by adding spices like cinnamon or nutmeg for extra warmth. These variations make your muffins stand out and keep things exciting! Let your muffins cool in the pan for about 5 minutes. This helps them set properly. After that, move them to a wire rack. Cooling completely is key before storage. Once they are cool, store them in an airtight container. This keeps them fresh and soft. You can also use a resealable plastic bag. Make sure to remove as much air as possible. Freezing muffins is a great way to enjoy them later. To freeze, wrap each muffin tightly in plastic wrap. Place the wrapped muffins in a freezer bag. Label the bag with the date. When you want to eat one, remove it from the bag. Let it thaw at room temperature. You can also reheat it in the microwave for about 20-30 seconds. Lemon blueberry muffins stay fresh at room temperature for about 2-3 days. If you store them in the fridge, they can last up to a week. However, for the best taste and texture, eat them within a few days. For longer storage, freezing is the best option. This way, you can enjoy the flavors whenever you want. For the full recipe, check out the earlier section. To keep your lemon blueberry muffins moist, here are some key tips: - Use butter: Melted butter adds rich flavor and moisture. - Do not overmix: Mix just until combined. This helps keep them fluffy. - Add yogurt or sour cream: These ingredients boost moisture. - Store properly: Keep muffins in an airtight container. This prevents drying out. Yes, you can use frozen blueberries. They work well in muffins. They may make the batter a bit blue, but the taste stays great. When using frozen, no need to thaw. Just add them directly to the batter. This keeps them intact and juicy. Pair lemon blueberry muffins with these tasty options: - Yogurt: A side of Greek yogurt adds protein and creaminess. - Scrambled eggs: The savory taste of eggs balances the sweetness. - Fresh fruit: Serve with sliced bananas or strawberries for color and freshness. - Coffee or tea: A hot drink complements the muffins nicely. For the full recipe, check out the zesty lemon blueberry bliss muffins. Enjoy baking! Making lemon blueberry muffins is simple and fun. You learned the key ingredients, steps to bake, and tips for the best results. Remember to fold in your blueberries gently and not to overmix. Feel free to explore variations and substitutions for more unique flavors. Proper storage lets your muffins stay fresh longer. Enjoy your baking and share them with family and friends. These muffins will surely brighten your day!](https://emmasdish.com/wp-content/uploads/2025/06/d34ec094-7fb3-4b5c-8b97-ff7054b848e7-300x300.webp)

