

Latest & Greatest
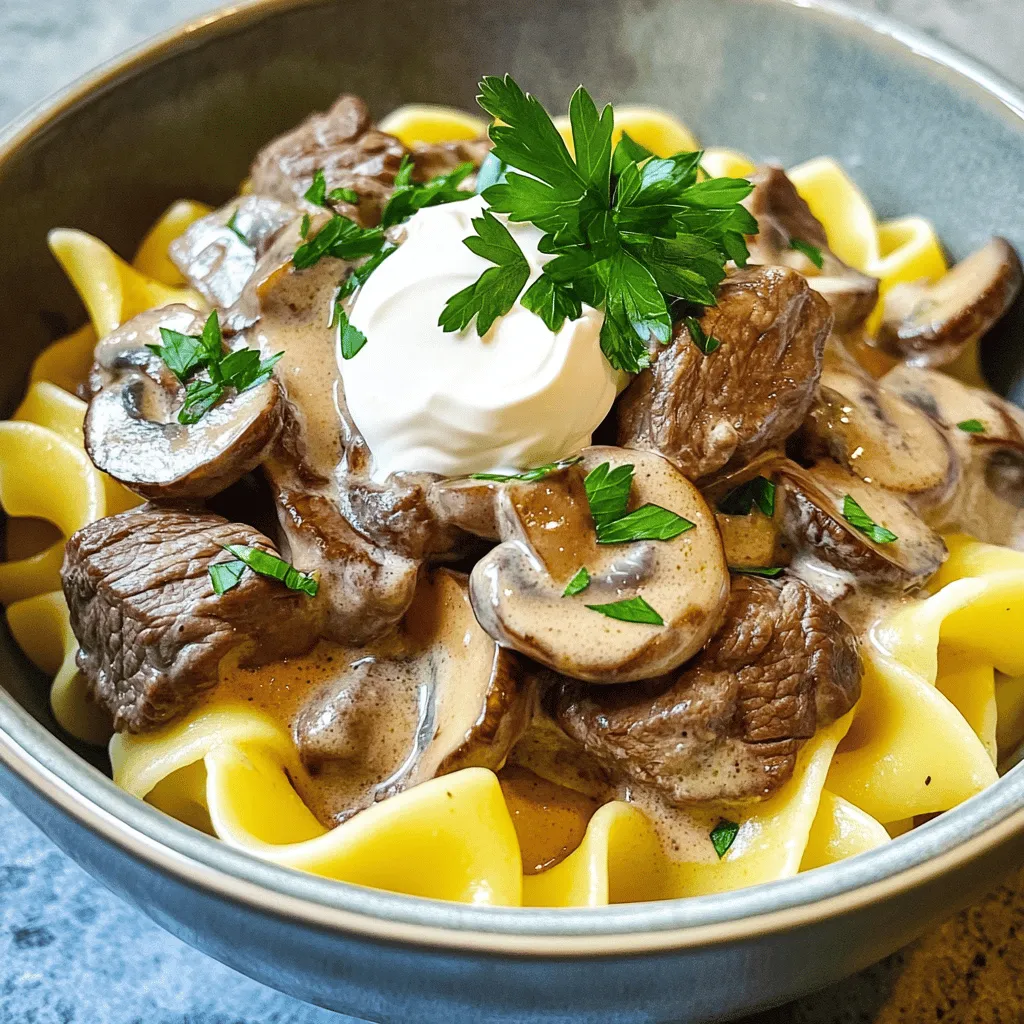
Beef Stroganoff Flavorful and Simple Comfort Meal
Are you ready to whip up a warm, rich bowl of Beef Stroganoff? This flavorful and simple comfort meal will
Read more…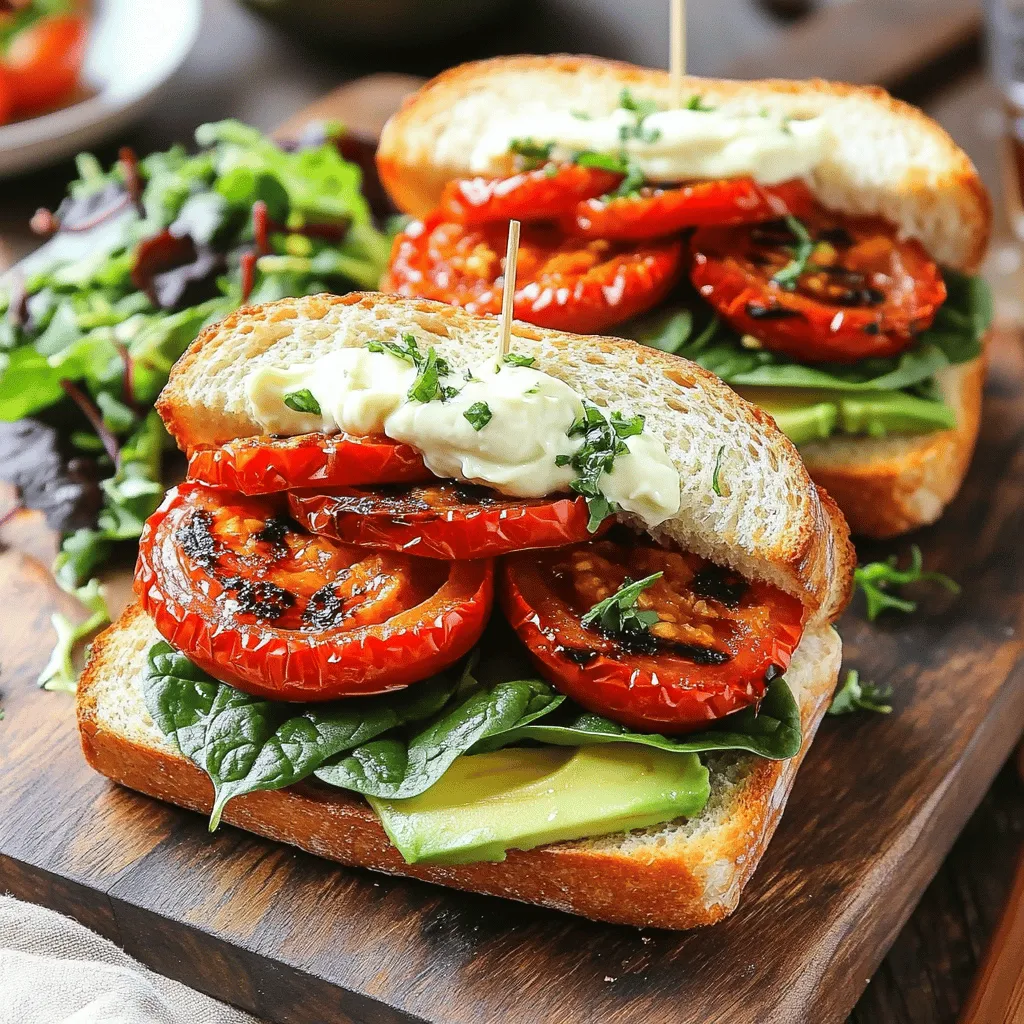
Roasted Tomato Sandwiches with Vegan Aioli Delight
Are you ready to elevate your sandwich game? These Roasted Tomato Sandwiches with Vegan Aioli are bursting with flavor and
Read more…
Balsamic Glazed Steak Rolls Easy and Flavorful Meal
Looking for a fun and tasty meal? Let me introduce you to Balsamic Glazed Steak Rolls! These rolls pack flavor,
Read more…
Pan Seared Scallops with Lemon Caper Sauce Delight
If you’re craving a dish that’s both elegant and easy, look no further! Pan Seared Scallops with Lemon Caper Sauce
Read more…
Creamy Chicken Ranch Pasta Simple and Delicious Meal
Looking for a quick yet tasty dinner? You’ve got to try this Creamy Chicken Ranch Pasta! It combines tender chicken,
Read more…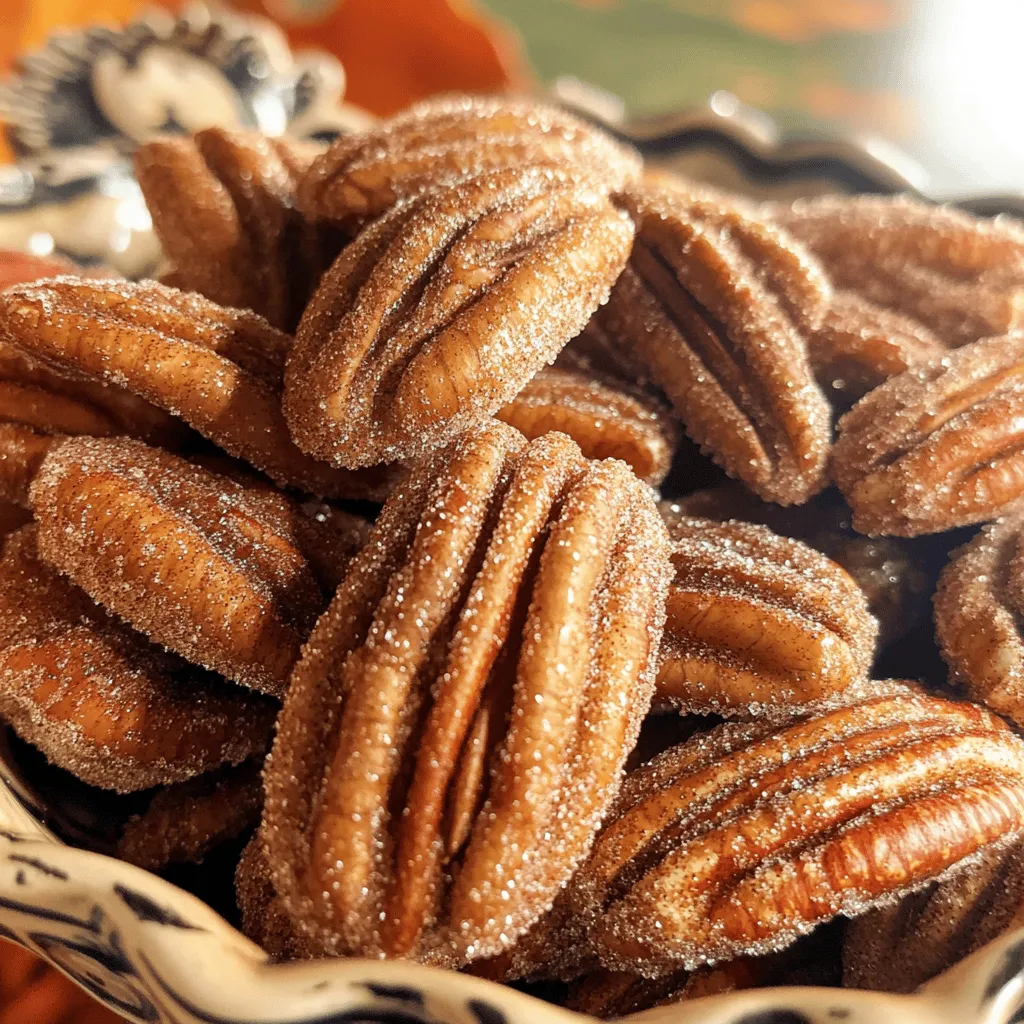
Cinnamon Sugar Pecans Irresistible Snack Recipe
Are you ready for a snack that’s both sweet and crunchy? Cinnamon Sugar Pecans are the perfect treat for any
Read more…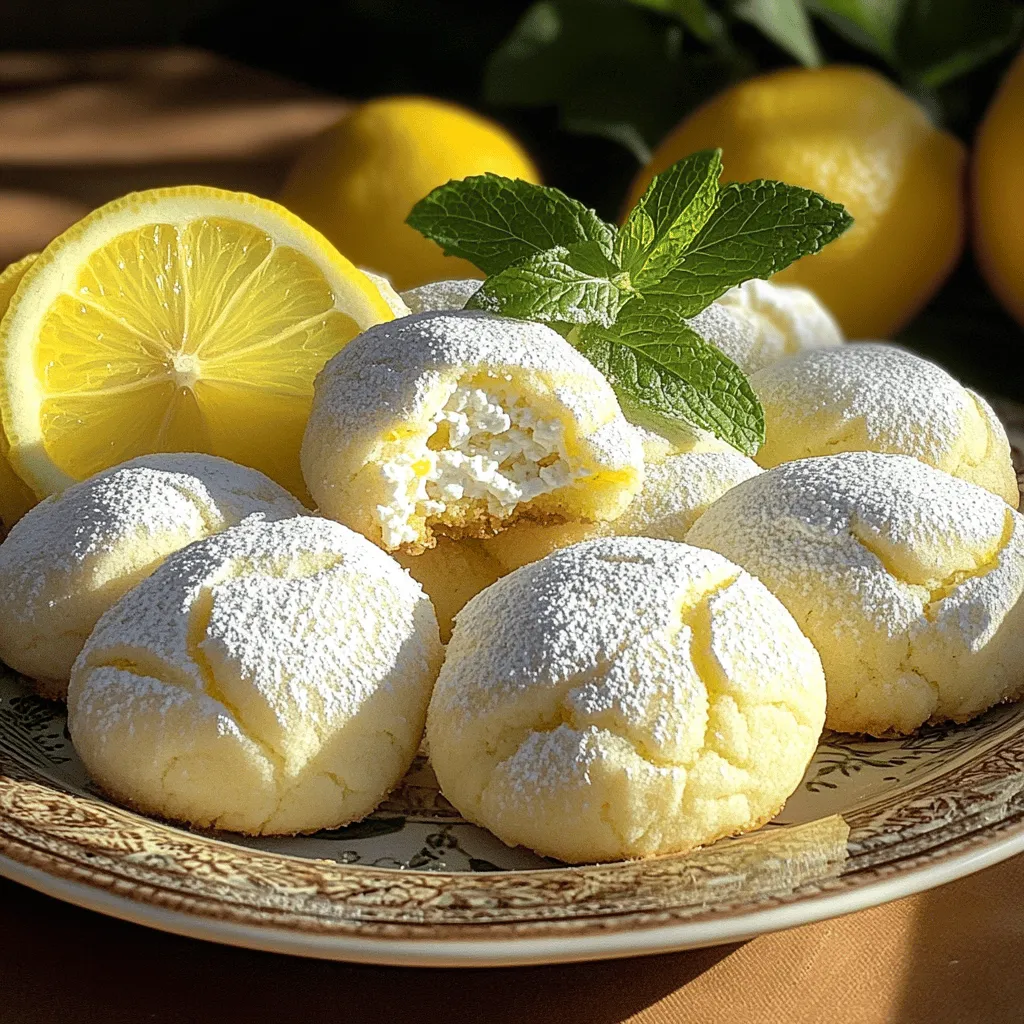
Lemon Ricotta Cookies Delightfully Soft Treat
If you’re craving a soft, zesty treat, look no further! Lemon Ricotta Cookies are light, delicious, and incredibly easy to
Read more…
Savory Shrimp Fried Rice Recipe Quick and Easy Guide
Are you ready to make a dish that’s as quick as it is tasty? My Savory Shrimp Fried Rice Recipe
Read more…browse recipes


Honey Garlic Shrimp Tacos Flavorful and Easy Meal
If you’re craving a quick, delicious meal, let’s dive into Honey Garlic Shrimp Tacos! This easy recipe is packed with flavor and perfect for…
My Latest Desserts
-
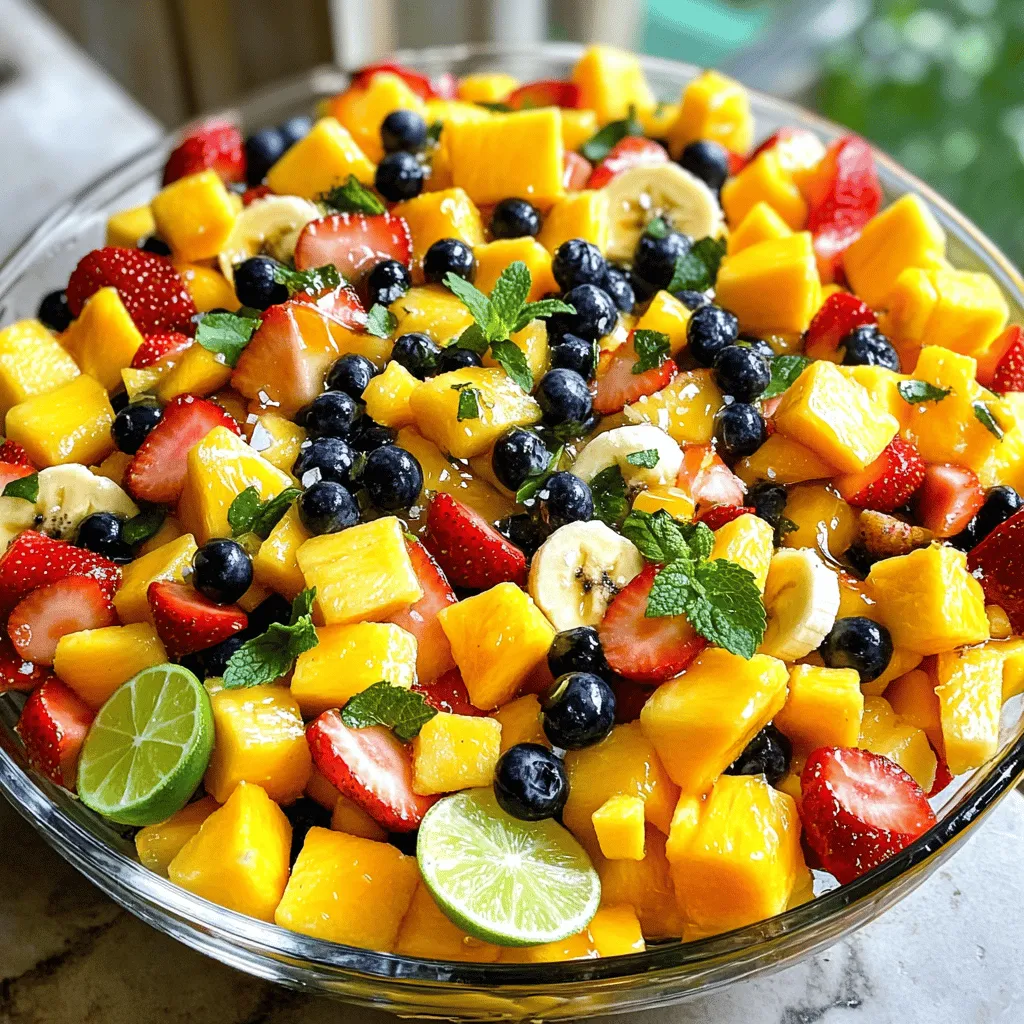
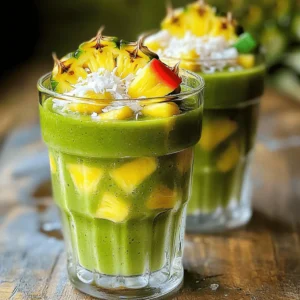
Tropical Fruit Salad Refreshing and Healthy Mix
Dive into a colorful world of flavors with my Tropical Fruit Salad! This healthy mix is bursting with fresh, tropical Read Full Recipe -
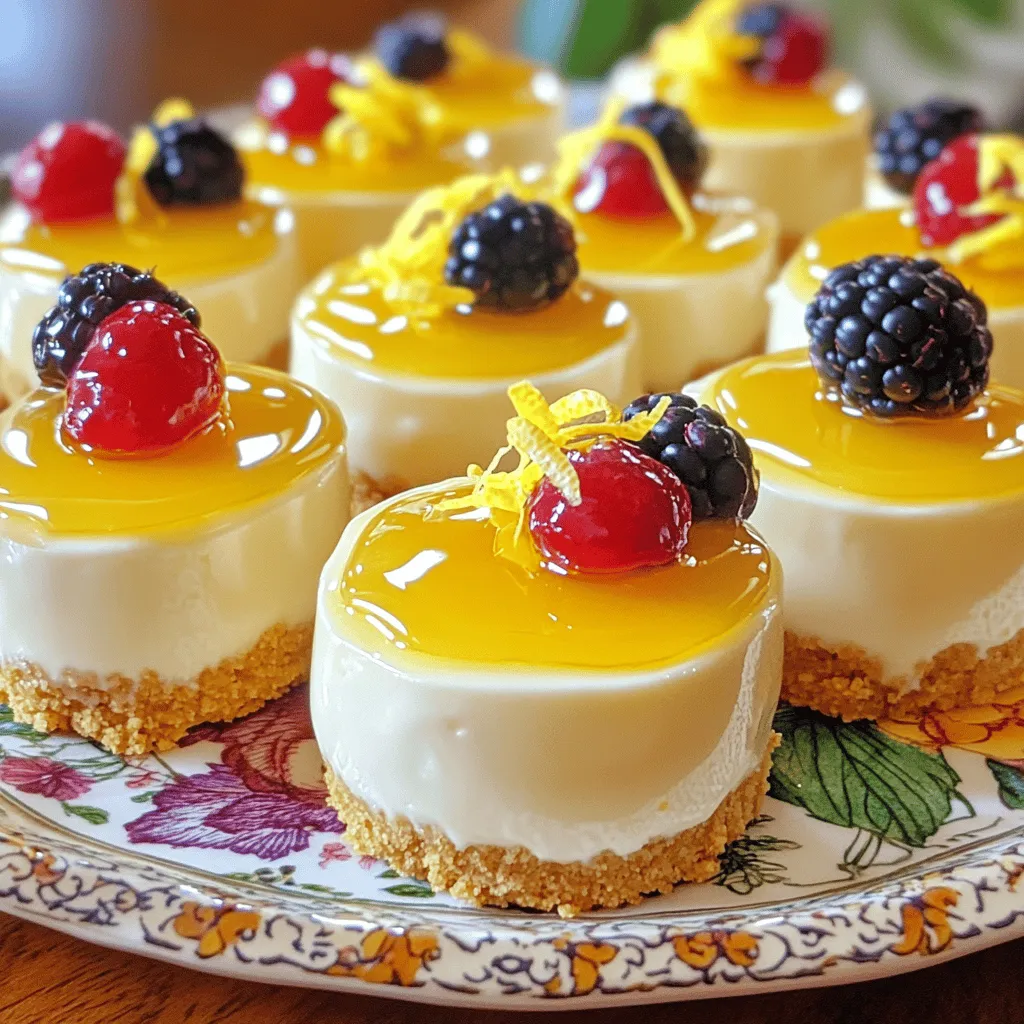
No-Bake Lemon Cheesecake Bites Tasty and Simple Dessert
Are you ready to indulge in a creamy treat without turning on the oven? No-Bake Lemon Cheesecake Bites are your Read Full Recipe -
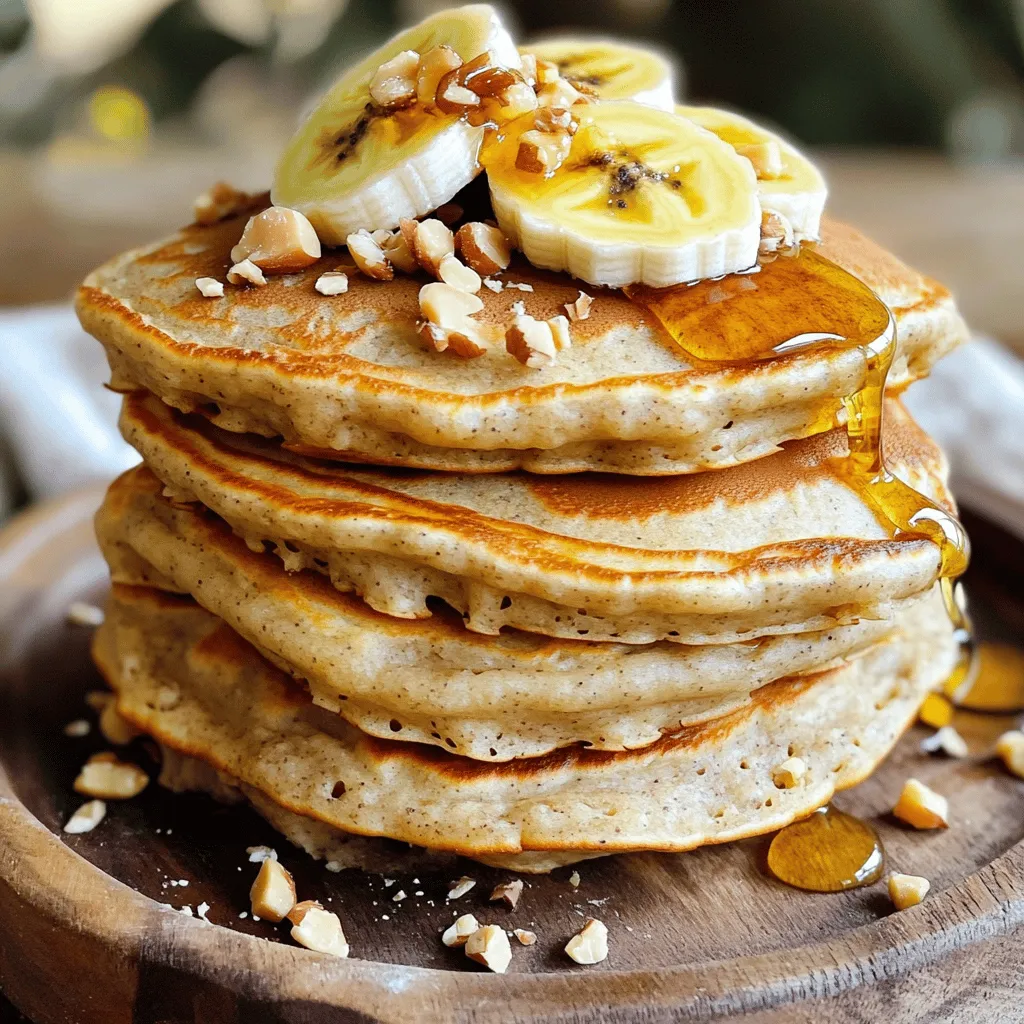
Healthy Banana Oat Pancakes Simple and Quick Recipe
Are you ready to flip the perfect pancake? In just minutes, you can whip up healthy banana oat pancakes that Read Full Recipe -

No-Bake Oreo Cheesecake Delightful and Easy Recipe
Are you craving a dessert that’s both easy and delicious? Look no further than this No-Bake Oreo Cheesecake! With just Read Full Recipe -
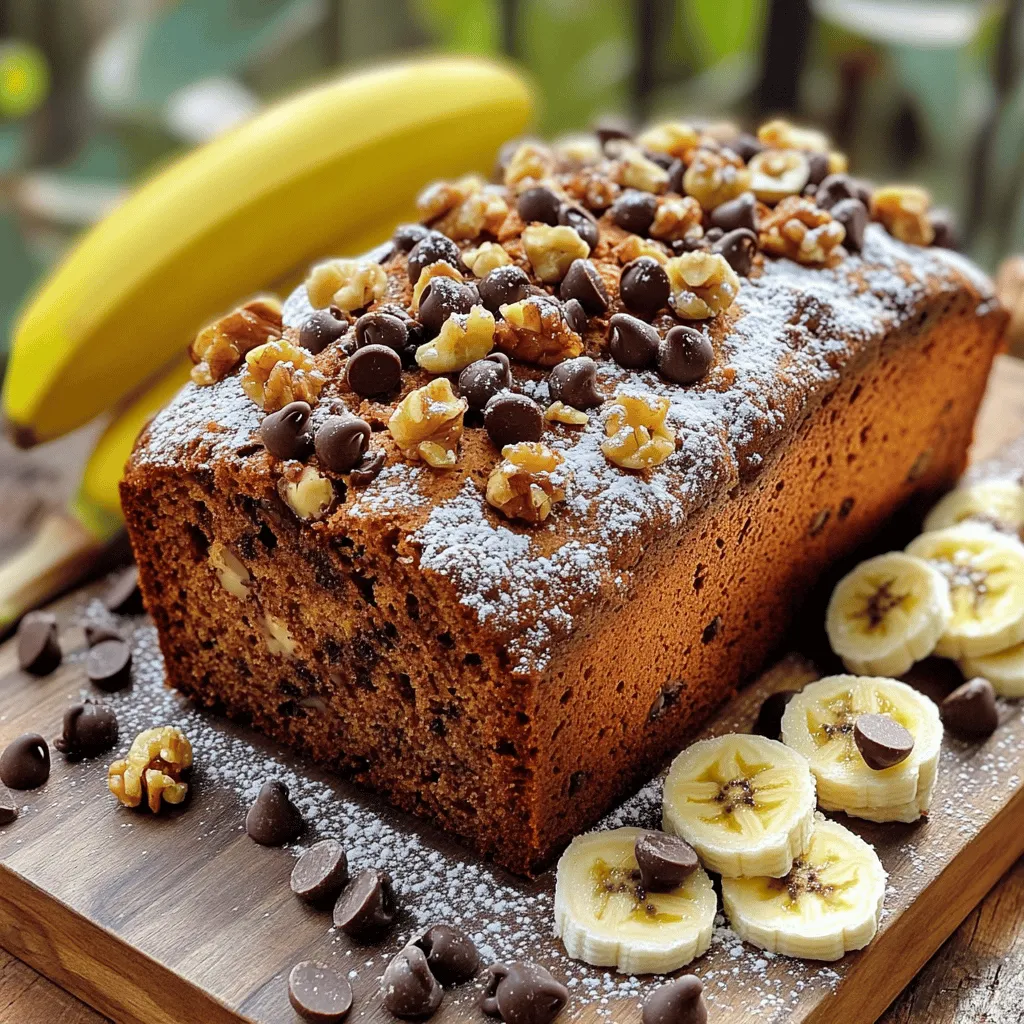
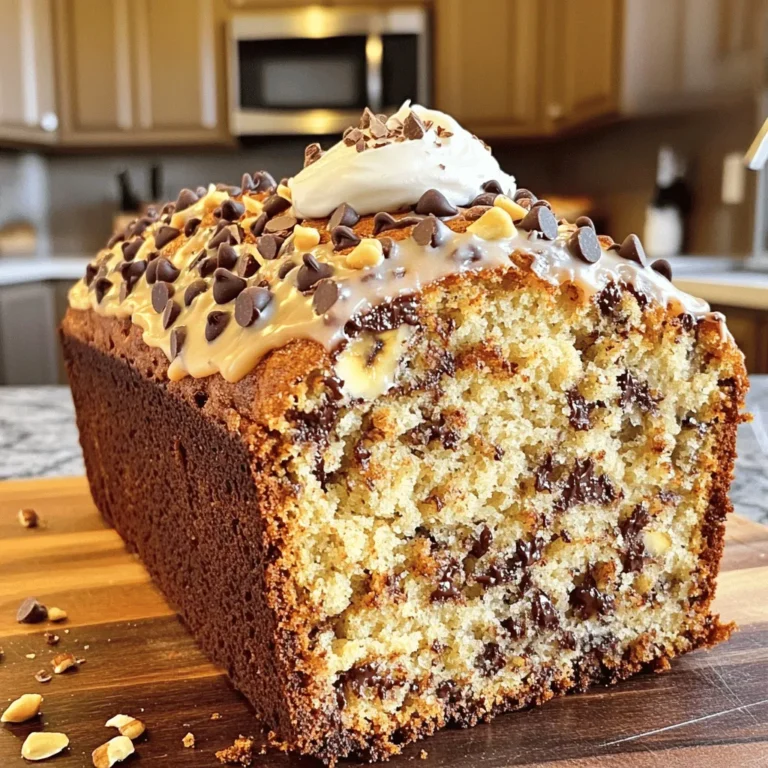
Chocolate Chip Banana Bread Irresistible Flavor Treat
If you love the sweet, comforting taste of banana bread, you’re in for a treat! This Chocolate Chip Banana Bread Read Full Recipe -

Lemon Blueberry Scones Flavorful and Easy Recipe
If you’re craving a delightful treat that’s both zesty and sweet, you’re in the right place. Lemon Blueberry Scones are Read Full Recipe -
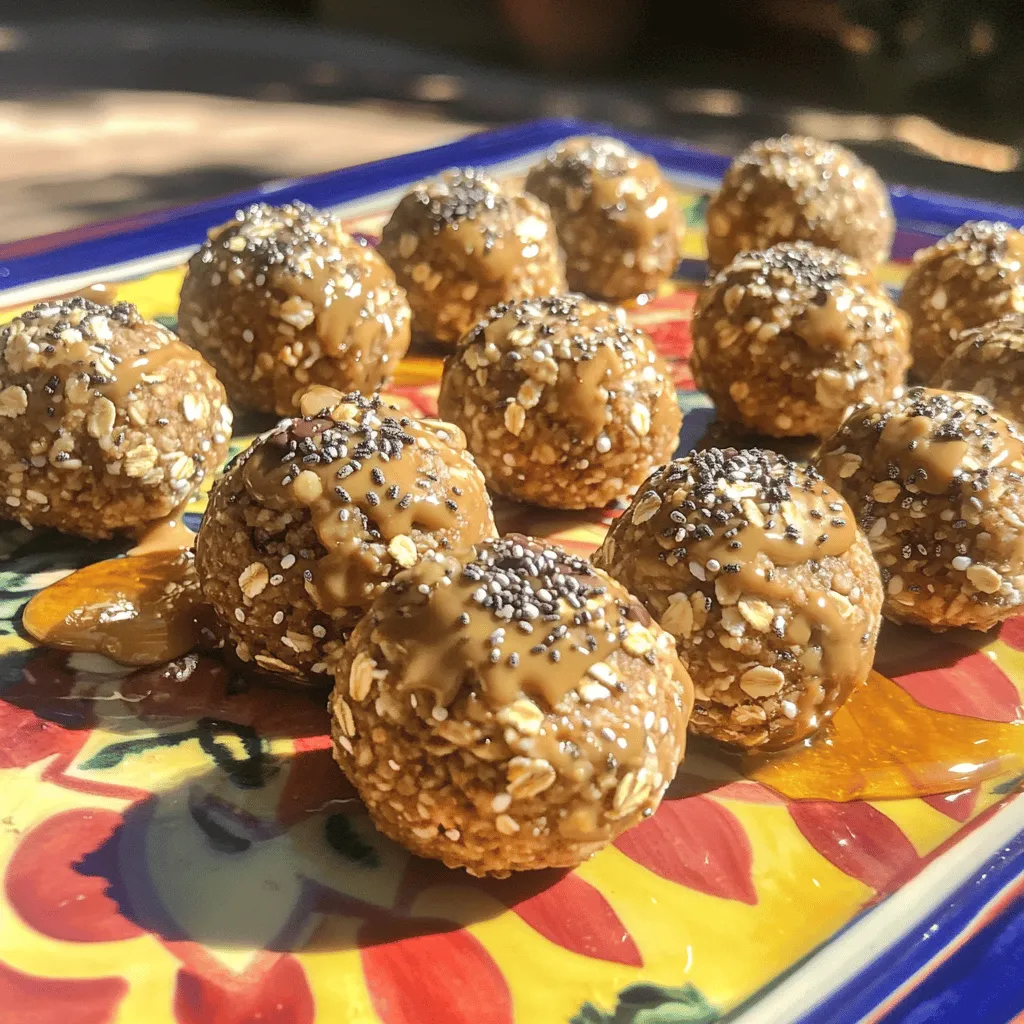
Healthy Peanut Butter Energy Bites Simple Snack Delight
Are you looking for a quick, tasty snack that packs a nutritious punch? Healthy Peanut Butter Energy Bites are the Read Full Recipe -

No-Bake Chocolate Oat Bars Simple and Tasty Snack
Looking for a quick and tasty snack? Try my No-Bake Chocolate Oat Bars! With simple ingredients like oats, nut butter, Read Full Recipe -

S’mores Cookie Bars Irresistible Dessert Recipe
Get ready to satisfy your sweet tooth with my S’mores Cookie Bars! This easy dessert combines soft cookie goodness with Read Full Recipe -

Strawberry Shortcake Trifle Delicious Dessert Delight
Ready for a dessert that wows your guests? Strawberry Shortcake Trifle combines fresh strawberries, whipped cream, and ladyfingers into a Read Full Recipe
My Latest Recipes

hey,
i’m !
I’m so happy you’re here!
I’m not just sharing recipes I’m sharing a piece of my heart. I hope these dishes bring you comfort, joy, and maybe even a new favorite.


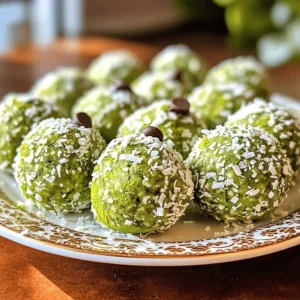
Almond Joy Energy Balls Quick and Simple Recipe
Looking for a quick snack that packs a punch? I’ve got just the treat for you—Almond Joy Energy Balls! This simple recipe brings together…
![- 1 cup rolled oats - ½ cup almond butter - ¼ cup honey or maple syrup - ½ cup unsweetened shredded coconut The main ingredients create a strong base for the Almond Joy Energy Balls. The rolled oats give a hearty texture. Almond butter adds creaminess and healthy fats. Honey or maple syrup sweetens the mix without guilt. The shredded coconut brings a tropical flair. - ¼ cup chopped almonds - ¼ cup dark chocolate chips - 1 teaspoon vanilla extract - Pinch of salt The additional components enhance flavor and crunch. Chopped almonds add a satisfying bite. Dark chocolate chips give a rich, sweet taste. Vanilla extract boosts the overall flavor. A pinch of salt balances the sweetness and rounds out the taste. These ingredients work together to make tasty, energy-packed snacks. You can easily adapt the amounts to suit your taste. For the full recipe, check the earlier section. First, grab a large mixing bowl. You need to combine the rolled oats, almond butter, and honey. Use a spatula or spoon to mix these until they blend well. The mixture should be sticky and thick. Next, it's time to add in the fun stuff! Incorporate the shredded coconut, chopped almonds, and chocolate chips. If you love chocolate, feel free to add a bit more. Stir everything together until it looks colorful and tasty. Now, scoop out some of the mixture. You can use your hands or a tablespoon. Roll the mixture into small balls, about one inch in size. This is the fun part! Once you have rolled all the mixture, place the balls on a baking sheet lined with parchment paper. Make sure they have space between them. Finally, refrigerate the energy balls for at least 30 minutes. This helps them firm up and makes them easy to eat. Enjoy these tasty Almond Joy Energy Balls as a quick snack or a pre-workout treat! For the full recipe, check the earlier section. When making Almond Joy Energy Balls, you might want to tweak the sweetness. You can use honey or maple syrup to suit your taste. If you like it sweeter, add a bit more. If you prefer less sweet, reduce the amount. To get the right texture, balance your oatmeal. The rolled oats hold the mix together. If the mixture feels too wet, add more oats. If it’s too dry, a splash of almond butter helps. Finding the right mix makes a big difference. Flavor is key in these energy balls. Using flavored almond butter can change the game. Try cinnamon or chocolate almond butter for a fun twist. It adds depth and excitement to each bite. You can also play with spices or extracts. A pinch of cinnamon or a drop of almond extract can boost the taste. Just remember, a little goes a long way. You want to enhance, not overpower. For more ideas, check out the Full Recipe. It gives you all the details needed for a tasty snack. Enjoy crafting your Almond Joy Energy Balls! {{image_2}} You can change the nut butter for a new taste. Cashew butter offers a creamy texture. It brings a mild flavor that works well with the other ingredients. Peanut butter is another great option. It adds a rich taste and a bit of saltiness that pairs nicely with chocolate. Try these nut butters to make your Almond Joy Energy Balls even more fun! Want to add more flavor? You can use dried fruits like raisins or cranberries. They add natural sweetness and chewiness. Seeds, like chia or flaxseed, can boost nutrition too. They add a nice crunch and healthy fats. Mix and match to find your favorite combo. The more variety, the more exciting your energy balls will be! Coconut and chocolate are the stars here. For a coconut twist, try adding coconut extract. It enhances the tropical flavor. If you love chocolate, use cocoa powder in the mix. This adds a deep, rich taste to your energy balls. You can also try dark chocolate-covered almonds for a fun crunch. Experiment with flavors to make each batch unique! For the complete recipe, check out the [Full Recipe]. To keep your Almond Joy Energy Balls fresh, store them in the fridge. Place them in an airtight container. This helps maintain their texture and flavor. They last about one week in the fridge. If you want a quick snack, just grab one when you need it. Freezing is a great option for longer storage. To freeze, first, let the energy balls cool in the fridge for about 30 minutes. Then, place them in a freezer-safe bag or container. Be sure to remove as much air as possible. This helps prevent freezer burn. You can freeze them for up to three months. When you're ready to eat, just thaw them in the fridge overnight. Enjoy your tasty treat anytime you want! Almond Joy Energy Balls stay fresh for about one week in the fridge. Store them in an airtight container. If you want them to last longer, freeze them. They can last up to three months in the freezer. Just remember to wrap them well to avoid freezer burn. Yes, you can easily substitute ingredients! If you have nut allergies, use sunflower seed butter instead of almond butter. For sweeteners, you can swap honey for agave syrup or maple syrup. You can also use gluten-free oats if you are sensitive to gluten. Almond Joy Energy Balls are a healthy snack. They are packed with fiber and protein from oats and almond butter. Each energy ball has about 100 calories. They contain healthy fats from almonds and coconut. Dark chocolate adds antioxidants, making this treat both tasty and nutritious. To make Almond Joy Energy Balls vegan, simply replace honey with maple syrup. All other ingredients are already vegan-friendly. Enjoy your delicious vegan snack without any worry! We've covered all you need to make Almond Joy Energy Balls. The key ingredients are rolled oats, almond butter, and honey. You learned the step-by-step process, from mixing to refrigerating. I shared tips for adjusting sweetness and enhancing flavor. You also discovered various nut butters and mix-ins to keep things fresh. Remember to refrigerate for short-term storage, or freeze for longer life. With these energy balls, you'll have a tasty and healthy snack ready for any time. Enjoy making them your own!](https://emmasdish.com/wp-content/uploads/2025/05/61986118-4034-4ff4-b261-a52aa1e9a3c6.webp)
