
Latest & Greatest
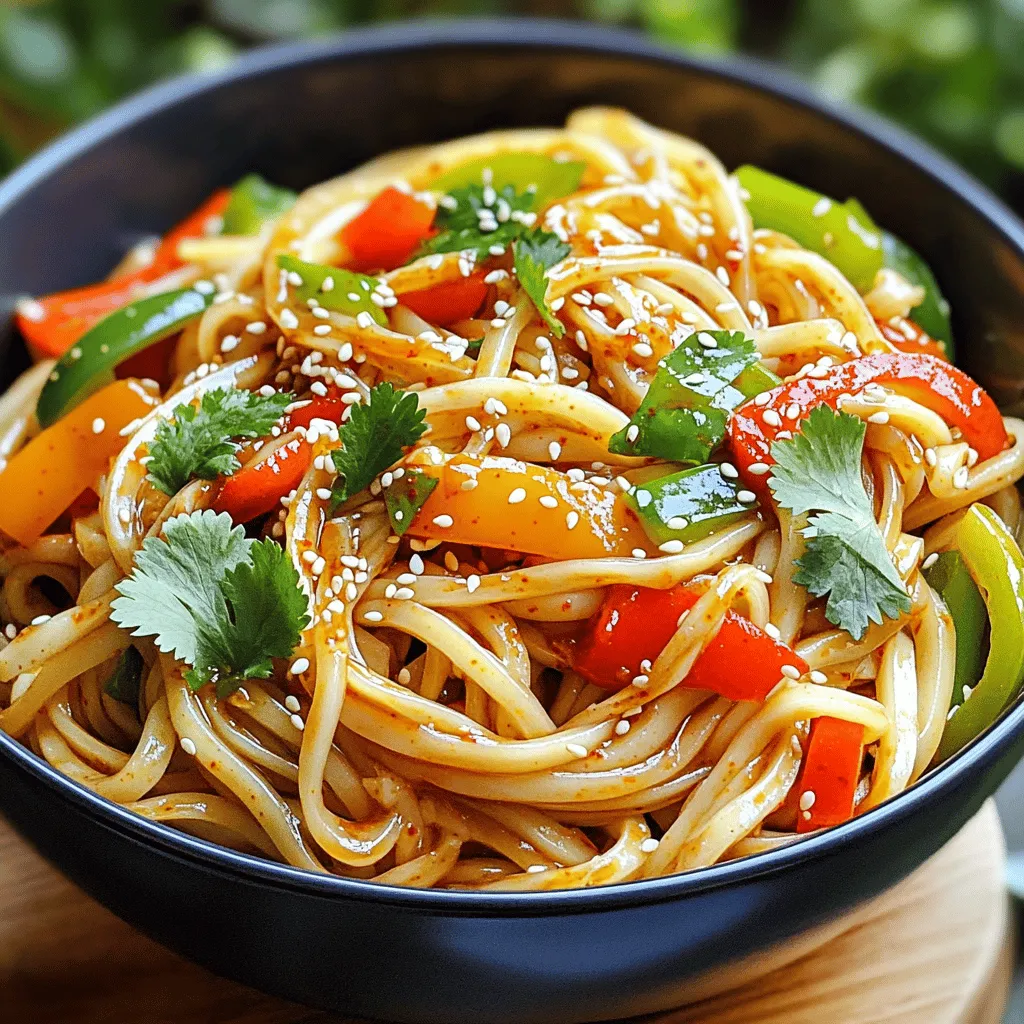
Chili Oil Udon Noodles Quick and Flavorful Meal
Are you craving a quick and tasty meal? Chili Oil Udon Noodles are the answer! This dish blends chewy udon
Read more…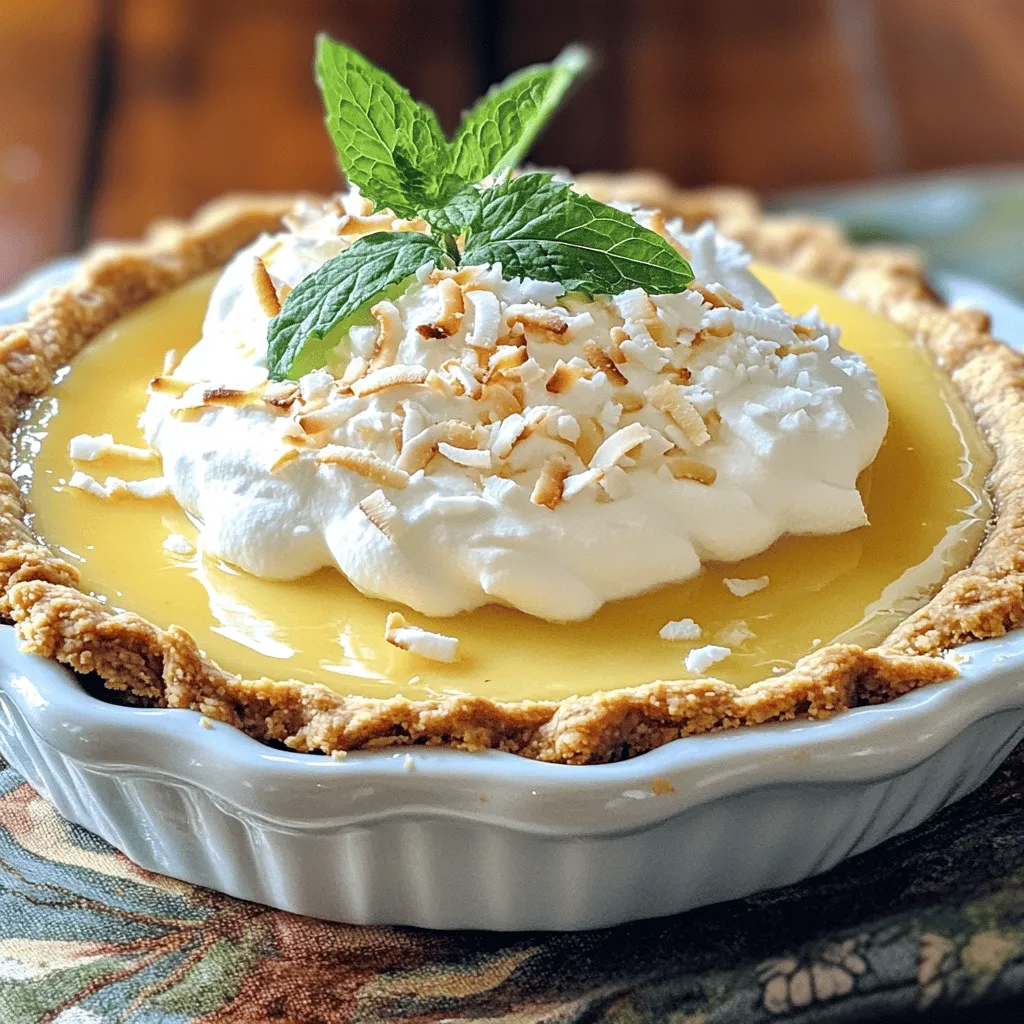
Coconut Cream Pie Delightful and Easy Recipe Guide
Welcome to your ultimate guide for Coconut Cream Pie! If you crave a creamy, dream-like dessert that’s easy to make,
Read more…
Crispy Fried Chicken Irresistible Flavor At Home
Are you ready to master the art of crispy fried chicken at home? This recipe packs irresistible flavors and gives
Read more…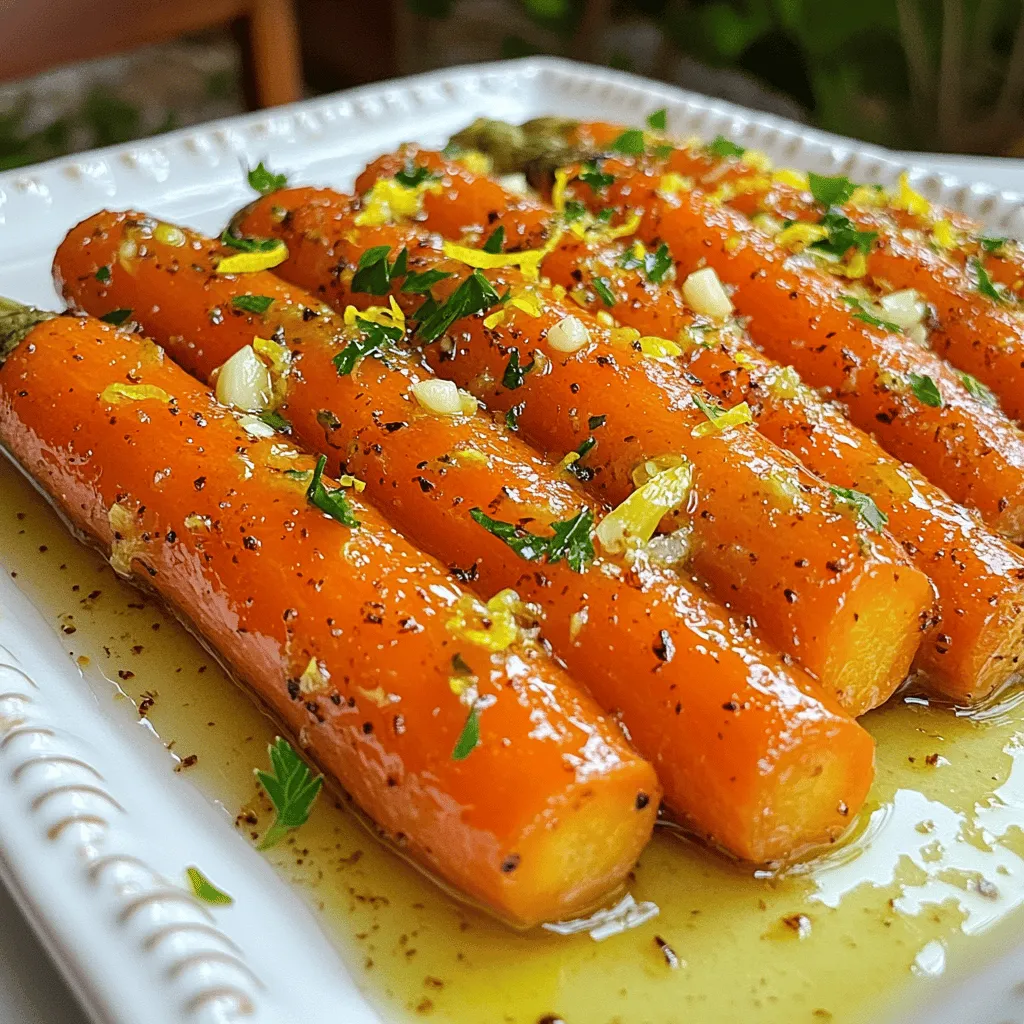
Tangy Lemon Garlic Roasted Carrots Flavorful Side Dish
Looking for a vibrant side dish that adds zest to your meals? Try my Tangy Lemon Garlic Roasted Carrots! With
Read more…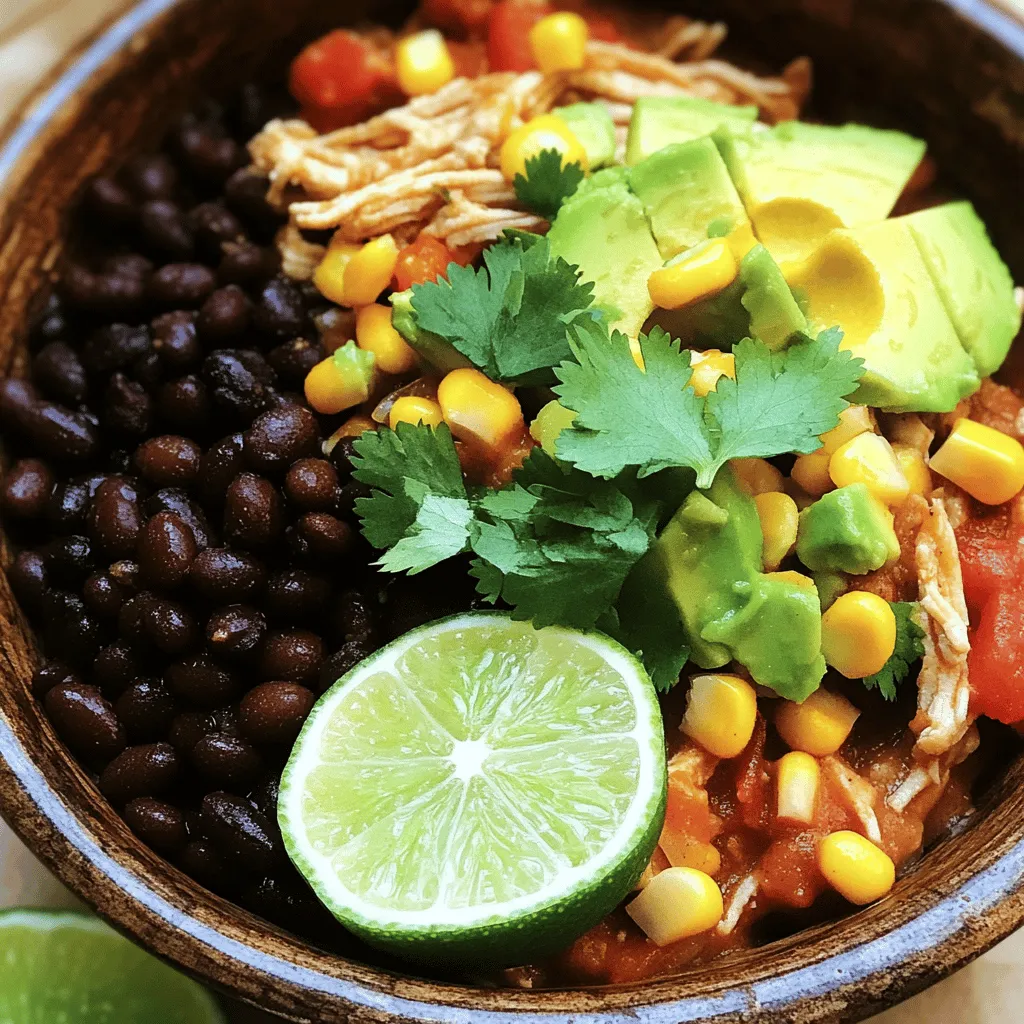
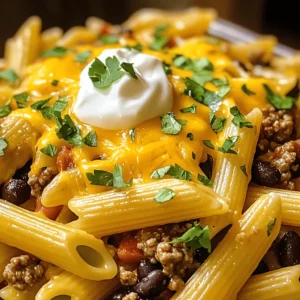
Crockpot Mexican Chicken Flavorful and Easy Meal
Are you in search of a simple yet delicious dinner idea? Look no further than my Crockpot Mexican Chicken! With
Read more…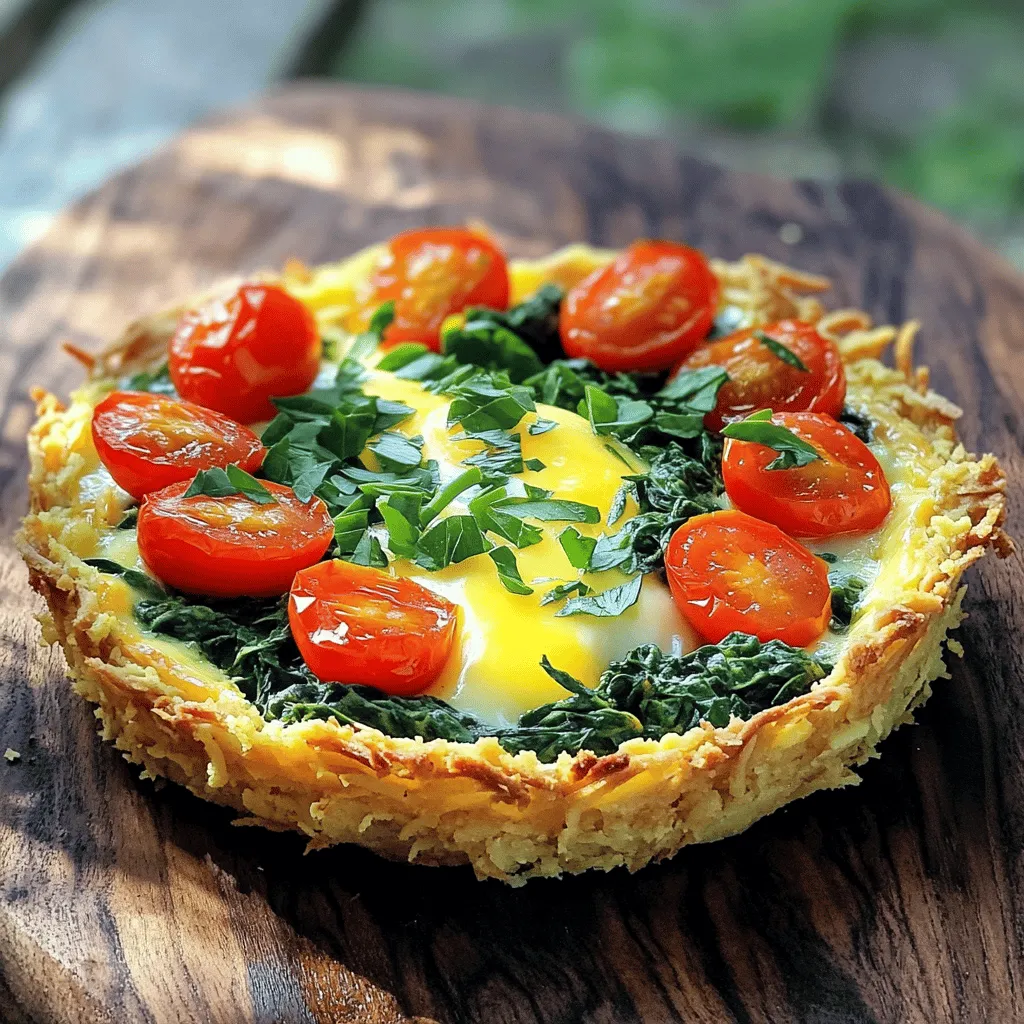
Spring Hash Brown Crust Quiche Flavorful Easy Recipe
Looking for a delicious and easy recipe to brighten your spring brunch? This Spring Hash Brown Crust Quiche is just
Read more…browse recipes


. To cook steak bites just right, aim for medium-rare. Cook them for 2-3 minutes on each side. Use high heat to create a nice crust. This adds flavor and texture. Avoid crowding the pan; it reduces heat and prevents good browning. If you need to, cook in batches. Boost the taste with fresh herbs. Rosemary and thyme work well in this dish. You can add black pepper for a bit of spice. Remember, resting the meat is key. Let it sit for a few minutes after cooking. This helps the juices stay inside, making each bite juicy. Serve these steak bites with sides like mashed potatoes or roasted veggies. You can also pair them with a creamy sauce for extra flavor. For gatherings, try serving them on skewers or in small cups. This makes it easy for guests to enjoy. For the full recipe, check the main section above. {{image_2}} You can use various cuts for your garlic butter steak bites. Each cut has its own taste and texture. - Sirloin: This cut is lean and quite affordable. It has a nice beefy flavor. - Ribeye: Ribeye is rich and tender. It has more fat, which adds flavor and juiciness. - Filet Mignon: This cut is very tender. It is the most expensive and has a mild taste. Choosing the right cut depends on your budget and flavor preference. Ribeye gives more taste, while sirloin is a great choice for a lighter meal. You can make this dish even more exciting by trying new flavors. - Herbs and Spices: Fresh herbs like basil or oregano can add depth. Try adding a pinch of cumin or smoked paprika for a twist. - Vegetables and Mushrooms: Adding bell peppers or mushrooms can create a full meal. Sauté them in the garlic butter before adding the steak for extra flavor. Mixing in these ingredients helps customize the dish to your liking. It also makes it more fun to eat! You can easily modify this recipe to fit your diet. - Gluten-Free: This recipe is naturally gluten-free, so you can enjoy it without worry. - Low-Carb or Keto Options: Skip any carbs on the side, like bread or rice. Focus on low-carb veggies like zucchini or asparagus for a balanced meal. These adaptations let everyone enjoy garlic butter steak bites without missing out. Store leftover garlic butter steak bites in an airtight container. This keeps them fresh and safe. They last about 3 days in the fridge. Always let the steak bites cool before sealing the container. This helps avoid moisture build-up. To reheat steak bites, use a skillet over low heat. Add a little butter to keep them moist. Stir gently for a few minutes until they are warm. Avoid using the microwave. It can make the steak tough and chewy. You can freeze garlic butter steak bites for up to 3 months. Place them in a freezer-safe bag or container. Remove as much air as possible to prevent freezer burn. When ready to eat, thaw them in the fridge overnight. Reheat them in a skillet for the best taste and texture. To make garlic butter steak bites, follow these steps: 1. Preparation: Cut 1 pound of sirloin steak into 1-inch cubes. Season with salt and pepper. 2. Heat the Pan: Melt 2 tablespoons of unsalted butter in a large skillet over medium-high heat. 3. Cook the Steak: Add the steak cubes in a single layer. Cook each side for 2-3 minutes for medium-rare. Remove the steak and set aside. 4. Make the Garlic Butter: Lower the heat to medium. Add the remaining butter. Once melted, stir in 4 minced garlic cloves, 1 teaspoon of chopped rosemary, and 1 teaspoon of chopped thyme. Cook for 1-2 minutes until fragrant. 5. Combine: Return the steak bites to the skillet. Toss them in the garlic butter until well coated. If you like heat, add red pepper flakes. 6. Garnish and Serve: Transfer the steak bites to a platter and sprinkle with fresh parsley. You can find the full recipe [here](#). The best steak cuts for steak bites are: - Sirloin: Tender and flavorful, great for quick cooking. - Ribeye: Juicy with good marbling for added flavor. - Filet Mignon: Very tender, perfect for a special treat. Choose a cut that fits your taste and budget. Yes, you can use frozen steak for this recipe. Here’s how: - Thaw First: It’s best to thaw the steak in the fridge overnight. You can also use the microwave if you're short on time. - Cooking Method: Cook the steak the same way as fresh. Just make sure it reaches the right internal temperature. This ensures it’s safe to eat. Using frozen steak can save time, and the flavor can still be great! This blog post provided a clear guide to making garlic butter steak bites. We covered essential ingredients, precise cooking steps, and helpful tips to ensure perfect bites. Experimenting with different steak cuts and flavors can elevate your dish. Remember to store leftovers properly and enjoy them later. Whether you're cooking for family or hosting friends, these steak bites are sure to impress. With a little practice, you will master this delicious recipe. Dive into the process and make it your own!](https://emmasdish.com/wp-content/uploads/2025/06/92db3657-03ac-4854-ae42-b3d18b0eb765.webp)
Garlic Butter Steak Bites Savory and Simple Recipe
Are you ready to elevate your dinner game? Garlic Butter Steak Bites are quick, savory, and packed with flavor. In this simple recipe, I’ll…
My Latest Desserts
-
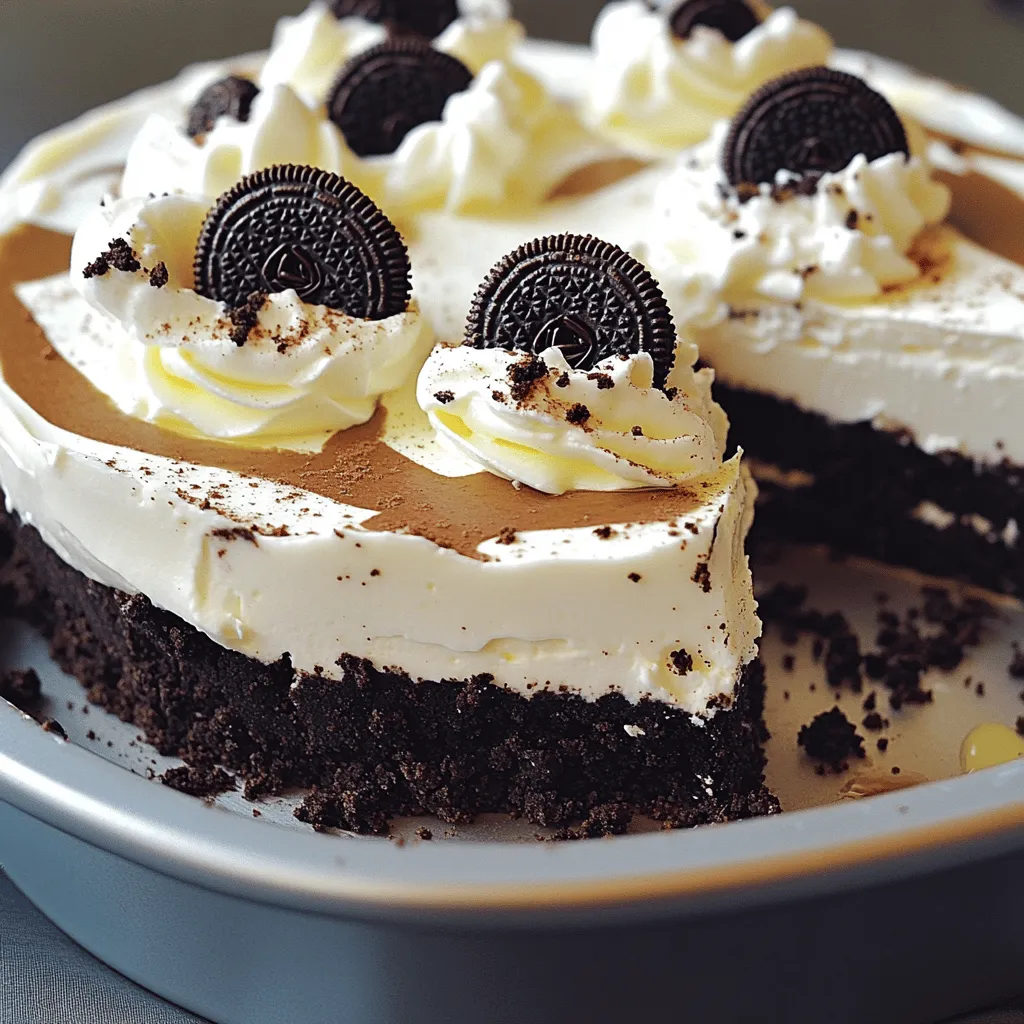
No-Bake Oreo Cheesecake Delightful and Easy Recipe
Are you craving a dessert that’s both easy and delicious? Look no further than this No-Bake Oreo Cheesecake! With just Read Full Recipe -
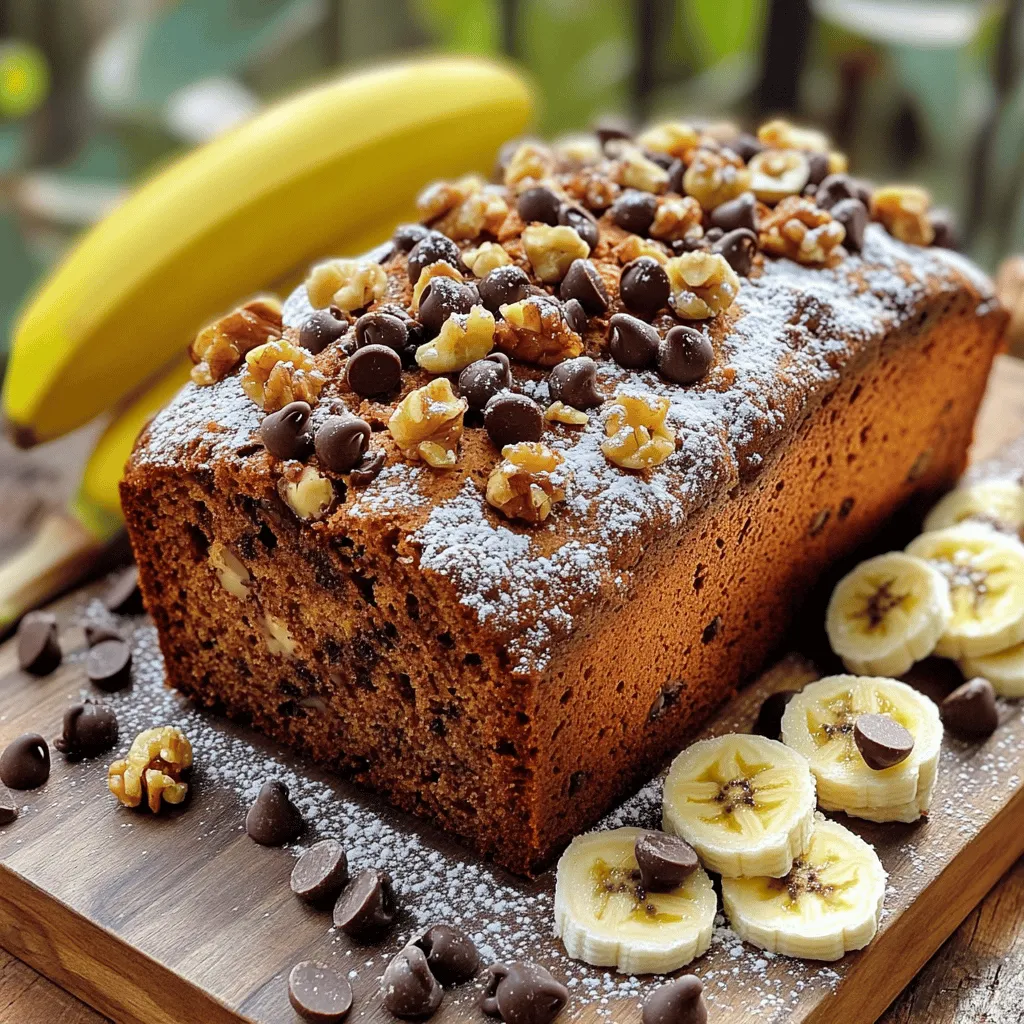
Chocolate Chip Banana Bread Irresistible Flavor Treat
If you love the sweet, comforting taste of banana bread, you’re in for a treat! This Chocolate Chip Banana Bread Read Full Recipe -
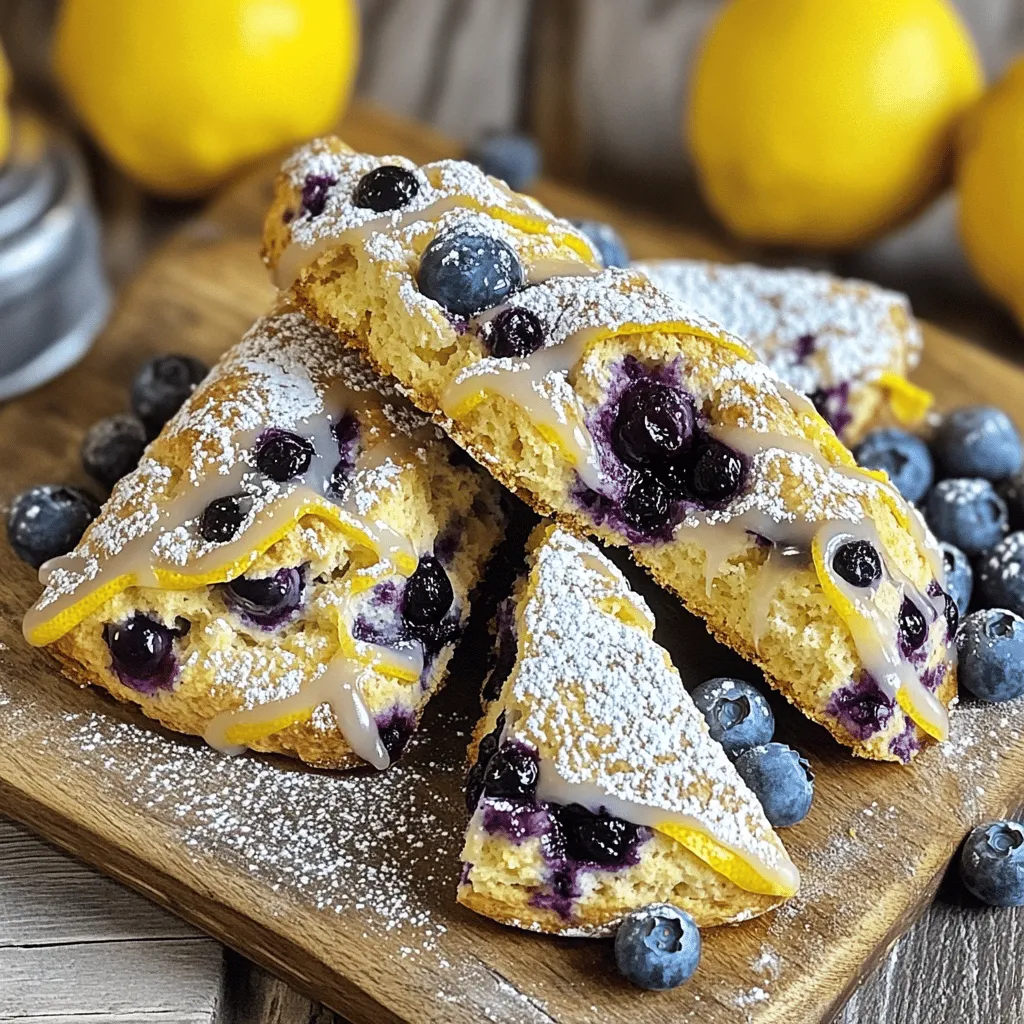
Lemon Blueberry Scones Flavorful and Easy Recipe
If you’re craving a delightful treat that’s both zesty and sweet, you’re in the right place. Lemon Blueberry Scones are Read Full Recipe -
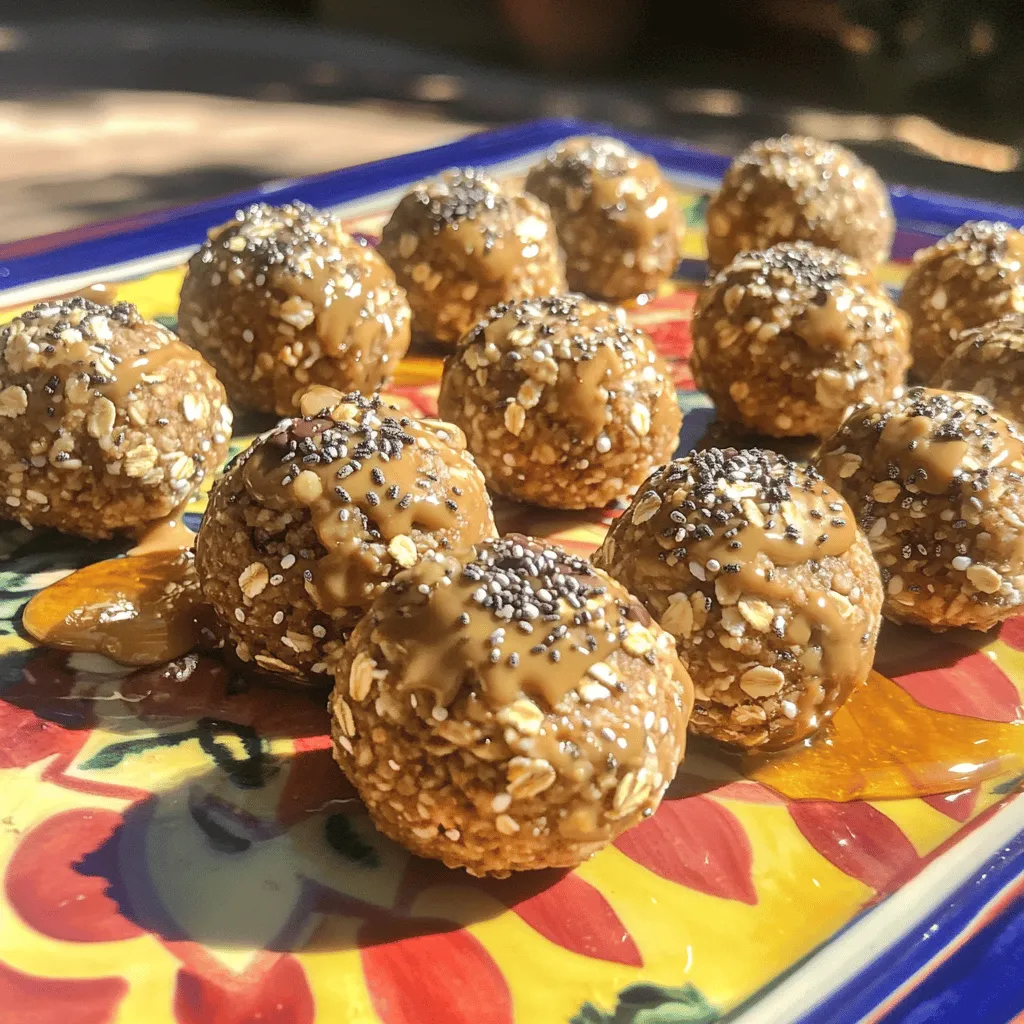
Healthy Peanut Butter Energy Bites Simple Snack Delight
Are you looking for a quick, tasty snack that packs a nutritious punch? Healthy Peanut Butter Energy Bites are the Read Full Recipe -
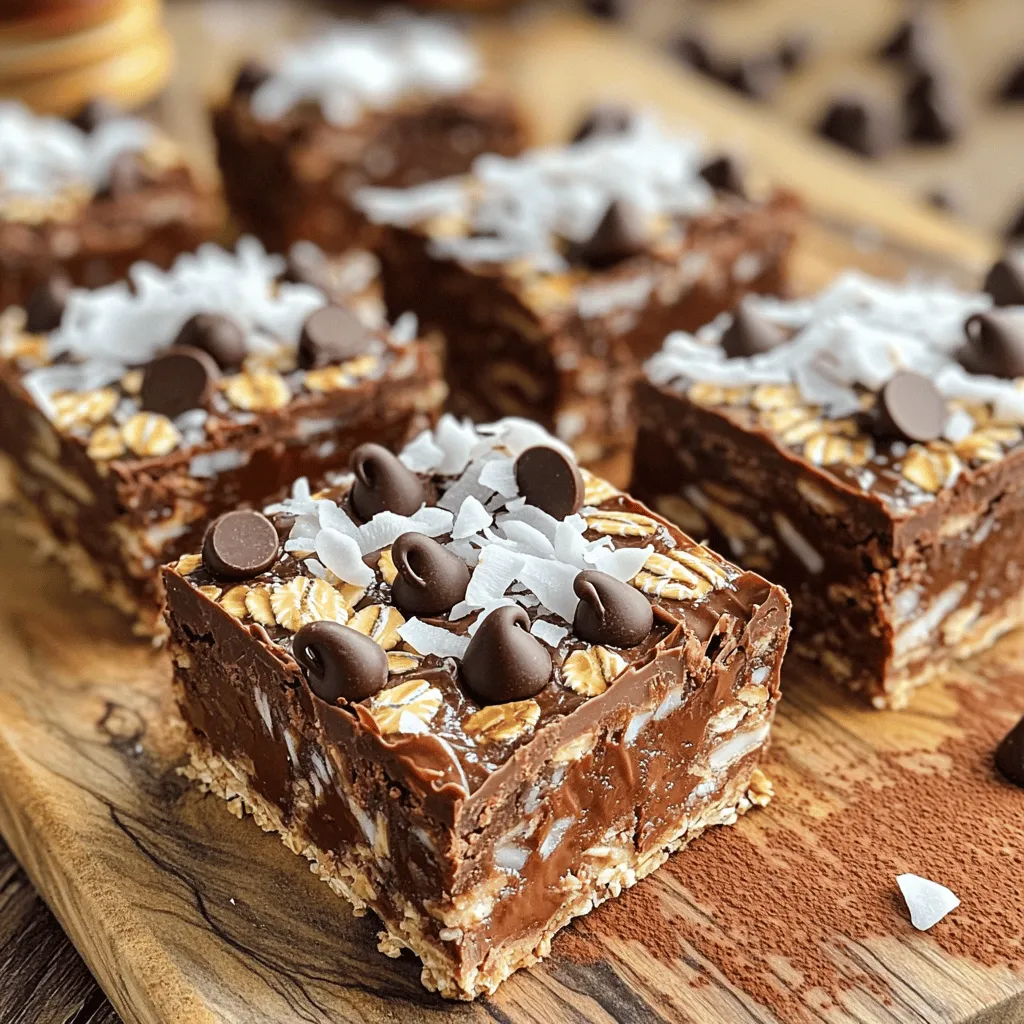
No-Bake Chocolate Oat Bars Simple and Tasty Snack
Looking for a quick and tasty snack? Try my No-Bake Chocolate Oat Bars! With simple ingredients like oats, nut butter, Read Full Recipe -
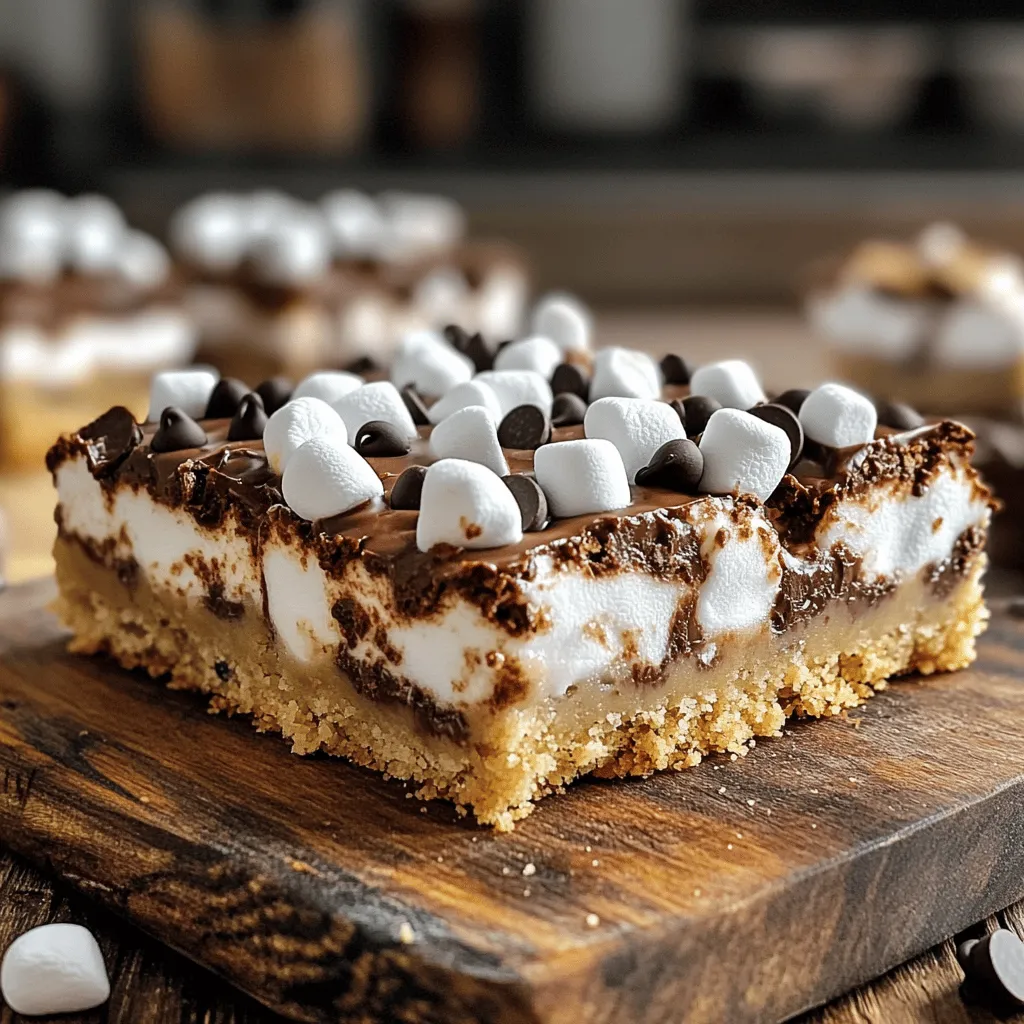
S’mores Cookie Bars Irresistible Dessert Recipe
Get ready to satisfy your sweet tooth with my S’mores Cookie Bars! This easy dessert combines soft cookie goodness with Read Full Recipe -
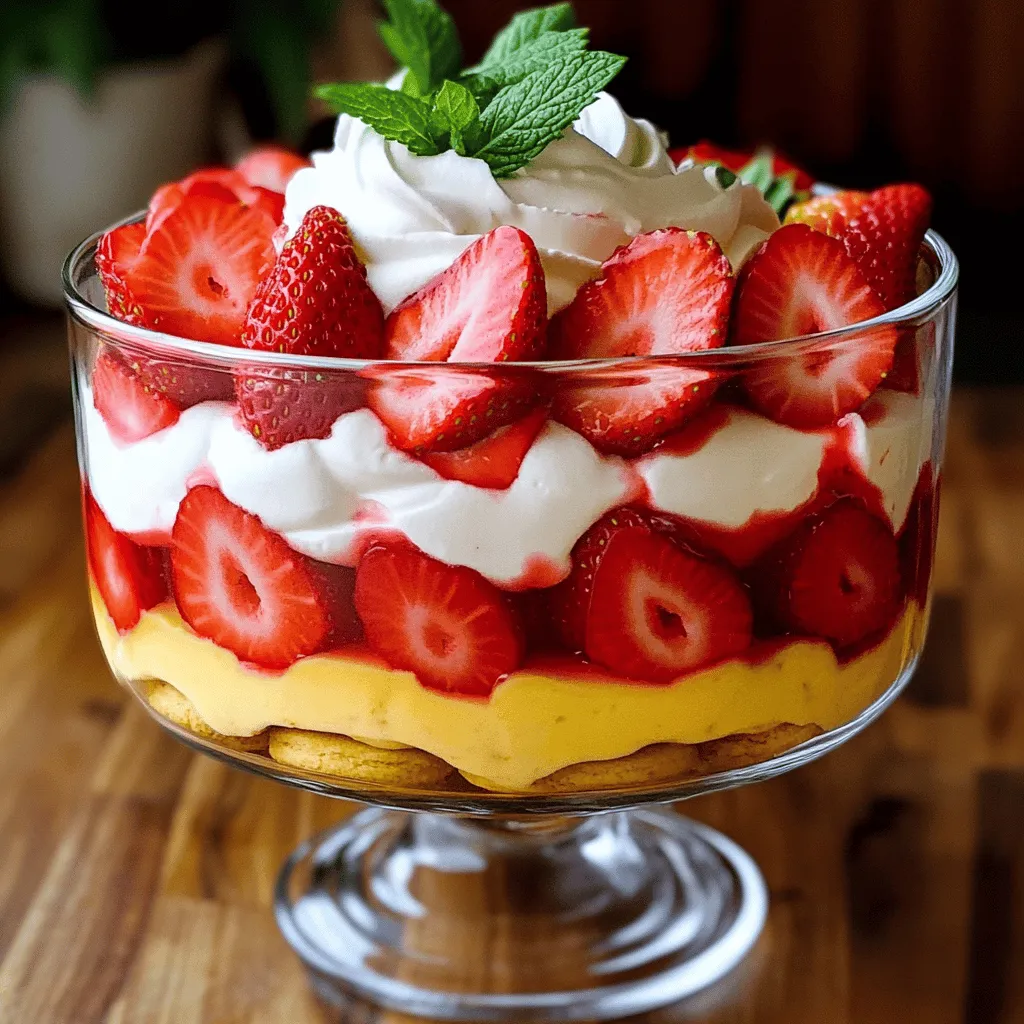
Strawberry Shortcake Trifle Delicious Dessert Delight
Ready for a dessert that wows your guests? Strawberry Shortcake Trifle combines fresh strawberries, whipped cream, and ladyfingers into a Read Full Recipe -

Lemon Blueberry Pound Cake Delightful and Easy Recipe
Looking for a sweet treat that’s simple to make? This Lemon Blueberry Pound Cake combines bright citrus flavors and juicy Read Full Recipe -
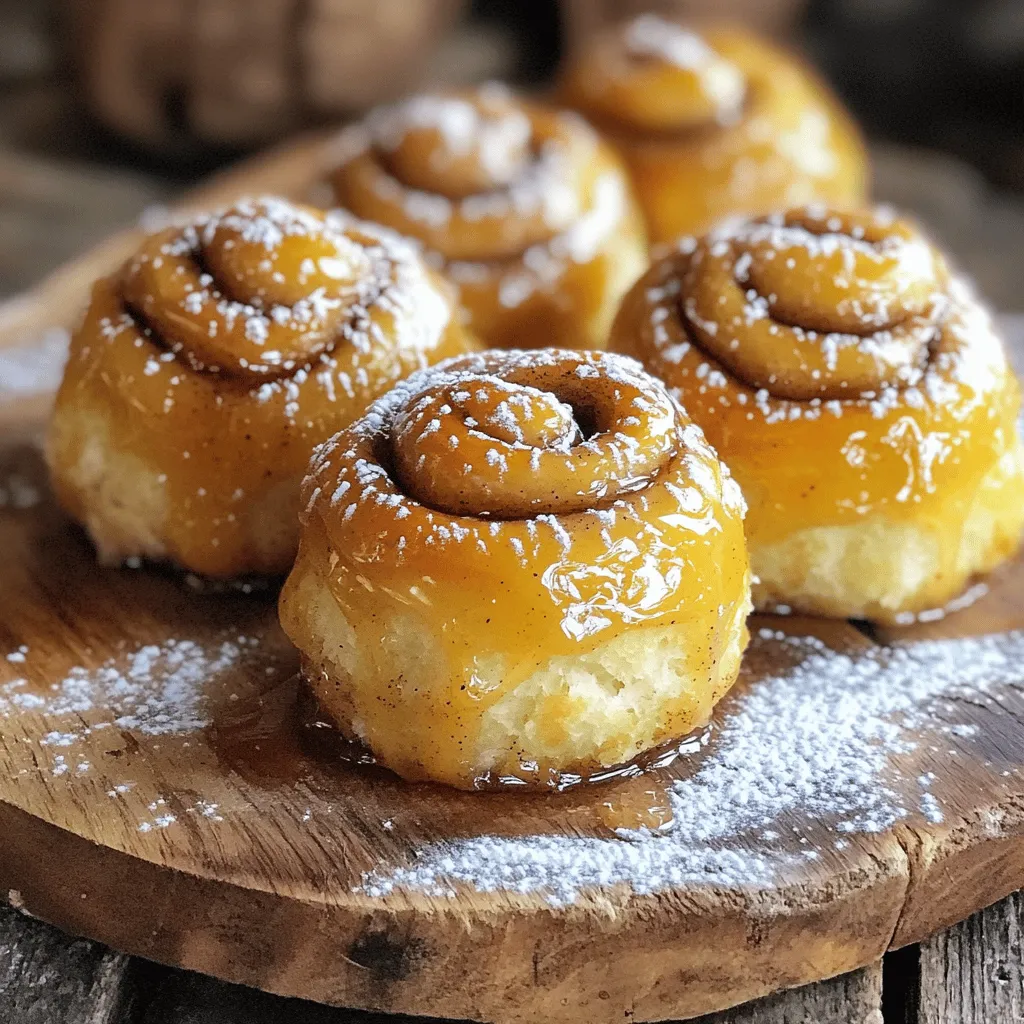
Easy Cinnamon Roll Bites Simple and Quick Treat
Craving a sweet, warm treat that takes mere minutes to make? You’re in the right place! In this article, I Read Full Recipe -
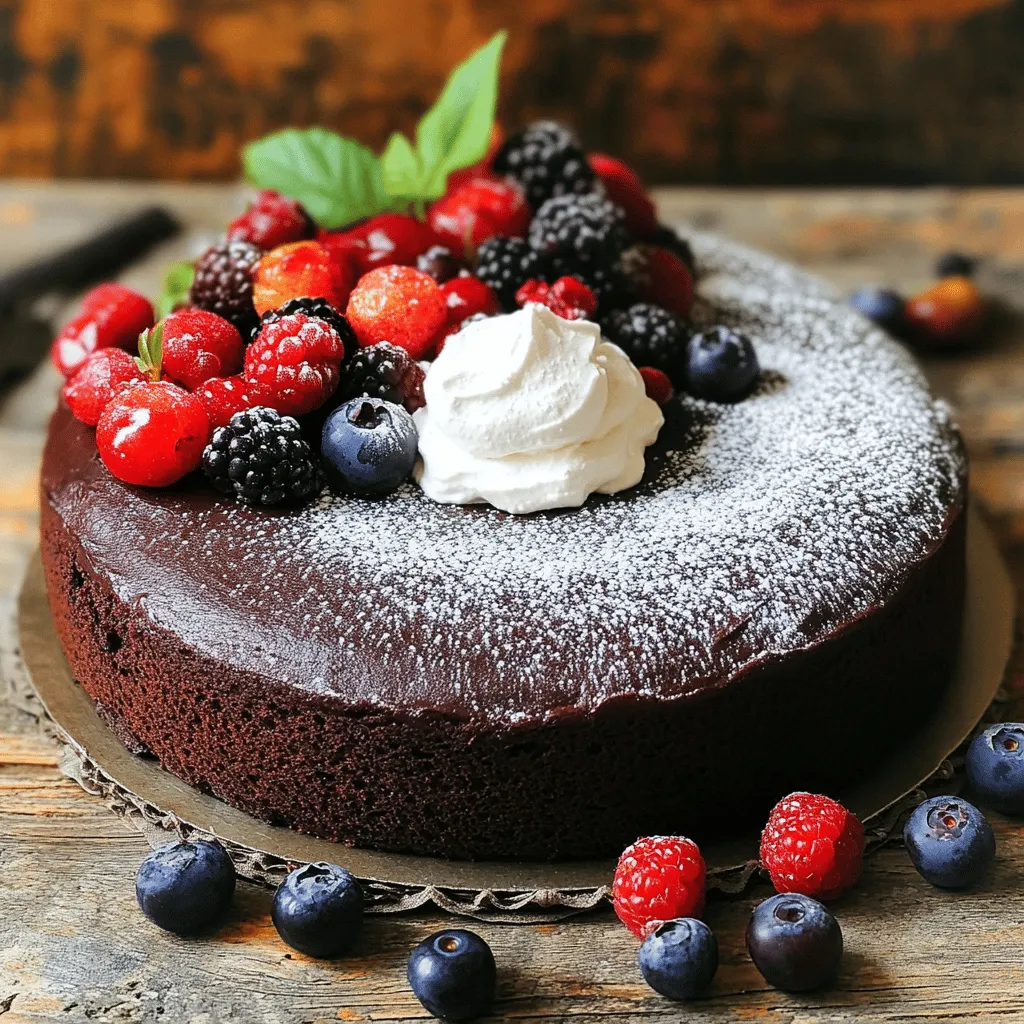
Vegan Chocolate Cake Easy and Delicious Recipe
Are you ready to indulge in a tasty Vegan Chocolate Cake? This easy recipe gives you rich flavor without dairy Read Full Recipe
My Latest Recipes

hey,
i’m !
I’m so happy you’re here!
I’m not just sharing recipes I’m sharing a piece of my heart. I hope these dishes bring you comfort, joy, and maybe even a new favorite.
Raspberry Lemonade Bars Fresh and Tangy Delight
If you’re craving a dessert that strikes the perfect balance between sweet and tangy, you’ve come to the right place. My Raspberry Lemonade Bars…
![To make delicious raspberry lemonade bars, you need these main items: - 1 cup all-purpose flour - 1/4 cup powdered sugar - 1/2 cup cold unsalted butter, cubed - 1 cup granulated sugar - 2 large eggs - 1 tablespoon lemon zest - 1/2 cup fresh lemon juice - 1 cup fresh raspberries (or frozen, thawed) - 2 tablespoons cornstarch - 1/4 teaspoon salt - Extra powdered sugar for dusting These ingredients create a sweet and tangy taste. The butter makes the crust rich. The lemon juice and zest give it that bright flavor. Fresh raspberries add a burst of fruity goodness. You can add more flavors to enhance your bars. Consider these options: - A splash of vanilla extract - A pinch of ginger for warmth - A few mint leaves for freshness These extra flavors can create a unique twist. Try different combinations to see what you like best! If you have allergies, there are ways to adjust the recipe. Here are some ideas: - Use gluten-free flour instead of all-purpose flour. - Replace butter with coconut oil for a dairy-free option. - Swap granulated sugar with a sugar substitute, like stevia or monk fruit. These substitutions help you enjoy raspberry lemonade bars without worry. You can still savor the tangy taste while meeting your dietary needs. For the full recipe, check [Full Recipe]. Start by preheating your oven to 350°F (175°C). Grease a 9x9-inch baking dish or line it with parchment paper. This makes it easy to take out the bars later. In a mixing bowl, combine 1 cup of all-purpose flour and 1/4 cup of powdered sugar. Cut in 1/2 cup of cold, cubed unsalted butter. Use your fingers or a pastry cutter to mix until it looks like coarse crumbs. Press this mixture evenly into the bottom of your dish. Bake for 15 minutes or until it turns lightly golden. When done, remove it from the oven and let it cool slightly. While the crust cools, you can make the filling. In another bowl, whisk together 1 cup of granulated sugar, 2 large eggs, 1 tablespoon of lemon zest, and 1/2 cup of fresh lemon juice. Mix until everything is well combined. Now, take 1 cup of fresh raspberries (or thawed frozen ones) and toss them with 2 tablespoons of cornstarch and a pinch of salt in a small bowl. Gently fold the raspberry mix into the lemon mixture. This will create a colorful and tangy filling. Pour the raspberry lemon filling over the baked crust. Spread it evenly with a spatula. Bake for an additional 25 to 30 minutes. The center should set and the edges will pull away from the sides. Once baked, take it out and let it cool completely at room temperature. After cooling, refrigerate the bars for at least 2 hours. This helps them firm up for cutting. Before serving, dust the top with extra powdered sugar for a nice finish. Enjoy these fresh and tangy delights! For the full recipe, refer to the earlier section. To bake evenly, preheat your oven fully. This step ensures your bars cook well from the start. Also, use a light-colored baking dish. Dark pans can overcook the edges while leaving the center soft. Remember to avoid opening the oven door too often. This can cause uneven heat and extend baking time. Fresh lemon juice and zest are key for bright flavor. Use a microplane to zest the lemon. This keeps the zest fine, mixing well into the batter. When juicing, roll the lemon on the counter to soften it. This helps release more juice. Taste the mixture before baking. If it’s too tart, add a little more sugar. One common mistake is overmixing the filling. This can make the bars tough. Mix just until combined for a light texture. Another mistake is skipping the cooling time. Cutting the bars too soon can lead to a messy finish. Let them cool completely before slicing. For more helpful tips, check the Full Recipe. {{image_2}} You can swap raspberries for other fruits. Try strawberries, blueberries, or blackberries. Each fruit adds its own flavor and color. Mix and match to find your favorite combo. Just remember to adjust the sugar if the fruit is sweeter or tarter. To make these bars gluten-free, use almond flour or gluten-free flour. For a dairy-free option, replace butter with coconut oil or vegan butter. This keeps the bars delicious while meeting dietary needs. Check labels to ensure all ingredients are free from gluten and dairy. Serving these bars can be fun and unique. Try drizzling a berry sauce on top. You could also add a dollop of whipped coconut cream. Fresh mint leaves make a nice garnish, too. Serve them chilled for a refreshing treat on hot days. To keep your Raspberry Lemonade Bars fresh, store them in an airtight container. Place a piece of parchment paper between layers to prevent sticking. They stay good in the fridge for up to five days. If you love them cold, they taste great straight from the fridge. For long-term storage, you can freeze these bars. First, let them cool completely. Then, cut them into squares. Wrap each square in plastic wrap and then in aluminum foil. This keeps them safe from freezer burn. They can last up to three months in the freezer. To enjoy, just thaw them in the fridge overnight. If you prefer your Raspberry Lemonade Bars warm, reheating is easy. Place the bars on a microwave-safe plate. Heat them in the microwave for about 10 to 15 seconds. This warms them without making them soggy. Enjoy the fresh taste as if they just came out of the oven! Yes, you can use bottled lemon juice. However, fresh juice offers a better flavor. Fresh lemons come with bright notes that bottled juice lacks. If you want the best taste, always choose fresh lemons when making these bars. To reduce the sweetness, cut back on granulated sugar. You can lower it by 1/4 cup. Another option is to add more lemon juice. The tartness from the lemon will balance the sweetness. You will still enjoy a zesty treat without the extra sugar. Lemon and raspberries make a great pair in many desserts. You can create a refreshing lemon raspberry sorbet. A lemon raspberry cheesecake is also a delightful option. For a quick treat, try lemon raspberry muffins. Each dessert brings out the bright flavors of both ingredients. For the full recipe, check out the Zesty Raspberry Lemonade Bars section. This blog post covered how to make delicious raspberry lemonade bars. We talked about essential and optional ingredients, plus substitutions for allergies. I shared step-by-step instructions for the crust and filling, along with baking tips for perfect results. You learned about fun variations and best storage practices. In the end, these bars are a tasty treat that you can customize. Experiment with flavors and share these delightful desserts with others. Enjoy baking and creating your own unique versions!](https://emmasdish.com/wp-content/uploads/2025/05/6cf5046c-c738-4fc8-9e38-9895a458e860.webp)
