
Latest & Greatest

Easy Italian Baked Chicken Flavorful and Simple Meal
If you’re looking for a meal that’s both simple and packed with flavor, you’re in the right place! My Easy
Read more…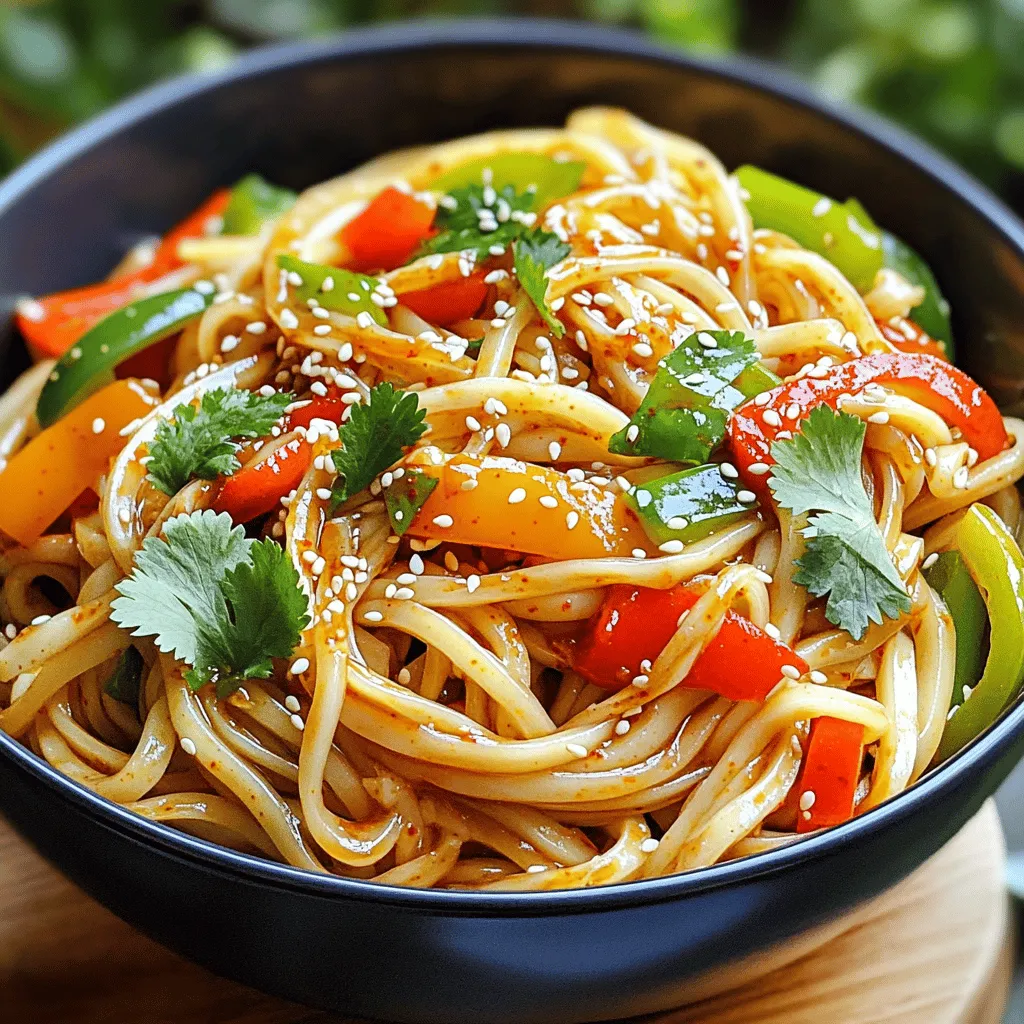
Chili Oil Udon Noodles Quick and Flavorful Meal
Are you craving a quick and tasty meal? Chili Oil Udon Noodles are the answer! This dish blends chewy udon
Read more…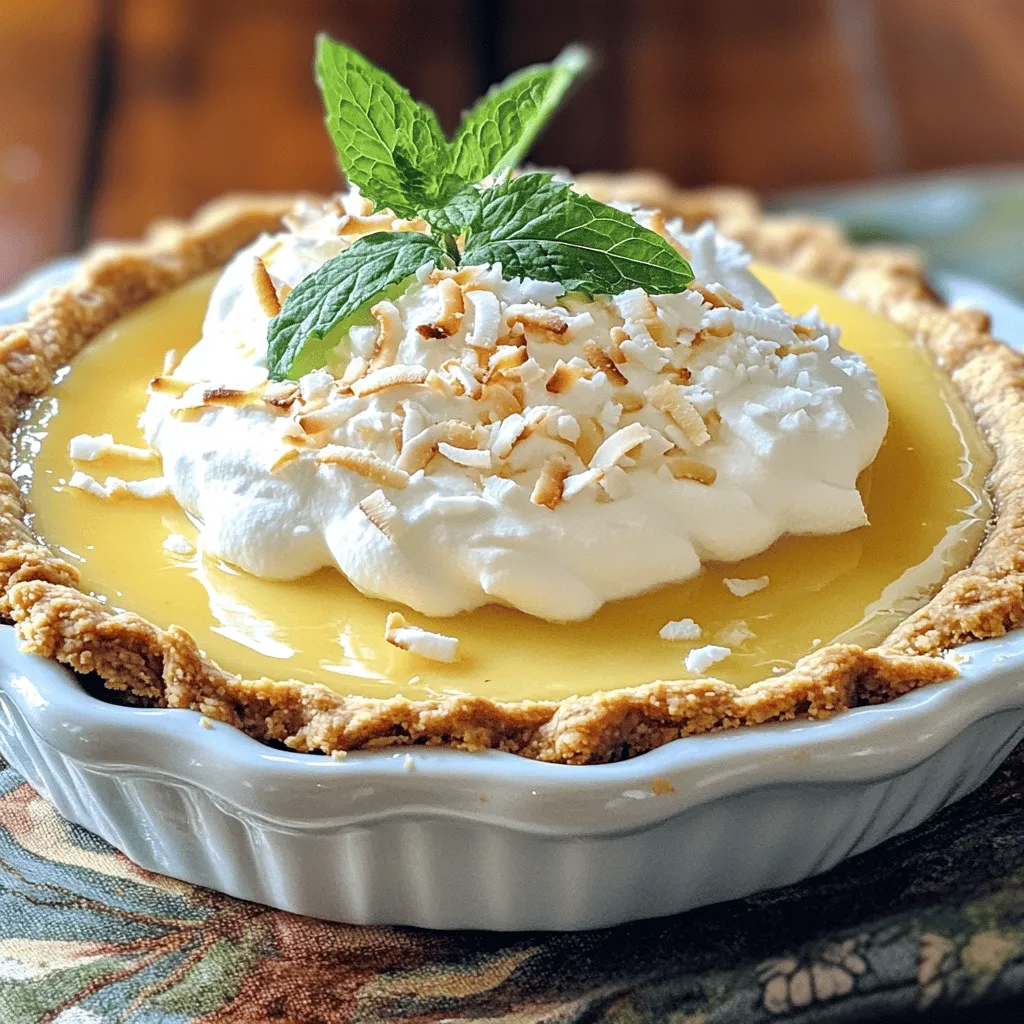
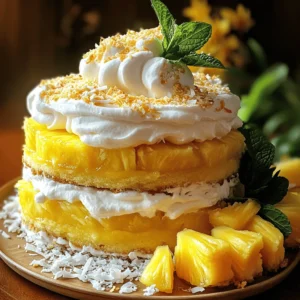
Coconut Cream Pie Delightful and Easy Recipe Guide
Welcome to your ultimate guide for Coconut Cream Pie! If you crave a creamy, dream-like dessert that’s easy to make,
Read more…
Crispy Fried Chicken Irresistible Flavor At Home
Are you ready to master the art of crispy fried chicken at home? This recipe packs irresistible flavors and gives
Read more…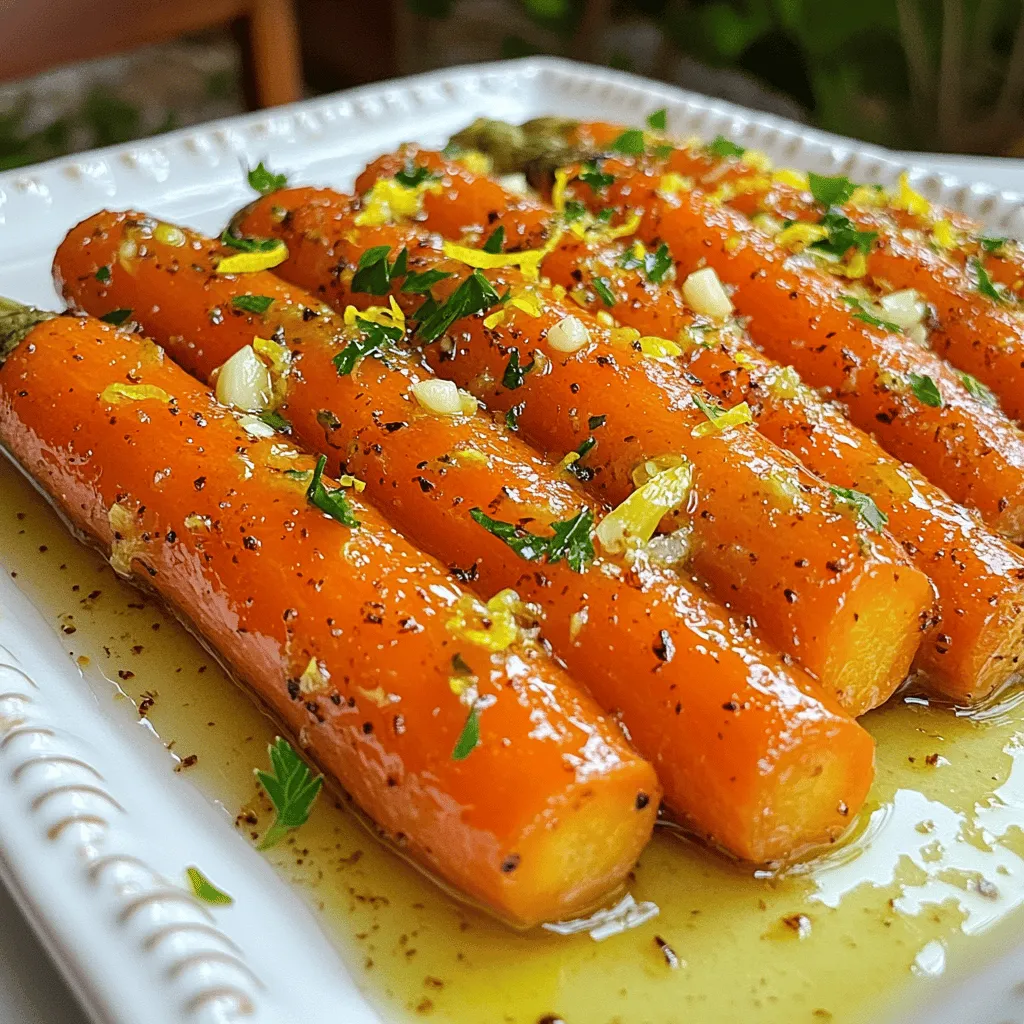
Tangy Lemon Garlic Roasted Carrots Flavorful Side Dish
Looking for a vibrant side dish that adds zest to your meals? Try my Tangy Lemon Garlic Roasted Carrots! With
Read more…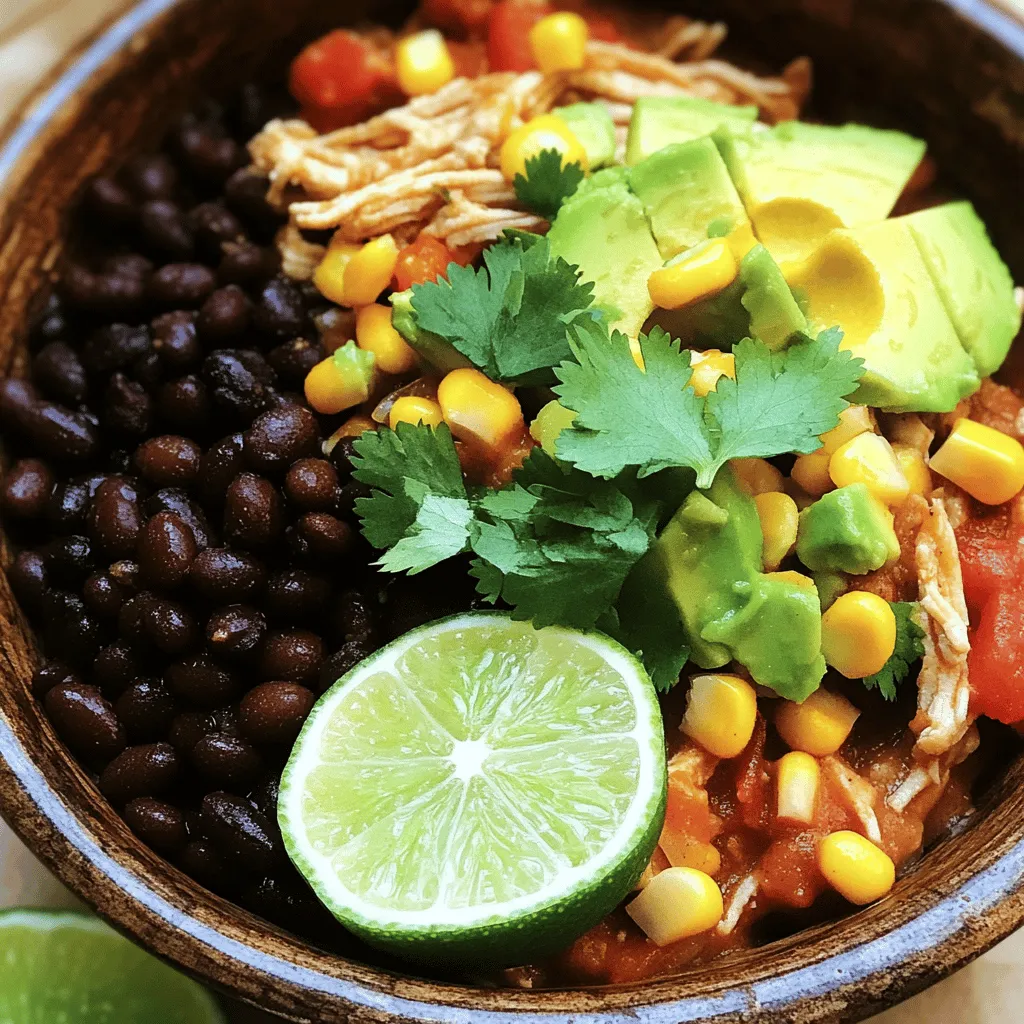
Crockpot Mexican Chicken Flavorful and Easy Meal
Are you in search of a simple yet delicious dinner idea? Look no further than my Crockpot Mexican Chicken! With
Read more…
Spring Hash Brown Crust Quiche Flavorful Easy Recipe
Looking for a delicious and easy recipe to brighten your spring brunch? This Spring Hash Brown Crust Quiche is just
Read more…browse recipes


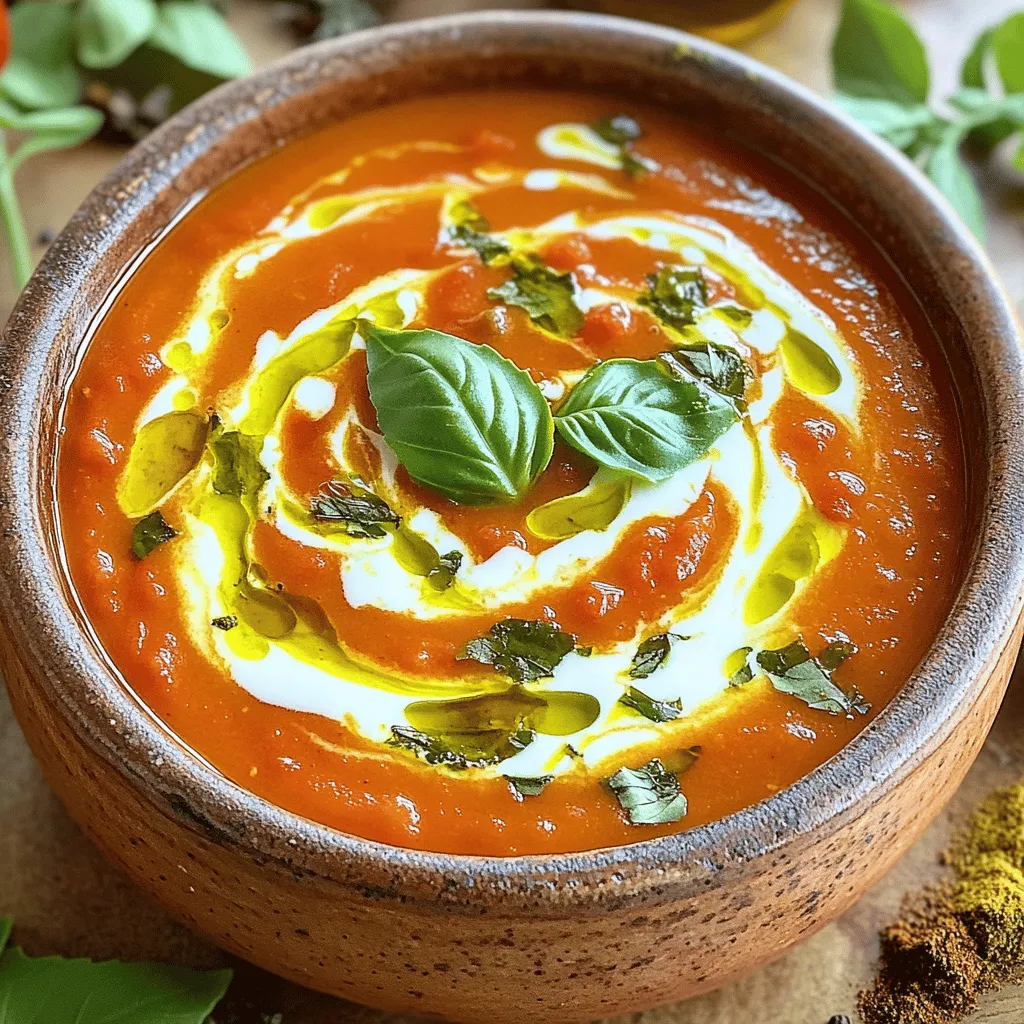
Creamy Tomato Basil Soup Simple and Delicious Recipe
If you crave a cozy, warm bowl of soup, you’re in the right place! My creamy tomato basil soup recipe is simple, delicious, and…
My Latest Desserts
-
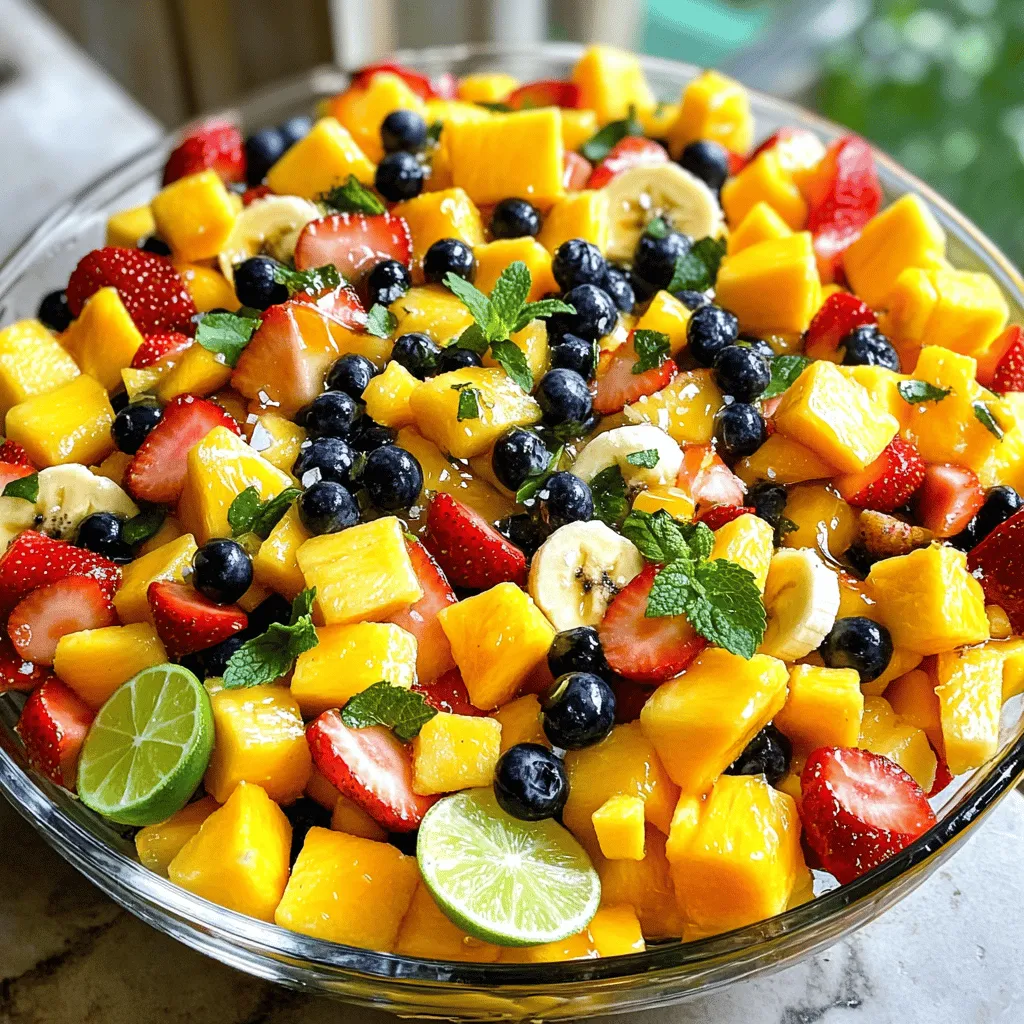
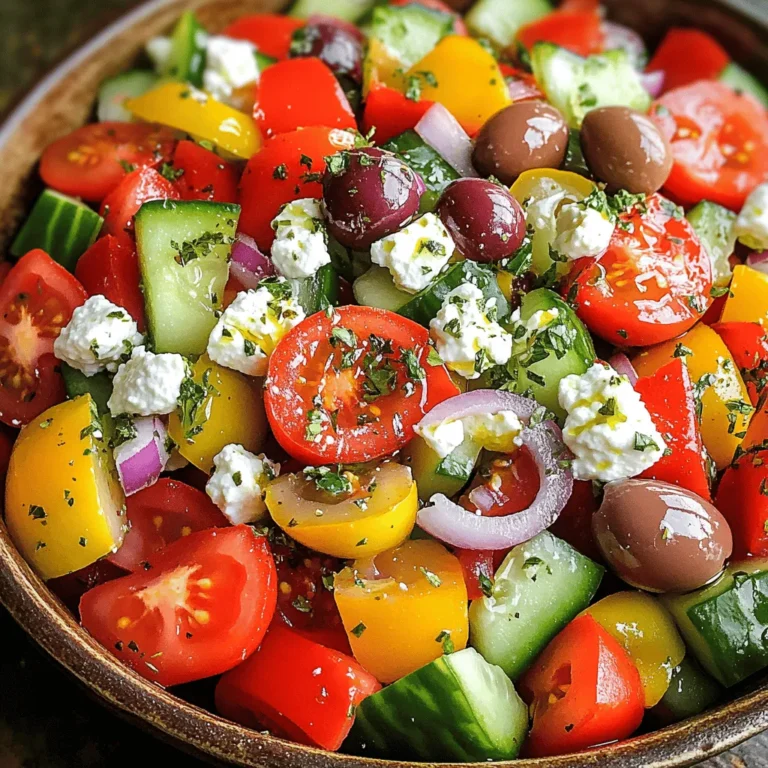
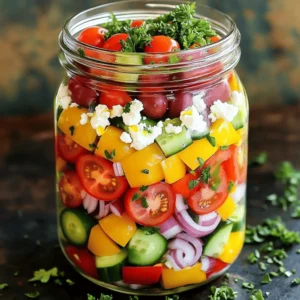
Tropical Fruit Salad Refreshing and Healthy Mix
Dive into a colorful world of flavors with my Tropical Fruit Salad! This healthy mix is bursting with fresh, tropical Read Full Recipe -
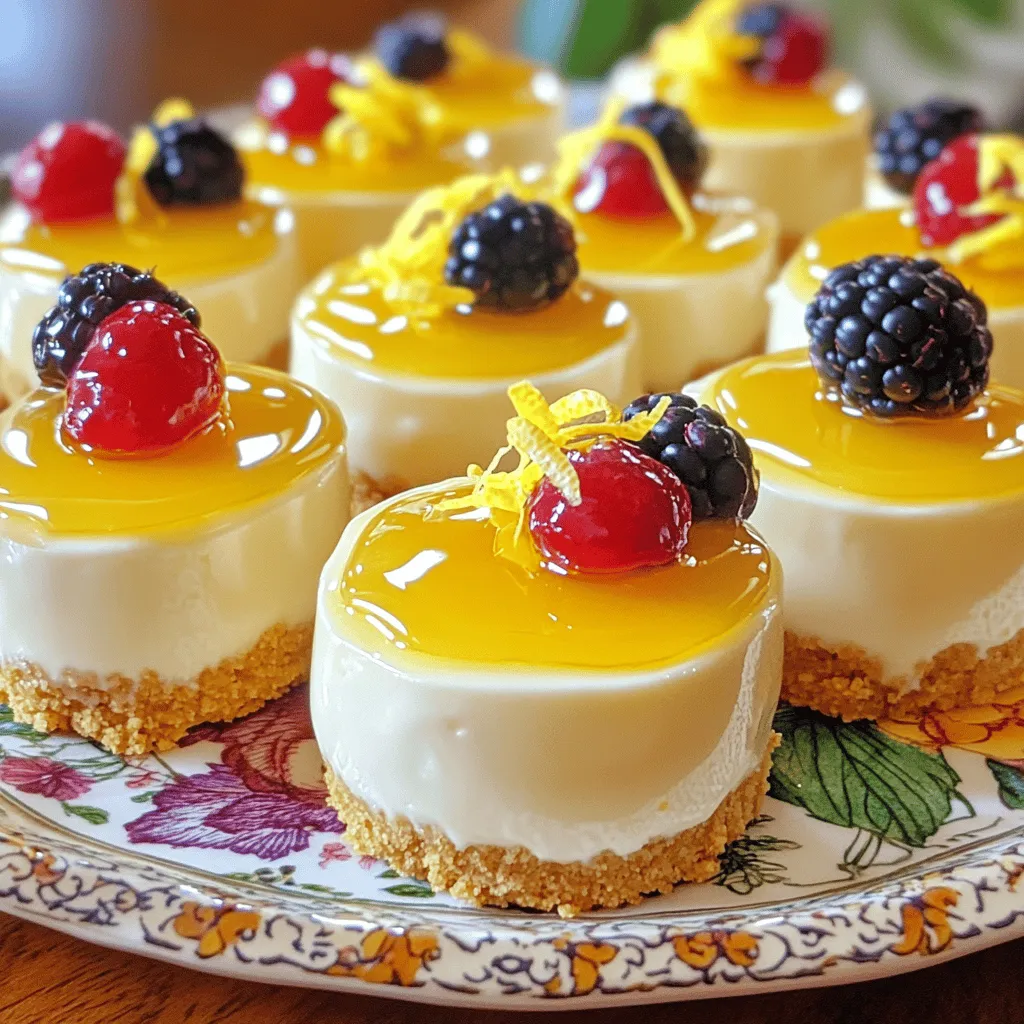
No-Bake Lemon Cheesecake Bites Tasty and Simple Dessert
Are you ready to indulge in a creamy treat without turning on the oven? No-Bake Lemon Cheesecake Bites are your Read Full Recipe -
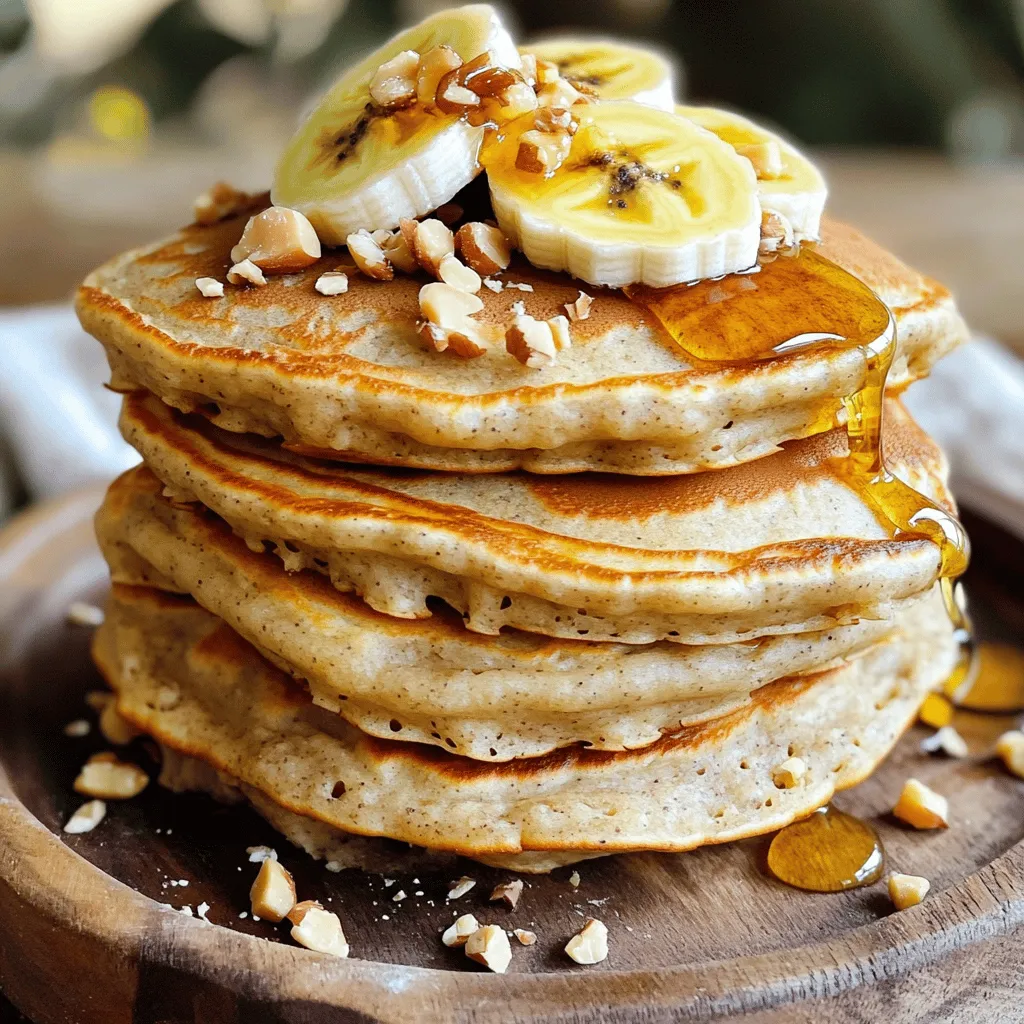
Healthy Banana Oat Pancakes Simple and Quick Recipe
Are you ready to flip the perfect pancake? In just minutes, you can whip up healthy banana oat pancakes that Read Full Recipe -
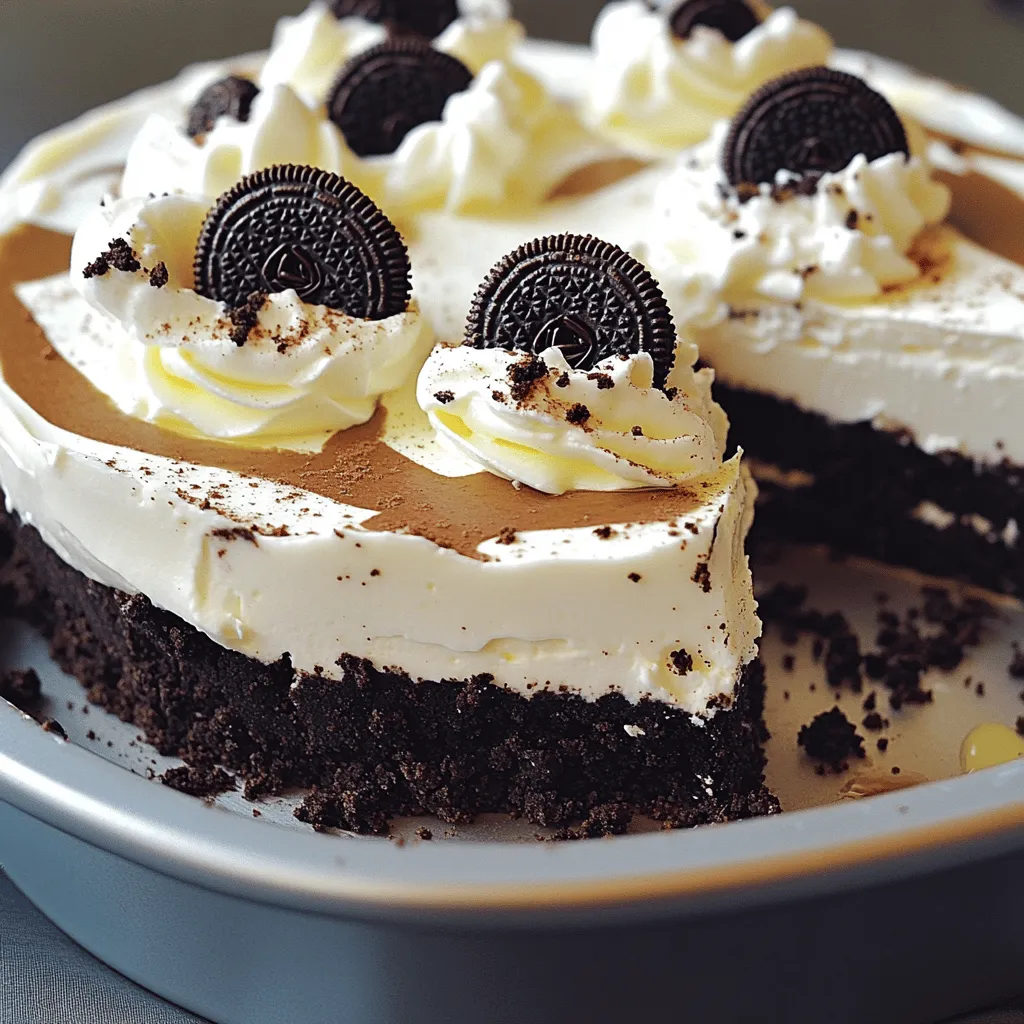
No-Bake Oreo Cheesecake Delightful and Easy Recipe
Are you craving a dessert that’s both easy and delicious? Look no further than this No-Bake Oreo Cheesecake! With just Read Full Recipe -
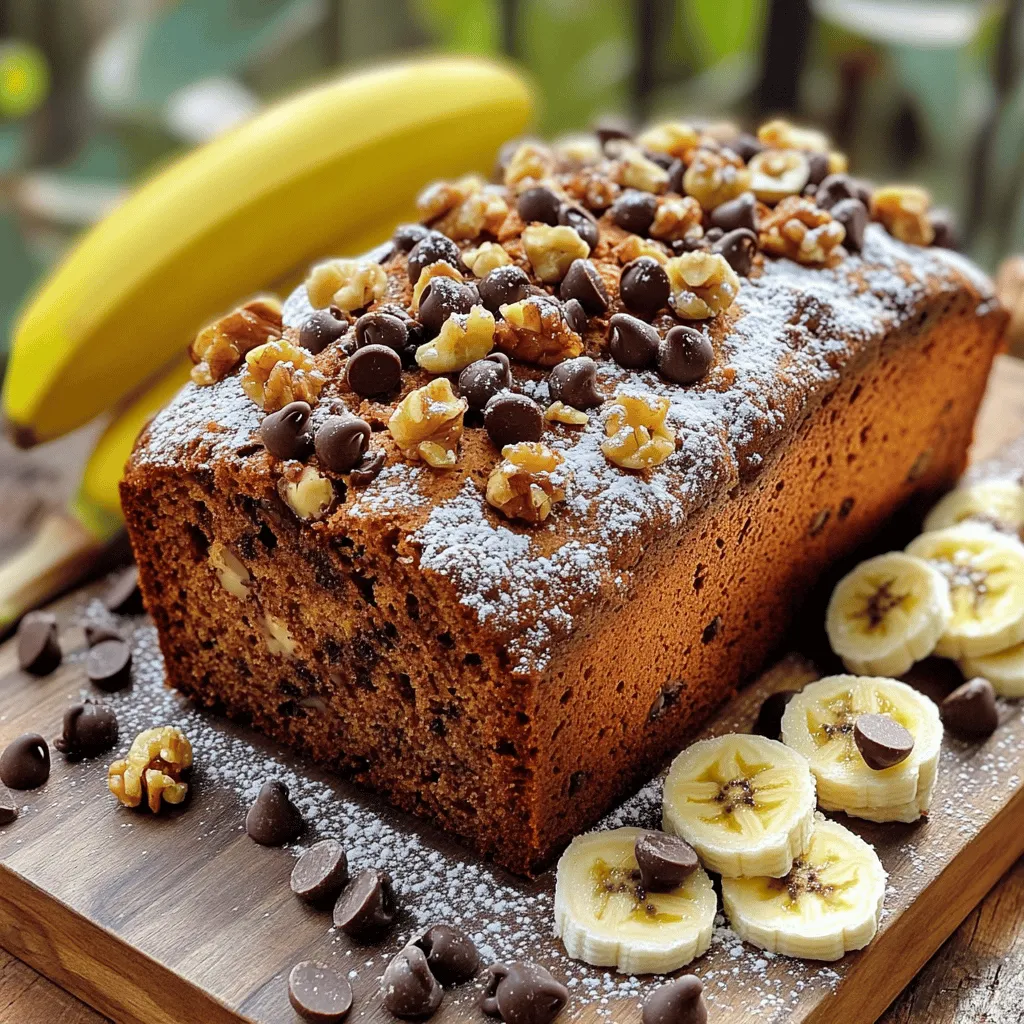
Chocolate Chip Banana Bread Irresistible Flavor Treat
If you love the sweet, comforting taste of banana bread, you’re in for a treat! This Chocolate Chip Banana Bread Read Full Recipe -

Lemon Blueberry Scones Flavorful and Easy Recipe
If you’re craving a delightful treat that’s both zesty and sweet, you’re in the right place. Lemon Blueberry Scones are Read Full Recipe -
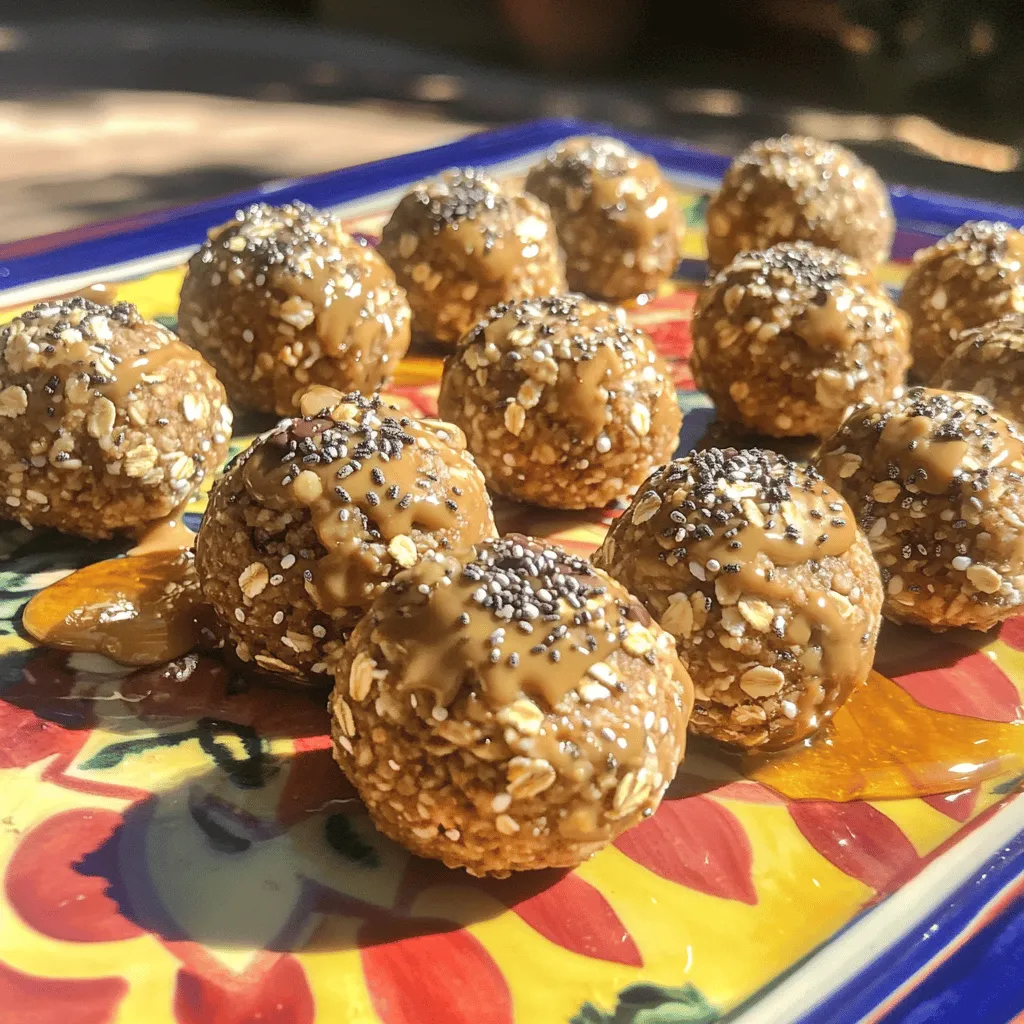
Healthy Peanut Butter Energy Bites Simple Snack Delight
Are you looking for a quick, tasty snack that packs a nutritious punch? Healthy Peanut Butter Energy Bites are the Read Full Recipe -
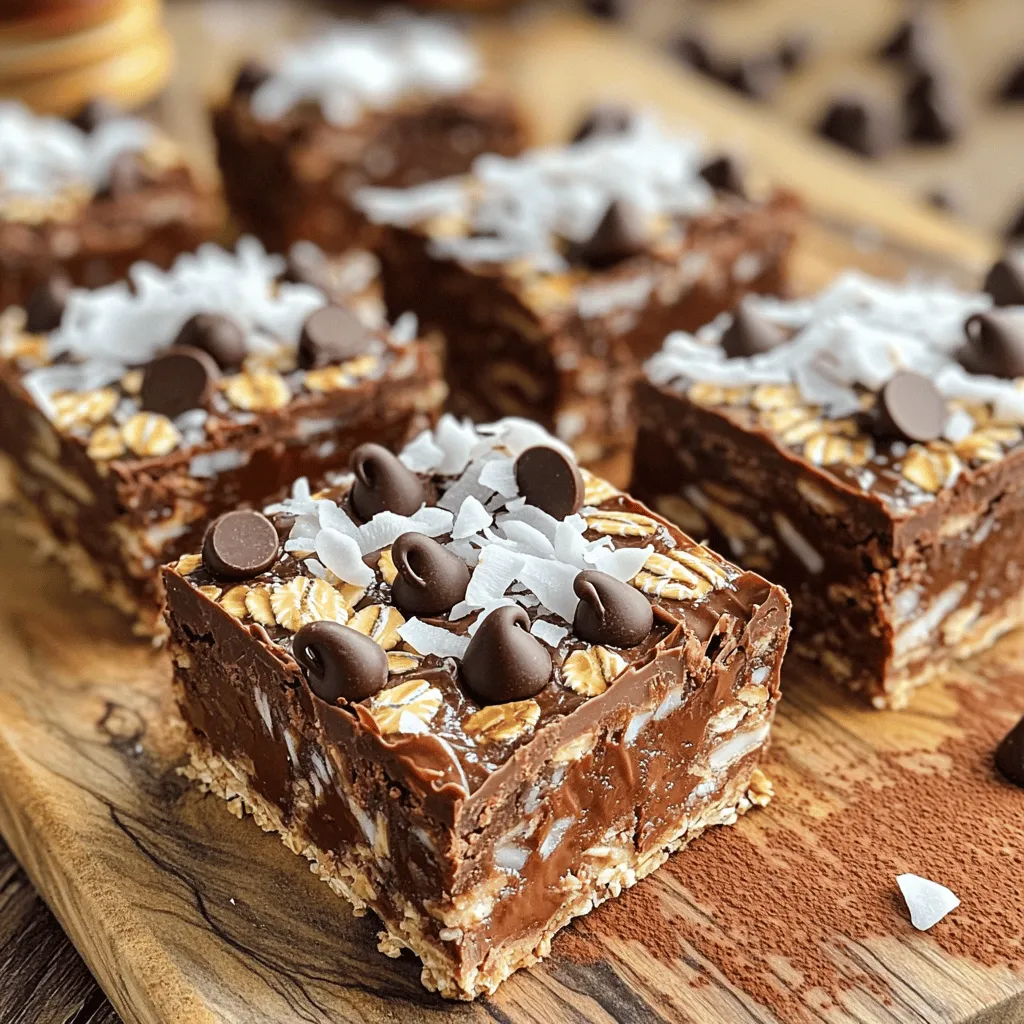
No-Bake Chocolate Oat Bars Simple and Tasty Snack
Looking for a quick and tasty snack? Try my No-Bake Chocolate Oat Bars! With simple ingredients like oats, nut butter, Read Full Recipe -
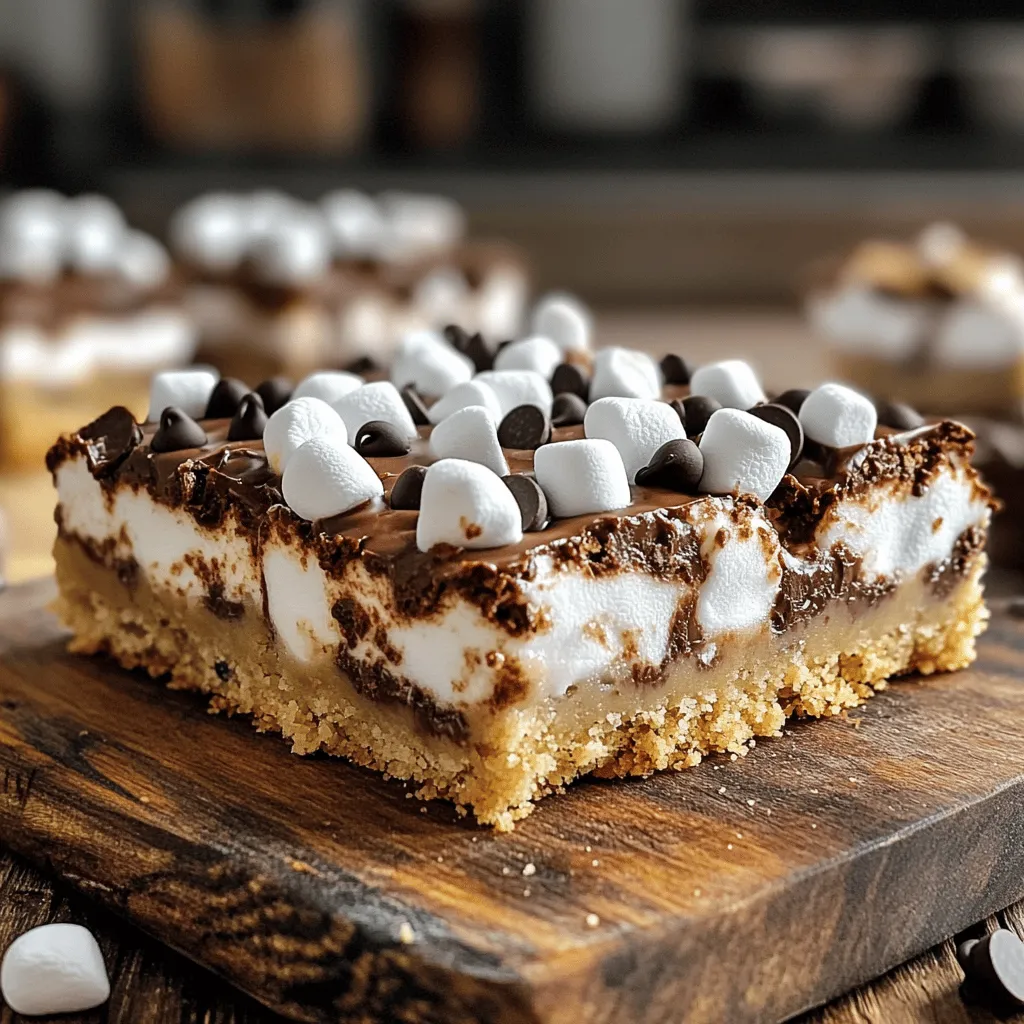
S’mores Cookie Bars Irresistible Dessert Recipe
Get ready to satisfy your sweet tooth with my S’mores Cookie Bars! This easy dessert combines soft cookie goodness with Read Full Recipe -
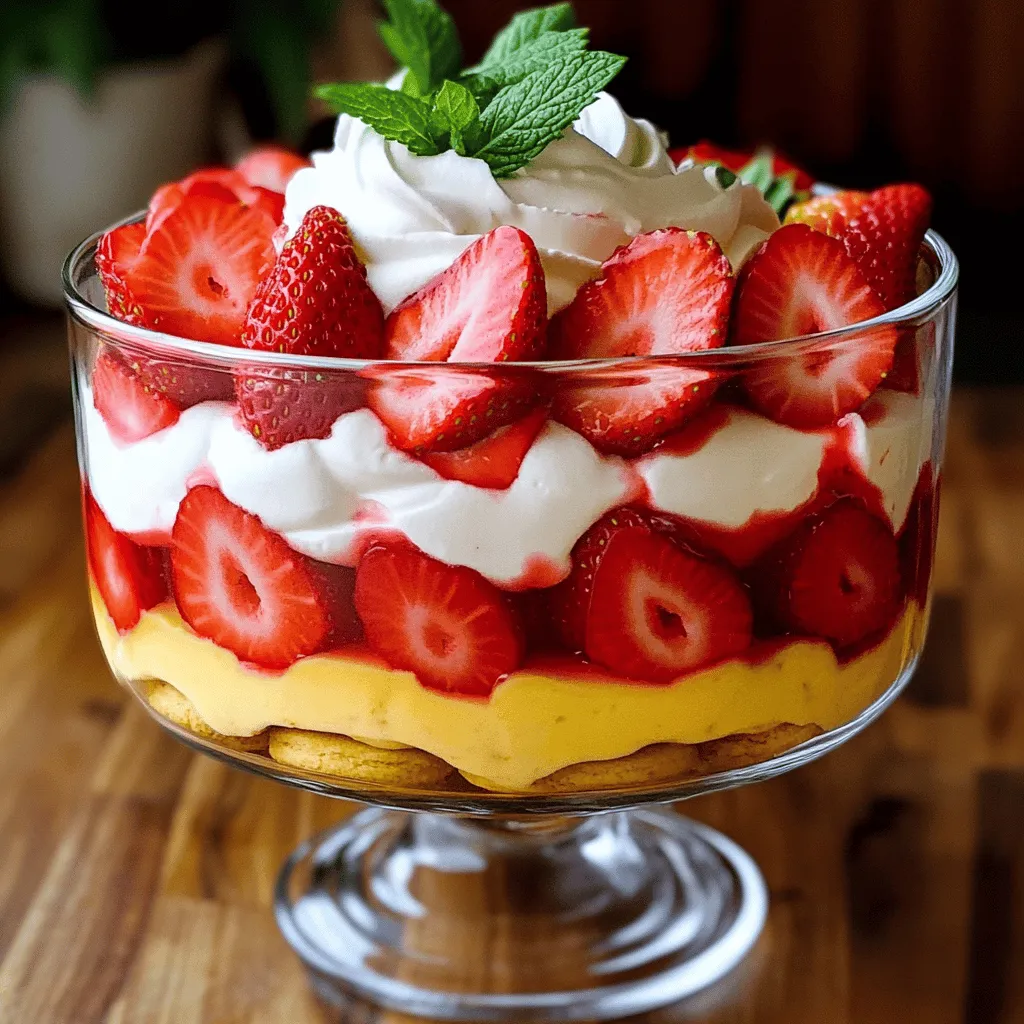
Strawberry Shortcake Trifle Delicious Dessert Delight
Ready for a dessert that wows your guests? Strawberry Shortcake Trifle combines fresh strawberries, whipped cream, and ladyfingers into a Read Full Recipe
My Latest Recipes

hey,
i’m !
I’m so happy you’re here!
I’m not just sharing recipes I’m sharing a piece of my heart. I hope these dishes bring you comfort, joy, and maybe even a new favorite.
![- Cauliflower florets - Cheese varieties (cheddar and mozzarella) - Cream cheese and milk For this cheesy cauliflower bake, you need fresh cauliflower. Cut a large head into florets. This gives you a tasty base. Next, gather your cheese. I love using cheddar and mozzarella. They melt well and add rich flavor. Cream cheese helps bind everything together. Milk makes the mixture smooth and creamy. - Garlic powder, onion powder, smoked paprika - Salt and pepper Flavor is key in this dish. Garlic powder brings depth, while onion powder adds sweetness. Smoked paprika gives a nice smokiness. Don’t forget salt and pepper to balance the flavors. These seasonings make your bake pop! - Breadcrumbs for topping - Fresh parsley for garnish For a little crunch, add breadcrumbs on top. They create a lovely texture when baked. Fresh parsley adds color and freshness. It also brightens up the dish. You can decide if you want these extras! For the full recipe, check out the details in the section above. To start, you need to steam the cauliflower florets. Place the florets in a pot with a bit of water. Cover and cook on medium heat for about 5-7 minutes. You want them tender but still firm. After steaming, drain the water well and set the florets aside. Now, let’s make the cheesy mixture. In a large mixing bowl, combine the softened cream cheese and milk. Whisk them together until smooth. Next, add garlic powder, onion powder, smoked paprika, salt, and pepper. Mix well to blend the flavors. Then, stir in half of the shredded cheddar and mozzarella cheese. This adds a rich, cheesy taste. It’s time to put it all together. Add the steamed cauliflower to the cheesy mixture. Gently fold it in so every floret gets coated. Transfer this mixture to a greased baking dish. Spread it evenly across the dish. Now, sprinkle the remaining cheddar and mozzarella on top. If you like, add breadcrumbs for a crunchy topping. Preheat your oven to 375°F (190°C) and bake for 25-30 minutes. Look for bubbly and golden brown cheese. Once done, let it cool a few minutes. Garnish with fresh parsley before serving. For the full recipe, check out the details above. To get the best Cheesy Cauliflower Bake, start with the right cauliflower. Use fresh florets. Overcooked cauliflower can become mushy. Steam your florets for just 5-7 minutes. They should be tender but still firm to the bite. This keeps them from turning into mush in the oven. For a great cheese melt, use a mix of cheddar and mozzarella. Combining these two cheeses gives a creamy and stretchy texture. Make sure to sprinkle the cheese on top before baking. This creates a golden and bubbly crust that everyone loves. Cheesy Cauliflower Bake pairs well with many dishes. For a complete meal, serve it with grilled chicken or fish. It also works great next to a fresh salad. You can add a tangy vinaigrette to the salad for extra flavor. This balance makes your meal feel more complete. Garnishing makes a big difference in how your dish looks. Use fresh parsley to add color on top. It gives a nice pop against the creamy cheese. You can also arrange the bake in a fun serving dish. A colorful platter can brighten up your table. Try serving it with a side of crunchy bread or crackers. This adds variety and texture to your meal. Using creative serving ideas can impress your guests and make the dish more inviting. For the full recipe, check out the earlier section. {{image_2}} You can switch up the cheese in this recipe! If you don’t have cheddar or mozzarella, try gouda or fontina. These cheeses melt well and add a nice flavor. For a vegan version, use cashew cheese or a store-bought vegan cheese. They can give a similar taste, and they melt nicely too. To make your cheesy cauliflower bake even better, add herbs and spices. Try mixing in thyme, rosemary, or a pinch of chili powder for a kick. You can also toss in veggies like spinach or broccoli. They boost nutrients and add color. Just make sure to chop them small so they blend well. If you need a gluten-free option, skip the breadcrumbs or use gluten-free ones. For a lighter dish, use low-fat cream cheese and milk. You can also cut back on cheese. This keeps the flavor while lowering calories and fat content. Enjoy your tasty dish without the guilt! Store your leftover cheesy cauliflower bake in the fridge. It lasts about 3 to 5 days. Use an airtight container to keep it fresh. Glass or plastic containers work well. Make sure to cool the dish before sealing it. This helps prevent moisture build-up. You can freeze cheesy cauliflower bake for up to 3 months. To freeze it, allow the dish to cool completely. Then, place it in a freezer-safe container. Label it with the date. When ready to eat, thaw it in the fridge overnight. Reheat it gently to keep its yummy texture. Reheat leftovers in the oven for best results. Preheat your oven to 350°F (175°C) and cover the dish with foil. Heat it for about 20 minutes. This keeps the dish moist and tasty. You can also use a microwave, but be careful to avoid overcooking. Heat in short bursts, stirring in between. Enjoy your cheesy cauliflower bake! What can I use instead of cream cheese? You can use Greek yogurt or sour cream. These options add creaminess and flavor. They keep the dish rich but change the taste slightly. If you want a dairy-free option, try cashew cream or a vegan cream cheese. Can I make this dish ahead of time? Yes! You can prepare the cheesy mixture and steam the cauliflower the day before. Store them in the fridge. When you are ready to bake, just combine and bake. This saves time and makes it easy for busy days. Why is my cauliflower bake watery? If your bake is watery, it may be due to overcooking the cauliflower. Steaming it just until tender keeps it firm. Also, draining the cauliflower well helps. If you still have excess liquid, you can sprinkle a bit of breadcrumbs to absorb it. How do I make it less cheesy? To make it less cheesy, reduce the amount of cheese used. You can also add more cauliflower or other veggies. This will keep the dish tasty while cutting down on the cheese flavor. How many calories per serving? Each serving has about 250 calories. This varies based on cheese and toppings. If you want fewer calories, use low-fat cheese or skip the breadcrumbs. Is this dish suitable for different dietary needs? Yes, it can be adjusted. For gluten-free, use gluten-free breadcrumbs. For vegan diets, swap cheese for plant-based options. This dish can fit into many diets with a few changes. For the full recipe, check out [Full Recipe]. This blog post outlined a delicious cauliflower bake, covering ingredients, steps, and variations. I shared how to prepare cauliflower, mix cheese, and bake it perfectly. You learned tips for serving, storing, and reheating leftovers. I also explored dietary options and answered common questions. With these simple steps, anyone can enjoy this tasty dish. Experiment with flavors and ingredients to make it your own. Cooking should be fun and rewarding. Enjoy your creation and share it with others!](https://emmasdish.com/wp-content/uploads/2025/05/487e9f89-61f8-4a5b-bc82-ff2d52b06dca-300x300.webp)

Crispy Air Fryer Sweet Potato Fries Easy and Tasty Recipe
Are you craving a tasty snack that’s both easy to make and healthy? Look no further! In this guide, I’ll show you how to…
![- 2 large sweet potatoes, peeled and cut into thin fries - 2 tablespoons olive oil - 1 teaspoon garlic powder - 1 teaspoon paprika - 1/2 teaspoon cayenne pepper (optional for heat) - Salt and pepper to taste - Fresh parsley, chopped (for garnish) To make crispy air fryer sweet potato fries, you need just a few main ingredients. Sweet potatoes are the star of the dish. They bring a natural sweetness and vibrant color. Olive oil helps the fries crisp up nicely. Garlic powder and paprika add flavor and depth. If you want some heat, cayenne pepper is a great addition. Finally, salt and pepper enhance the taste. A sprinkle of fresh parsley at the end gives a nice touch. - Different seasonings - Toppings - Dipping sauces You can customize your sweet potato fries with optional add-ins. Try different seasonings like cumin or chili powder for a unique twist. You can also add toppings like grated cheese or chopped green onions. For dipping sauces, classic options include garlic aioli or spicy ketchup. Experimenting with these add-ins makes your fries even more fun and tasty. If you want to explore more, check the Full Recipe for additional ideas! Soaking and Drying Start by soaking your sweet potato fries in cold water for at least 30 minutes. This step helps remove excess starch, which leads to crispier fries. After soaking, drain the fries and pat them dry with a kitchen towel. This is key to achieving that perfect crunch. Cutting Techniques When cutting the sweet potatoes, aim for thin and uniform pieces. This ensures even cooking. I like to slice them into about 1/4-inch thick strips. If you want, you can also cut them into wedges for a different look. Just make sure all pieces are similar in size. Mixing Ingredients In a large bowl, toss the sweet potato fries with 2 tablespoons of olive oil. Then, add 1 teaspoon of garlic powder, 1 teaspoon of paprika, and 1/2 teaspoon of cayenne pepper if you like some heat. Season with salt and pepper to taste. Mix until all fries are well coated. This blend of spices adds great flavor. Ensuring Even Coating To ensure every fry gets the same flavor, toss them thoroughly. You can use your hands or a spatula. Just make sure that the oil and spices are evenly spread out. This step is important for the best taste. Preheating the Air Fryer Before cooking, preheat your air fryer to 400°F (200°C) for about 5 minutes. This helps get the fries crispy from the start. Cooking Time and Techniques Place the fries in the air fryer basket in a single layer. Avoid overcrowding, as this can make them soggy. If you have a lot, cook in batches. Cook the fries for 15-20 minutes, shaking the basket halfway. This helps them cook evenly. After cooking, let them cool slightly before serving. You can garnish with chopped fresh parsley for a nice touch. For the full recipe, refer to the previous section. To get the best crispiness, I recommend soaking the sweet potato fries. Soak them in cold water for at least 30 minutes. This step helps to remove extra starch. Less starch means crispier fries when cooked. After soaking, drain the fries and dry them well with a kitchen towel. Moisture makes fries soggy, so drying is key. Cooking in batches also helps. If you crowd the air fryer, the fries will steam instead of fry. I suggest cooking them in a single layer. This allows hot air to circulate around each fry. For the best results, fry them in two or more batches if needed. The best temperature for air frying sweet potato fries is 400°F (200°C). This high heat cooks the fries quickly and crisps them up nicely. Preheat your air fryer for about 5 minutes before adding the fries. Different air fryers may have slight variations in temperature. Some may cook faster than others. Keep an eye on the fries as they cook. If they start to brown too quickly, lower the temperature by 25°F (about 15°C). Serve your crispy fries on a parchment-lined tray. This makes for easy cleanup and looks nice. For a fun touch, add a small bowl of your favorite dipping sauce. Garlic aioli or spicy ketchup works well. Garnish the fries with chopped fresh parsley for added color and flavor. A sprinkle of sea salt just before serving can make them even tastier. Enjoy the vibrant look of your dish as much as the taste! {{image_2}} Sweet and Spicy For a sweet and spicy kick, mix cinnamon and cayenne. Use one teaspoon of cinnamon and a half teaspoon of cayenne pepper. This mix adds warmth and flavor. Toss it with your fries before cooking. The result is a tasty treat that leaves your taste buds dancing! Herb-Infused If you love herbs, try rosemary or thyme. Use one teaspoon of dried rosemary or thyme. Mix it with olive oil and seasoning. This adds a fresh, earthy taste. It's a great way to change up your fries without much effort! Baking Instructions You can bake these fries if you don't have an air fryer. Preheat your oven to 425°F (220°C). Spread the seasoned fries on a baking sheet in a single layer. Bake for about 25-30 minutes. Flip them halfway for even cooking. This method gives you crispy fries too! Frying Options If you crave the classic taste, deep frying works well. Heat oil in a pot to 350°F (175°C). Fry the sweet potato fries in small batches. Cook for about 3-4 minutes until golden. This method is rich in flavor but watch your oil use! Using Fewer Oils You can use less oil and still enjoy great taste. Try using a spray bottle to mist oil on the fries. This way, you use less but still get that crispiness. It’s a simple swap for a healthier take! Additional Veggie Options Mix in other veggies for variety. Carrots or zucchini fries work great. Cut them into similar sizes as sweet potatoes. Season and cook just like your sweet potato fries. This adds color and nutrition to your meal! For the full recipe, check out the [Full Recipe]. - Storing Leftovers: After enjoying your crispy sweet potato fries, let them cool. Place them in an airtight container. They will stay fresh for up to three days in the fridge. If you want to keep them longer, consider freezing them. - Best Practices for Freshness: To keep your fries crispy, avoid stacking them. Lay a paper towel in the container to absorb moisture. This helps prevent sogginess. Always let the fries cool before sealing the container. - Oven vs. Air Fryer Reheating: The air fryer is my favorite for reheating. It brings back the crunch! Set it to 380°F (193°C) and heat for about 5-7 minutes. The oven works too, but it takes longer. Preheat to 400°F (200°C) and bake for 10-15 minutes. - Avoiding Sogginess: No one likes soggy fries! When reheating, place the fries in a single layer. This helps them crisp up again. Avoid covering them with foil, as this traps steam and makes them soft. Cooking them in batches can also help maintain their crispy texture. Yes, you can use other potatoes like russet or Yukon gold. Each type has its own cooking style. - Differences in Cooking: Russet potatoes are starchy. They tend to get crispy outside but soft inside. Yukon golds have more moisture, making them creamier. Cooking times may change, so keep an eye on them. - Flavor Considerations: Sweet potatoes are sweet and nutty. Other potatoes are more neutral. This means they can pair well with different spices and dips. To get those fries nice and crispy, follow a few simple steps. - Common Mistakes: Avoid overcrowding the air fryer. This leads to steaming instead of frying. Also, skipping the soaking step can make fries soggy. - Recommended Techniques: Soak the fries in cold water for at least 30 minutes. This removes extra starch. Pat them dry before seasoning. Use enough oil to coat but don’t drown them. Shaking the basket halfway through cooking helps too. Sweet potato fries taste great with a variety of dips. - Flavor Pairing Suggestions: The sweet flavor of the fries goes well with spicy or tangy dips. Think about balancing sweetness with heat. - Popular Dipping Sauce Ideas: You might enjoy garlic aioli, spicy ketchup, or chipotle mayo. These enhance the fries’ flavor and add a fun twist. Try different sauces to find your favorite. For the full recipe, check out the Crispy Air Fryer Sweet Potato Fries recipe above. Sweet potato fries are fun to make and taste great. We covered all the key steps: slicing, seasoning, and cooking to get perfect fries. You can try different spices and dips to match your taste. Remember to soak the potatoes to get them crispy. For a twist, explore oven or frying options. If you have leftovers, store them well to keep their flavor. Enjoy creating and sharing these tasty treats!](https://emmasdish.com/wp-content/uploads/2025/06/a2b2efc2-679f-45c7-a88c-d014430c4932.webp)
