


Latest & Greatest

Spring Hash Brown Crust Quiche Flavorful Easy Recipe
Looking for a delicious and easy recipe to brighten your spring brunch? This Spring Hash Brown Crust Quiche is just
Read more…browse recipes


![When making lemon blueberry muffins, using fresh and quality ingredients is key. Here’s what you need: - 1 ½ cups all-purpose flour - 1 cup fresh blueberries - ½ cup granulated sugar - ½ cup unsalted butter, melted - 2 large eggs - 1 teaspoon vanilla extract - 1 teaspoon baking powder - ½ teaspoon baking soda - ½ teaspoon salt - Zest of 1 lemon - 2 tablespoons fresh lemon juice - ¼ cup milk Each ingredient plays a role in creating that delightful taste. The flour provides structure, while the sugar adds sweetness. Blueberries bring bursts of flavor and antioxidants, making these muffins both tasty and healthy. The butter adds richness and moisture. Eggs help bind everything together, giving the muffins a fluffy texture. Vanilla extract enhances the overall flavor. Baking powder and baking soda are crucial for that perfect rise. The lemon zest and juice give a bright, zesty flavor that pairs wonderfully with blueberries. Finally, milk adds the right amount of liquid to keep the muffins soft. With this full recipe, you can create a batch of muffins that are fresh, fluffy, and bursting with flavor. Enjoy the process of mixing and baking, and get ready for a treat! - Preheat your oven to 375°F (190°C). - Line a muffin tin with paper liners or spray it with cooking spray. - In a large bowl, whisk together 1 ½ cups of all-purpose flour, 1 teaspoon of baking powder, ½ teaspoon of baking soda, and ½ teaspoon of salt. - In another bowl, mix ½ cup of melted butter and ½ cup of sugar. - Add 2 large eggs, 1 teaspoon of vanilla extract, the zest of 1 lemon, and 2 tablespoons of fresh lemon juice. Mix well. - Gradually add the dry mix to the wet mix, alternating with ¼ cup of milk. - Fold in 1 cup of fresh blueberries gently. - Fill each muffin cup about 2/3 full with batter. - Bake for 18 to 22 minutes. - Check doneness by inserting a toothpick into the center. It should come out clean. You can find the full recipe for Lemon Blueberry Muffins in this article. To ensure even distribution of blueberries, add them last. Gently fold them into the batter. This keeps them whole and juicy. If you mix too hard, they can break apart. Avoiding overmixing is key for fluffy muffins. When you combine wet and dry ingredients, mix just until you see no dry flour. Lumps in the batter are okay. This will help your muffins rise well. Dusting muffins with powdered sugar makes them look extra special. This adds a sweet touch and a nice contrast to the lemon zest. Use a fine sieve for even coverage. For serving, add fresh blueberries and lemon slices. This makes your plate pop with color. You can also place the muffins on a rustic wooden board. It gives a cozy, inviting feel. If you need alternatives for butter, try using coconut oil. It gives a nice flavor. For milk, almond or oat milk works well. These swaps can make the muffins dairy-free. You can also use other berries or flavorings. Try raspberries or strawberries for a twist. A dash of almond extract can add a nice layer of flavor too. {{image_2}} Sticking with the traditional recipe gives you a cozy, familiar taste. The classic version is simple and uses fresh blueberries and zesty lemon. You will love the sweet and tart mix in every bite. This version is light and fluffy, making it a perfect snack or breakfast. Using the [Full Recipe], you can create these delightful muffins easily. Want a better twist? Use whole wheat flour instead of white flour. This adds fiber and makes the muffins more filling. You can also swap sugar for natural sweeteners like honey or maple syrup. These changes keep the muffins tasty while making them a bit more nutritious. They still taste great and are a fun way to enjoy a classic. If you like to mix it up, try adding poppy seeds or coconut. Poppy seeds add a nice crunch and a bit of nutty flavor. Coconut gives a tropical touch, making each bite unique. You can also experiment by adding spices like cinnamon or nutmeg for extra warmth. These variations make your muffins stand out and keep things exciting! Let your muffins cool in the pan for about 5 minutes. This helps them set properly. After that, move them to a wire rack. Cooling completely is key before storage. Once they are cool, store them in an airtight container. This keeps them fresh and soft. You can also use a resealable plastic bag. Make sure to remove as much air as possible. Freezing muffins is a great way to enjoy them later. To freeze, wrap each muffin tightly in plastic wrap. Place the wrapped muffins in a freezer bag. Label the bag with the date. When you want to eat one, remove it from the bag. Let it thaw at room temperature. You can also reheat it in the microwave for about 20-30 seconds. Lemon blueberry muffins stay fresh at room temperature for about 2-3 days. If you store them in the fridge, they can last up to a week. However, for the best taste and texture, eat them within a few days. For longer storage, freezing is the best option. This way, you can enjoy the flavors whenever you want. For the full recipe, check out the earlier section. To keep your lemon blueberry muffins moist, here are some key tips: - Use butter: Melted butter adds rich flavor and moisture. - Do not overmix: Mix just until combined. This helps keep them fluffy. - Add yogurt or sour cream: These ingredients boost moisture. - Store properly: Keep muffins in an airtight container. This prevents drying out. Yes, you can use frozen blueberries. They work well in muffins. They may make the batter a bit blue, but the taste stays great. When using frozen, no need to thaw. Just add them directly to the batter. This keeps them intact and juicy. Pair lemon blueberry muffins with these tasty options: - Yogurt: A side of Greek yogurt adds protein and creaminess. - Scrambled eggs: The savory taste of eggs balances the sweetness. - Fresh fruit: Serve with sliced bananas or strawberries for color and freshness. - Coffee or tea: A hot drink complements the muffins nicely. For the full recipe, check out the zesty lemon blueberry bliss muffins. Enjoy baking! Making lemon blueberry muffins is simple and fun. You learned the key ingredients, steps to bake, and tips for the best results. Remember to fold in your blueberries gently and not to overmix. Feel free to explore variations and substitutions for more unique flavors. Proper storage lets your muffins stay fresh longer. Enjoy your baking and share them with family and friends. These muffins will surely brighten your day!](https://emmasdish.com/wp-content/uploads/2025/06/d34ec094-7fb3-4b5c-8b97-ff7054b848e7.webp)
Lemon Blueberry Muffins Fresh and Fluffy Delight
If you crave a sweet and tangy treat, you’re in for a real delight! These Lemon Blueberry Muffins are fresh, fluffy, and bursting with…
My Latest Desserts
-
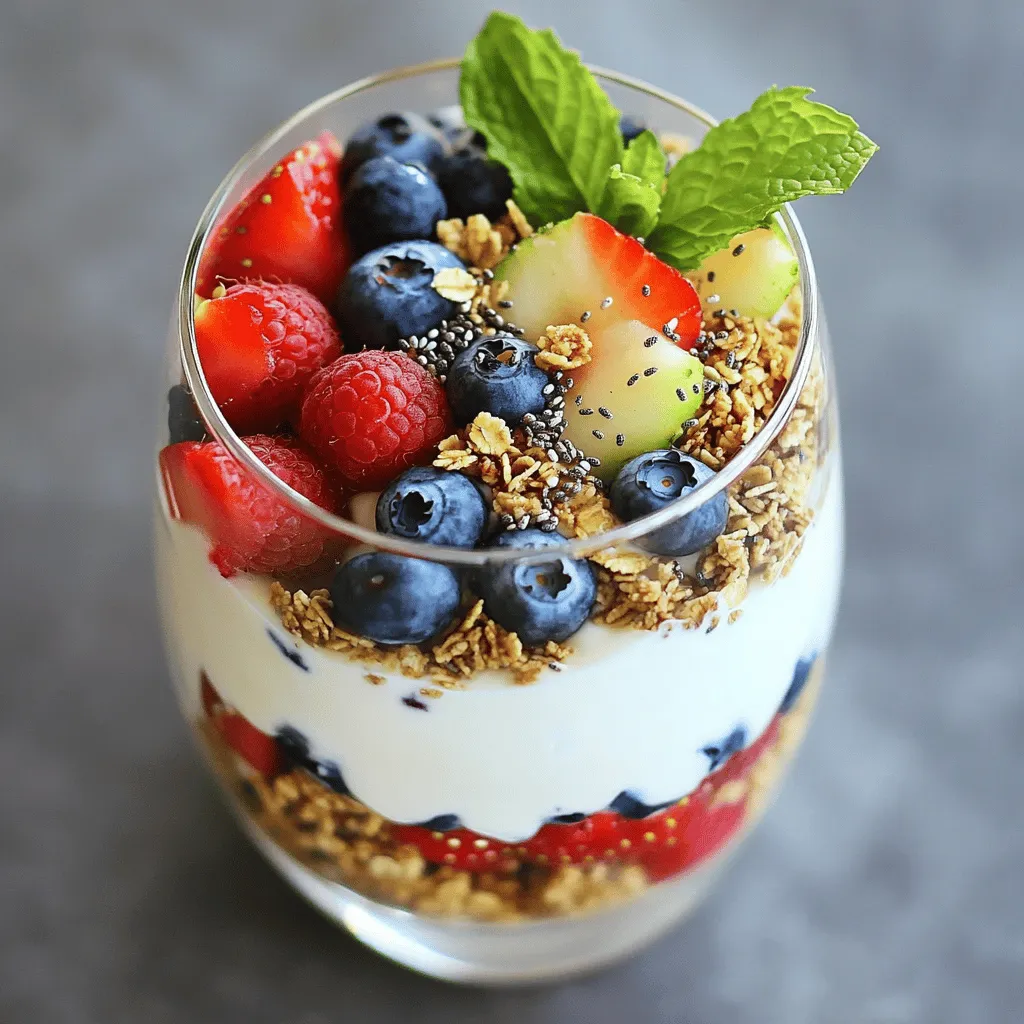
Healthy Greek Yogurt Parfaits Easy and Delicious Recipe
Are you ready to transform breakfast with a Healthy Greek Yogurt Parfait? This easy and delicious recipe combines creamy Greek Read Full Recipe -
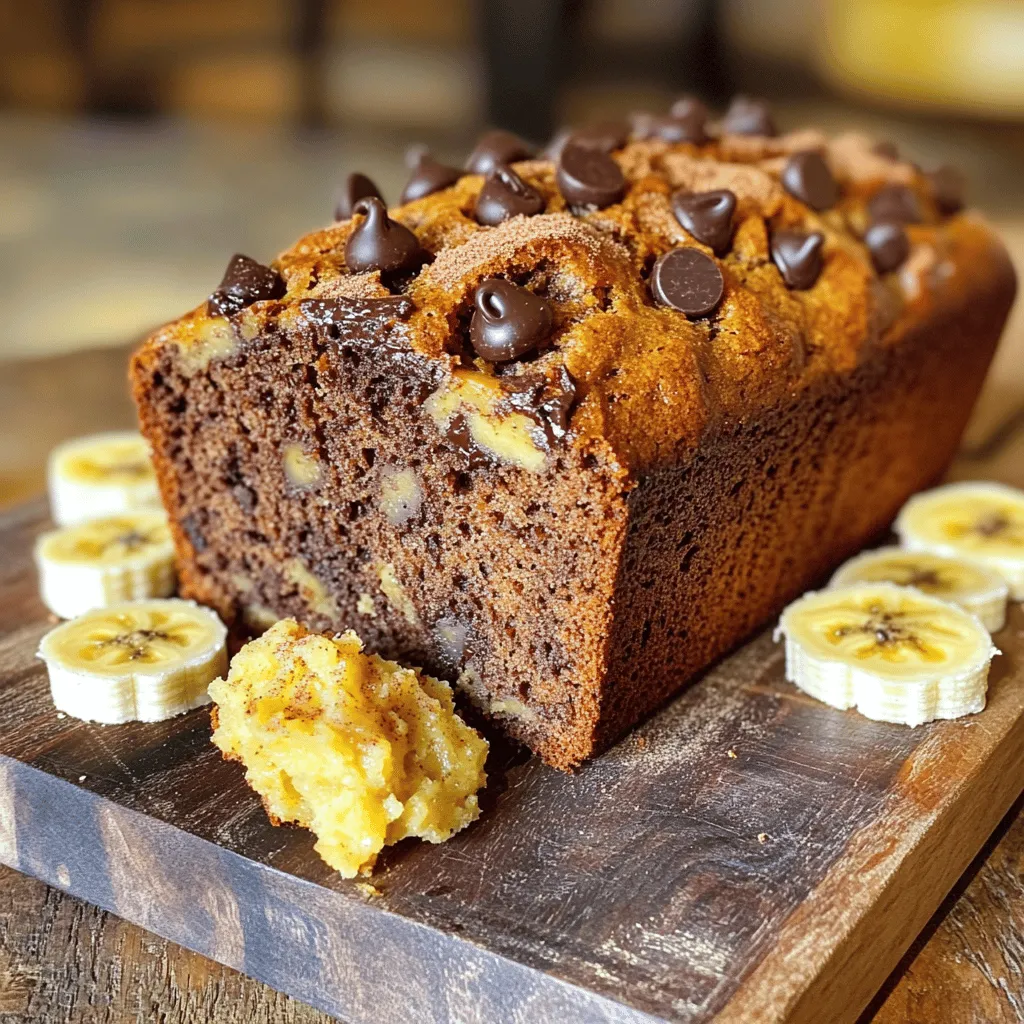
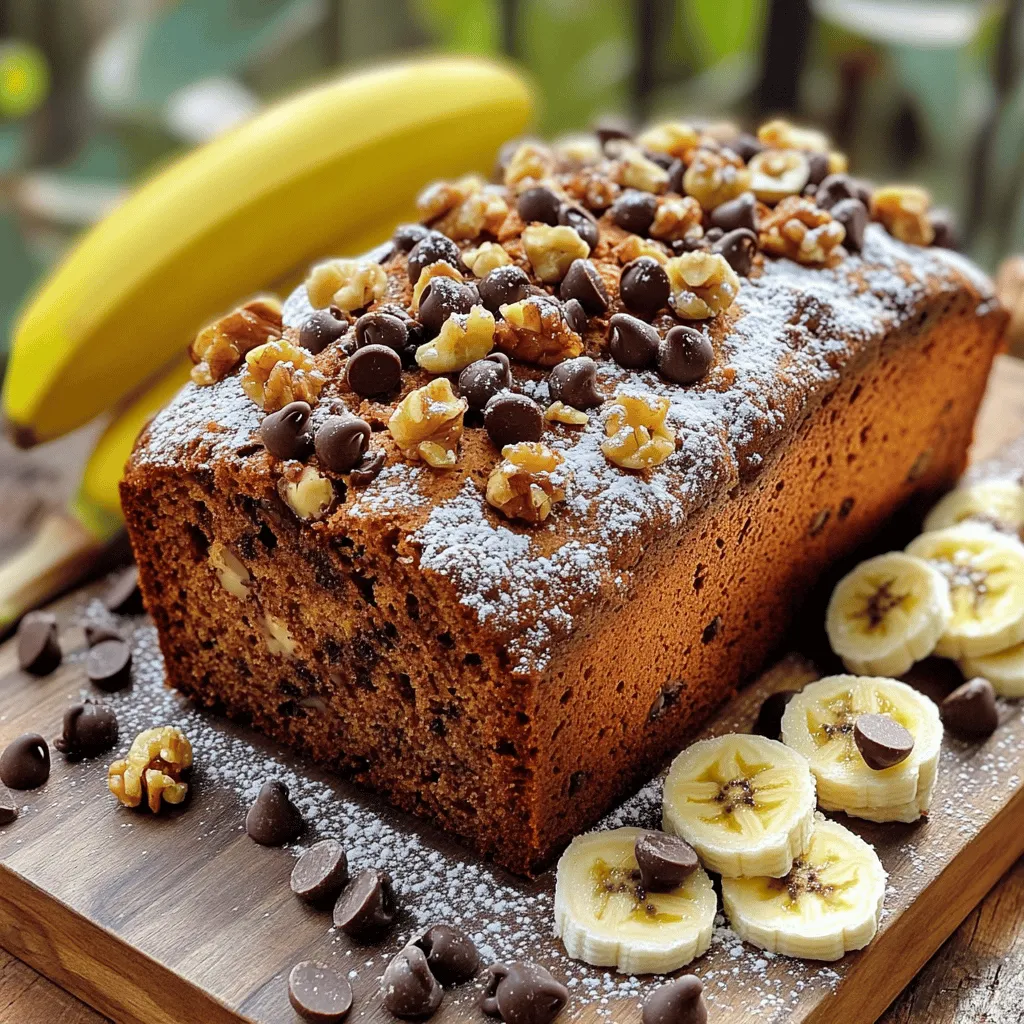
Chocolate Chip Banana Bread Irresistible Comfort Food
If you love comfort food, then Chocolate Chip Banana Bread is for you! It combines soft, ripe bananas with sweet Read Full Recipe -

Lemon Blueberry Scones Irresistible Morning Treat
Start your day with a burst of flavor! These Lemon Blueberry Scones are a delightful morning treat. With tender crumb Read Full Recipe -

Lemon Blueberry Scones Delightfully Fluffy Recipe
Get ready to bake the flakiest, most flavorful Lemon Blueberry Scones you’ll ever taste! This easy recipe combines the bright Read Full Recipe -
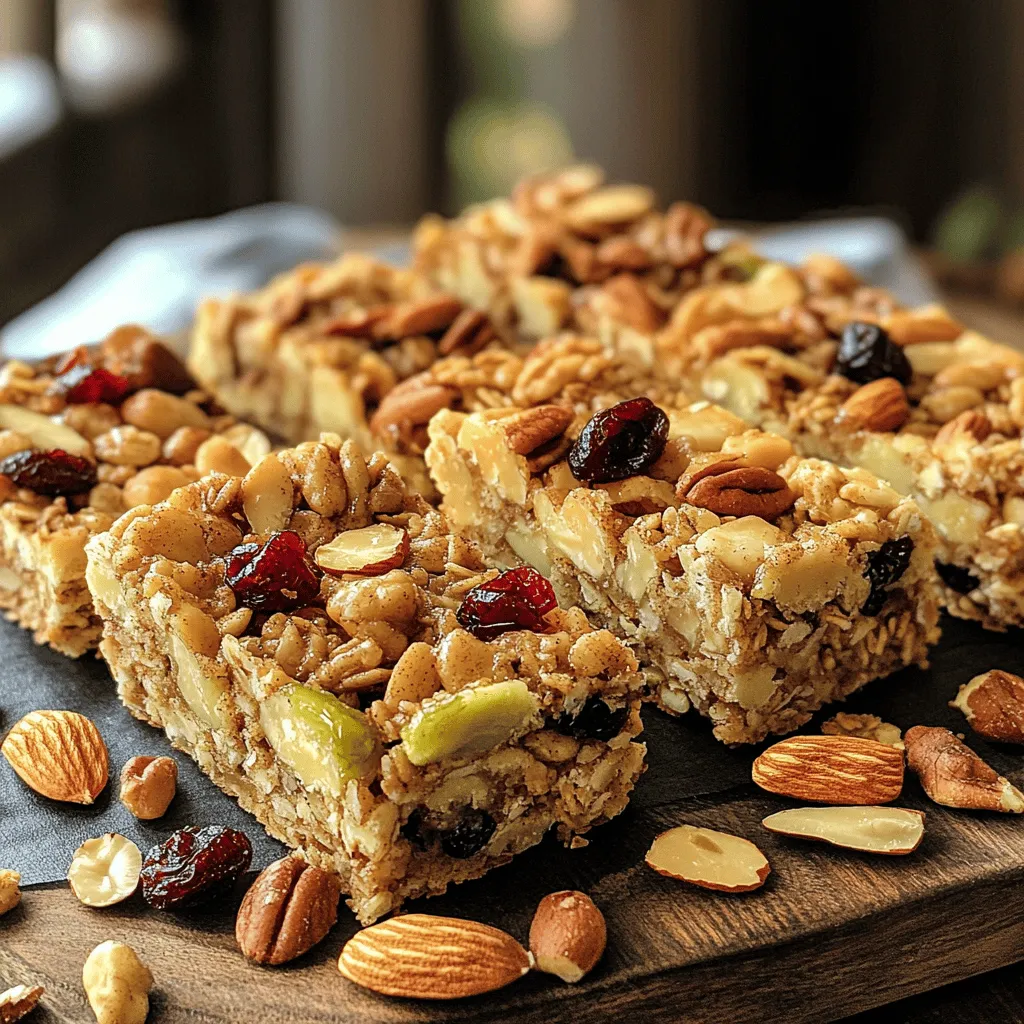
Easy Homemade Granola Bars Healthy and Simple Recipe
Are you ready to whip up some easy homemade granola bars? I’ll show you a simple recipe that’s healthy and Read Full Recipe -
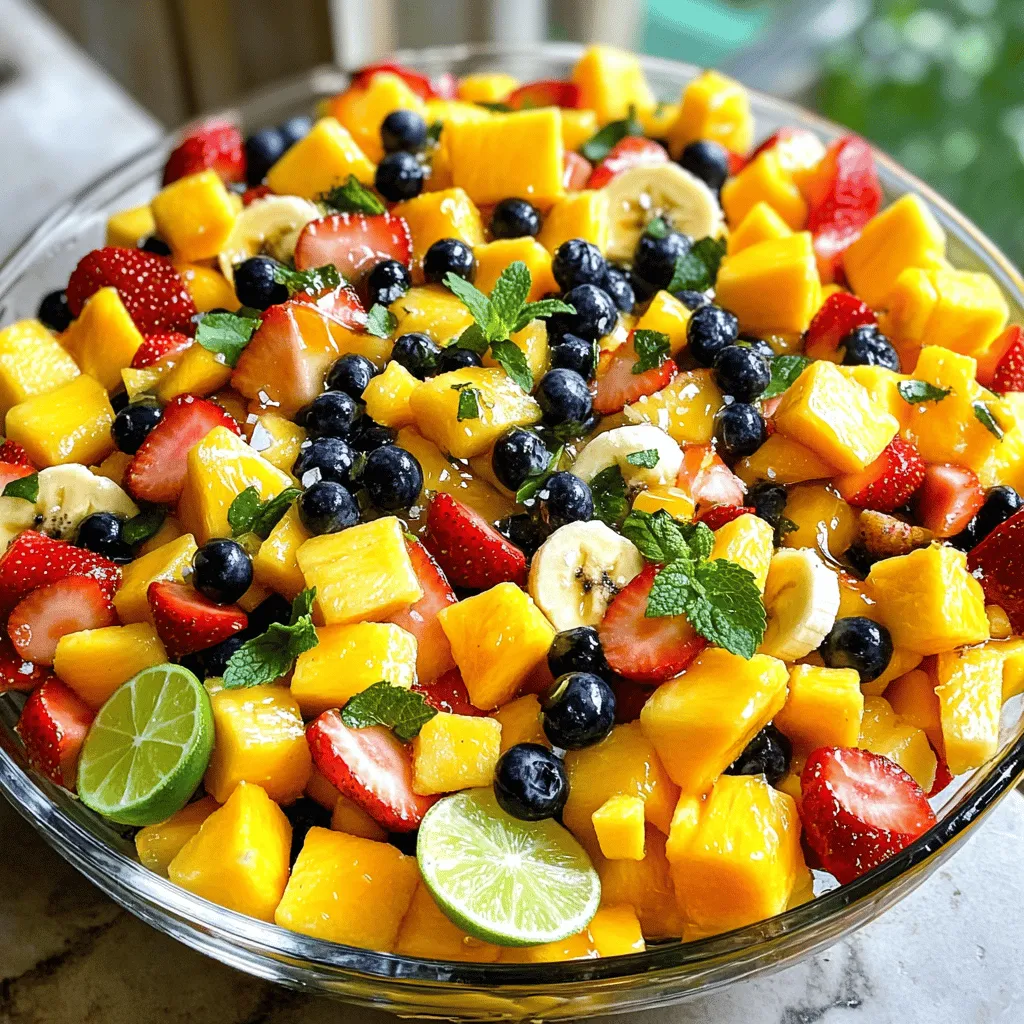
Tropical Fruit Salad Refreshing and Healthy Mix
Dive into a colorful world of flavors with my Tropical Fruit Salad! This healthy mix is bursting with fresh, tropical Read Full Recipe -

No-Bake Lemon Cheesecake Bites Tasty and Simple Dessert
Are you ready to indulge in a creamy treat without turning on the oven? No-Bake Lemon Cheesecake Bites are your Read Full Recipe -

Healthy Banana Oat Pancakes Simple and Quick Recipe
Are you ready to flip the perfect pancake? In just minutes, you can whip up healthy banana oat pancakes that Read Full Recipe -

No-Bake Oreo Cheesecake Delightful and Easy Recipe
Are you craving a dessert that’s both easy and delicious? Look no further than this No-Bake Oreo Cheesecake! With just Read Full Recipe -
Chocolate Chip Banana Bread Irresistible Flavor Treat
If you love the sweet, comforting taste of banana bread, you’re in for a treat! This Chocolate Chip Banana Bread Read Full Recipe
My Latest Recipes

hey,
i’m !
I’m so happy you’re here!
I’m not just sharing recipes I’m sharing a piece of my heart. I hope these dishes bring you comfort, joy, and maybe even a new favorite.
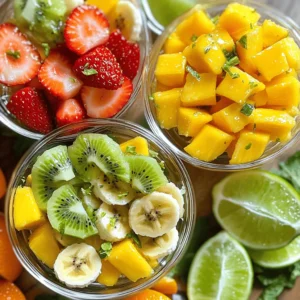
![- 1 cup strawberries, hulled and sliced - 1 cup blueberries - 1 cup kiwi, peeled and diced - 1 cup mango, peeled and diced - 1 cup pineapple chunks I love using a mix of fresh fruits for this salad. Strawberries add sweetness and color. Blueberries give a nice burst of flavor. Kiwi brings a tangy taste, while mango adds a tropical feel. Pineapple chunks give a juicy crunch. Together, they create a beautiful and tasty mix. - 2 tablespoons honey - 2 tablespoons lime juice - Zest of 1 lime The dressing is simple yet bright. Honey adds natural sweetness. Lime juice gives a refreshing zing. The lime zest enhances the flavor, making it even better. This dressing ties all the fruits together and makes them shine. - Fresh mint leaves Fresh mint leaves are a great touch. They add a pop of color and a hint of freshness. You can sprinkle them on top before serving. This little detail makes your salad look fancy and fun. For the complete recipe, check out the [Full Recipe]. To start, you need to prepare the fruits. Here’s how: - Hull and slice strawberries: Remove the green tops and cut the strawberries into thin slices. - Dice kiwi and mango: Peel the kiwi and mango, then cut them into small cubes. - Chop pineapple into chunks: Cut the fresh pineapple into bite-sized pieces. This mix of fruits adds color and flavor to your salad. Next, we’ll make the honey lime dressing. - Whisk honey, lime juice, and zest in a small bowl: In a bowl, combine 2 tablespoons of honey, the juice of one lime, and the zest from the lime. Whisk until it’s well mixed. This creates a sweet and tangy flavor that will brighten the fruits. Now, let’s bring everything together. - Mix fruits in a large bowl and drizzle the dressing over: Add all the prepared fruits into a large mixing bowl. Pour the honey lime dressing over the fruits. Gently toss everything together. Be careful not to mash the fruits while mixing. This step is key for great taste. - Let the salad sit for 10 minutes before serving: Allow the salad to rest for about 10 minutes. This helps the flavors mix and deepen. The sweet lime sauce seeps into the fruits, making every bite delicious. For more details on how to create this salad, check out the Full Recipe. Choosing ripe fruits is key for great taste. Look for strawberries that are bright red and firm. Blueberries should be plump and have a light sheen. Kiwi should feel slightly soft, but not mushy. Mangoes need to give slightly when you press them. Pineapple chunks should smell sweet and tropical. Each fruit adds its own flavor, making your salad vibrant and tasty. After mixing your fruits, taste the salad. If it needs more sweetness, add a little more honey. Stir well and taste again. You can also add more lime juice for a zesty kick. The goal is to balance the sweet and tangy flavors. This way, you can craft a dressing that fits your taste. You can make this salad ahead of time. Prep your fruits and make the dressing about a day before. Keep the dressing separate until you are ready to serve. This keeps the fruits fresh and prevents them from getting soggy. When you are ready to serve, toss the fruits with the dressing. This method lets you enjoy your fruit salad without stress. For the full recipe, check out my detailed instructions. {{image_2}} You can give this salad a tropical twist. Try adding fruits like papaya or banana. These fruits add new flavors and textures. Papaya brings a soft, sweet taste, while banana adds creaminess. This mix makes the salad even more fun and colorful. For some crunch, add nuts or seeds. Chopped almonds or walnuts work great. Sunflower seeds or pumpkin seeds also add a nice bite. They bring a different texture and boost the health benefits of your salad. Plus, nuts and seeds add good fats and protein. Want to spice things up? Try adding a pinch of cinnamon or ginger. Cinnamon adds warmth, while ginger brings a zesty kick. Both spices pair well with honey and lime. Just a little can change the whole salad. It makes each bite a new surprise! For the full recipe, check out the details above. Enjoy making your Honey Lime Fruit Salad! To keep your honey lime fruit salad fresh, store it in an airtight container. This helps keep moisture out. Make sure to remove as much air as possible before sealing. If you can, use glass containers. They do not absorb odors and keep flavors bright. Try to store the salad in the fridge right after serving. For the best taste, eat your fruit salad within 2 days. After this time, the fruits can become mushy. The honey lime dressing may also make the salad watery. If you notice this, it is time to toss it out. I do not recommend freezing fruit salad. When frozen, the fruits lose their crispness and become mushy once thawed. If you have extra fruit, freeze the fruits separately instead. You can use them later in smoothies or desserts. For the best Honey Lime Fruit Salad, choose fresh, ripe fruits. I love using: - Strawberries - Blueberries - Kiwi - Mango - Pineapple These fruits combine well for flavor and color. You can also add seasonal fruits. Think about peaches in summer or apples in fall. The key is to pick fruits you enjoy. Yes, you can use store-bought dressing. It saves time, but it may lack freshness. Homemade dressing gives you control over sweetness and flavor. Store-bought might contain preservatives. Always check the label for added sugars or artificial ingredients. Absolutely, this recipe is great for meal prep. You can make it a day in advance. Just keep it in the fridge in an airtight container. The flavors blend well over time. However, some fruits may soften. For the best texture, try to eat it within two days. This fruit salad blends fresh flavors with a sweet and zesty dressing. You start with ripe fruits like strawberries and mango. Then, you whisk together honey, lime juice, and zest. Combine these in a bowl and let them sit to meld flavors. Remember, you can add nuts or even spices for a twist. In the end, enjoy experimenting with this healthy snack. Your taste buds will thank you!](https://emmasdish.com/wp-content/uploads/2025/06/73b51031-810e-4f51-94b6-bb966ad7c4ea-300x300.webp)


Ratatouille with Quinoa Flavorful and Nutritious Meal
Looking for a tasty and healthy meal? You’ve found it! Ratatouille with quinoa blends fresh veggies and rich flavors into a dish that’s both…
![To make ratatouille with quinoa, gather these fresh and vibrant ingredients: - 1 cup quinoa, rinsed - 2 cups vegetable broth - 1 medium eggplant, diced - 1 zucchini, diced - 1 bell pepper (red or yellow), diced - 1 medium onion, chopped - 2 cloves garlic, minced - 2 medium tomatoes, diced - 1 teaspoon dried thyme - 1 teaspoon dried basil - Salt and pepper to taste - 2 tablespoons olive oil - Fresh basil leaves for garnish You will need a few basic tools to prepare this dish: - Medium saucepan - Large skillet - Cutting board - Sharp knife - Measuring cups and spoons - Wooden spoon or spatula If you have allergies or preferences, here are some options: - Use chicken broth instead of vegetable broth for a non-vegetarian version. - Swap quinoa for rice or couscous if you prefer. - Omit eggplant for a lighter taste, or replace it with mushrooms. - Use olive oil alternatives like avocado oil if needed. - Adjust herbs based on availability; try oregano or parsley instead. These options will help you customize the dish to fit your taste! For the full recipe, check out the detailed instructions. Start by rinsing 1 cup of quinoa under cold water. This step helps remove the bitter coating. In a medium saucepan, mix the rinsed quinoa with 2 cups of vegetable broth. Bring this mixture to a boil over high heat. Once it bubbles, lower the heat to a simmer. Cover the pot and let it cook for about 15 minutes. You know it’s done when the liquid is absorbed and the quinoa is fluffy. Set it aside for later. While the quinoa cooks, grab a large skillet. Heat 2 tablespoons of olive oil over medium heat. Add 1 chopped onion and sauté for about 5 minutes until it turns translucent. Next, mix in 2 minced garlic cloves and cook for another minute until you smell the rich aroma. Then, toss in 1 diced eggplant, 1 diced zucchini, and 1 diced bell pepper. Sauté these veggies for about 7 to 8 minutes until they start to soften. After that, stir in 2 diced tomatoes, 1 teaspoon of dried thyme, and 1 teaspoon of dried basil. Don’t forget to add salt and pepper to taste. Cook this mixture for an additional 10 minutes, stirring occasionally. This helps the veggies mingle and share their flavors. Once the ratatouille mixture is ready, it’s time to combine it with the quinoa. Fold the cooked quinoa into the ratatouille gently. Heat everything for another 2 to 3 minutes to warm it through. Taste the dish and adjust the seasoning if needed. It should burst with flavor. Now, serve it warm and garnish with fresh basil leaves. Enjoy this delightful dish that’s both healthy and filling! For the full recipe, refer to the earlier section. To make the best ratatouille, use fresh vegetables. They give the dish great taste. Cut all the veggies into even-sized pieces. This helps them cook at the same time. Sauté the onions and garlic first to build flavor. Cook them until soft and fragrant. Then, add the eggplant, zucchini, and bell pepper. These veggies take longer to cook. Stir often to prevent sticking. Use medium heat for a nice, even cook. To boost the flavors of your ratatouille, add herbs like thyme and basil. These herbs bring a fresh taste. You can also add a splash of balsamic vinegar. It adds a nice tang. If you like a bit of heat, add a pinch of red pepper flakes. For a richer flavor, use a bit of vegetable broth instead of water when cooking your quinoa. This adds depth to the dish. For a stunning plate, serve ratatouille in a bowl. Top it with fresh basil leaves for color. You can also drizzle olive oil on top for shine. Serve it alongside a wedge of lemon. A little squeeze of lemon adds brightness. For a gourmet touch, use a ring mold to shape the quinoa and ratatouille layers. This makes your dish look professional. To find the full recipe, check the main article section. {{image_2}} Ratatouille with quinoa is already a great vegetarian dish. You can make it even better. Try adding more veggies like carrots and spinach. You can also swap the eggplant for mushrooms. Both options add flavor and texture. For a twist, use cauliflower instead of zucchini. This keeps it light and tasty. To boost protein, add cooked beans or lentils. Chickpeas work well and add a nutty taste. If you want meat, add diced chicken or turkey. Cook it first before mixing it with the veggies. Tofu is also a good choice for a vegetarian option. It soaks up all the flavors of the dish. Boost the flavors with spices and herbs. Try adding a pinch of red pepper flakes for heat. Smoked paprika gives a nice smoky touch. Fresh herbs like parsley or cilantro can brighten up the dish. If you love citrus, a squeeze of lemon juice adds freshness. Experiment with what you like for your perfect mix. You can find the full recipe [Full Recipe]. To keep your ratatouille with quinoa fresh, let it cool first. Once cool, transfer it to an airtight container. Store it in the fridge for up to four days. This helps maintain flavor and texture. Label the container with the date. This way, you know when to enjoy it next! When reheating, the microwave is a quick option. Place a serving on a microwave-safe plate. Cover it with a damp paper towel to keep moisture. Heat for about two minutes, or until warm. Stir halfway through to ensure even heating. You can also use the stovetop. Heat in a skillet over medium heat for about five minutes, stirring often. If you want to save your ratatouille with quinoa for later, freezing works well. Let it cool completely before freezing. Portion it into freezer bags or containers. Squeeze out as much air as possible before sealing. This prevents freezer burn. It can last up to three months. When ready to eat, thaw it overnight in the fridge before reheating. Enjoy your delicious meal anytime! For the full recipe, check out the details above. Yes, you can use other grains. Brown rice, farro, or millet work well. Each grain gives a different texture. Brown rice offers a chewy bite. Farro has a nutty flavor. Millet is light and fluffy. Just adjust cooking times for each grain. Always use the same amount of liquid as the grain needs. You can find more options in the Full Recipe. Ratatouille with quinoa pairs great with many sides. A fresh green salad adds crunch. Grilled chicken or fish complements the dish well. You can also serve it with crusty bread. For a hearty meal, try adding hummus or a yogurt dip. These sides enhance the meal's flavor and nutrition. To add heat, try red pepper flakes. Start with a pinch and taste as you go. You can also add diced jalapeños for a fresh kick. Hot sauce is another option; just drizzle it on top when serving. Experiment with spices like smoked paprika or cayenne pepper for depth. Adjust the spiciness to suit your taste. This blog post covered how to make a tasty Ratatouille with quinoa. We explored key ingredients, tools, and safe substitutions. I shared step-by-step cooking instructions and useful tips to enhance flavors and presentation. You also learned variations for dietary needs and how to store leftovers. Ratatouille is versatile and fun to make. It can fit anyone’s taste. Try different spices or grains. Enjoy your cooking and make this dish your own!](https://emmasdish.com/wp-content/uploads/2025/06/988dfaac-430c-4a57-a4f4-203d0c398d72.webp)
