

Latest & Greatest
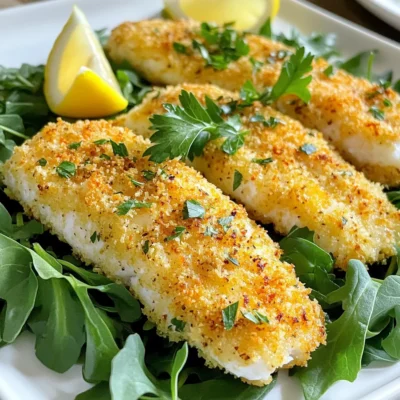
Air Fryer Parmesan Crusted Tilapia Crispy Delight
Looking for a simple yet delicious meal? My Air Fryer Parmesan Crusted Tilapia is your answer! With just a few
Read more…
Pumpkin Pancakes with Maple Syrup Delightful Recipe
Craving a warm, cozy breakfast? Let’s whip up some delightful pumpkin pancakes drizzled with maple syrup! This easy recipe transforms
Read more…
Slow Cooker Chipotle Beef Barbacoa Flavorful Feast
Are you ready to dive into the delicious world of Slow Cooker Chipotle Beef Barbacoa? This easy recipe brings bold
Read more…
No Bake Biscoff Pumpkin Truffles Simple Fall Treat
Fall is here, and I have a treat you’ll love—No Bake Biscoff Pumpkin Truffles! These simple bites blend warm pumpkin
Read more…
Caramel Apple Cheesecake Bars Tasty and Simple Treat
Ready for a delicious treat that’s simple to make? Caramel Apple Cheesecake Bars blend creamy cheesecake with sweet apples and
Read more…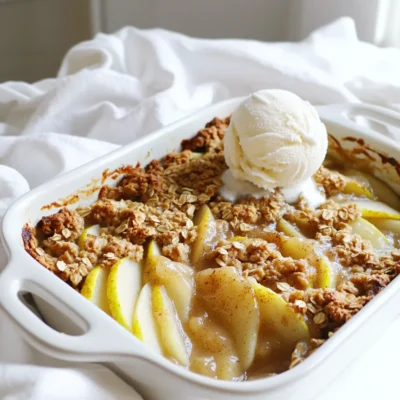
Spiced Pear Crisp Flavorful and Easy Dessert Recipe
Looking for a warm and tasty dessert? You’ve found it with spiced pear crisp! This easy recipe brings rich flavors
Read more…
Minute Creamy Tomato Gnocchi Easy and Tasty Meal
If you crave a quick and delicious meal, Minute Creamy Tomato Gnocchi is your answer. This simple dish combines soft
Read more…
Air Fryer Pizza Rolls Crispy and Flavorful Snack
Craving a delicious snack that’s quick and easy? Let me introduce you to Air Fryer Pizza Rolls! These crispy bites
Read more…browse recipes


Classic Deviled Eggs Delightful and Easy Appetizer
If you want a simple and tasty appetizer, classic deviled eggs are your answer! This easy dish brings a delightful mix of flavors that…
My Latest Desserts
My Latest Recipes

hey,
i’m !
I’m so happy you’re here!
I’m not just sharing recipes I’m sharing a piece of my heart. I hope these dishes bring you comfort, joy, and maybe even a new favorite.
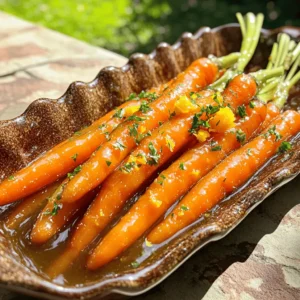

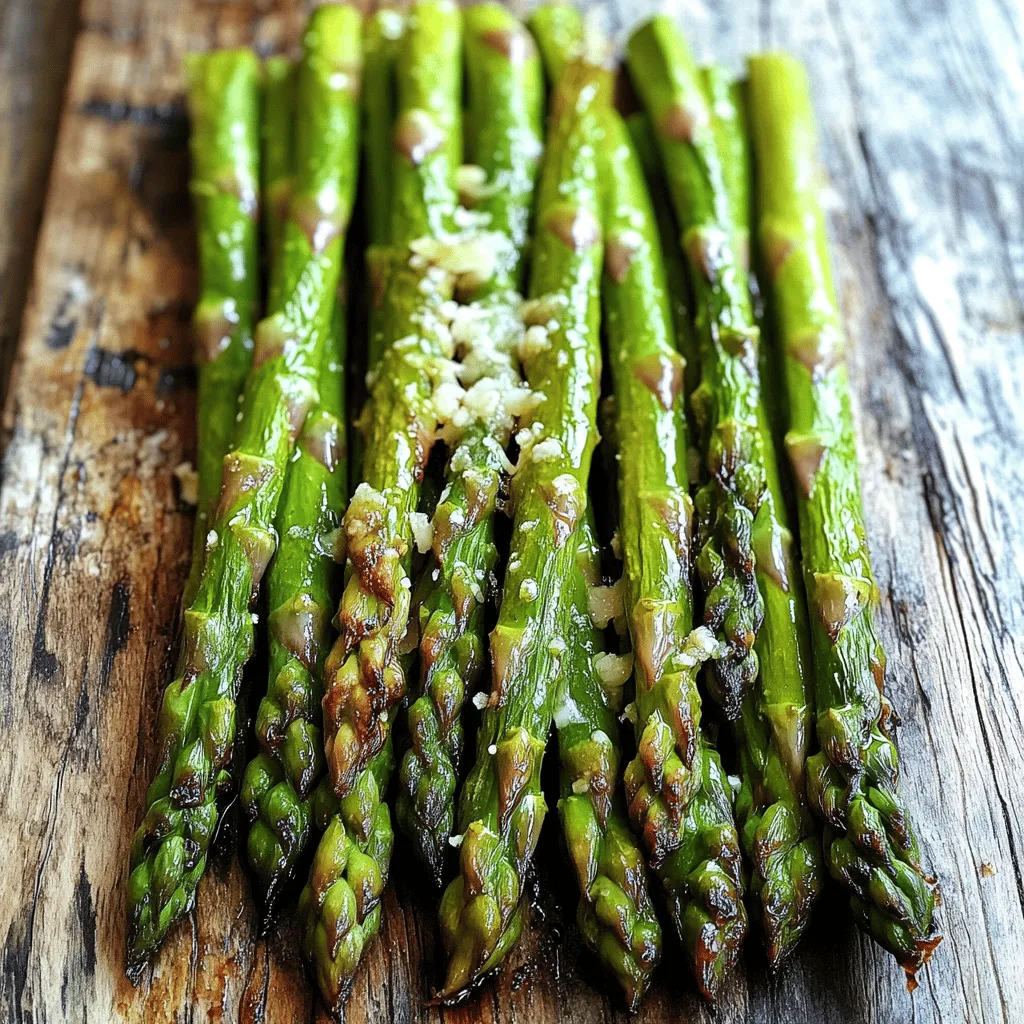
Garlic Roasted Asparagus Flavorful and Easy Recipe
If you’re looking for a simple yet delicious side dish, garlic roasted asparagus is perfect! This bright, flavorful recipe showcases the best of fresh…