

Latest & Greatest

Crock Pot Birria Tacos Flavorful and Simple Recipe
Are you ready to savor the flavors of authentic Crock Pot Birria Tacos? This dish is simple, delicious, and perfect
Read more…
Japanese Katsu Bowls Simple and Flavorful Meal Guide
Are you ready to take your dinner game to the next level? Japanese Katsu Bowls are simple, tasty, and fun
Read more…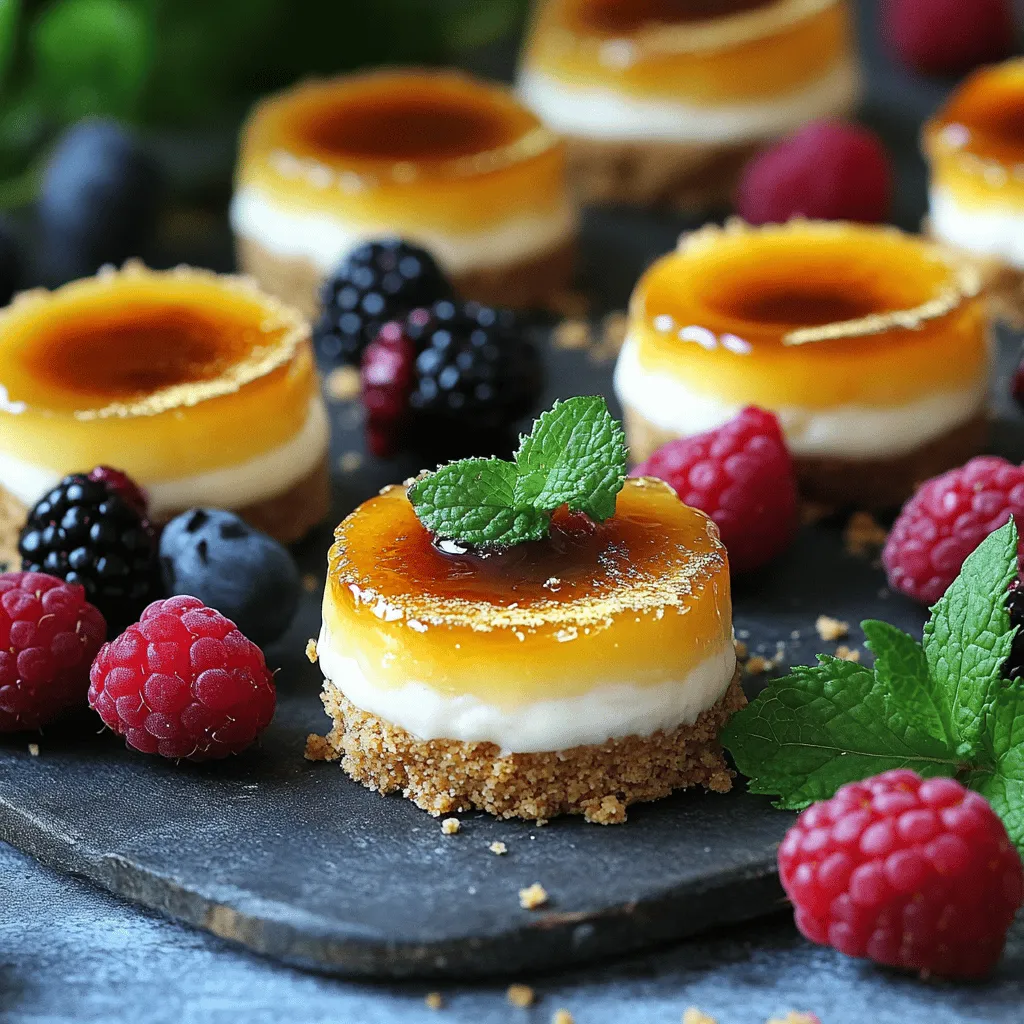
Mini Crème Brûlée Cheesecakes Delightful Easy Dessert
If you’re craving a sweet treat that’s both simple and fancy, mini crème brûlée cheesecakes are for you! These tiny
Read more…
Crispy Pan-Seared Scallops Perfectly Cooked Delight
If you want a dish that impresses, look no further than crispy pan-seared scallops. This simple recipe turns fresh scallops
Read more…
Bang Bang Shrimp Tasty Dish to Impress Guests
Looking to impress your guests with a mouthwatering dish? Bang Bang Shrimp is the way to go! This crispy, spicy
Read more…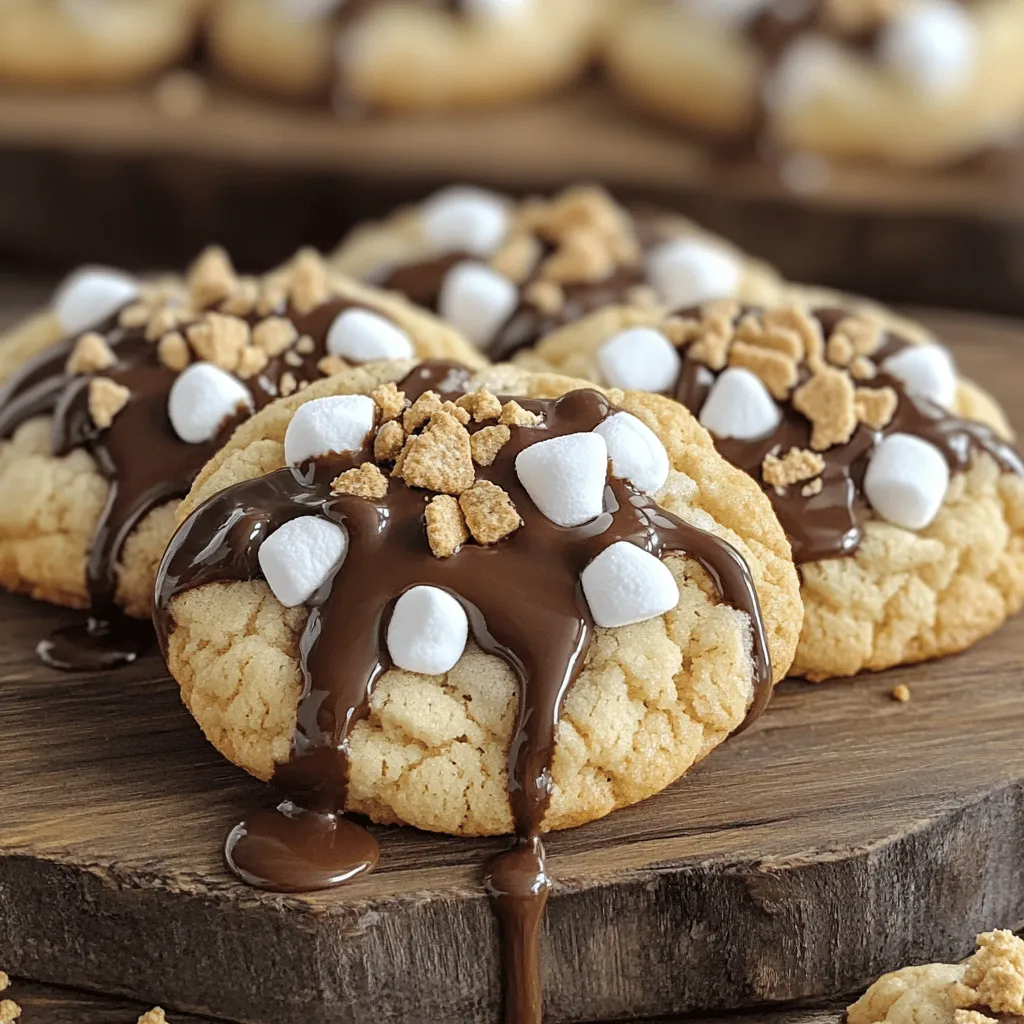
S’mores Cookies Deliciously Sweet and Chewy Treat
Get ready to indulge in the ultimate treat—S’mores Cookies! This sweet and chewy delight combines classic s’mores flavors with a
Read more…
Southwest Chicken Soup Flavorful and Easy Recipe
Looking for a soup that warms you up and excites your taste buds? Dive into this flavorful Southwest Chicken Soup
Read more…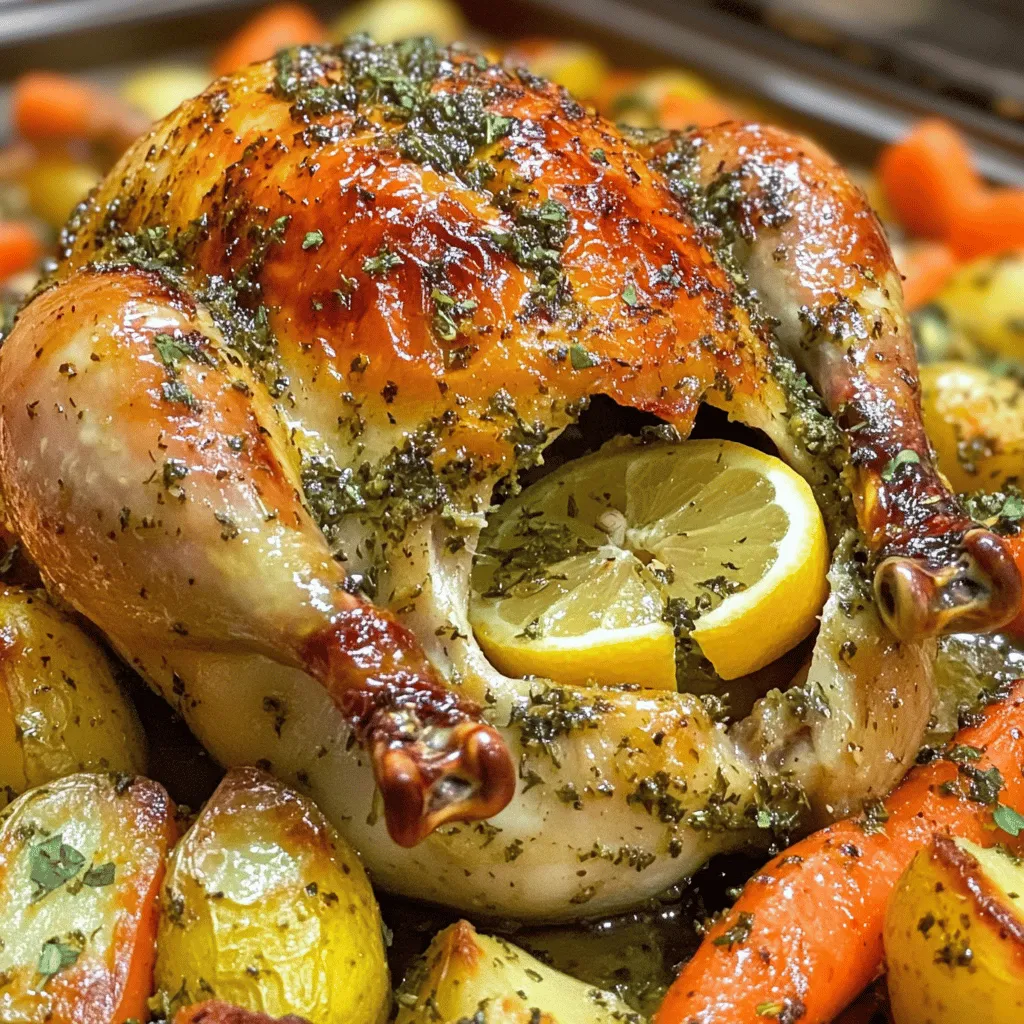
Garlic Butter Herb Roasted Chicken Simple and Juicy
Welcome to the ultimate guide for making Garlic Butter Herb Roasted Chicken! This dish is simple, juicy, and perfect for
Read more…browse recipes


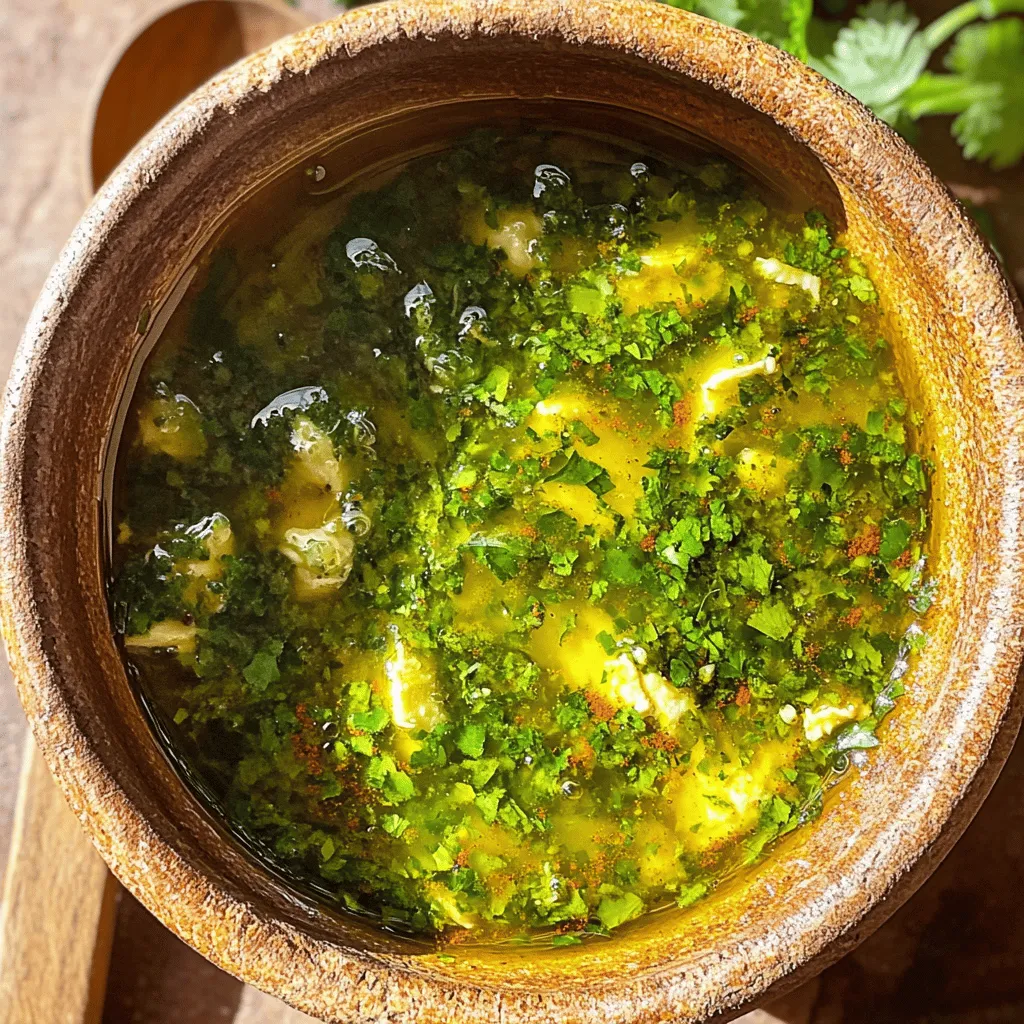
Zesty Lime Chicken Marinade Flavorful and Easy Recipe
Looking to add a burst of flavor to your chicken? This Zesty Lime Chicken Marinade is your answer! With just a handful of fresh…
My Latest Desserts
-
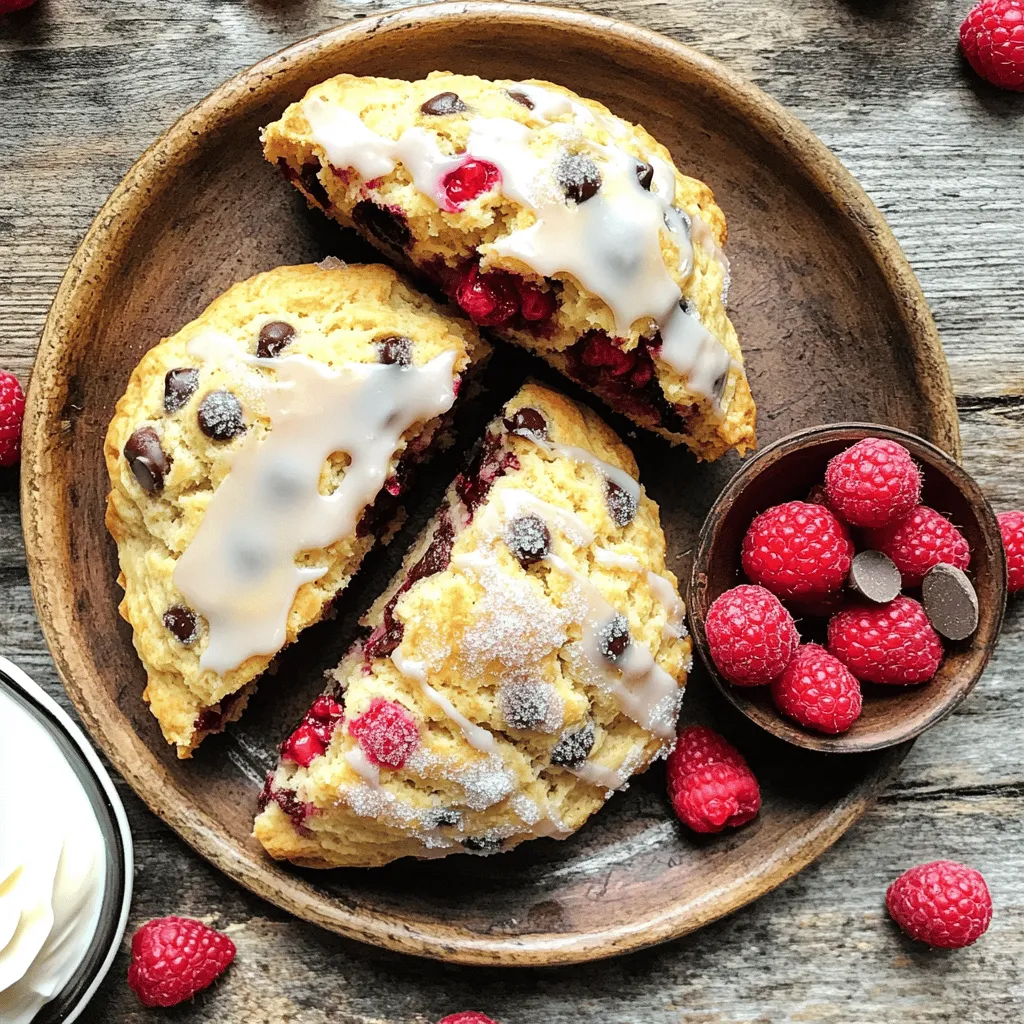
Raspberry Chocolate Chip Scones Flaky and Tasty Treat
If you love delicious treats, Raspberry Chocolate Chip Scones are a must-try. These scones are flaky, tasty, and perfect for Read Full Recipe -
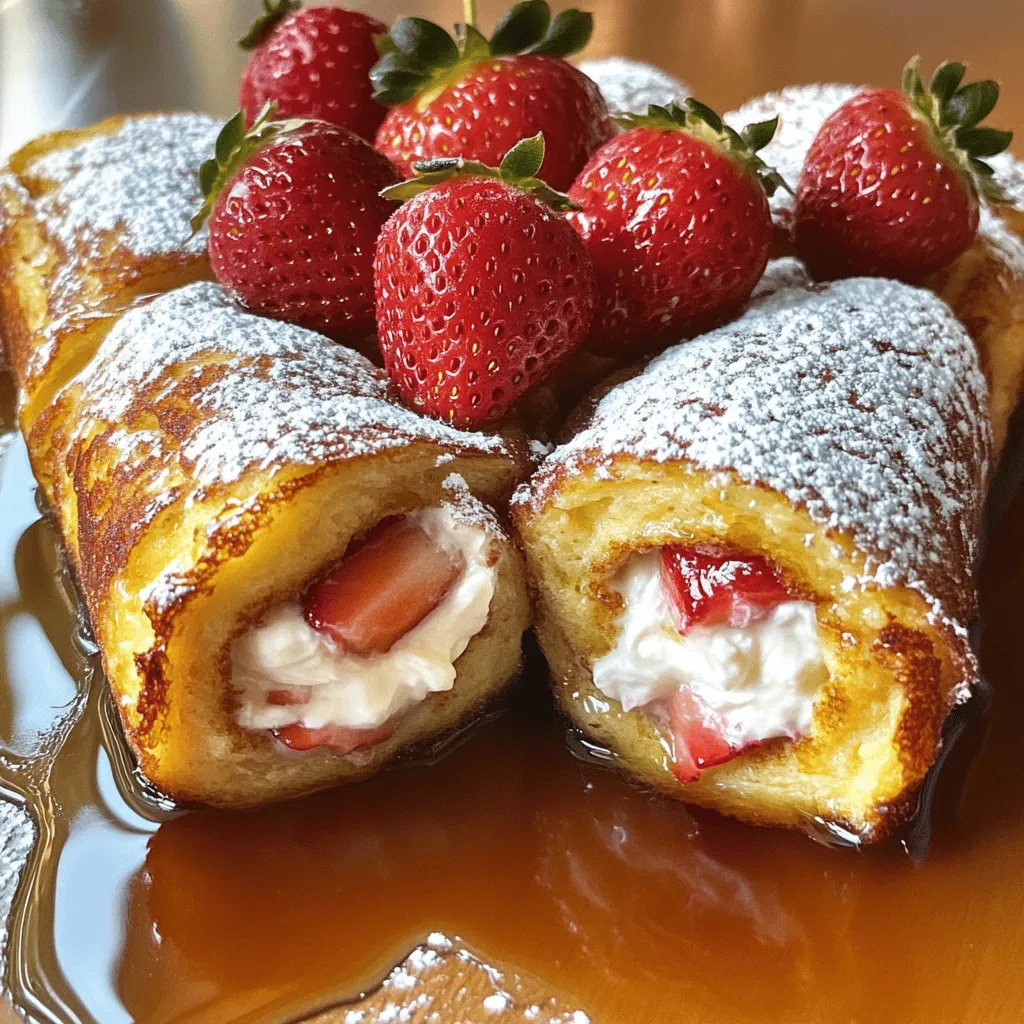
Stuffed French Toast Roll Ups Delicious Morning Treat
Wake up your taste buds with my amazing Stuffed French Toast Roll Ups! They’re easy to make and perfect for Read Full Recipe -
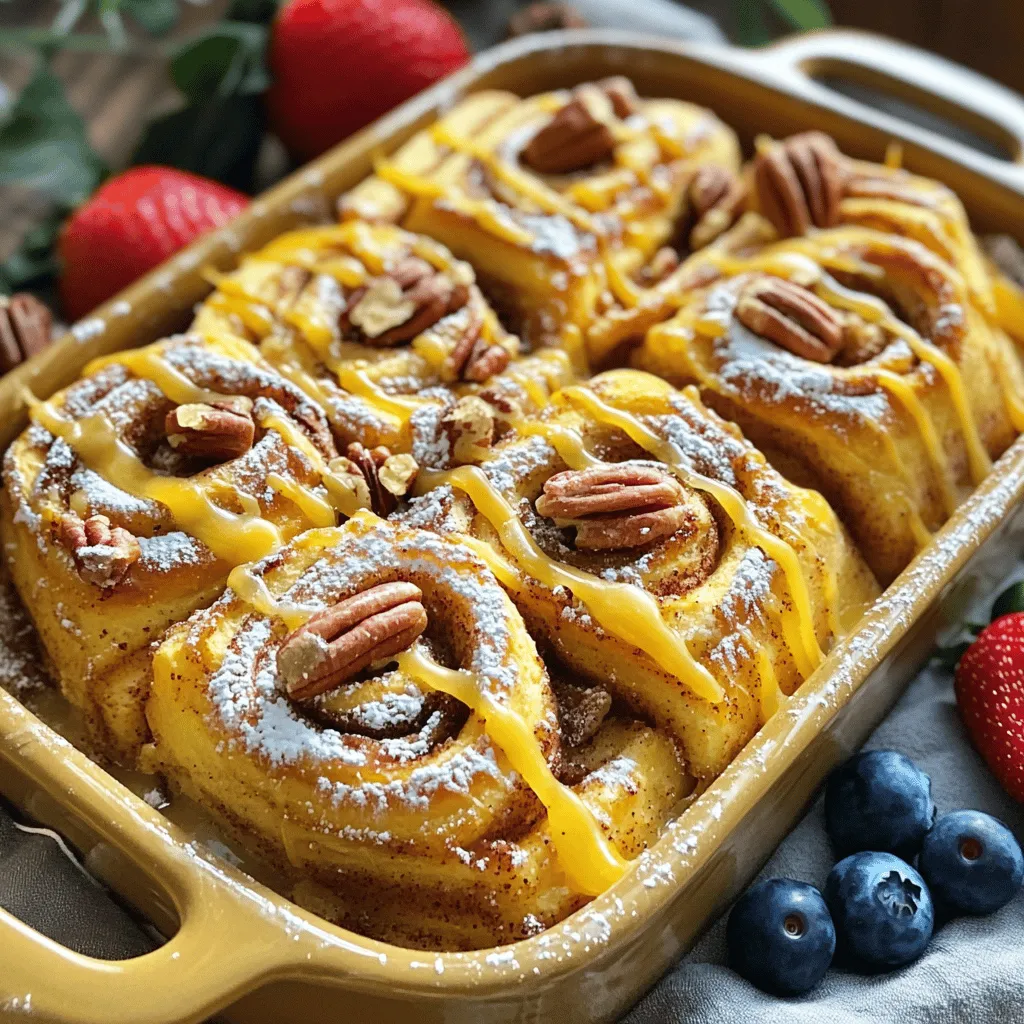
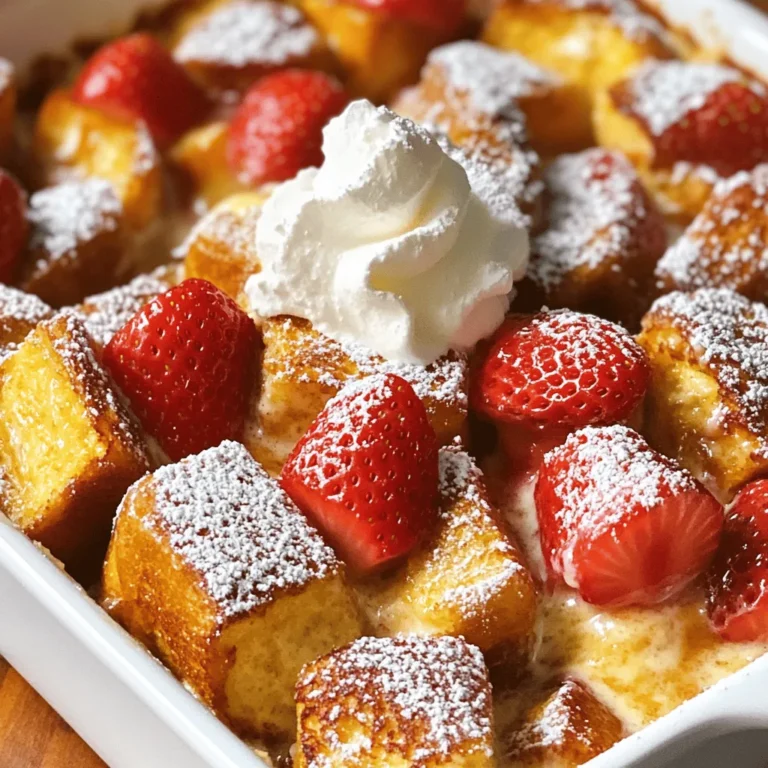
Cinnamon Roll French Toast Bake Irresistible Treat
If you love breakfast and sweet treats, you’re in for a real delight! Imagine waking up to the rich aroma Read Full Recipe -
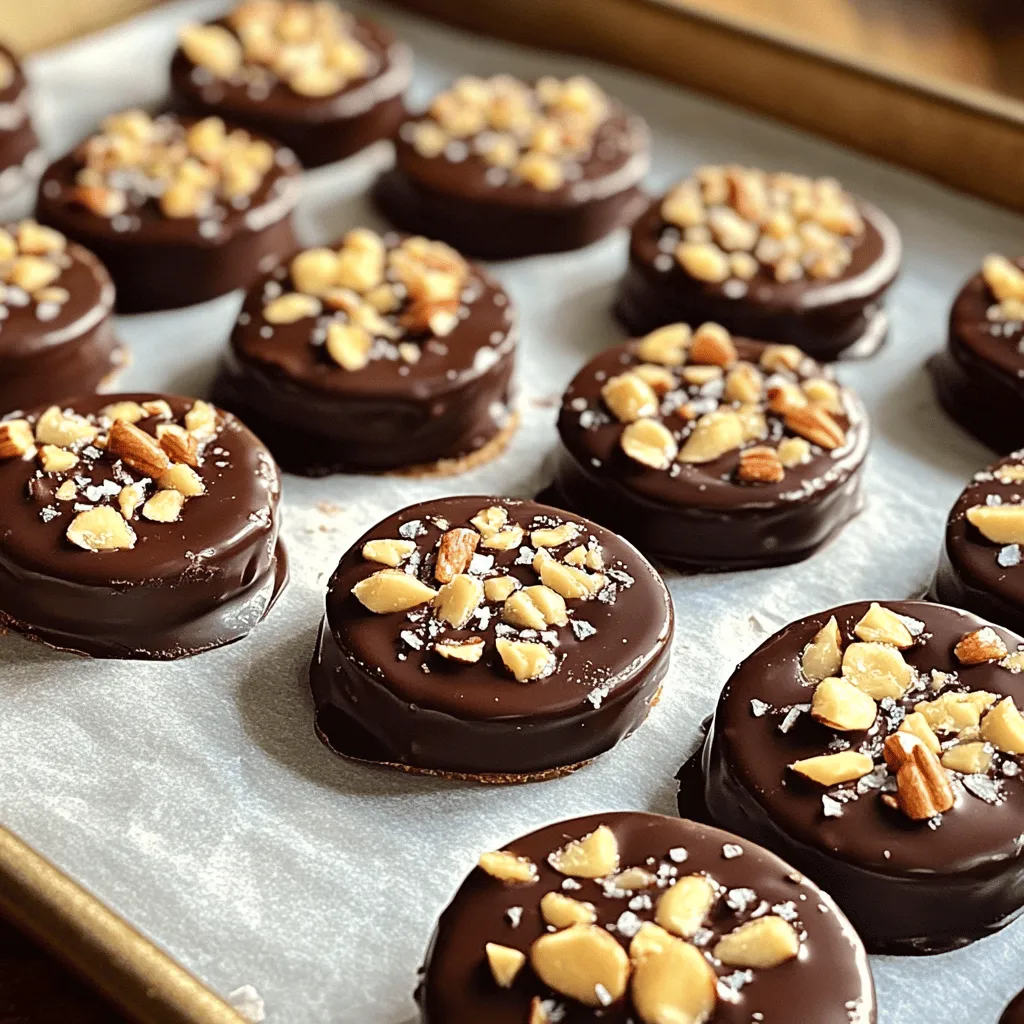
Chocolate Covered Banana Bites Tasty and Easy Recipe
If you love sweet treats but want something simple, chocolate-covered banana bites are perfect for you. These tasty snacks combine Read Full Recipe -
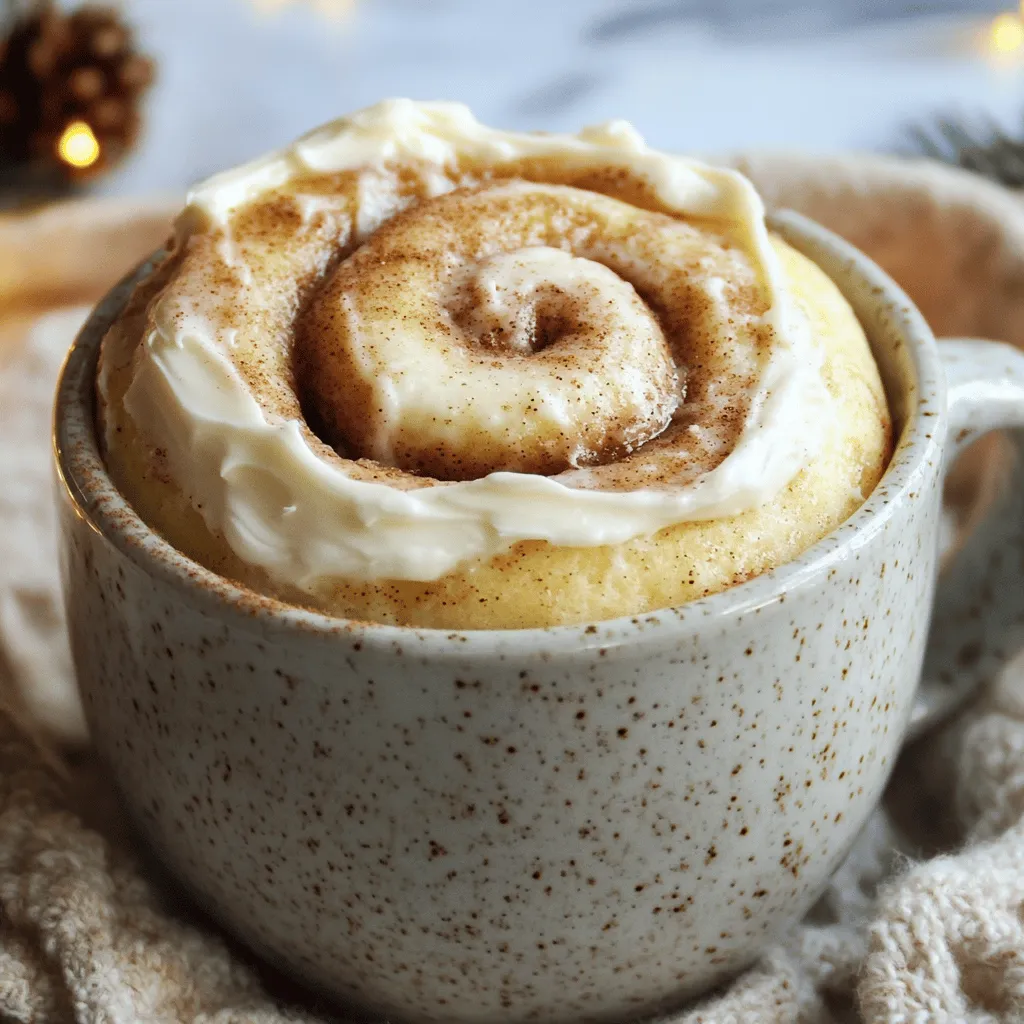
Cinnamon Roll Mug Cake Quick and Tasty Treat
Craving something sweet but short on time? This Cinnamon Roll Mug Cake is your quick fix! In just minutes, you Read Full Recipe -
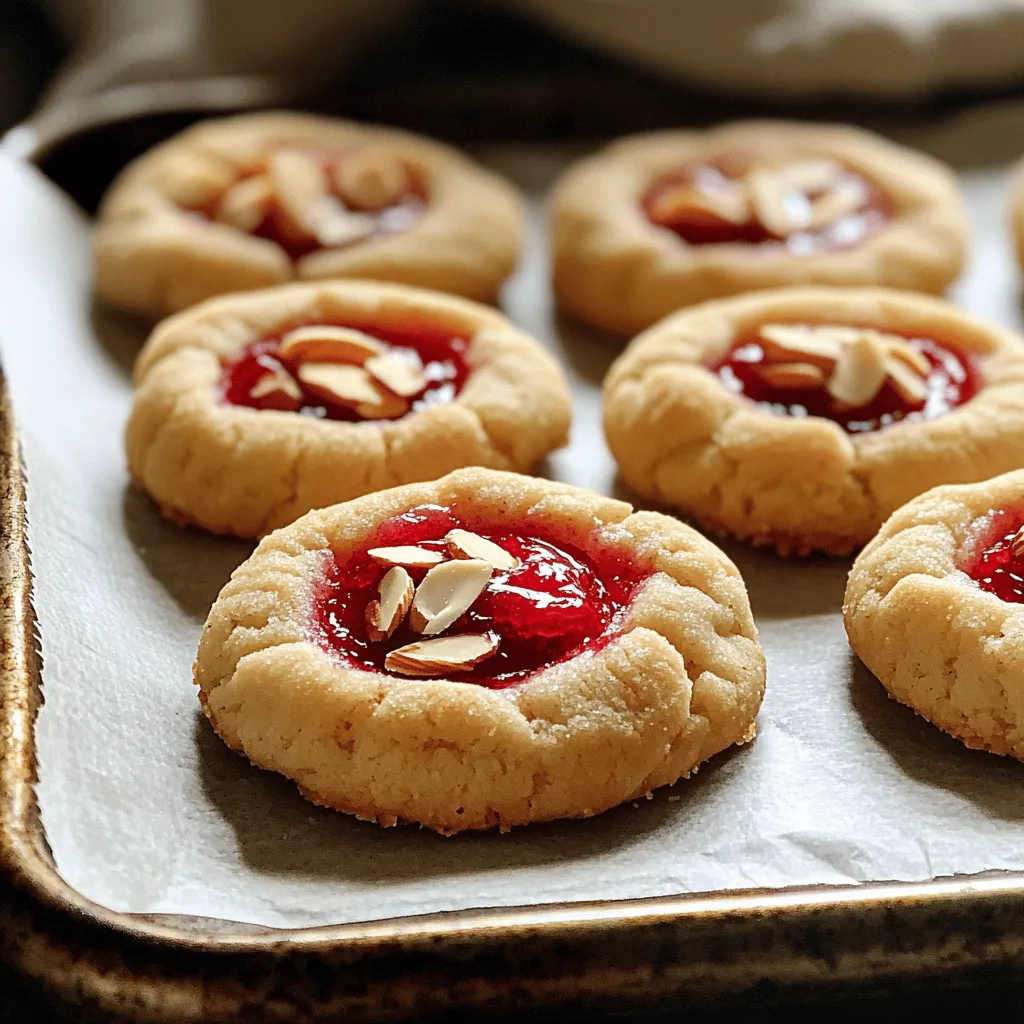
Raspberry Almond Thumbprint Cookies Simple Delight
Looking for a delightful treat that’s simple to make? Raspberry Almond Thumbprint Cookies are just the answer! These cookies combine Read Full Recipe -
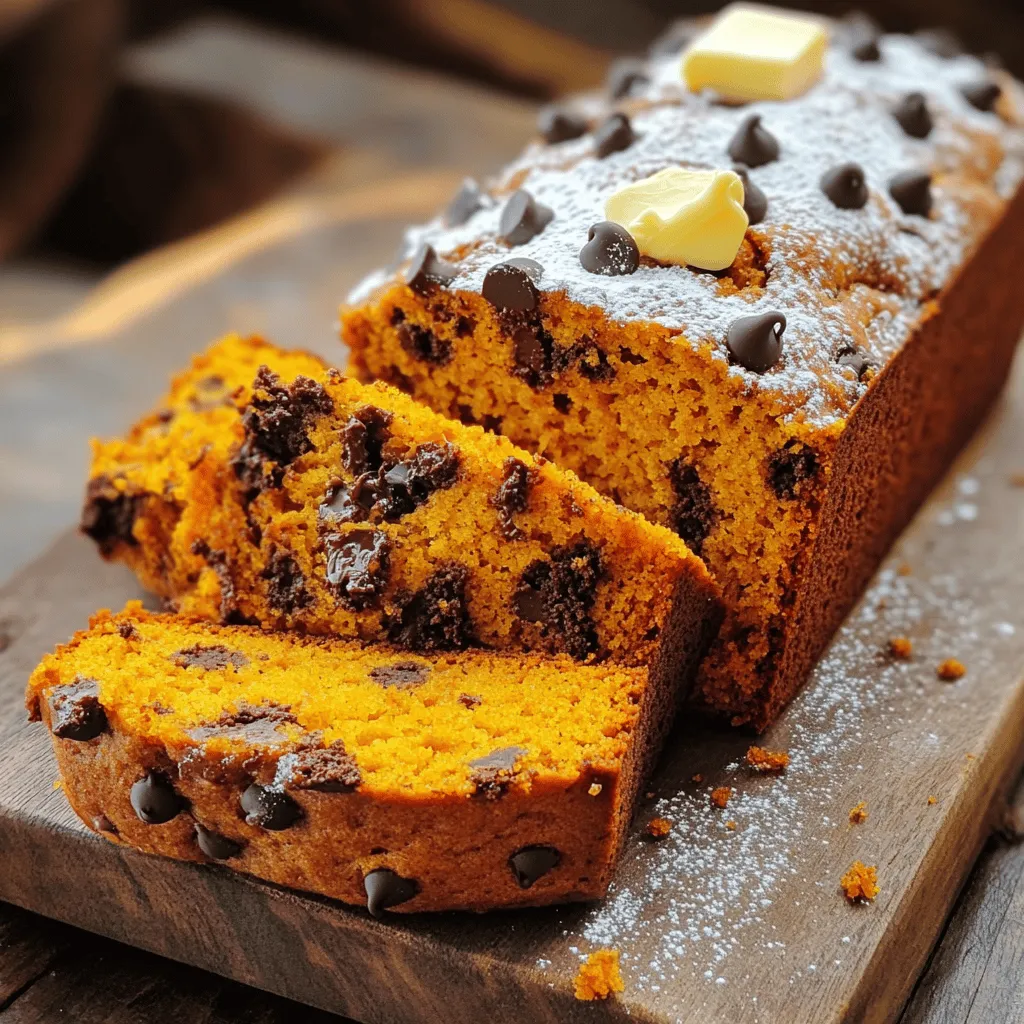
Chocolate Chip Pumpkin Bread Easy and Flavorful Treat
If you’re craving a sweet treat, let me introduce you to Chocolate Chip Pumpkin Bread! This easy recipe combines warm Read Full Recipe -
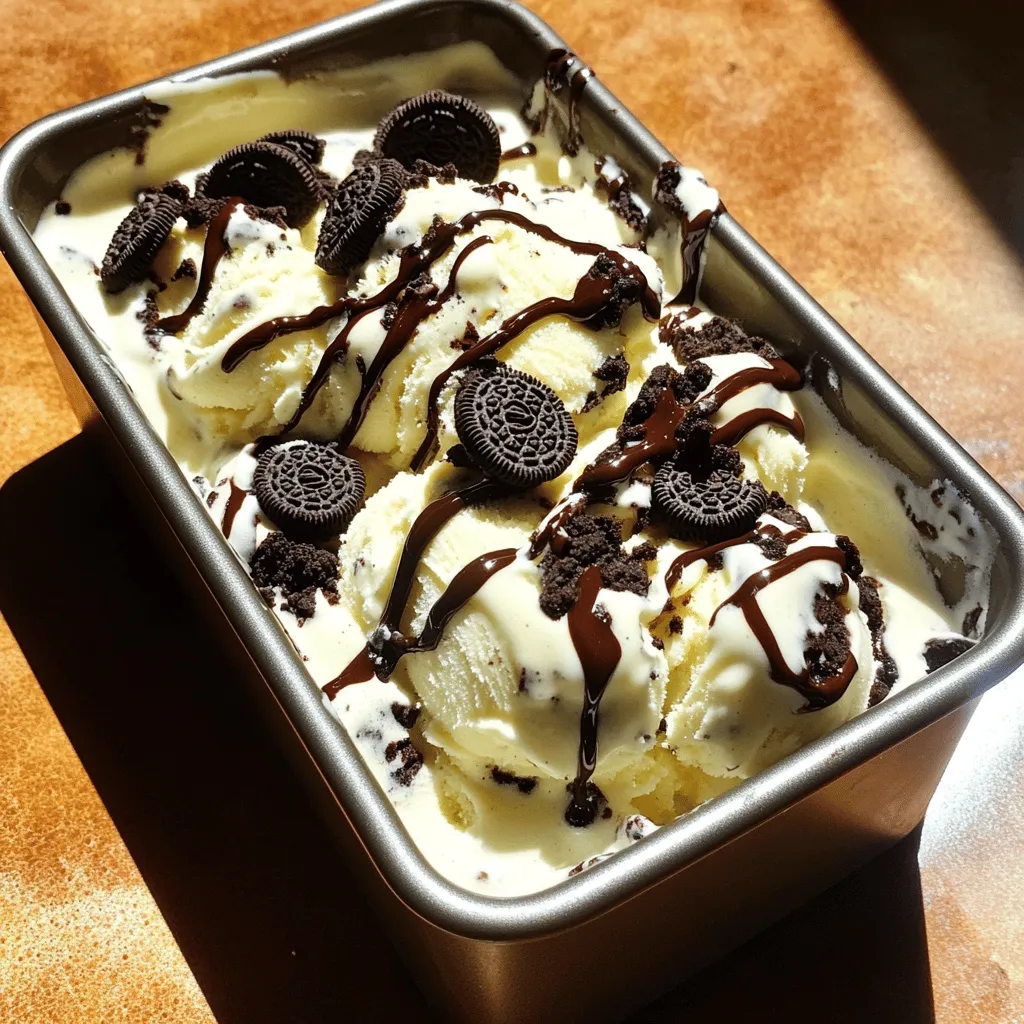
No Churn Oreo Ice Cream Simple and Delicious Treat
Craving a sweet, creamy treat but don’t own an ice cream maker? No worries! My No Churn Oreo Ice Cream Read Full Recipe -
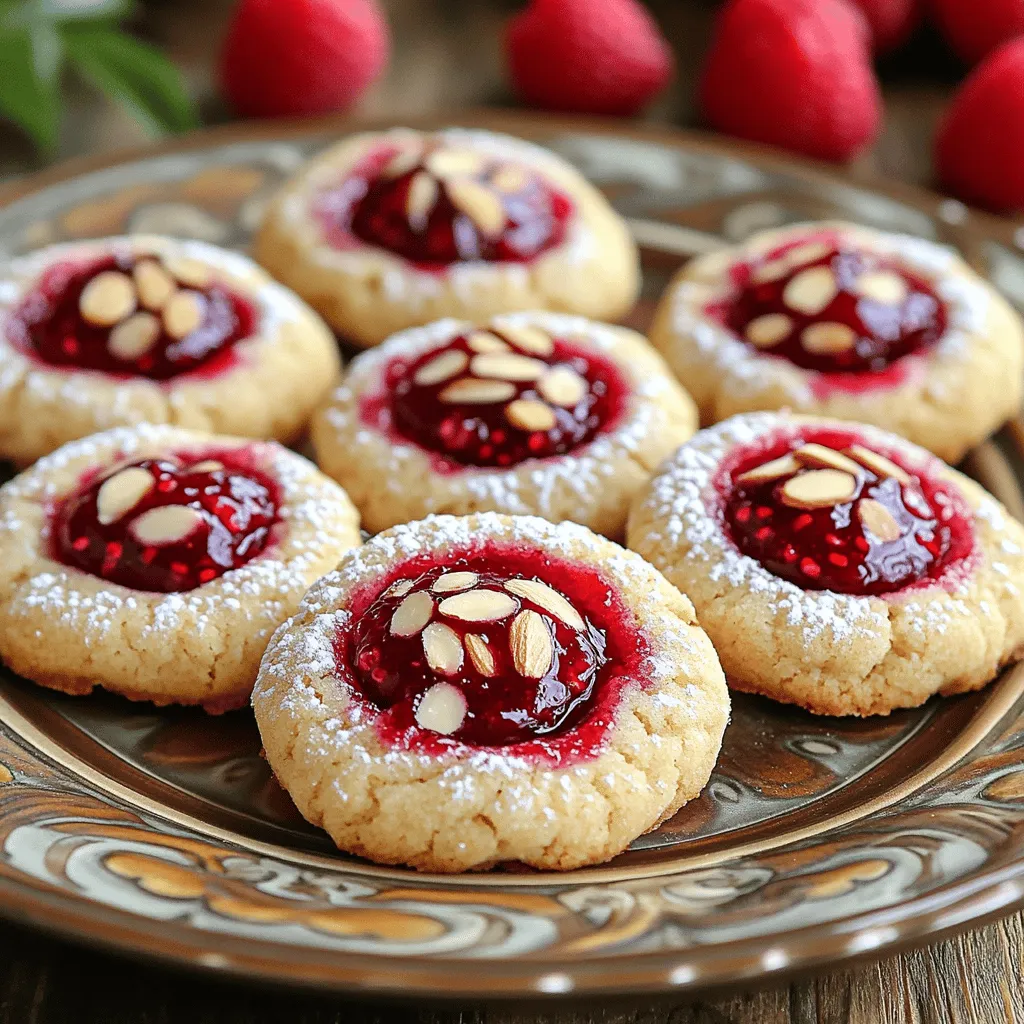
Raspberry Almond Thumbprint Cookies Easy Treat Recipe
Are you ready to whip up a treat that’s as fun to make as it is delicious? Raspberry Almond Thumbprint Read Full Recipe -
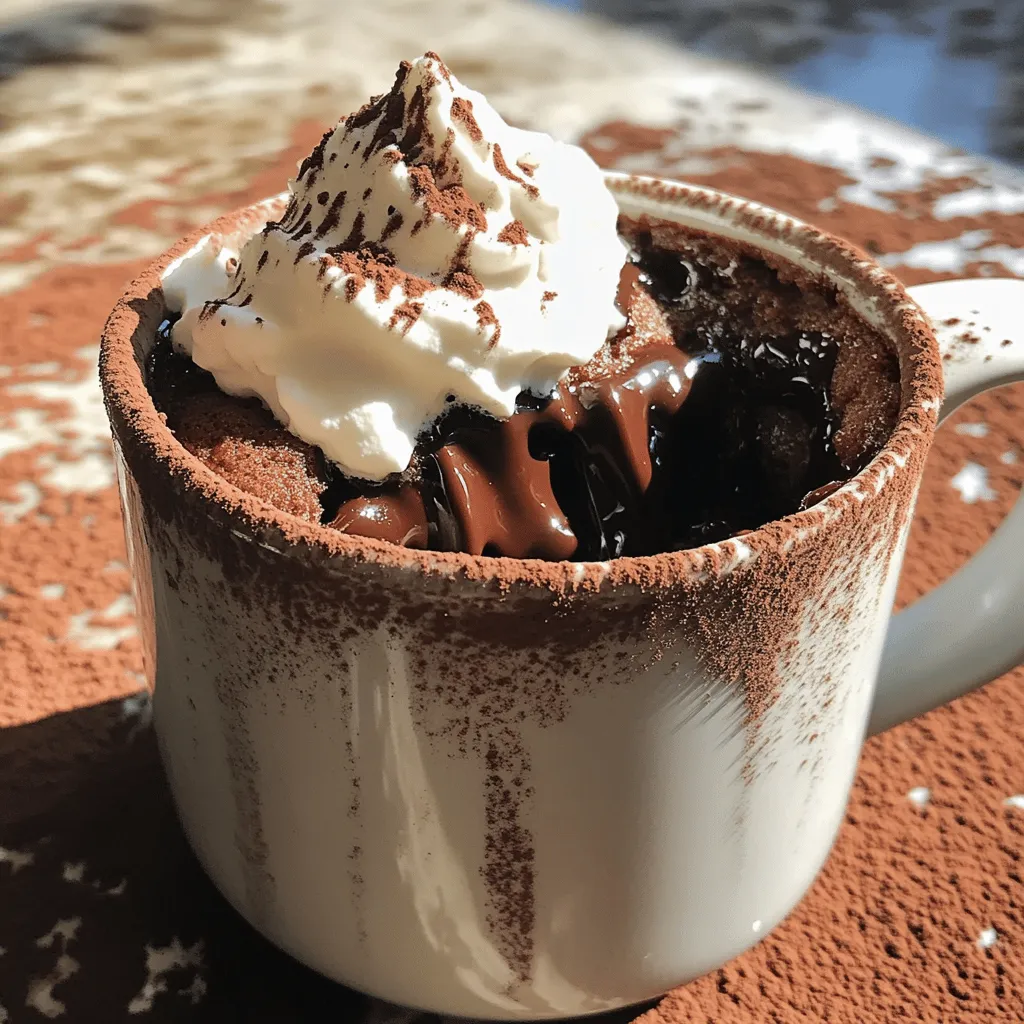
Chocolate Lava Mug Cake Delicious and Simple Recipe
Craving a sweet treat but short on time? You’ve landed in the right place! This Chocolate Lava Mug Cake recipe Read Full Recipe
My Latest Recipes

hey,
i’m !
I’m so happy you’re here!
I’m not just sharing recipes I’m sharing a piece of my heart. I hope these dishes bring you comfort, joy, and maybe even a new favorite.


![To make a chocolate lava mug cake, you will need the following ingredients: - 4 tablespoons all-purpose flour - 4 tablespoons granulated sugar - 2 tablespoons unsweetened cocoa powder - 1/8 teaspoon baking powder - 3 tablespoons milk - 2 tablespoons vegetable oil - 1/4 teaspoon vanilla extract - 1 square (about 1 ounce) of semi-sweet chocolate (or chocolate chip) - A pinch of salt - Optional: Ice cream or whipped cream for serving You can easily adjust these measurements. If you want to make a larger cake, simply double the amounts. For a gluten-free option, use gluten-free flour. You can swap the vegetable oil for melted butter if you prefer. If you want to make it dairy-free, use plant-based milk. Adding a topping can make your mug cake even better. Here are some ideas: - A scoop of vanilla ice cream - A dollop of whipped cream - Fresh berries for a fruity touch - A drizzle of chocolate sauce - A sprinkle of chopped nuts for crunch Feel free to mix and match these toppings to make your dessert truly your own! For the full recipe, check the previous section. Enjoy your baking! Start by choosing a microwave-safe mug. It should hold at least 12 ounces. This size helps the cake rise without spilling. Next, gather your ingredients for easy access. You will need flour, sugar, cocoa powder, baking powder, and salt. Make sure to have milk, vegetable oil, and vanilla extract nearby too. Use a spoon to mix the dry ingredients in the mug. Combine the flour, sugar, cocoa powder, baking powder, and salt. Stir well until all the dry ingredients blend together. This step is key for even flavor. Now, it’s time to add the wet ingredients. Pour in the milk, vegetable oil, and vanilla extract. Use a fork or a small whisk to mix everything. Stir until you see a smooth batter. Make sure there are no lumps or dry spots. This will keep your mug cake fluffy and tasty. After your batter is smooth, it’s time to add the chocolate. Take one square of semi-sweet chocolate, or a few chocolate chips if you prefer. Press it gently into the center of the batter. It should sit just below the surface. This chocolate will melt and create the gooey lava effect. Place your mug in the microwave. Set it on high for 30 to 40 seconds. Start checking at 30 seconds. The cake should rise, but the center must stay slightly gooey. If you cook it too long, it will become dry. Once your cake is ready, carefully remove it from the microwave. Be sure to use oven mitts, as it will be hot. Let it sit for about a minute to cool down a bit. You can enjoy your chocolate lava mug cake as is, or top it with ice cream or whipped cream for a special treat. For the full recipe, check out the details above. To get that ooey-gooey lava center, use good chocolate. I recommend semi-sweet chocolate. Place it in the center of your batter but don’t cover it completely with batter. This way, it melts well and creates that fun lava effect. Check your mug cake at the 30-second mark. If it rises but appears soft, you’re on the right track. Every microwave cooks a bit differently. Keep an eye on your mug cake as it cooks. Start with 30 seconds, then check it. If it needs more time, add just 5-10 seconds at a time. Overcooking can turn your cake dry, and nobody wants that! Also, use a large mug. This gives the cake room to rise without spilling. Avoid using a small mug. A tiny mug can overflow and make a mess. Also, don’t skip the salt. It enhances the flavor of the chocolate. If you overmix your batter, it can become tough. Mix just until combined. Lastly, resist the urge to keep it in the microwave too long. A gooey center is the goal! For a detailed guide, check out the Full Recipe for Chocolate Lava Mug Cake. {{image_2}} You can change the flavor of your chocolate lava mug cake easily. Here are some fun ideas: - Peanut Butter: Add 1 tablespoon of peanut butter to the batter. This makes a rich, nutty flavor. - Mint: Use mint extract instead of vanilla. Just one drop can give a fresh twist. - Orange Zest: Grate some orange peel into the batter for a zesty kick. - Coconut: Mix in shredded coconut for a tropical taste. Feel free to mix and match these flavors. You can create your unique dessert! If you need gluten-free options, you can still enjoy this cake. Here’s what to do: - Gluten-Free Flour: Swap all-purpose flour with a gluten-free blend. This works well in most cases. - Dairy-Free: Use almond milk or coconut milk instead of regular milk. This makes it dairy-free. - Egg-Free: If you want to skip eggs, you don’t need them in this recipe. The other ingredients hold it together. These changes keep the taste yummy while meeting your dietary needs. Toppings can take your mug cake to the next level. Here are some ideas to try: - Ice Cream: A scoop of vanilla or chocolate ice cream melts into the warm cake, creating a tasty treat. - Whipped Cream: A dollop of whipped cream adds a light, fluffy texture on top. - Fresh Berries: Strawberries or raspberries add a fresh and tangy flavor. - Caramel Sauce: Drizzle some warm caramel for an added sweetness. You can mix these toppings to find your favorite combo. Enjoy your chocolate lava mug cake! For the full recipe, check out the section above. Yes, you can store a mug cake. However, it is best fresh. If you have leftovers, let it cool first. Cover it tightly with plastic wrap or place it in an airtight container. Store it in the fridge for up to two days. The cake may lose some of its gooey charm but will still taste great. To reheat your mug cake, use the microwave. Place it in the microwave for about 10-15 seconds. Check the temperature; if it's not warm enough, add a few more seconds. Be careful not to overheat it. This can make the cake dry and tough. Always enjoy your mug cake fresh for the best taste and texture. If you want to prepare the dry ingredients in advance, mix them in a bowl. Store this mix in an airtight container. When you are ready, just add the wet ingredients and cook. This way, you can enjoy a quick treat anytime without losing freshness. For the full recipe, check the section above. You can tell when your mug cake is done by checking the cake's rise. It should look puffed up and firm on the edges. The center will be soft and slightly gooey. Use a toothpick to poke the edge. If it comes out clean, the cake is ready. Start checking at 30 seconds in the microwave to avoid overcooking. Yes, you can prepare the dry mix ahead of time. Just mix the flour, sugar, cocoa powder, baking powder, and salt, then store it in a jar. When you want a treat, add the wet ingredients and chocolate. Mix and microwave as per the [Full Recipe]. This way, you have a quick dessert ready in minutes. If you don't have semi-sweet chocolate, try using chocolate chips. Dark chocolate works well, too. For a sweeter taste, use milk chocolate. You can even use cocoa powder mixed with a little extra sugar to get a similar flavor. Just remember to adjust the sweetness based on your choice. In this post, we covered how to make a delicious mug cake. We looked at the right ingredients, steps for mixing and cooking, and tips for a perfect lava center. Don’t forget to try fun flavor variations and learn about storage. With the right tricks, you can avoid common mistakes. Mug cakes are quick and easy treats to enjoy anytime. Now, go make your own tasty creation and share it with friends!](https://emmasdish.com/wp-content/uploads/2025/07/50d0d175-347a-4c26-b8c0-a14731d5df33-300x300.webp)
Chocolate Zucchini Muffins Moist and Delicious Treat
Craving a rich, moist treat that surprises your taste buds? Look no further! These Chocolate Zucchini Muffins blend chocolate’s sweetness with veggie goodness, making…
![To make these delightful chocolate zucchini muffins, you'll need the following items: - 1 medium zucchini, grated (about 1 cup) - 1 cup all-purpose flour - 1/2 cup unsweetened cocoa powder - 1 teaspoon baking soda - 1/2 teaspoon baking powder - 1/2 teaspoon salt - 1 cup granulated sugar - 1/2 cup brown sugar, packed - 1/2 cup vegetable oil - 2 large eggs - 1 teaspoon vanilla extract - 1/2 cup semi-sweet chocolate chips (plus extra for topping) Each ingredient plays an important role in making the muffins moist and delicious: - Zucchini: Adds moisture without altering the flavor. - Flour: Provides structure to the muffins. - Cocoa Powder: Gives the muffins their rich chocolate taste. - Baking Soda and Baking Powder: These leavening agents help the muffins rise. - Sugars: Granulated and brown sugars add sweetness and moisture. - Vegetable Oil: Keeps the muffins tender and moist. - Eggs: Bind the ingredients and add richness. - Vanilla Extract: Enhances the overall flavor. - Chocolate Chips: Add melty chocolate goodness in every bite. You can customize this recipe if you need to. Here are some simple swaps: - Zucchini: Substitute with grated carrots for a different flavor. - All-Purpose Flour: Use whole wheat flour for added fiber. - Cocoa Powder: Try Dutch-processed cocoa for a milder taste. - Sugars: Use coconut sugar for a lower glycemic index. - Vegetable Oil: Swap with melted coconut oil for a unique flavor. - Eggs: Use flax eggs (1 tablespoon flaxseed meal + 2.5 tablespoons water) for a vegan option. You can find the full recipe to guide you through the steps! Start by gathering your ingredients. You need: - 1 medium zucchini, grated (about 1 cup) - 1 cup all-purpose flour - 1/2 cup unsweetened cocoa powder - 1 teaspoon baking soda - 1/2 teaspoon baking powder - 1/2 teaspoon salt - 1 cup granulated sugar - 1/2 cup brown sugar, packed - 1/2 cup vegetable oil - 2 large eggs - 1 teaspoon vanilla extract - 1/2 cup semi-sweet chocolate chips (plus extra for topping) Preheat your oven to 350°F (175°C). Line a muffin tin with paper liners or grease it well. In a medium bowl, mix the flour, cocoa powder, baking soda, baking powder, and salt. Whisk it all together and set this bowl aside. In a large bowl, whisk the granulated sugar, brown sugar, and vegetable oil until smooth. Then, add the eggs one at a time. Mix well after each egg. Stir in the vanilla until it blends in completely. Now, fold the grated zucchini into this mixture, making sure it’s spread out evenly. Next, take the dry ingredients and add them to the wet mixture. Stir gently until just combined. Be careful not to overmix; this keeps the muffins light. Now, fold in the chocolate chips, saving a few for topping later. Spoon the batter evenly into the muffin cups, filling each about two-thirds full. Sprinkle the reserved chocolate chips on top of each one. Bake in your preheated oven for 18-20 minutes. To check for doneness, insert a toothpick into the center. It should come out clean or with a few crumbs attached. Keep an eye on the muffins as they bake. Start checking them at 18 minutes. If the toothpick comes out dirty, give them a few more minutes. Overbaking can make them dry, which we want to avoid. Once they are done, let them cool in the pan for about 5 minutes. Then, move them to a wire rack to cool completely. Now you have moist and delicious chocolate zucchini muffins! Check out the Full Recipe for more details. When baking chocolate zucchini muffins, a few common mistakes can happen. First, do not skip squeezing the grated zucchini. Zucchini holds a lot of water, and too much moisture can ruin your muffins. Second, avoid overmixing the batter. This can make the muffins tough instead of soft. Third, do not forget to check your oven temperature. An oven that is too hot can cause the muffins to bake too quickly on the outside while staying raw inside. To ensure your muffins are moist, use fresh zucchini. Old zucchini may be drier and less flavorful. I recommend using oil instead of butter. Oil keeps them soft and moist longer. Also, consider adding a little more sugar for sweetness. A touch of brown sugar adds moisture, too. Lastly, let the muffins sit in the pan for a few minutes before transferring them to a wire rack. This helps them stay soft. To boost the flavor, try adding a pinch of cinnamon or nutmeg. These spices complement chocolate well. You can also mix in nuts or seeds for crunch. Chopped walnuts or pecans work nicely. For a richer taste, use dark chocolate chips instead of semi-sweet. If you want a fun twist, add a splash of espresso or coffee to the batter. This enhances the chocolate flavor without being too strong. For the full recipe, you can check the complete instructions above. {{image_2}} You can make these muffins healthier. Try using whole wheat flour instead of all-purpose flour. Whole wheat flour adds fiber and nutrients. You can also cut down on sugar. Use half a cup of granulated sugar and a half cup of unsweetened applesauce. This swap keeps muffins sweet but lowers calories. Add new tastes to your muffins for fun! Mix in nuts like walnuts or pecans for crunch. You can also add spices like cinnamon or nutmeg for warmth. Try adding a splash of espresso for a coffee flavor. Each choice brings a new twist to this treat. If you need gluten-free muffins, use gluten-free flour blends. These blends work well in most recipes. You can also try almond flour for a different taste. Just make sure to check the mix for the right texture. This way, everyone can enjoy chocolate zucchini muffins! For the complete recipe, visit the [Full Recipe]. To keep your chocolate zucchini muffins fresh, store them in an airtight container. This helps keep moisture in while preventing them from drying out. You can also line the container with a paper towel. This absorbs extra moisture and keeps the muffins soft. Place the muffins at room temperature for up to three days. For longer storage, you might want to consider freezing. Freezing is a great way to save extra muffins. First, let them cool completely. Then, wrap each muffin tightly in plastic wrap. You can also use foil or place them in a freezer-safe bag. Make sure to remove as much air as possible. Label the bags with the date. You can freeze these muffins for up to three months. When you’re ready to enjoy them, just thaw them in the fridge overnight. Reheating your muffins is simple and quick. If you prefer a soft muffin, microwave it for about 10 to 15 seconds. This warms the muffin without making it tough. If you want a crispy texture, use an oven. Preheat your oven to 350°F (175°C) and place the muffins on a baking sheet. Heat them for about 5 to 7 minutes. This method brings back their fresh-baked taste. Enjoy your chocolate zucchini muffins warm! Yes, you can make these muffins without eggs. Use 1/4 cup of unsweetened applesauce for each egg. This will keep the muffins moist and help them rise. You can also use a flaxseed meal mix. Combine 1 tablespoon of flaxseed meal with 3 tablespoons of water. Let it sit for five minutes before adding to the batter. Both options work great! These muffins stay fresh for about 3 days at room temperature. Store them in an airtight container. For longer storage, keep them in the fridge for up to a week. You can also freeze them. They last for up to 3 months in the freezer. Just thaw them overnight when you want to enjoy one. Absolutely! You can use any type of zucchini. Yellow squash works well too. Both have similar moisture content and flavor. Just make sure to grate it finely. This helps the zucchini blend into the batter smoothly. You can add many yummy mix-ins to your muffins. Consider adding: - Chopped nuts like walnuts or pecans - Dried fruit like raisins or cranberries - Coconut flakes for a tropical twist - Different types of chocolate chips, like dark or white chocolate Feel free to explore! The Full Recipe gives you a solid base for creativity. You learned how to make moist and tasty chocolate zucchini muffins. We covered the key ingredients, possible swaps, and step-by-step baking instructions. I shared tips for avoiding common mistakes and enhancing flavor. You can even try healthier or gluten-free options. These muffins are versatile and easy to store. Remember, you can always check out the full recipe for more details. Enjoy your baking adventure!](https://emmasdish.com/wp-content/uploads/2025/06/88db52e1-3b9d-4c05-944e-312d4723ed50.webp)
