

Latest & Greatest
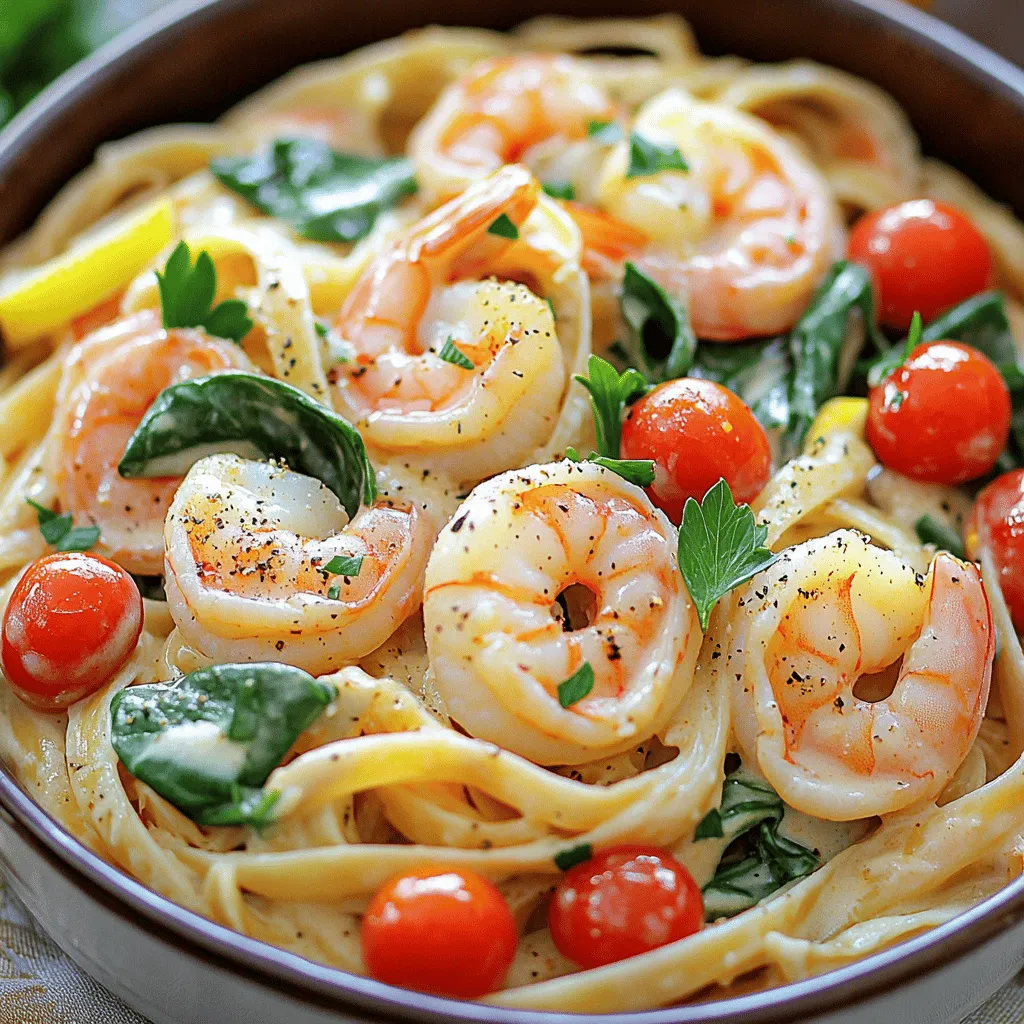
Creamy Shrimp Pasta Quick and Tasty Dinner Option
Looking for a quick and tasty dinner option that impresses? Try my creamy shrimp pasta! It’s simple, rich, and packed
Read more…
Pineapple Heaven Cake Delightful and Easy Recipe
Welcome to your new favorite dessert: Pineapple Heaven Cake! If you love fluffy, fruity treats, this recipe checks all the
Read more…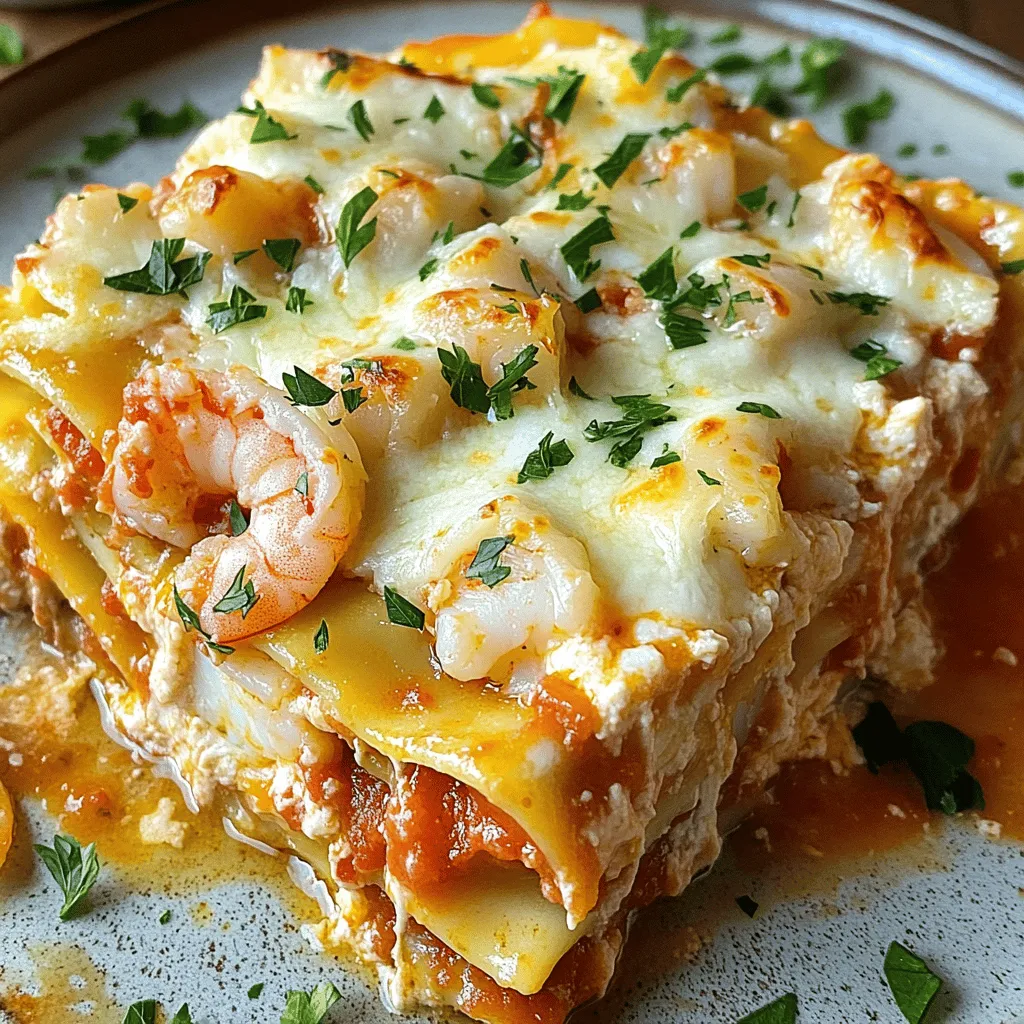
Savory Seafood Lasagna Flavorful and Delightful Dish
Craving a dish that combines rich flavors with a touch of elegance? Dive into this Savory Seafood Lasagna, where layers
Read more…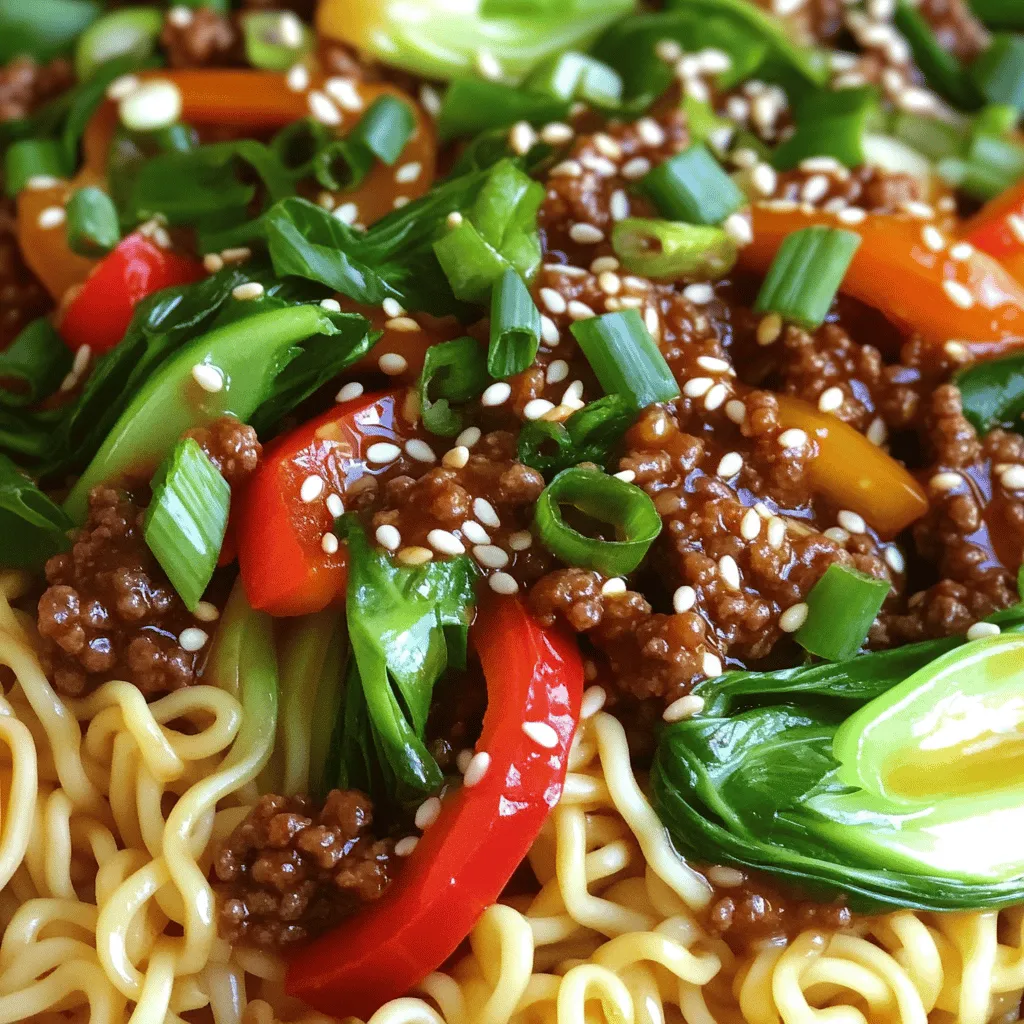
Mongolian Ground Beef Noodles Quick and Flavorful Dish
Are you ready to enjoy a quick, flavorful meal? Mongolian Ground Beef Noodles are your answer! This dish combines tender
Read more…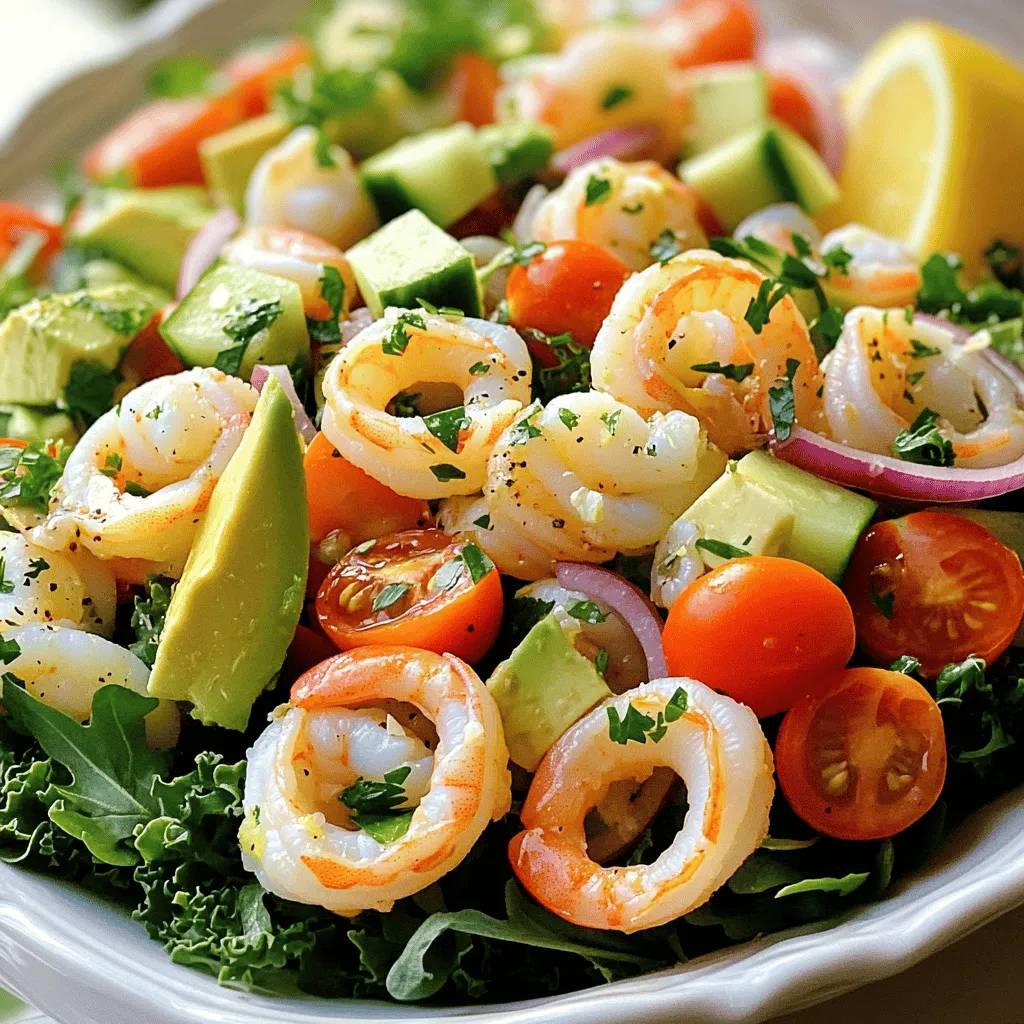
Savory Seafood Salad Fresh and Flavorful Delight
If you crave a fresh and tasty dish, seafood salad is the perfect choice. This savory mix of shrimp, scallops,
Read more…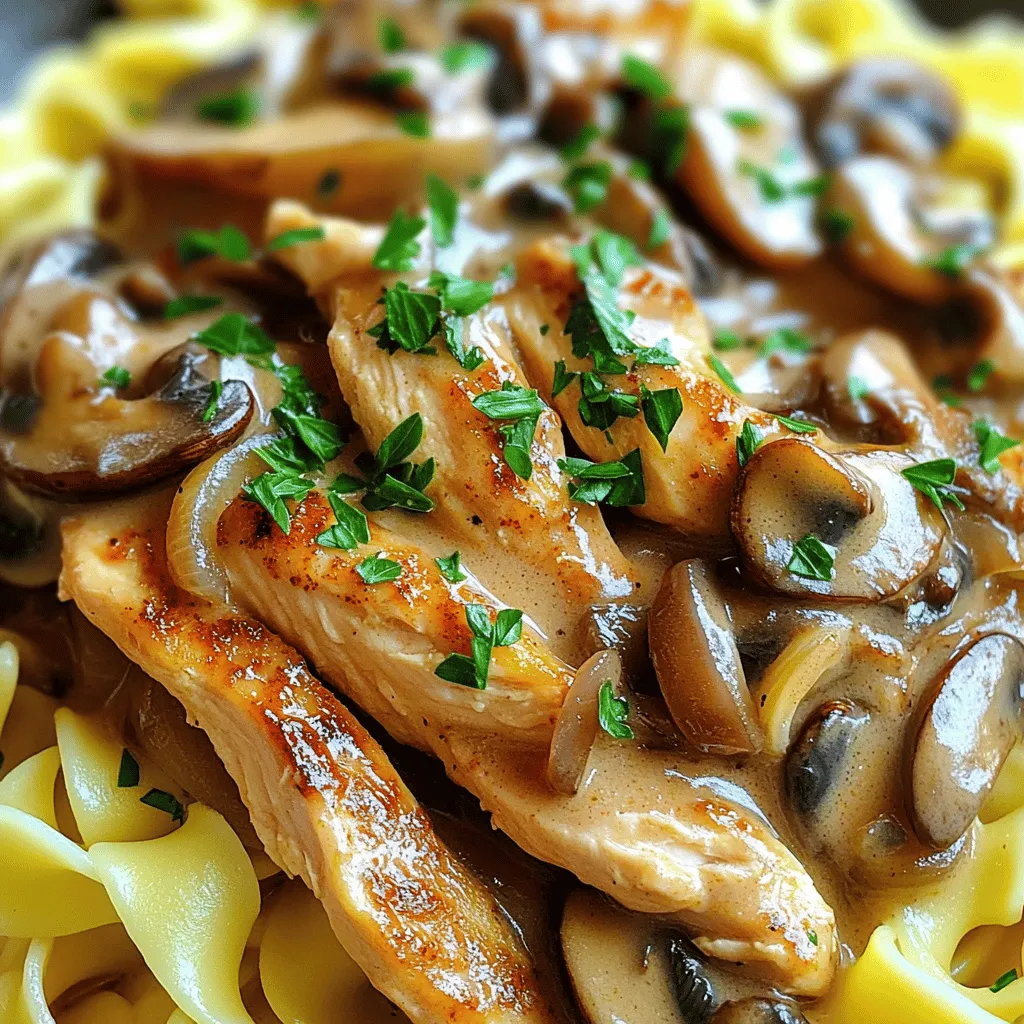
Homemade Chicken Stroganoff Flavorful Comfort Meal
If you’re craving a warm, hearty meal that’s easy to make, Homemade Chicken Stroganoff is your answer. Packed with tender
Read more…
Loaded Baked Potato Gnocchi Flavorful Comfort Dish
Looking for a cozy dish to warm your soul? Dive into my Loaded Baked Potato Gnocchi, a delightful twist on
Read more…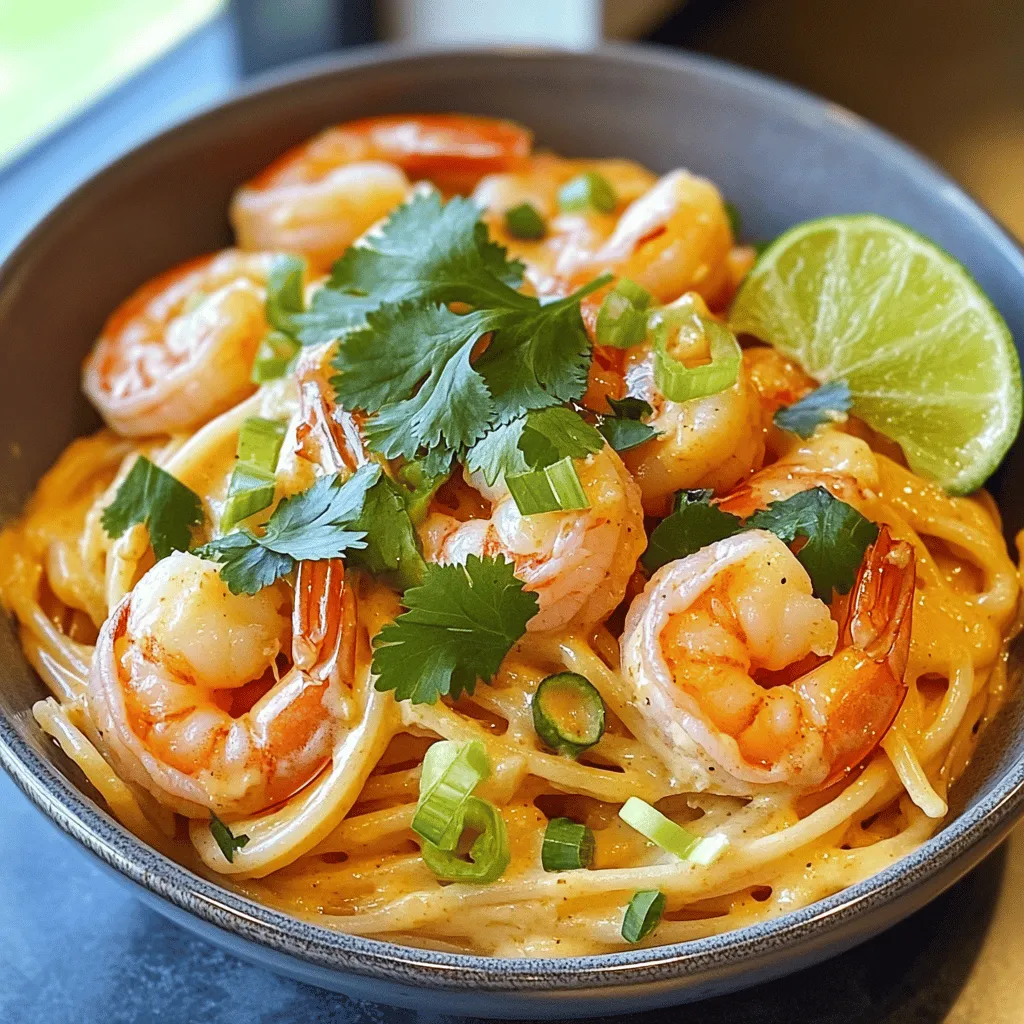
Bang Bang Shrimp Pasta Easy and Quick Dinner Option
Looking for a quick and tasty dinner? Bang Bang Shrimp Pasta checks all the boxes! I’ll guide you through this
Read more…browse recipes


Lemon Ricotta Cookies Delightfully Soft Treat
If you’re craving a soft, zesty treat, look no further! Lemon Ricotta Cookies are light, delicious, and incredibly easy to make. With a rich…
My Latest Desserts
-

Stuffed French Toast Roll Ups Delicious Morning Treat
Wake up your taste buds with my amazing Stuffed French Toast Roll Ups! They’re easy to make and perfect for Read Full Recipe -

Cinnamon Roll French Toast Bake Irresistible Treat
If you love breakfast and sweet treats, you’re in for a real delight! Imagine waking up to the rich aroma Read Full Recipe -

Chocolate Covered Banana Bites Tasty and Easy Recipe
If you love sweet treats but want something simple, chocolate-covered banana bites are perfect for you. These tasty snacks combine Read Full Recipe -

Cinnamon Roll Mug Cake Quick and Tasty Treat
Craving something sweet but short on time? This Cinnamon Roll Mug Cake is your quick fix! In just minutes, you Read Full Recipe -

Raspberry Almond Thumbprint Cookies Simple Delight
Looking for a delightful treat that’s simple to make? Raspberry Almond Thumbprint Cookies are just the answer! These cookies combine Read Full Recipe -

Chocolate Chip Pumpkin Bread Easy and Flavorful Treat
If you’re craving a sweet treat, let me introduce you to Chocolate Chip Pumpkin Bread! This easy recipe combines warm Read Full Recipe -
No Churn Oreo Ice Cream Simple and Delicious Treat
Craving a sweet, creamy treat but don’t own an ice cream maker? No worries! My No Churn Oreo Ice Cream Read Full Recipe -

Raspberry Almond Thumbprint Cookies Easy Treat Recipe
Are you ready to whip up a treat that’s as fun to make as it is delicious? Raspberry Almond Thumbprint Read Full Recipe -

Chocolate Lava Mug Cake Delicious and Simple Recipe
Craving a sweet treat but short on time? You’ve landed in the right place! This Chocolate Lava Mug Cake recipe Read Full Recipe -
Lemon Blueberry Pound Cake Delightful Easy Recipe
Are you ready to indulge in a sweet treat that’s as bright as a sunny day? This Lemon Blueberry Pound Read Full Recipe
My Latest Recipes

hey,
i’m !
I’m so happy you’re here!
I’m not just sharing recipes I’m sharing a piece of my heart. I hope these dishes bring you comfort, joy, and maybe even a new favorite.
![- 2 cups cooked jasmine rice (preferably chilled) - 1 lb shrimp, peeled and deveined - 2 tablespoons olive oil - 3 cloves garlic, minced - 1 small onion, finely chopped - 1 cup mixed vegetables (peas, carrots, and corn) - 2 eggs, beaten - 3 tablespoons soy sauce - 1 tablespoon sesame oil - 1 teaspoon ginger, grated - 2 green onions, sliced - Salt and pepper to taste - Fresh cilantro for garnish (optional) To make great shrimp fried rice, you need the right ingredients. Using chilled jasmine rice is key. This rice has a light and fluffy texture, perfect for frying. Fresh shrimp adds a sweet and savory taste. Always peel and devein your shrimp for the best results. Next, garlic and onion bring a strong flavor. Minced garlic gives a nice aroma while the onion adds sweetness. Mixed vegetables like peas, carrots, and corn create color and nutrition. Eggs are a must for richness. They also help bind the rice. Soy sauce and sesame oil enhance the dish's taste, giving it that umami punch. Grated ginger adds warmth and spice. Sliced green onions not only garnish but also add a fresh crunch. Season with salt and pepper to balance everything out. Feel free to use fresh cilantro to make your dish pop. For the full recipe, check out the [Full Recipe]. - Cook jasmine rice and chill it. - Prepare shrimp and vegetables. To start, you need to cook the jasmine rice. I suggest making it ahead of time and chilling it in the fridge. This helps the rice firm up, making it perfect for frying. You can cook it the night before for the best results. While the rice cools, prepare your shrimp and vegetables. Make sure to peel and devein the shrimp. Chop your onion and garlic finely to enhance the flavor. - Cooking shrimp and removing from the pan. - Sautéing garlic and onions. - Adding mixed vegetables and ginger. - Scrambling eggs and combining ingredients. Now, heat a large frying pan or wok over medium-high heat. Add one tablespoon of olive oil. Once it’s hot, toss in the shrimp. Cook until they turn pink and opaque, about 2-3 minutes. Remove the shrimp and set them aside. In the same pan, add the rest of the olive oil. Sauté the minced garlic and chopped onion for 2-3 minutes until the onion is soft and fragrant. Next, add your mixed vegetables and grated ginger. Cook for another 2-3 minutes until the veggies are warm. Push the veggies to one side of the pan. Pour in the beaten eggs on the empty side and scramble them until just set. Mix the eggs with the vegetables to combine everything. - Combining cooked shrimp and rice. - Seasoning and serving suggestions. Now, it’s time to bring it all together. Add your chilled rice to the pan, followed by the cooked shrimp. Drizzle soy sauce and sesame oil over the mixture. Stir well to ensure everything is combined and heated through. Finally, season with salt and pepper to taste. Add sliced green onions for a fresh touch. Scoop the shrimp fried rice into bowls or plates. You can garnish with fresh cilantro if you like. Enjoy this quick and easy dish that packs a punch of flavor! For the full recipe, check out the Shrimp Fried Rice Fiesta. Using chilled rice is key for great fried rice. Freshly cooked rice can get mushy. Chill the rice in the fridge for at least an hour. Overnight is best for texture. This helps each grain stay separate. Cooking shrimp perfectly takes just a few minutes. Sauté shrimp over medium-high heat. Watch for the shrimp to turn pink and opaque. This usually takes 2-3 minutes. Remove them from the pan to avoid overcooking. To boost flavor, try adding a splash more soy sauce. You can also toss in a bit of oyster sauce for depth. Fresh ginger adds a nice kick. Consider using herbs like cilantro or basil for freshness. Just chop them and mix them in before serving. One big mistake is overcooking shrimp. Rubber shrimp isn’t fun to eat. Always monitor the color closely. If shrimp are gray too long, they will become tough. Another mistake is not mixing the ingredients well. You want every bite to have flavor. Stir thoroughly to combine all elements. Make sure the rice is heated through and well-distributed. {{image_2}} You can switch shrimp for chicken or tofu. This makes the dish fun and new. For chicken, use small, bite-sized pieces. Cook them until they are golden. For tofu, press it to remove extra water. Cut it into cubes and sauté until crispy. Both can add great texture and flavor. You can also use fresh seafood alternatives. Consider scallops or crab meat. These options bring a sweet taste that pairs well with rice. Just remember to cook them quickly, so they stay tender. Mixing vegetables can change the whole dish. You can use broccoli, bell peppers, or snap peas. They add crunch and color. Swap out the mixed vegetables for what you have on hand. Frozen veggies work too! Seasonal variations can make it special. In spring, add asparagus or peas. In summer, use zucchini or corn. Fall can have mushrooms or squash. Each season gives a new twist to your fried rice. If you need gluten-free options, use tamari instead of soy sauce. It tastes just as good and works in this recipe. You can also find gluten-free soy sauce at many stores. For vegan adaptations, skip the shrimp and eggs. Instead, use more veggies or plant-based protein. You can also add crushed tofu for extra protein. This way, everyone can enjoy a tasty meal! For the complete recipe, check out the Full Recipe. After making shrimp fried rice, let it cool. Place leftovers in an airtight container. Store them in the fridge. This keeps the rice fresh for about three to four days. When reheating, use a pan or microwave. If using a pan, add a splash of water. This helps keep the rice moist. Heat it on low, stirring often. If using a microwave, cover the bowl with a damp paper towel. This adds steam and warms the rice evenly. You can freeze shrimp fried rice for longer storage. First, let it cool completely. Then, place it in a freezer-safe bag. Make sure to remove as much air as possible. This will help prevent freezer burn. It can last for about one to two months. To thaw, move it to the fridge overnight. For a quicker method, run the bag under cold water. Once thawed, reheat it in a pan or microwave. Add a bit of water if it seems dry. Stored shrimp fried rice lasts about three to four days in the fridge. If frozen, it remains good for one to two months. To check for spoilage, look for off smells or unusual colors. If it seems dry or hard, it's time to toss it out. Always trust your senses before eating. To avoid rubbery shrimp, cook them quickly. Heat your pan well before adding the shrimp. When they turn pink and opaque, they are done. This usually takes about 2-3 minutes. Don't overcook them; they will continue to cook a bit after you take them off the heat. Yes, you can use cooked rice. Just make sure it's chilled. This helps to keep the grains separate. If you use warm rice, it may clump together. For best results, leftover rice works great in this recipe. Jasmine rice is my favorite for fried rice. It has a nice aroma and a fluffy texture. You can also use long-grain rice or basmati rice. These types hold up well when fried and mix nicely with other ingredients. To add spice, try adding red pepper flakes or sriracha. Mix these in when you add the soy sauce. You can also toss in diced jalapeños for a fresh kick. Adjust the amount to match your heat preference. This blog post guides you through making a delicious shrimp fried rice. We covered the ingredients, preparation steps, and cooking techniques to ensure great flavor. I shared tips to avoid common mistakes and offered variations for different diets. Remember, using cold rice and cooking shrimp properly are key for the best results. Enjoy trying out the many ways to customize this dish to fit your needs!](https://emmasdish.com/wp-content/uploads/2025/04/f4d02673-1a26-4c08-8465-ca1dbd7eacbd-300x300.webp)
Chickpea Salad Sandwich Tasty and Nutritious Meal
Are you looking for a quick, nutritious meal? The Chickpea Salad Sandwich is the answer! This tasty dish packs a punch with its flavor…
![To make a great chickpea salad sandwich, you need some key ingredients. Here’s what you will need: - 1 can (15 oz) chickpeas, drained and rinsed - 1/4 cup Greek yogurt (or vegan yogurt) - 1 tbsp Dijon mustard - 1 tbsp lemon juice - 1/2 tsp garlic powder - 1/2 tsp smoked paprika - 1/4 cup celery, finely chopped - 1/4 cup red onion, finely chopped - 1/4 cup red bell pepper, diced - 2 tbsp fresh dill, chopped (or 1 tbsp dried) - Salt and pepper to taste - Whole grain or sourdough bread, for serving - Lettuce leaves, for garnish You can also add optional ingredients for a twist. Try adding chopped pickles or avocado for creaminess. You can even mix in some chopped nuts for crunch. If you want to keep this meal vegan, use vegan yogurt instead of Greek yogurt. For the bread, gluten-free options work well too. You can swap whole grain or sourdough for gluten-free bread. Adding more veggies is a great idea! Toss in some carrots, cucumbers, or spinach for added crunch and nutrition. Fresh herbs like parsley or cilantro can give it a fresh taste. Each serving of this chickpea salad sandwich has about 300 calories. You'll get a good mix of nutrients: - Protein: Chickpeas provide plant-based protein. - Fiber: This meal is high in fiber, which helps digestion. - Healthy Fats: If you use olive oil or avocado, you’ll add healthy fats. Eating this sandwich not only fills you up but also gives your body what it needs. Enjoy it as a tasty lunch or snack! For the full recipe, check out the instructions above. To start, you need to mash the chickpeas. Use a fork or potato masher. Aim for a slightly chunky texture. This gives your salad a nice bite. Don't puree them; keep some pieces whole. Next, combine flavors. Add Greek yogurt, Dijon mustard, lemon juice, garlic powder, and smoked paprika. Stir well until everything mixes nicely. This step is key to a flavorful salad. Now it's time to mix all the ingredients. Add the chopped celery, red onion, red bell pepper, and dill. Mix gently to keep the veggies intact. You want even distribution of all flavors. Taste your mixture and adjust seasoning. Add salt and pepper as needed. If you want more zing, add a bit more lemon juice. This will brighten up the overall flavor. To make the sandwich, start by toasting your bread. This adds a great crunch. You can use whole grain or sourdough bread. Toast until golden brown for the best bite. Spread a generous amount of your chickpea salad on one slice. Top with fresh lettuce leaves for a nice crunch. Then, place another slice of bread on top. Cut the sandwich in half for easy eating. Serve with fresh veggie sticks or chips on the side. This adds a delightful touch to your meal. For the complete recipe, check the Full Recipe. - Avoid Over-Mashing: Mash chickpeas until slightly chunky. This gives texture. - Don't Skip the Seasoning: Salt and pepper bring out the flavors. Taste as you mix. - Balance Your Ingredients: Use equal parts of veggies and chickpeas for harmony. Flavor-Enhancing Techniques: - Add Fresh Herbs: Use parsley or cilantro for a fresh kick. - Use Fresh Lemon Juice: This brightens the whole salad. - Experiment with Spices: Try cumin or curry powder for a twist. - Store Salad Separately: Keep chickpea salad in the fridge before assembly. This keeps bread from getting soggy. - Wrap Bread Properly: Store in an airtight container to keep it fresh longer. - Wrap It Up: Use whole wheat wraps instead of bread. - Make Mini Sandwiches: Use slider buns for bite-sized fun. - Pair with Crunchy Sides: Serve with carrot sticks or cucumber slices for freshness. For the full recipe, visit the Chickpea Salad Sandwich section! {{image_2}} You can enjoy a chickpea salad sandwich in many ways. If you're gluten-free, use gluten-free bread. There are many tasty brands available. Look for options made from almond flour or rice flour. These breads taste great and hold the salad well. If you're watching carbs, try lettuce wraps instead of bread. Large lettuce leaves work well. They add crunch and freshness. Just scoop the chickpea salad into the leaves and roll them up. It's a fun, low-carb meal. Want to spice things up? Try adding curry powder for a warm taste. Just a teaspoon can change the whole dish. Another fun option is to mix in avocado. It adds creaminess and healthy fats. You can also explore international flavors like adding cumin or cilantro. These spices give the salad a fresh twist. Planning a party? Scale up your recipe easily. Just double or triple the ingredients. This salad tastes great for picnics too. Serve it in small cups for fun appetizers. You can make these portions smaller for snacks or larger for meals. Each way, the chickpea salad will shine. For the full recipe, check out the previous sections. To keep your leftover chickpea salad fresh, store it in an airtight container. This helps prevent it from drying out. Place the container in the fridge right after serving. For best taste, eat it within three days. You can freeze chickpea salad, but it may change in texture. To freeze it, place the salad in a freezer-safe container. Leave some space at the top because it will expand. When you're ready to eat, thaw it overnight in the fridge. Mix it well before serving to restore its taste. You can keep the salad in the fridge for up to three days. If it smells off or has a strange color, it's time to toss it. Look for any signs of mold or separation; these mean it’s spoiled. Always trust your senses when it comes to food safety. A chickpea salad sandwich is a tasty meal made with mashed chickpeas. It is often mixed with yogurt, spices, and veggies. This dish is popular for its great taste and healthy benefits. Many people love it because it is easy to make and fills you up. Yes, you can use canned chickpeas! Canned chickpeas save time and are very convenient. They are already cooked, so you just need to rinse and mash them. They also have a great soft texture. Dried chickpeas require soaking and cooking, which takes longer. To make this recipe vegan, simply swap out Greek yogurt for vegan yogurt. You can find many tasty vegan yogurt options at stores. Also, check for bread that does not contain dairy or eggs. This way, you can enjoy a delicious vegan meal! Absolutely! You can add many ingredients to make it your own. Try adding diced cucumbers for crunch or chopped avocado for creaminess. You can also mix in fresh herbs like parsley or cilantro. Each addition adds unique flavors and makes the sandwich special. For the full recipe, you can refer to the [Full Recipe]. Chickpea salad sandwiches are fun and easy to make. We covered essential ingredients, tips, and variations. You can mix flavors and customize each meal for your taste. Remember to store leftovers properly to keep them fresh. Whether for a quick lunch or a picnic, this dish shines. You have the tools to create a tasty and nutritious meal. Get creative, enjoy, and share your delicious results!](https://emmasdish.com/wp-content/uploads/2025/06/f6dcc47c-3922-4411-88c6-dd6f558f55a2.webp)
