
Latest & Greatest
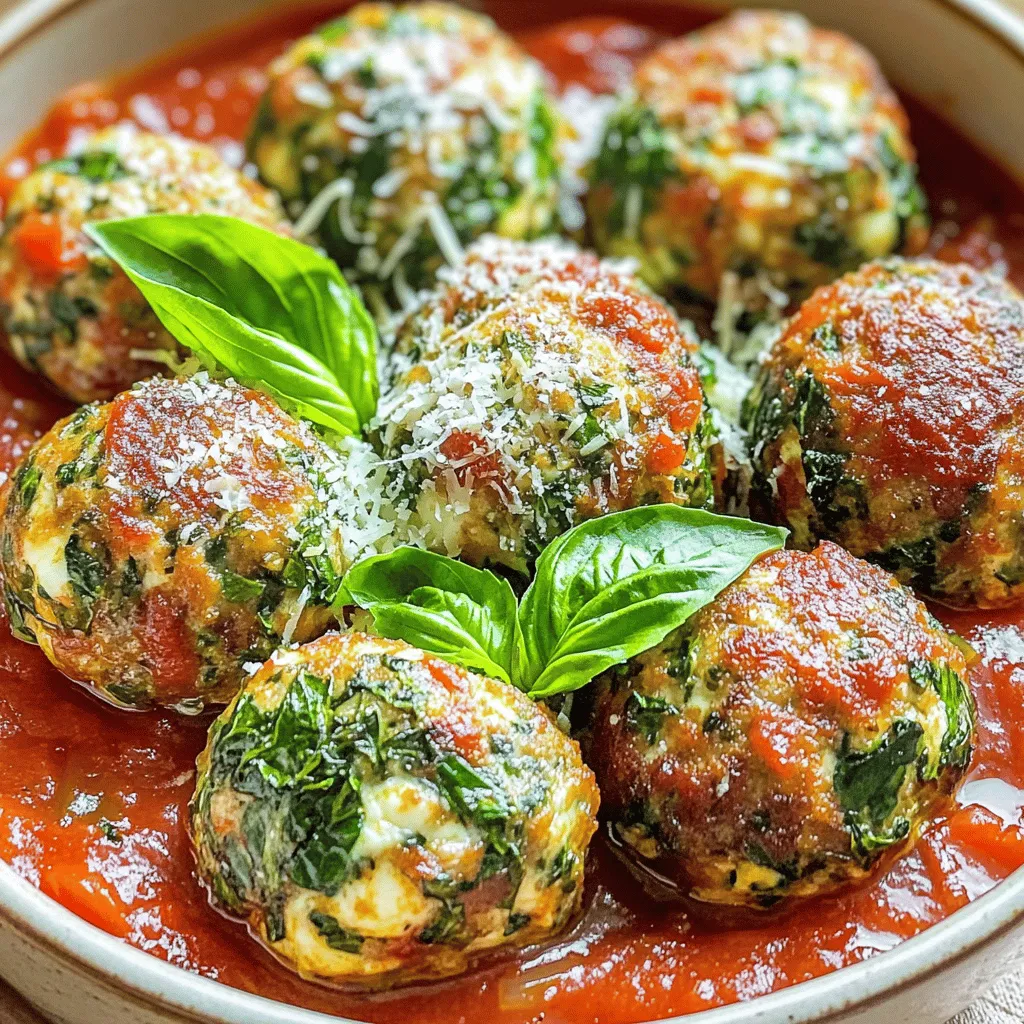
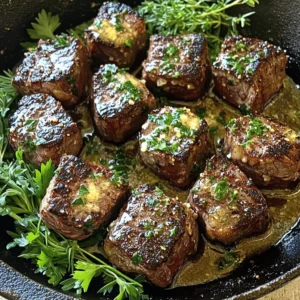
Spinach Garlic Mozzarella Meatballs Tasty and Simple
Looking for a tasty and simple recipe that packs a flavor punch? These Spinach Garlic Mozzarella Meatballs are just what
Read more…
Asian Mushroom Ramen Noodles Flavorful and Easy Recipe
Are you craving a warm, hearty bowl of ramen? You’re in for a treat! This Asian Mushroom Ramen Noodles recipe
Read more…
Herb & Garlic Swirl Rolls Flavorful and Easy Recipe
If you’re craving warm, flavorful bread, you’re in the right place! My Herb & Garlic Swirl Rolls are easy to
Read more…
Cajun Potato Soup Flavorful and Easy Comfort Dish
Looking for a hearty and easy dish that warms the soul? Cajun Potato Soup is your answer! Packed with rich
Read more…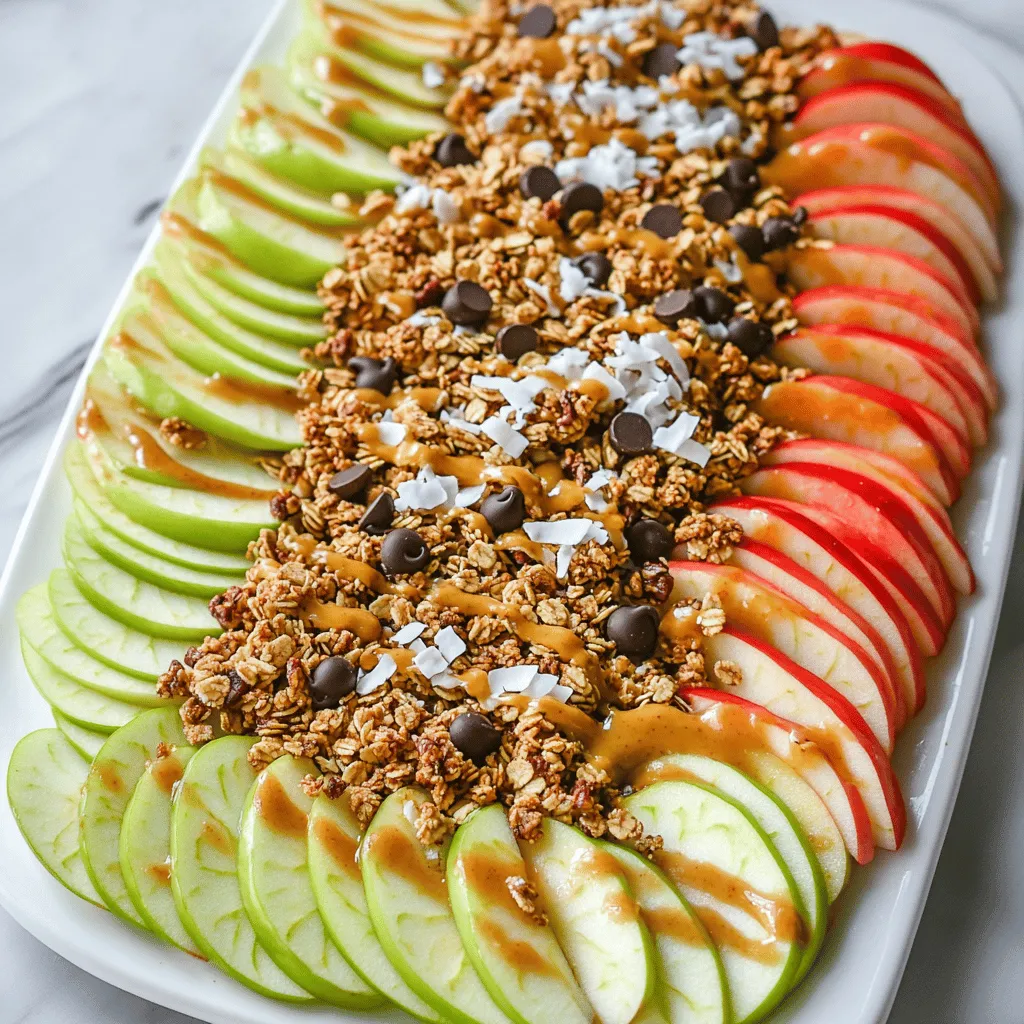
Healthy Apple Nachos Irresistible Tasty Snack
Are you looking for a fun and tasty snack that’s also good for you? Let me introduce you to Healthy
Read more…
Milk and Cookies Fudge Delightful Sweet Treat
Are you ready to enjoy a treat that combines classic flavors with a fun twist? This Milk and Cookies Fudge
Read more…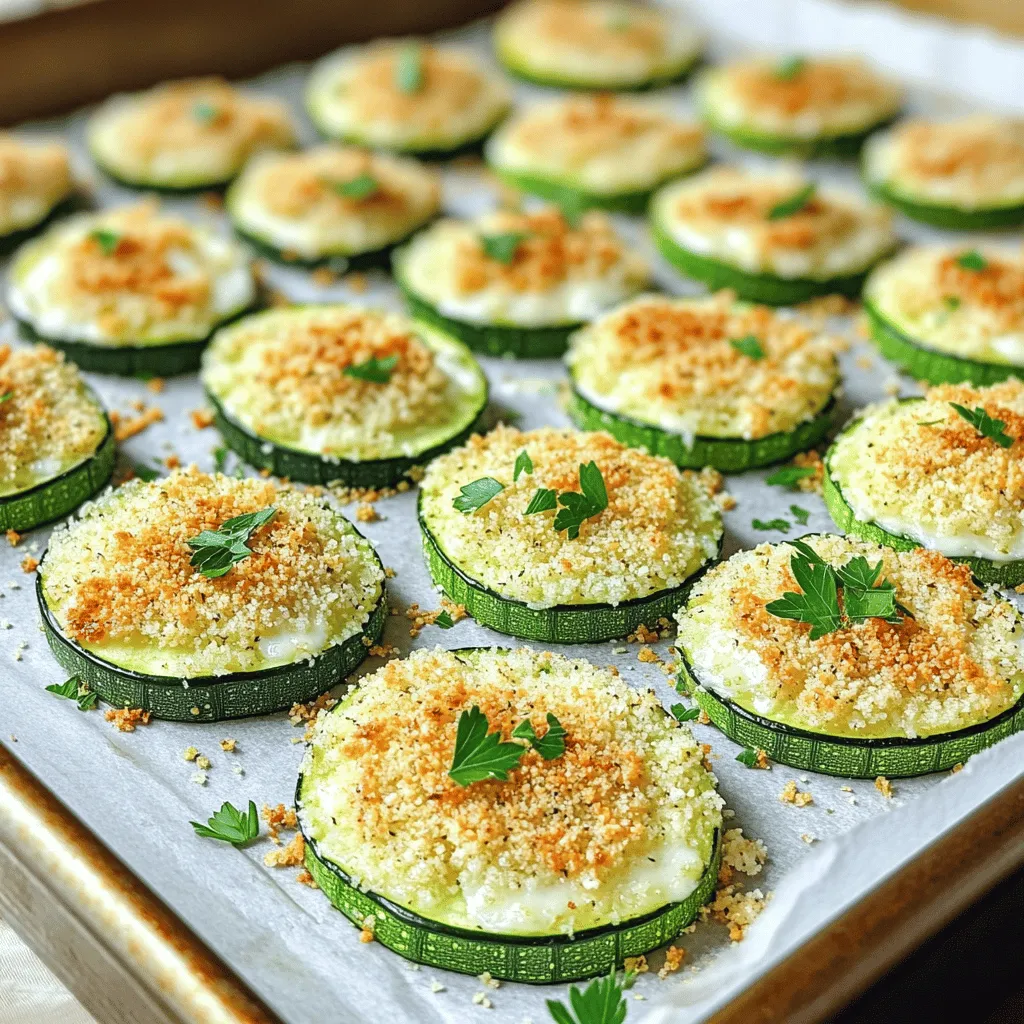
Baked Parmesan Zucchini Crispy and Flavorful Snack
Are you ready to take your snacking game to the next level? Baked Parmesan Zucchini is the answer! This crispy,
Read more…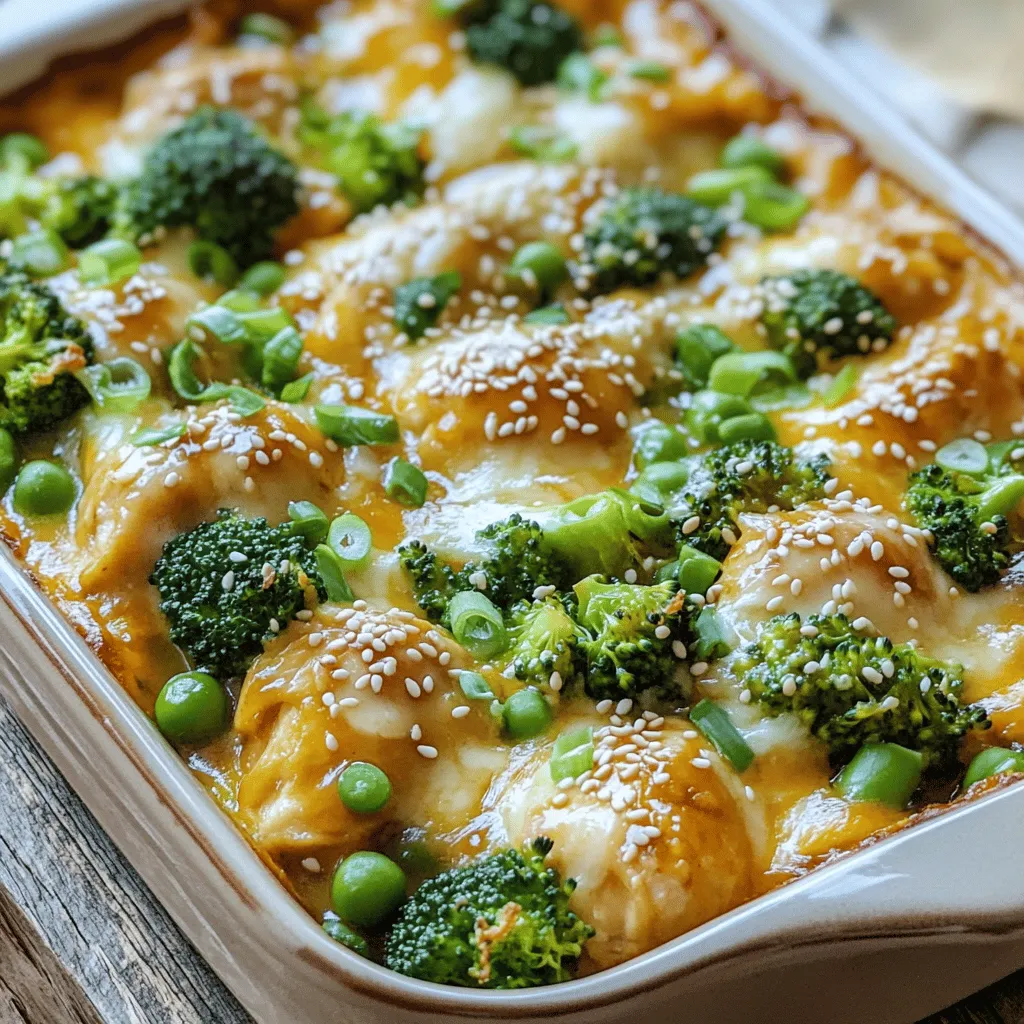
Teriyaki Chicken Casserole Tasty and Simple Dinner
Are you ready to spice up your dinner routine? This Teriyaki Chicken Casserole is tasty and easy to make! With
Read more…browse recipes


Milk and Cookies Fudge Delightful Sweet Treat
Are you ready to enjoy a treat that combines classic flavors with a fun twist? This Milk and Cookies Fudge is a delicious blend…
My Latest Desserts
-
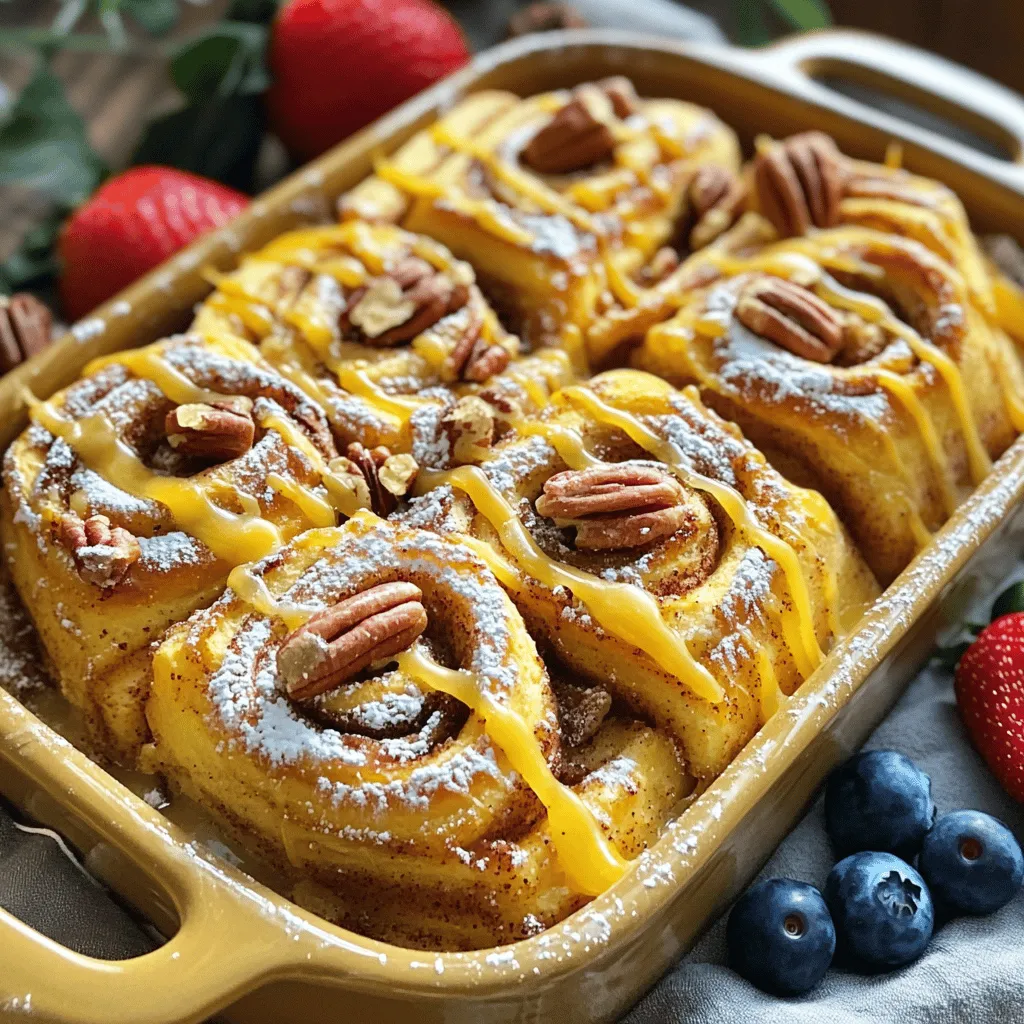
Cinnamon Roll French Toast Bake Irresistible Treat
If you love breakfast and sweet treats, you’re in for a real delight! Imagine waking up to the rich aroma Read Full Recipe -
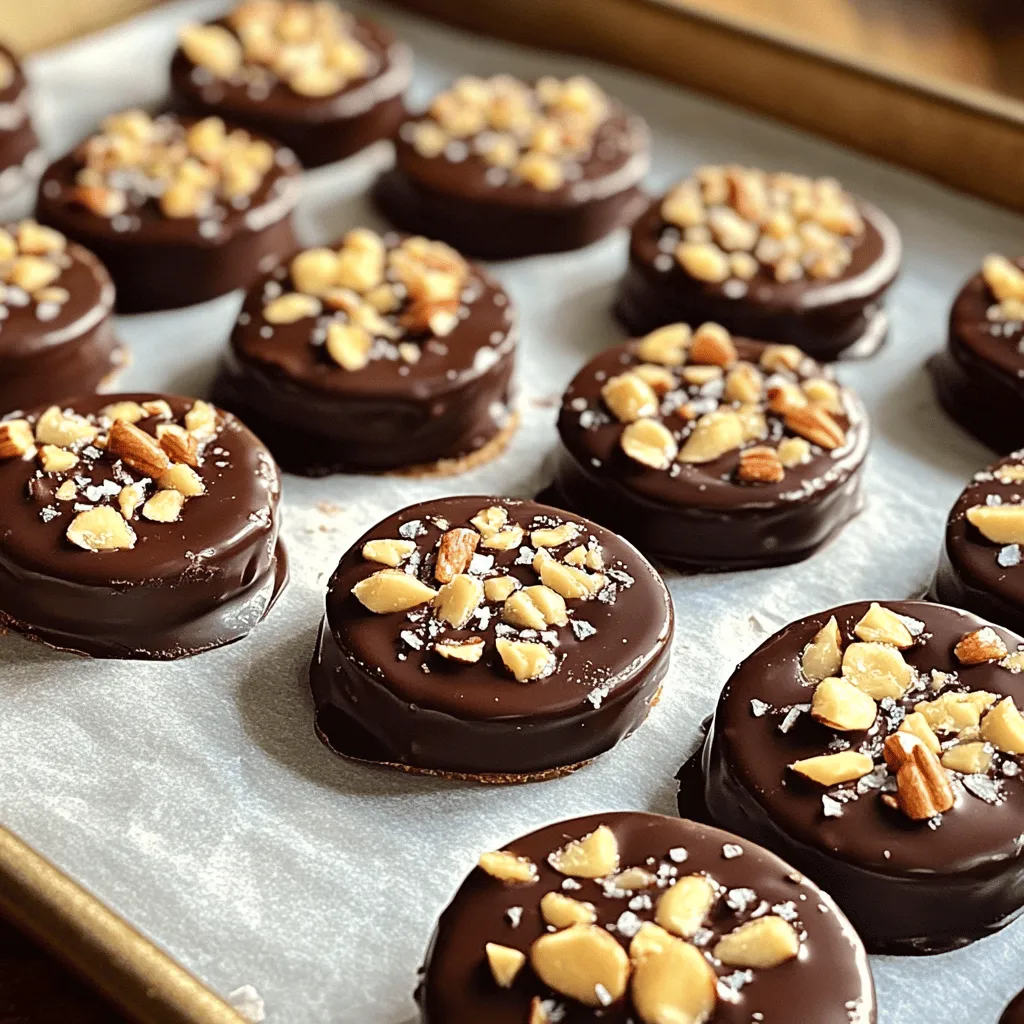
Chocolate Covered Banana Bites Tasty and Easy Recipe
If you love sweet treats but want something simple, chocolate-covered banana bites are perfect for you. These tasty snacks combine Read Full Recipe -

Cinnamon Roll Mug Cake Quick and Tasty Treat
Craving something sweet but short on time? This Cinnamon Roll Mug Cake is your quick fix! In just minutes, you Read Full Recipe -
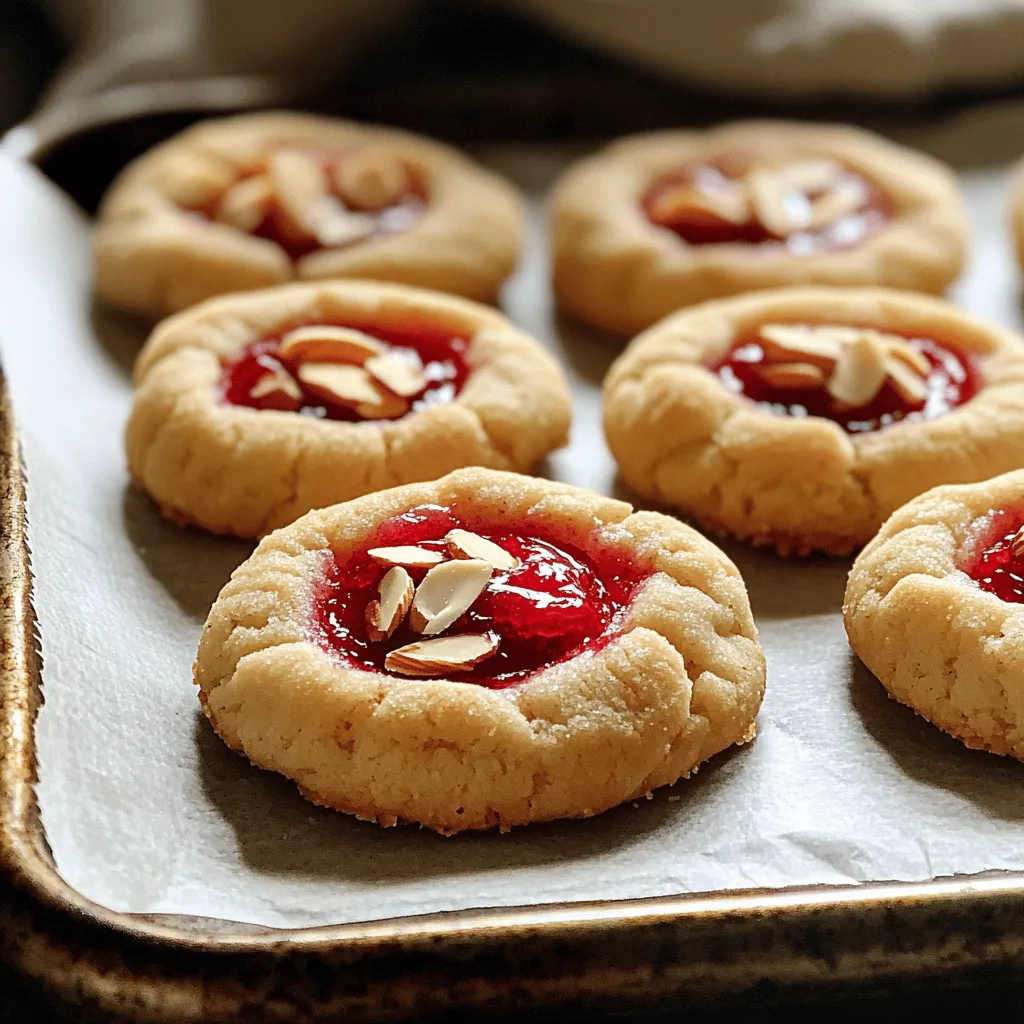
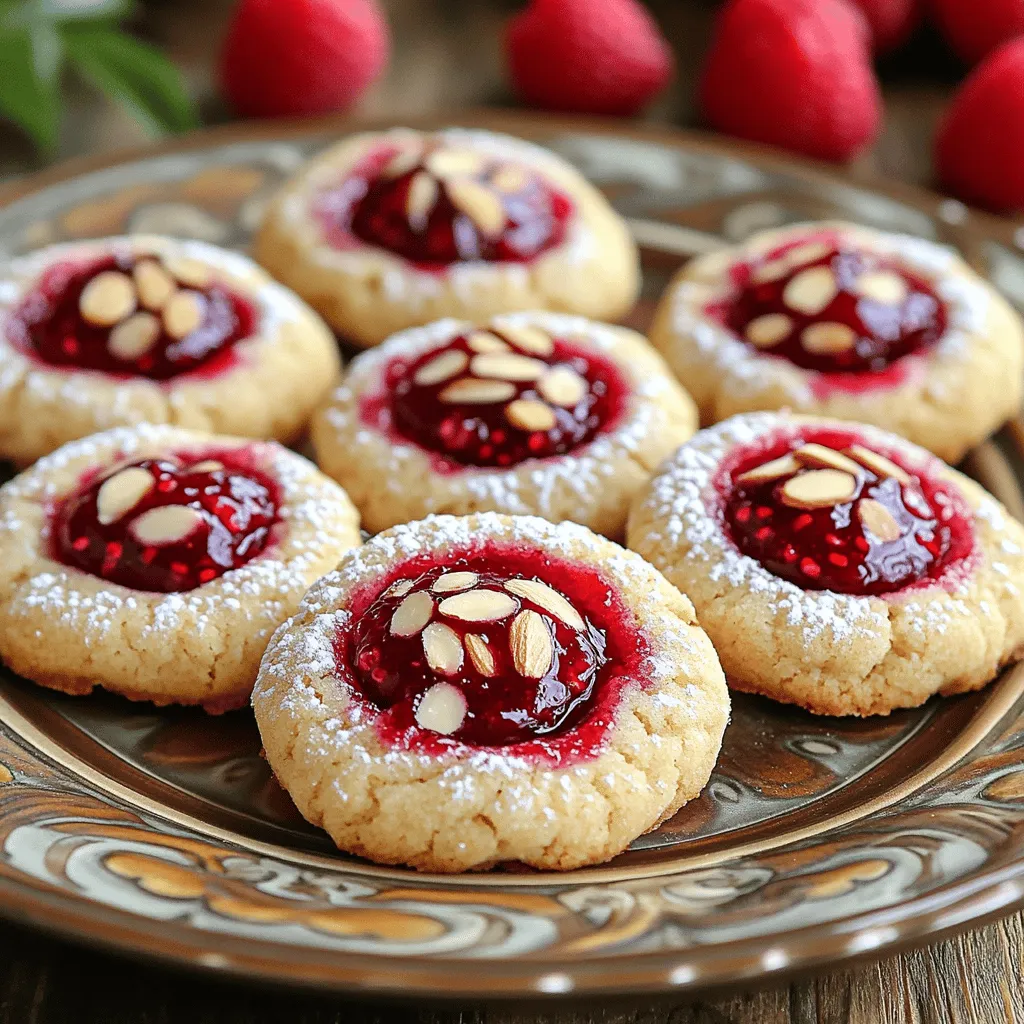
Raspberry Almond Thumbprint Cookies Simple Delight
Looking for a delightful treat that’s simple to make? Raspberry Almond Thumbprint Cookies are just the answer! These cookies combine Read Full Recipe -
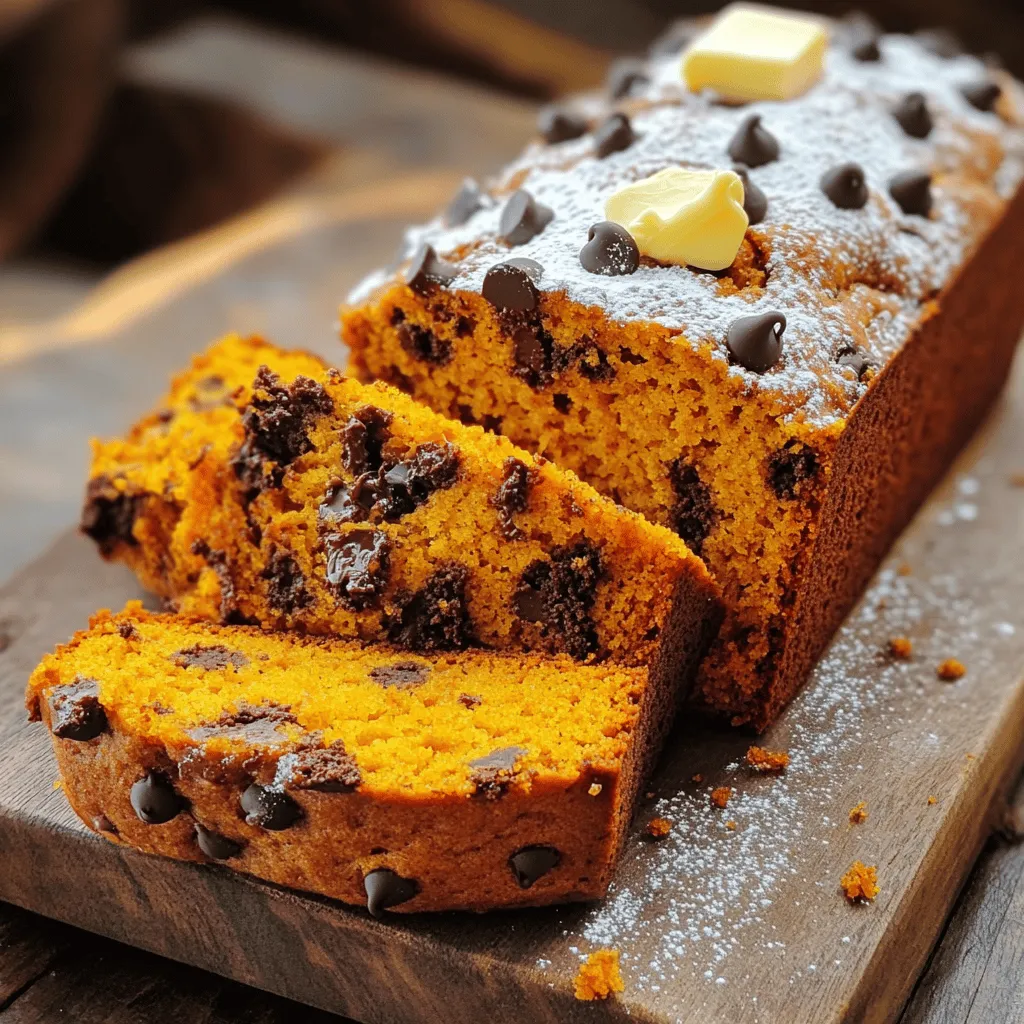
Chocolate Chip Pumpkin Bread Easy and Flavorful Treat
If you’re craving a sweet treat, let me introduce you to Chocolate Chip Pumpkin Bread! This easy recipe combines warm Read Full Recipe -
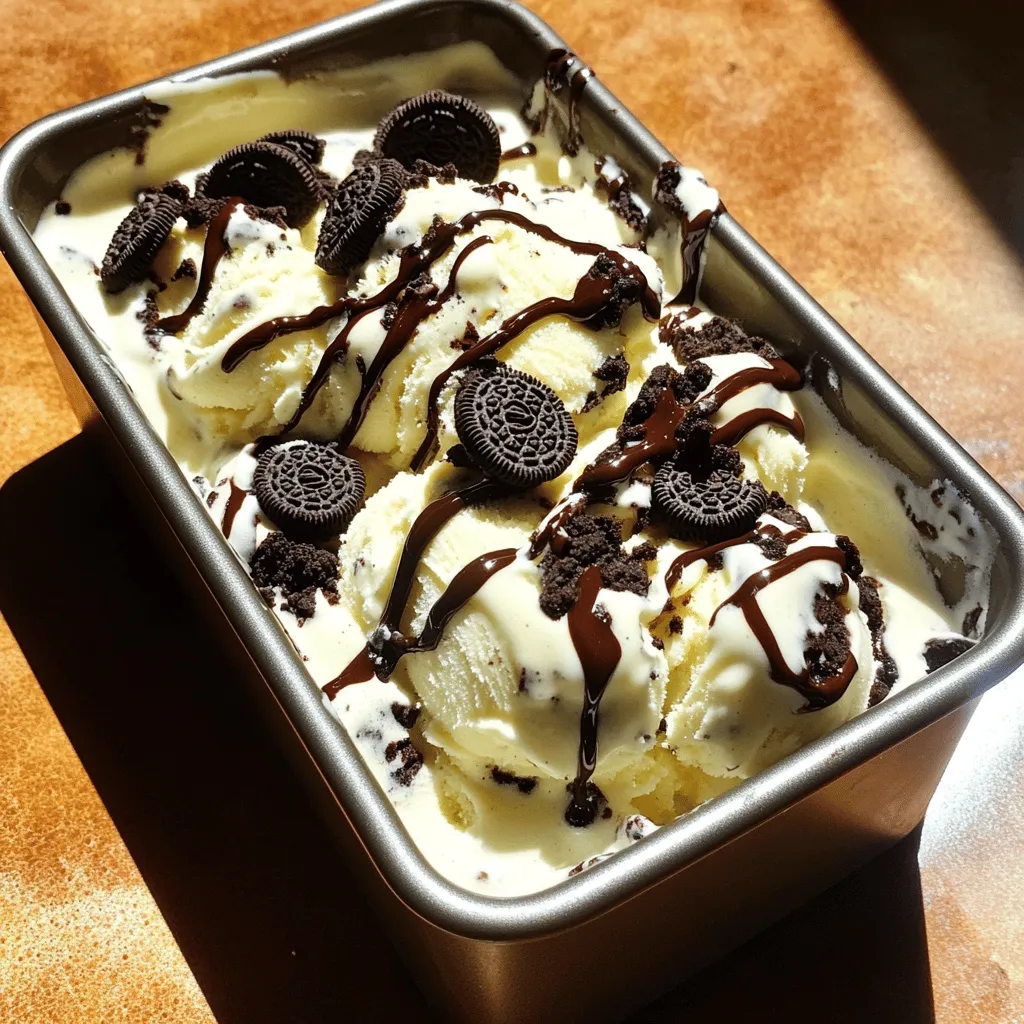
No Churn Oreo Ice Cream Simple and Delicious Treat
Craving a sweet, creamy treat but don’t own an ice cream maker? No worries! My No Churn Oreo Ice Cream Read Full Recipe -
Raspberry Almond Thumbprint Cookies Easy Treat Recipe
Are you ready to whip up a treat that’s as fun to make as it is delicious? Raspberry Almond Thumbprint Read Full Recipe -
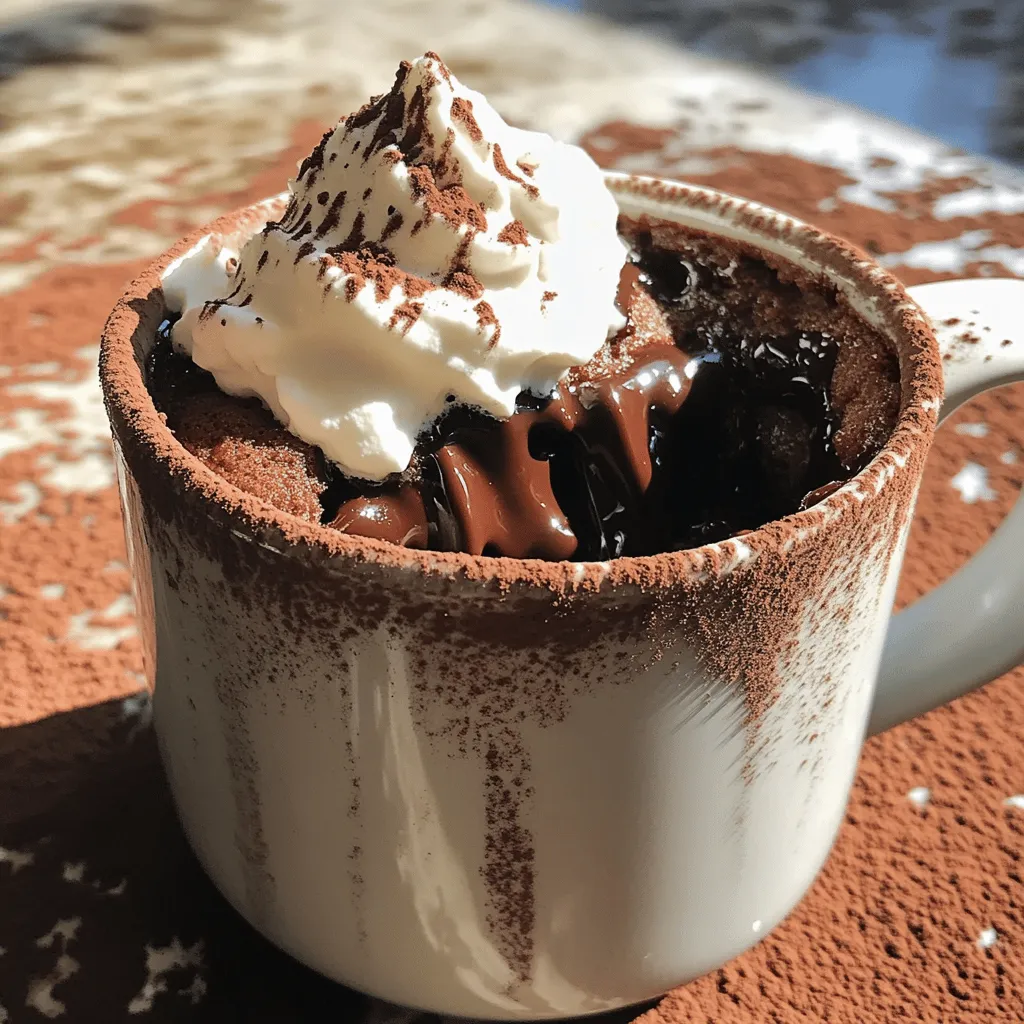
Chocolate Lava Mug Cake Delicious and Simple Recipe
Craving a sweet treat but short on time? You’ve landed in the right place! This Chocolate Lava Mug Cake recipe Read Full Recipe -
Lemon Blueberry Pound Cake Delightful Easy Recipe
Are you ready to indulge in a sweet treat that’s as bright as a sunny day? This Lemon Blueberry Pound Read Full Recipe -
Chocolate Chip Banana Bread Muffins Delightful Treat
Are you ready to bake something scrumptious? These Chocolate Chip Banana Bread Muffins are a delightful treat you won’t want Read Full Recipe
My Latest Recipes

hey,
i’m !
I’m so happy you’re here!
I’m not just sharing recipes I’m sharing a piece of my heart. I hope these dishes bring you comfort, joy, and maybe even a new favorite.
![To make delicious raspberry lemonade bars, you need these main items: - 1 cup all-purpose flour - 1/4 cup powdered sugar - 1/2 cup cold unsalted butter, cubed - 1 cup granulated sugar - 2 large eggs - 1 tablespoon lemon zest - 1/2 cup fresh lemon juice - 1 cup fresh raspberries (or frozen, thawed) - 2 tablespoons cornstarch - 1/4 teaspoon salt - Extra powdered sugar for dusting These ingredients create a sweet and tangy taste. The butter makes the crust rich. The lemon juice and zest give it that bright flavor. Fresh raspberries add a burst of fruity goodness. You can add more flavors to enhance your bars. Consider these options: - A splash of vanilla extract - A pinch of ginger for warmth - A few mint leaves for freshness These extra flavors can create a unique twist. Try different combinations to see what you like best! If you have allergies, there are ways to adjust the recipe. Here are some ideas: - Use gluten-free flour instead of all-purpose flour. - Replace butter with coconut oil for a dairy-free option. - Swap granulated sugar with a sugar substitute, like stevia or monk fruit. These substitutions help you enjoy raspberry lemonade bars without worry. You can still savor the tangy taste while meeting your dietary needs. For the full recipe, check [Full Recipe]. Start by preheating your oven to 350°F (175°C). Grease a 9x9-inch baking dish or line it with parchment paper. This makes it easy to take out the bars later. In a mixing bowl, combine 1 cup of all-purpose flour and 1/4 cup of powdered sugar. Cut in 1/2 cup of cold, cubed unsalted butter. Use your fingers or a pastry cutter to mix until it looks like coarse crumbs. Press this mixture evenly into the bottom of your dish. Bake for 15 minutes or until it turns lightly golden. When done, remove it from the oven and let it cool slightly. While the crust cools, you can make the filling. In another bowl, whisk together 1 cup of granulated sugar, 2 large eggs, 1 tablespoon of lemon zest, and 1/2 cup of fresh lemon juice. Mix until everything is well combined. Now, take 1 cup of fresh raspberries (or thawed frozen ones) and toss them with 2 tablespoons of cornstarch and a pinch of salt in a small bowl. Gently fold the raspberry mix into the lemon mixture. This will create a colorful and tangy filling. Pour the raspberry lemon filling over the baked crust. Spread it evenly with a spatula. Bake for an additional 25 to 30 minutes. The center should set and the edges will pull away from the sides. Once baked, take it out and let it cool completely at room temperature. After cooling, refrigerate the bars for at least 2 hours. This helps them firm up for cutting. Before serving, dust the top with extra powdered sugar for a nice finish. Enjoy these fresh and tangy delights! For the full recipe, refer to the earlier section. To bake evenly, preheat your oven fully. This step ensures your bars cook well from the start. Also, use a light-colored baking dish. Dark pans can overcook the edges while leaving the center soft. Remember to avoid opening the oven door too often. This can cause uneven heat and extend baking time. Fresh lemon juice and zest are key for bright flavor. Use a microplane to zest the lemon. This keeps the zest fine, mixing well into the batter. When juicing, roll the lemon on the counter to soften it. This helps release more juice. Taste the mixture before baking. If it’s too tart, add a little more sugar. One common mistake is overmixing the filling. This can make the bars tough. Mix just until combined for a light texture. Another mistake is skipping the cooling time. Cutting the bars too soon can lead to a messy finish. Let them cool completely before slicing. For more helpful tips, check the Full Recipe. {{image_2}} You can swap raspberries for other fruits. Try strawberries, blueberries, or blackberries. Each fruit adds its own flavor and color. Mix and match to find your favorite combo. Just remember to adjust the sugar if the fruit is sweeter or tarter. To make these bars gluten-free, use almond flour or gluten-free flour. For a dairy-free option, replace butter with coconut oil or vegan butter. This keeps the bars delicious while meeting dietary needs. Check labels to ensure all ingredients are free from gluten and dairy. Serving these bars can be fun and unique. Try drizzling a berry sauce on top. You could also add a dollop of whipped coconut cream. Fresh mint leaves make a nice garnish, too. Serve them chilled for a refreshing treat on hot days. To keep your Raspberry Lemonade Bars fresh, store them in an airtight container. Place a piece of parchment paper between layers to prevent sticking. They stay good in the fridge for up to five days. If you love them cold, they taste great straight from the fridge. For long-term storage, you can freeze these bars. First, let them cool completely. Then, cut them into squares. Wrap each square in plastic wrap and then in aluminum foil. This keeps them safe from freezer burn. They can last up to three months in the freezer. To enjoy, just thaw them in the fridge overnight. If you prefer your Raspberry Lemonade Bars warm, reheating is easy. Place the bars on a microwave-safe plate. Heat them in the microwave for about 10 to 15 seconds. This warms them without making them soggy. Enjoy the fresh taste as if they just came out of the oven! Yes, you can use bottled lemon juice. However, fresh juice offers a better flavor. Fresh lemons come with bright notes that bottled juice lacks. If you want the best taste, always choose fresh lemons when making these bars. To reduce the sweetness, cut back on granulated sugar. You can lower it by 1/4 cup. Another option is to add more lemon juice. The tartness from the lemon will balance the sweetness. You will still enjoy a zesty treat without the extra sugar. Lemon and raspberries make a great pair in many desserts. You can create a refreshing lemon raspberry sorbet. A lemon raspberry cheesecake is also a delightful option. For a quick treat, try lemon raspberry muffins. Each dessert brings out the bright flavors of both ingredients. For the full recipe, check out the Zesty Raspberry Lemonade Bars section. This blog post covered how to make delicious raspberry lemonade bars. We talked about essential and optional ingredients, plus substitutions for allergies. I shared step-by-step instructions for the crust and filling, along with baking tips for perfect results. You learned about fun variations and best storage practices. In the end, these bars are a tasty treat that you can customize. Experiment with flavors and share these delightful desserts with others. Enjoy baking and creating your own unique versions!](https://emmasdish.com/wp-content/uploads/2025/05/6cf5046c-c738-4fc8-9e38-9895a458e860-300x300.webp)


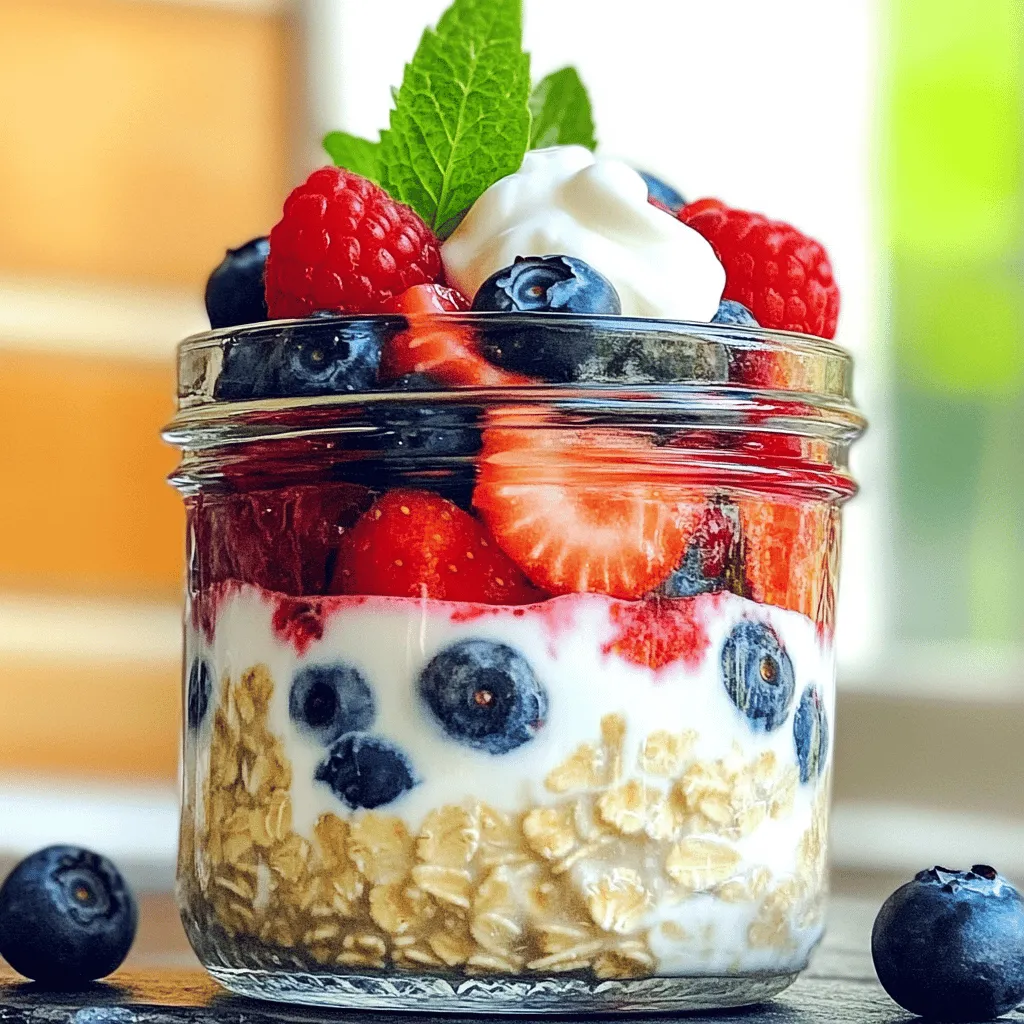
Berry Overnight Oats Satisfying and Healthy Start
Start your day with a delicious and healthy choice: Berry Overnight Oats! This easy meal is perfect for busy mornings, offering a blend of…