
Latest & Greatest
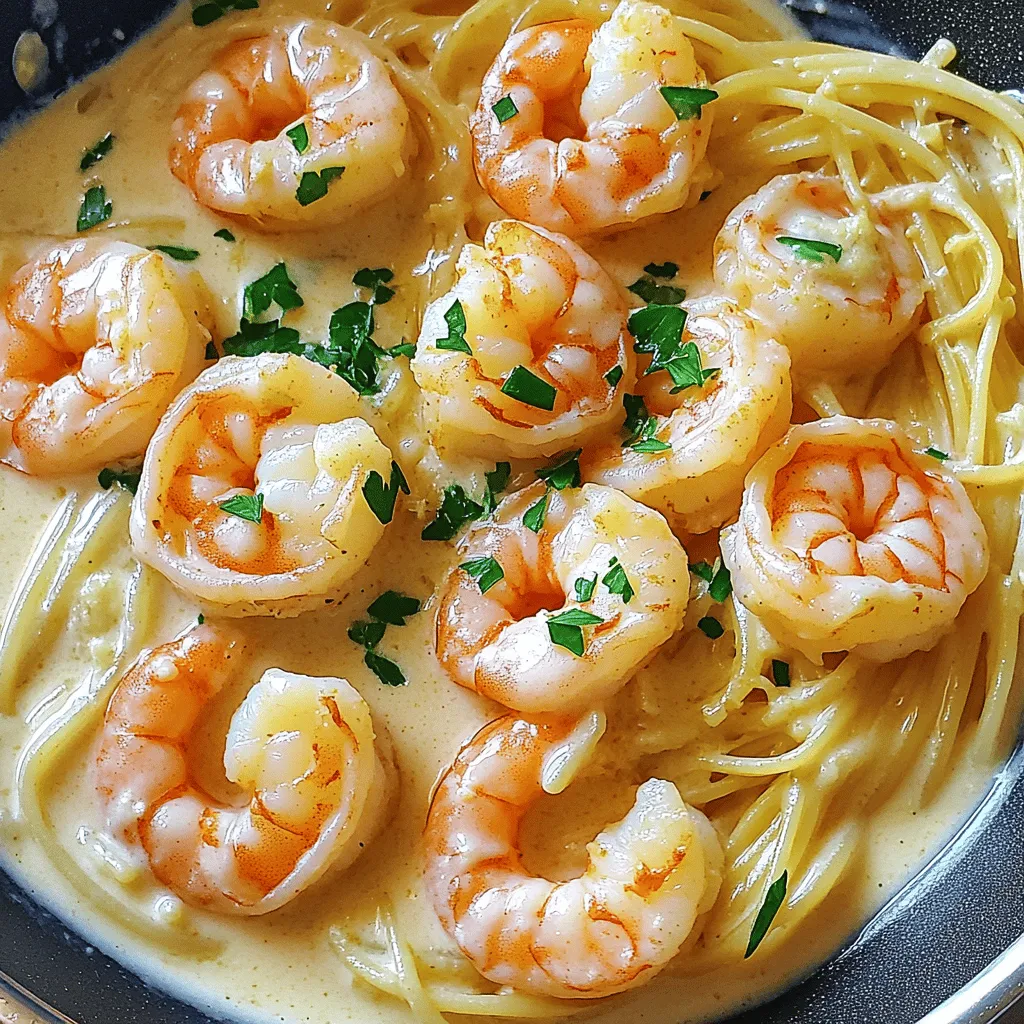
Easy Creamy Garlic Shrimp Irresistible Dinner Recipe
Are you ready to impress dinner guests with a dish that’s simple yet elegant? My Easy Creamy Garlic Shrimp brings
Read more…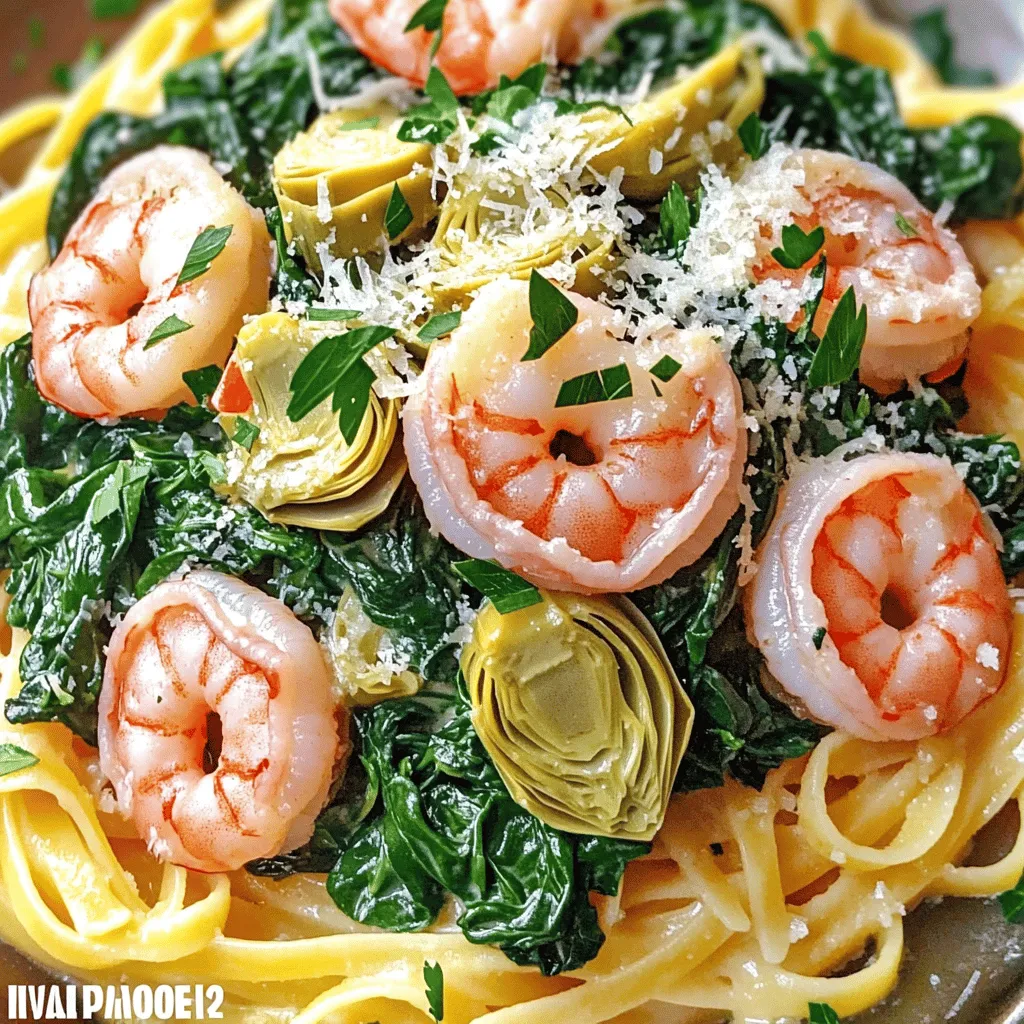
Tuscan Shrimp with Spinach Artichokes Creamy Delight
Ready to delight your taste buds with a dish that’s both creamy and savory? In this blog post, I’m sharing
Read more…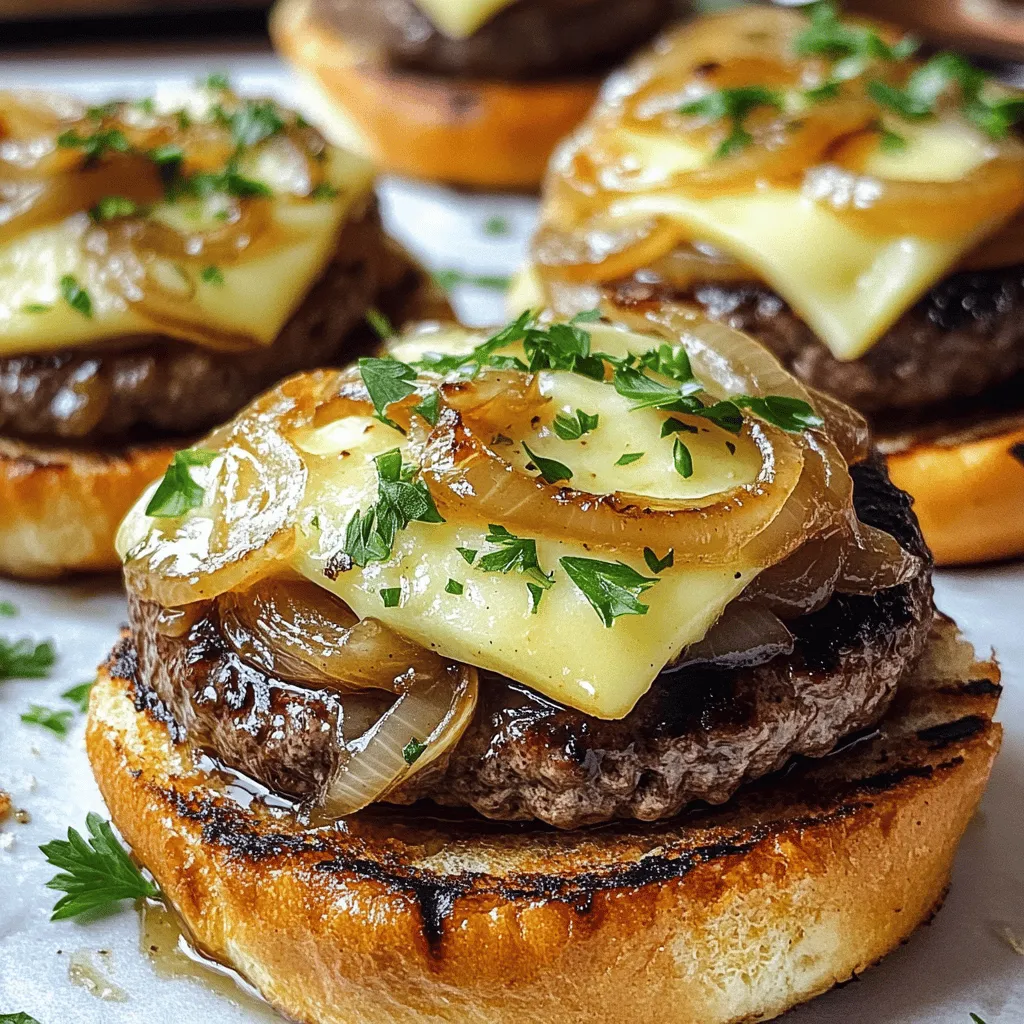
French Onion Soup Burgers Flavorful and Hearty Meal
Imagine a burger bursting with the rich, hearty flavors of French onion soup. That’s exactly what you get with French
Read more…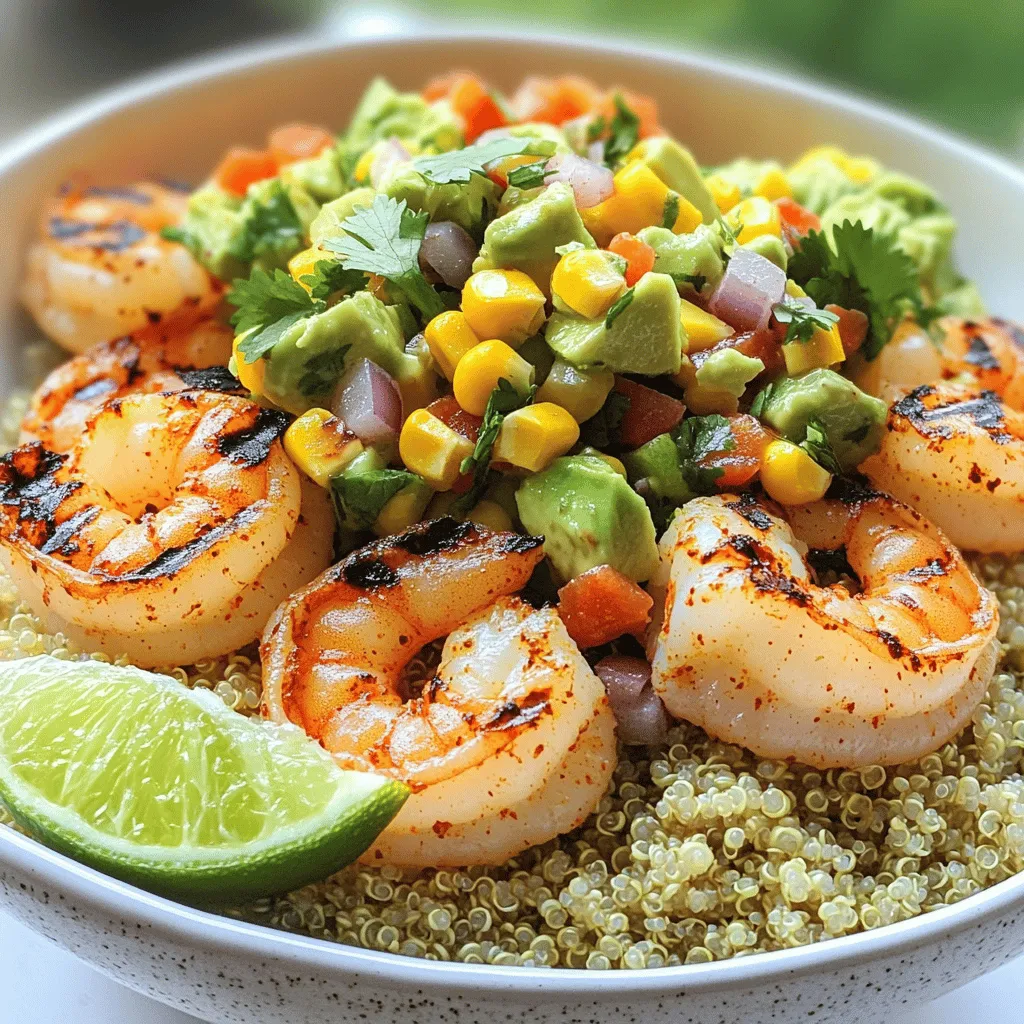
Grilled Shrimp Bowl with Avocado Corn Salsa Delight
If you crave a fresh and vibrant meal, you’re in for a treat! The Grilled Shrimp Bowl with Avocado Corn
Read more…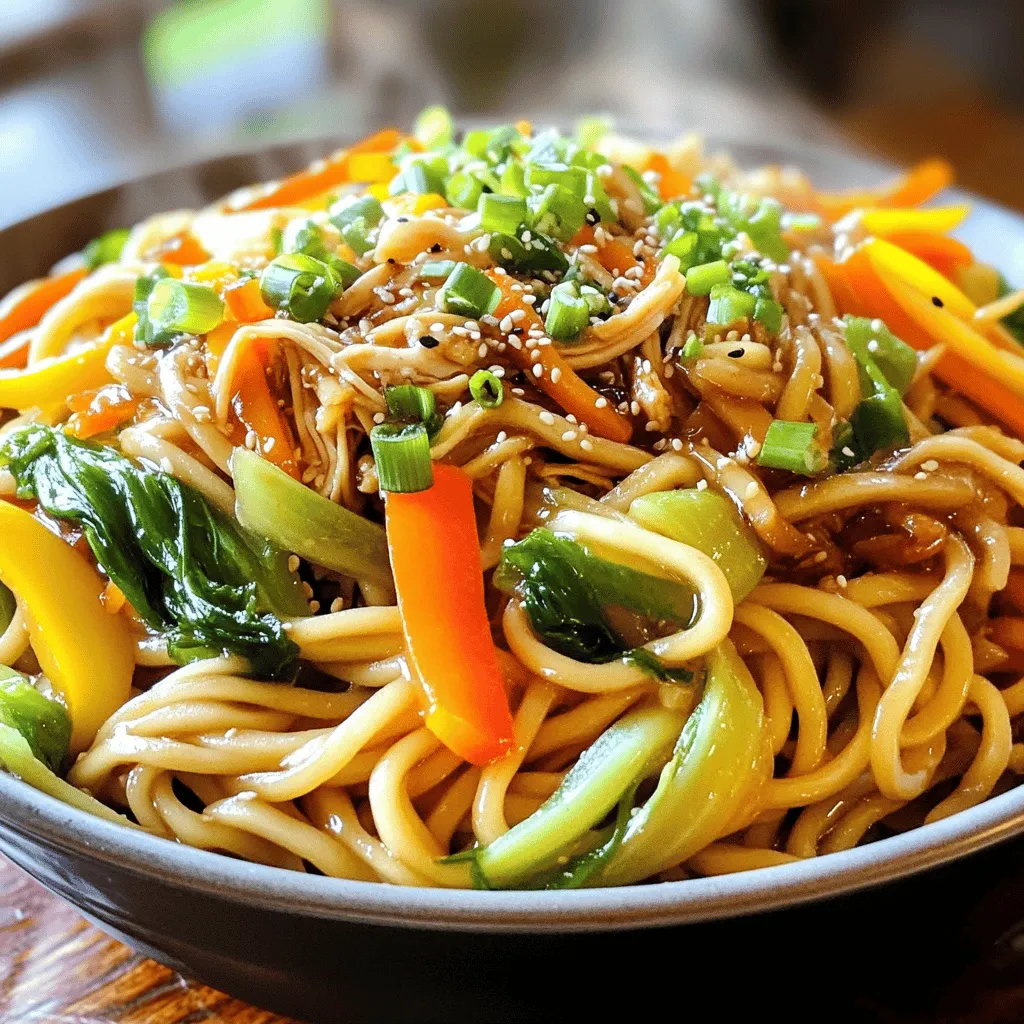
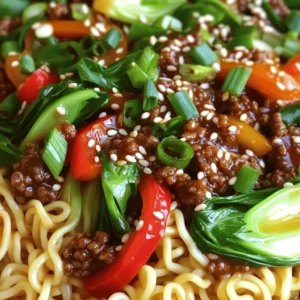
Savory Shanghai Fried Noodles Quick and Easy Recipe
Looking for a quick and tasty dinner? You’ve stumbled upon the right recipe! My Savory Shanghai Fried Noodles are easy
Read more…
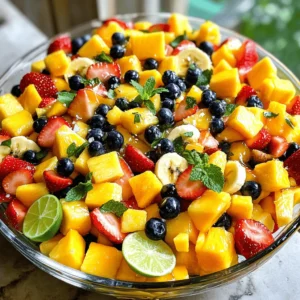
Homemade Fruit Snacks Simple and Healthy Treat
Are you tired of store-bought snacks loaded with sugar? You can easily make delicious, healthy fruit snacks at home! In
Read more…
Southern-Style Honey Butter Cornbread Poppers Recipe
Get ready to delight in the warmth and joy of Southern cooking with my Southern-Style Honey Butter Cornbread Poppers! This
Read more…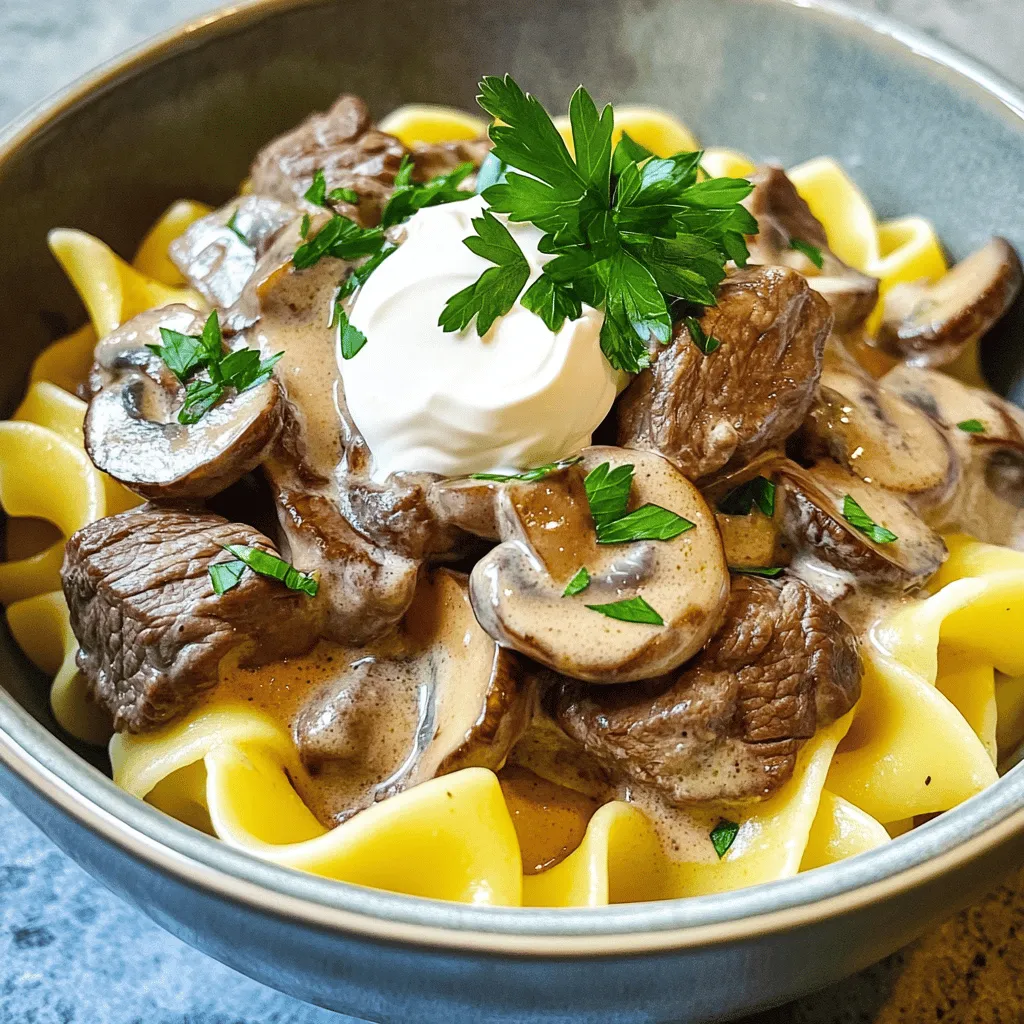
Beef Stroganoff Flavorful and Simple Comfort Meal
Are you ready to whip up a warm, rich bowl of Beef Stroganoff? This flavorful and simple comfort meal will
Read more…browse recipes


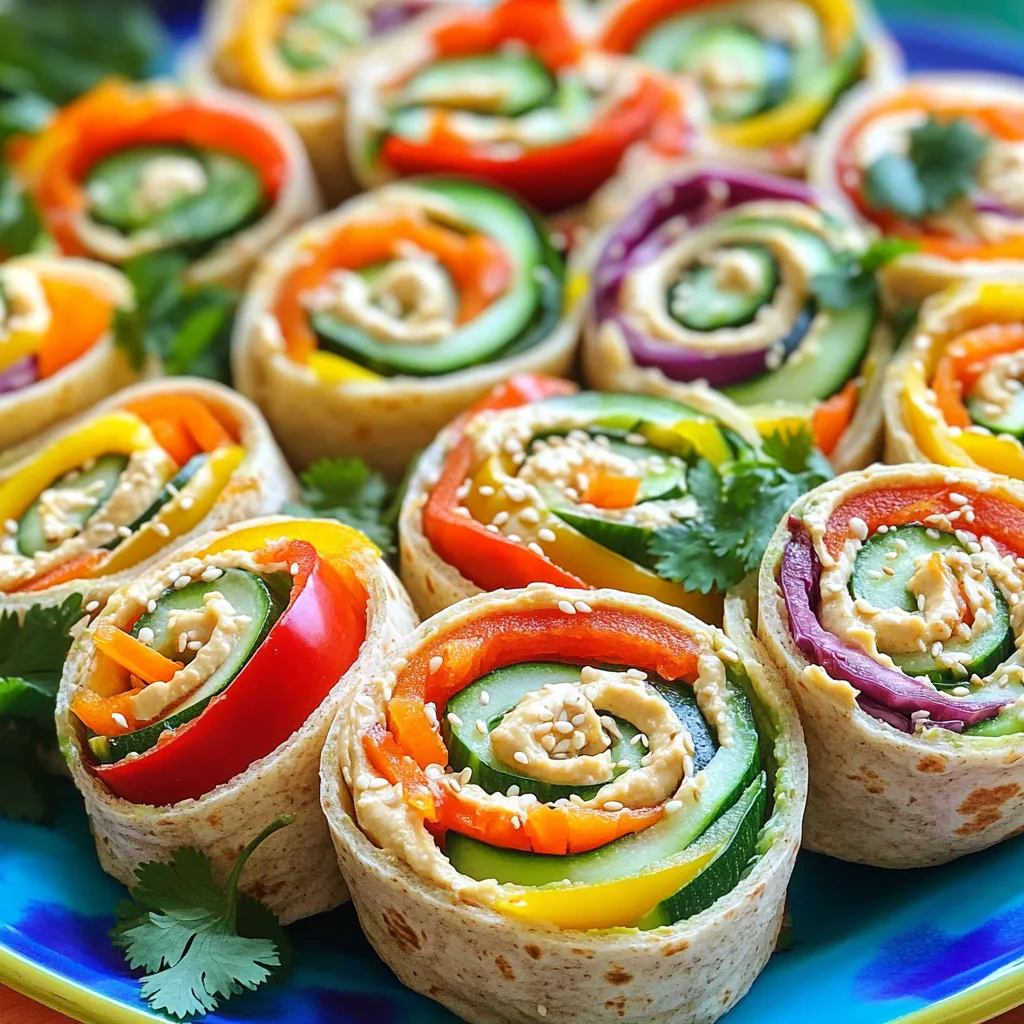
Rainbow Veggie Pinwheels Colorful and Crunchy Snack
Looking for a fun and healthy snack? Rainbow Veggie Pinwheels are your answer! In this article, I’ll show you how to make these colorful…
My Latest Desserts
-

Cinnamon Roll Mug Cake Quick and Tasty Treat
Craving something sweet but short on time? This Cinnamon Roll Mug Cake is your quick fix! In just minutes, you Read Full Recipe -
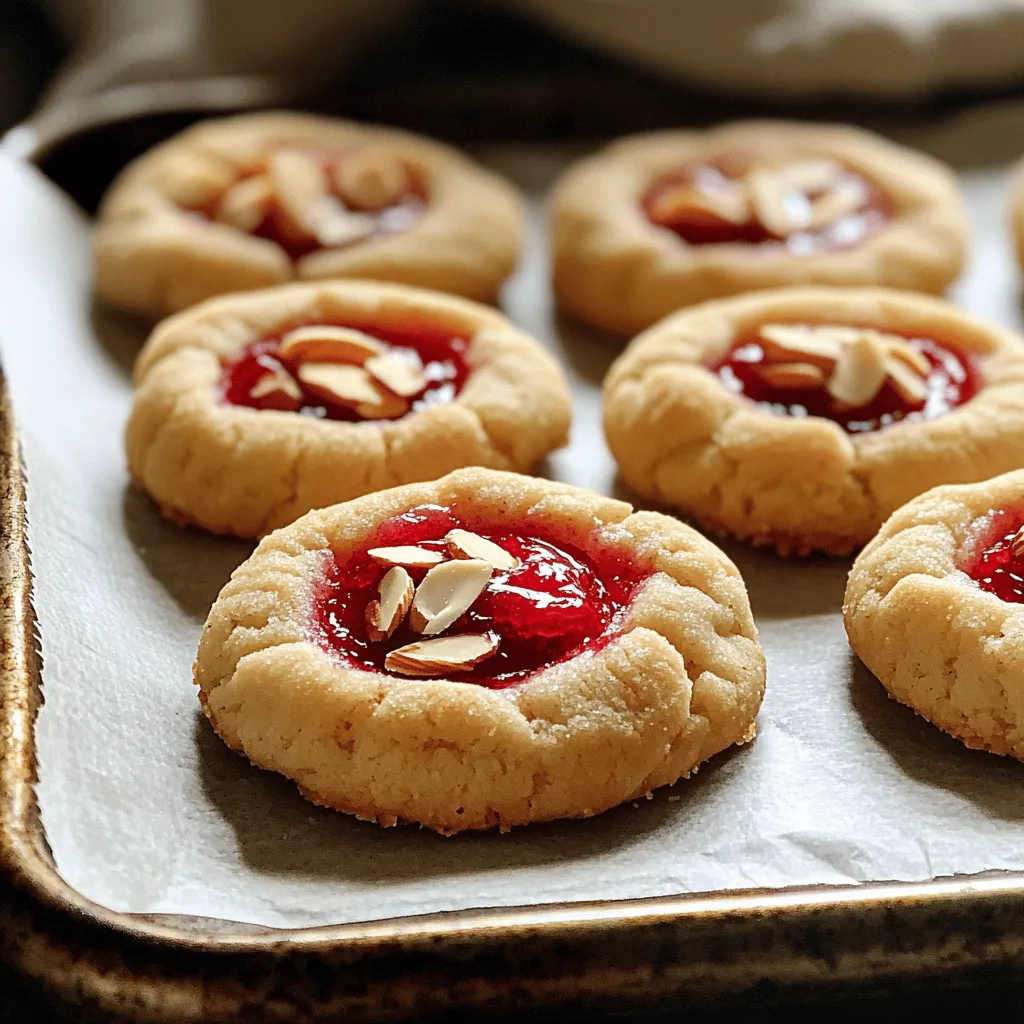
Raspberry Almond Thumbprint Cookies Simple Delight
Looking for a delightful treat that’s simple to make? Raspberry Almond Thumbprint Cookies are just the answer! These cookies combine Read Full Recipe -
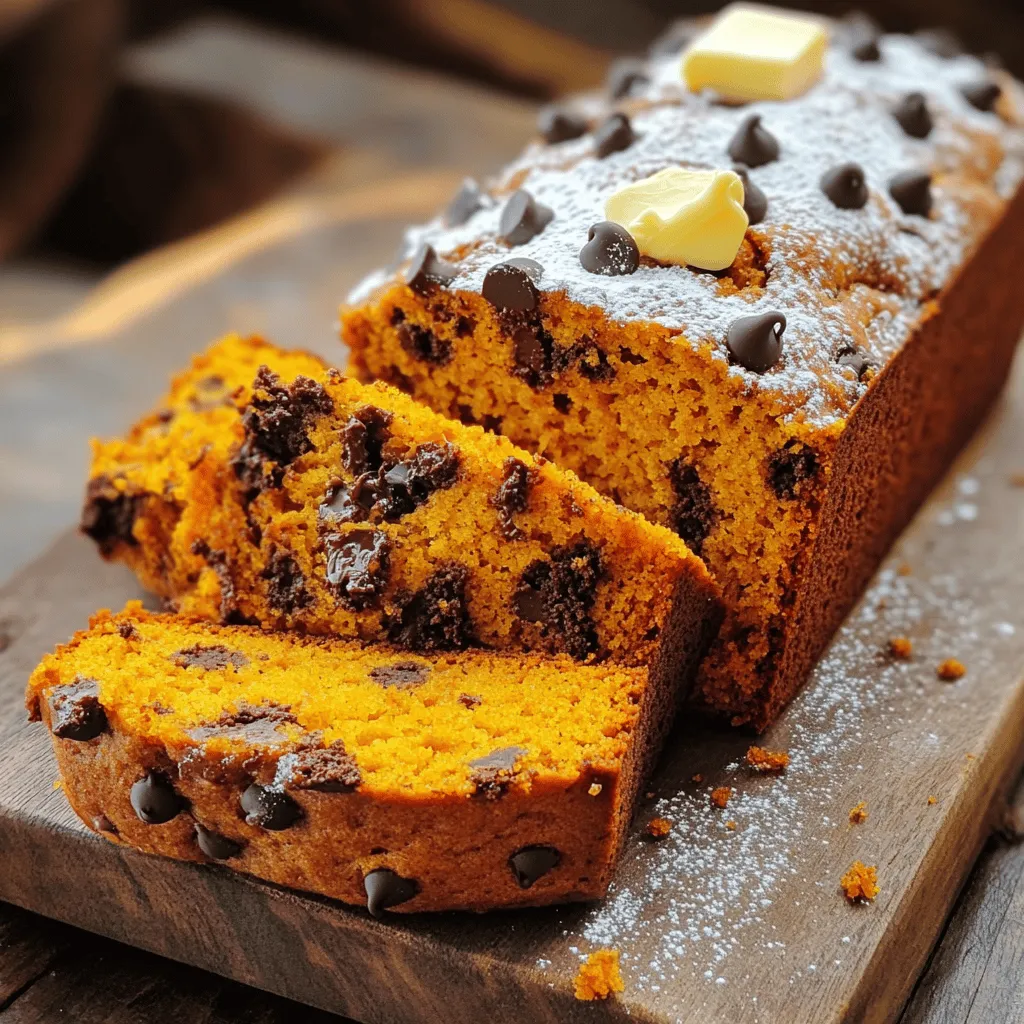
Chocolate Chip Pumpkin Bread Easy and Flavorful Treat
If you’re craving a sweet treat, let me introduce you to Chocolate Chip Pumpkin Bread! This easy recipe combines warm Read Full Recipe -
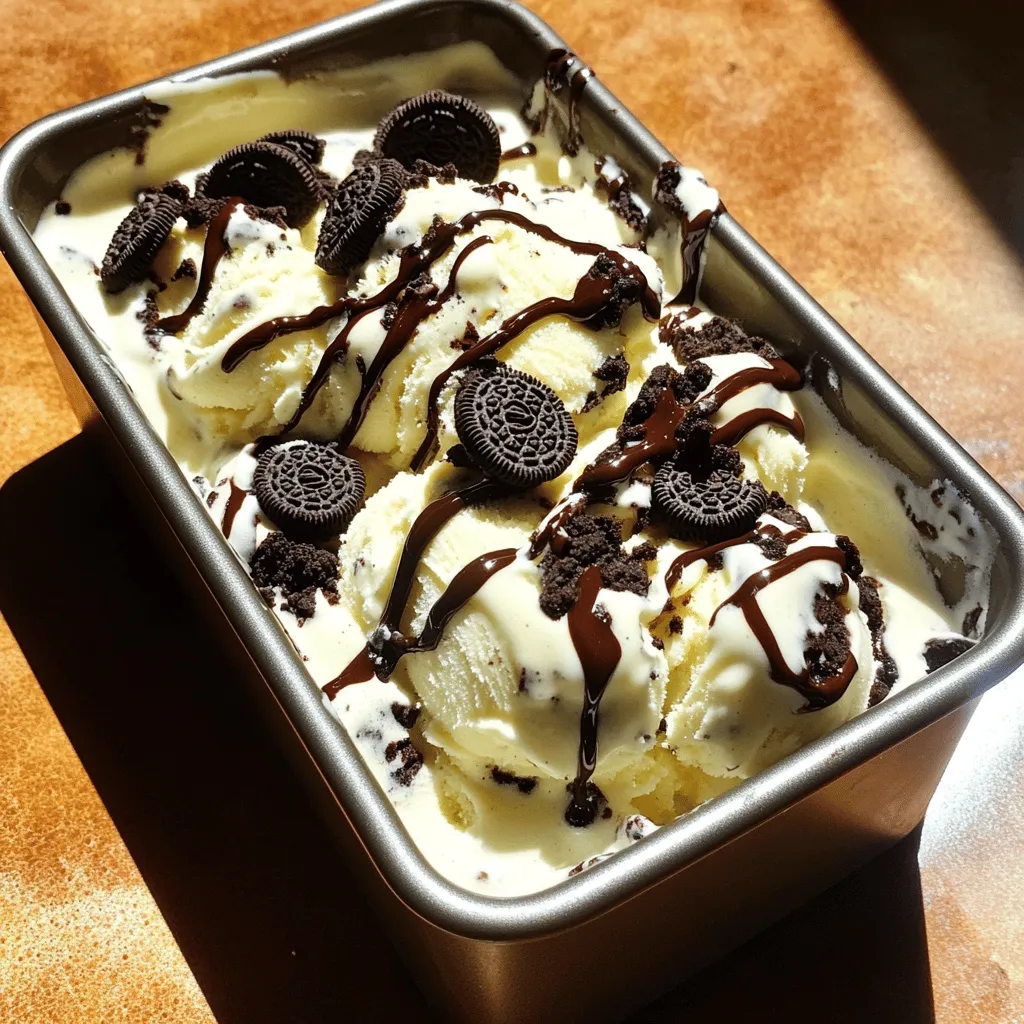
No Churn Oreo Ice Cream Simple and Delicious Treat
Craving a sweet, creamy treat but don’t own an ice cream maker? No worries! My No Churn Oreo Ice Cream Read Full Recipe -
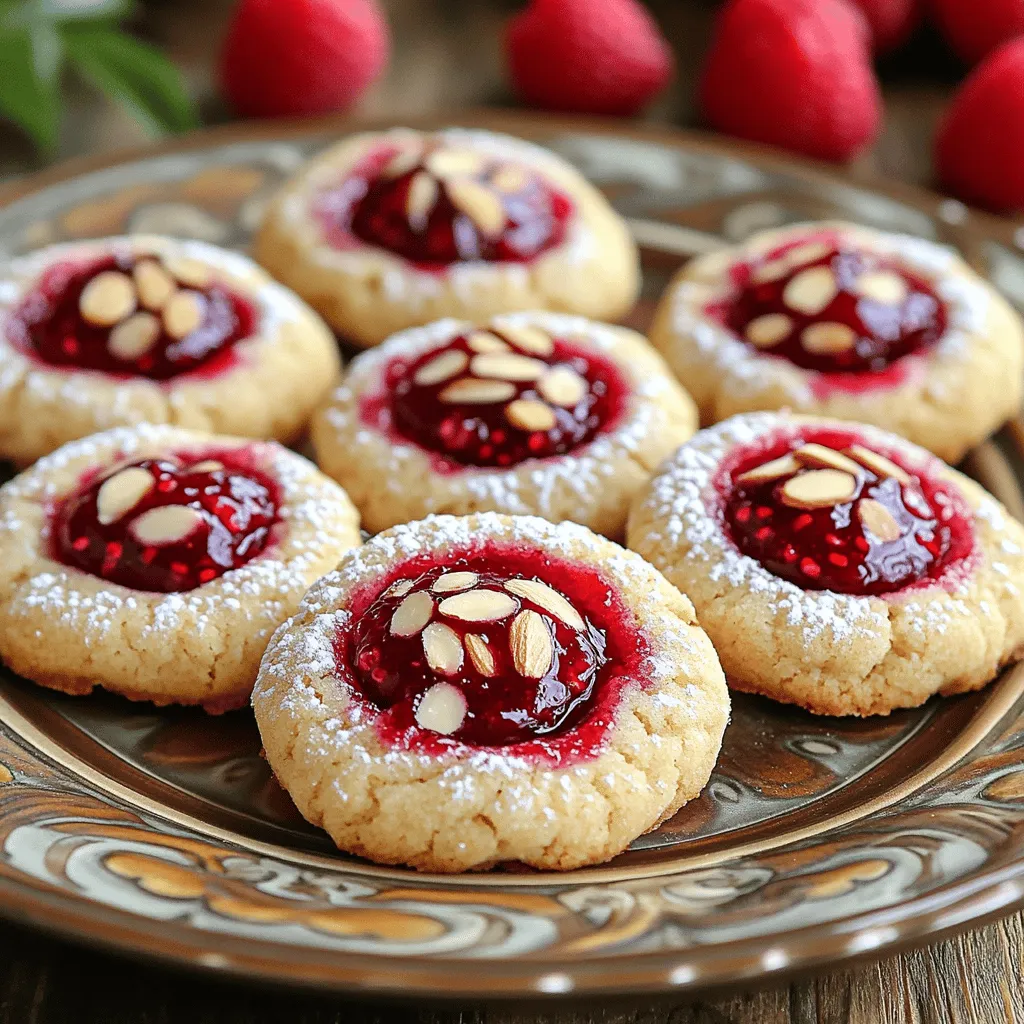
Raspberry Almond Thumbprint Cookies Easy Treat Recipe
Are you ready to whip up a treat that’s as fun to make as it is delicious? Raspberry Almond Thumbprint Read Full Recipe -

Chocolate Lava Mug Cake Delicious and Simple Recipe
Craving a sweet treat but short on time? You’ve landed in the right place! This Chocolate Lava Mug Cake recipe Read Full Recipe -
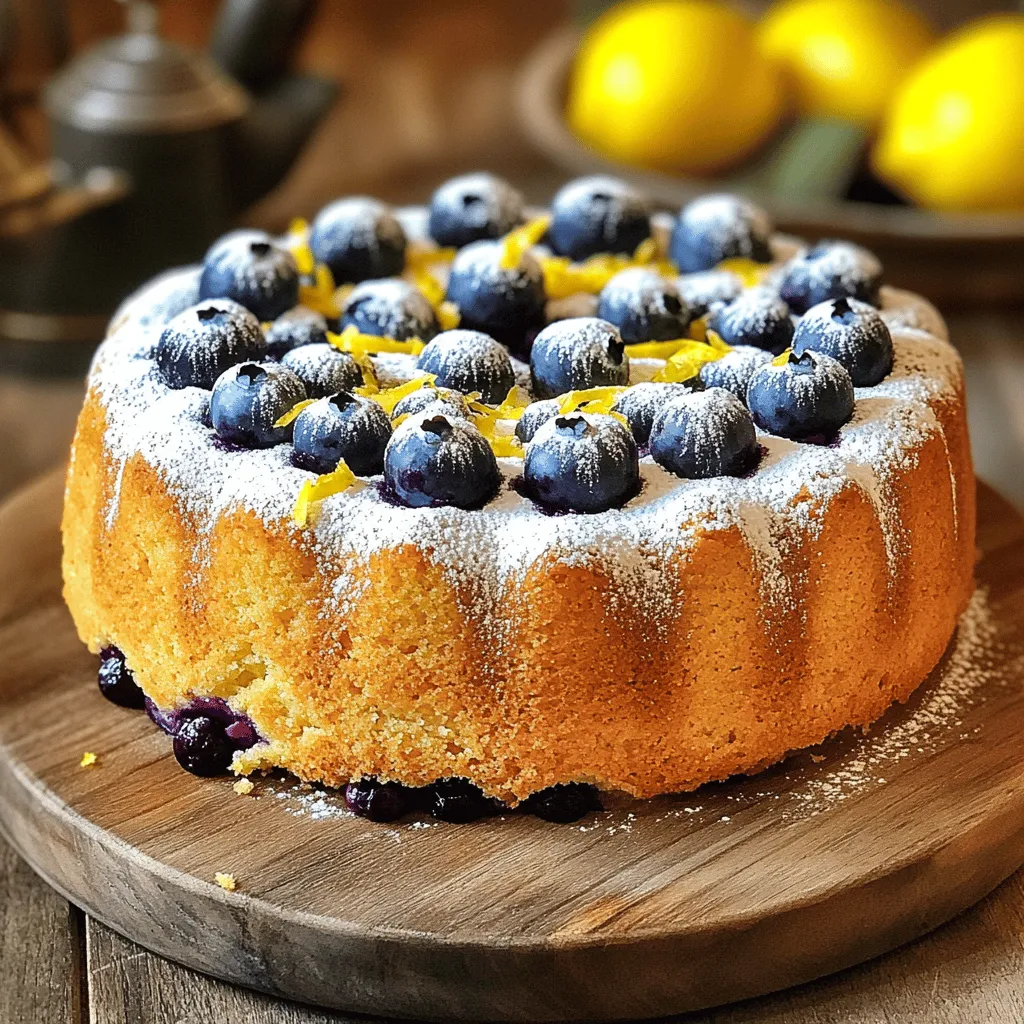
Lemon Blueberry Pound Cake Delightful Easy Recipe
Are you ready to indulge in a sweet treat that’s as bright as a sunny day? This Lemon Blueberry Pound Read Full Recipe -
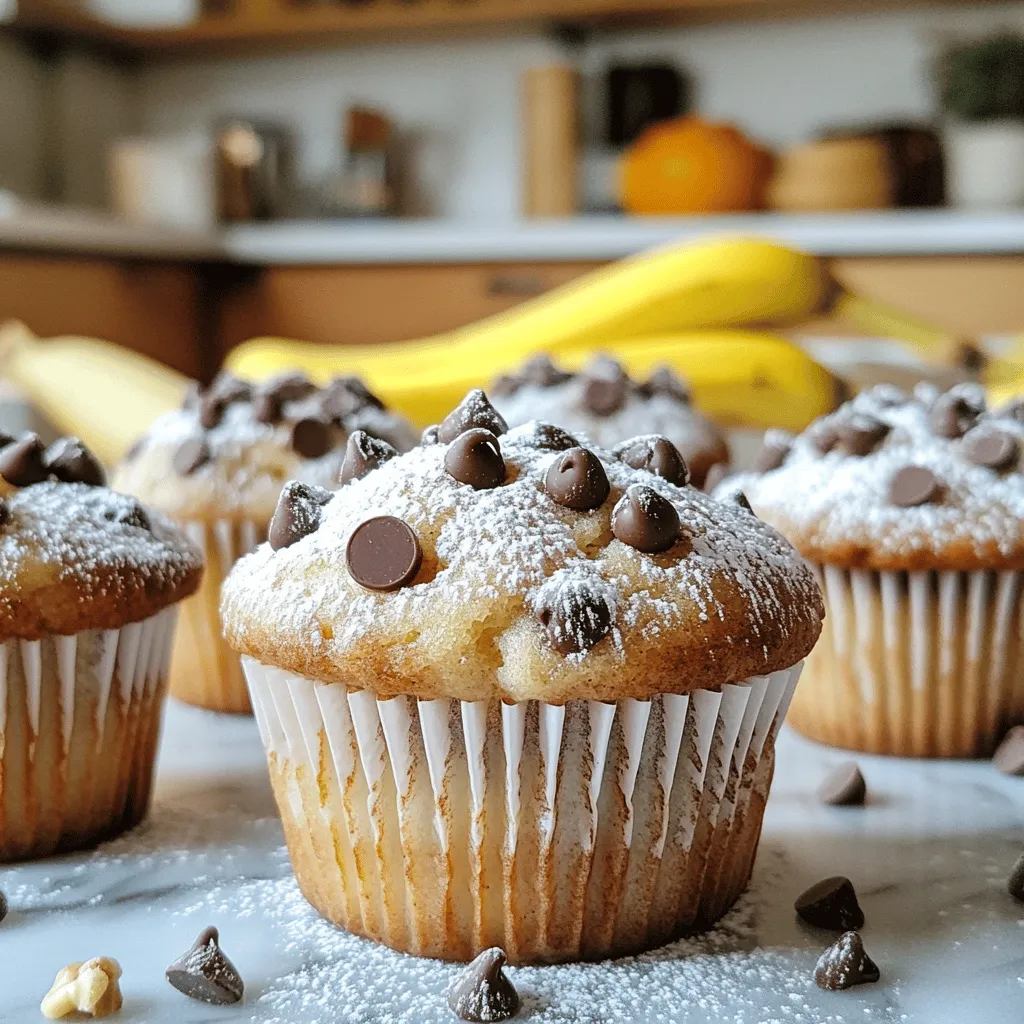
Chocolate Chip Banana Bread Muffins Delightful Treat
Are you ready to bake something scrumptious? These Chocolate Chip Banana Bread Muffins are a delightful treat you won’t want Read Full Recipe -
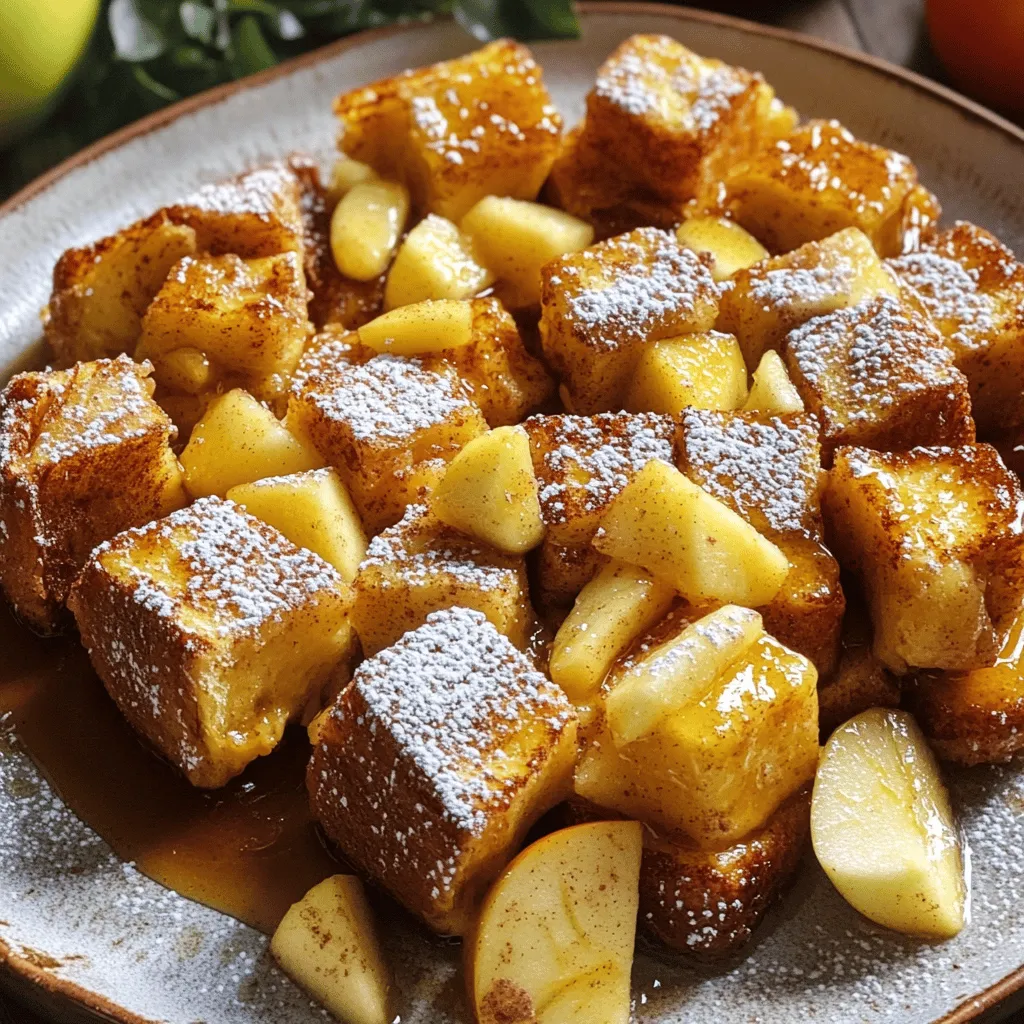
Apple Cinnamon French Toast Bake Deliciously Simple
Are you ready to whip up a cozy breakfast that will impress everyone? My Apple Cinnamon French Toast Bake is Read Full Recipe -
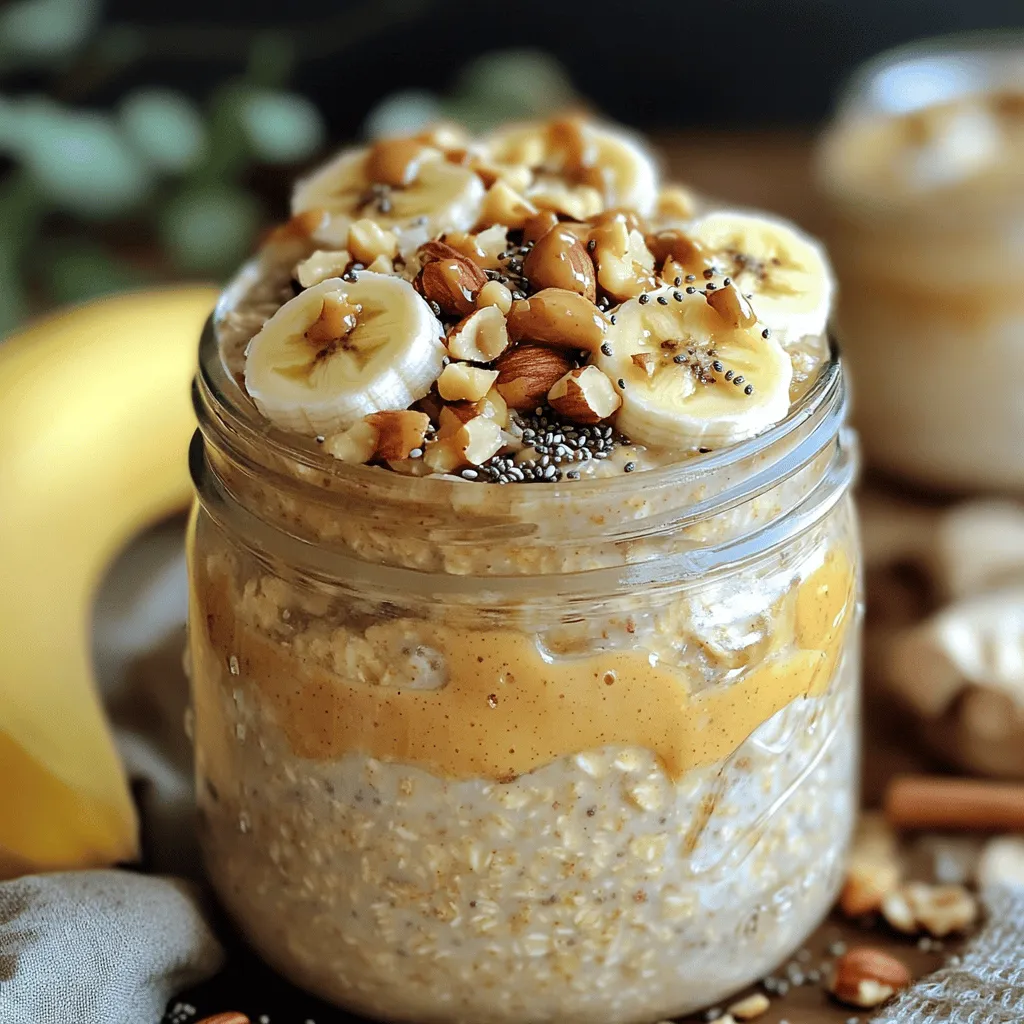
Peanut Butter Banana Overnight Oats Simple Breakfast Recipe
Start your day right with my Peanut Butter Banana Overnight Oats recipe! This simple, tasty meal takes just minutes to Read Full Recipe
My Latest Recipes

hey,
i’m !
I’m so happy you’re here!
I’m not just sharing recipes I’m sharing a piece of my heart. I hope these dishes bring you comfort, joy, and maybe even a new favorite.
 for more details on how to make this dish. {{image_2}} You can change the flavor of your pesto. Try a sun-dried tomato pesto. Blend sun-dried tomatoes, garlic, and nuts. This gives a rich taste and a pop of color. Another fun twist is using peanut butter or almond butter. Mix these with basil and garlic for a nutty flavor. It’s great for a unique twist on the classic. Want to make your meal heartier? Add grilled chicken or shrimp. Just cook them on a grill or pan. Slice and mix them with your zucchini noodles. If you prefer vegetarian options, chickpeas work well too. They add protein and a nice texture to the dish. Zucchini noodles are great for fresh, seasonal veggies. In summer, add cherry tomatoes, bell peppers, or arugula. They bring brightness and crunch. In autumn, consider roasted butternut squash or kale. These add warmth and depth to your meal. Enjoy experimenting with seasonal flavors! To keep your zucchini noodles fresh, store them in the fridge. Place them in a sealed container. This helps prevent moisture loss. Keep them for up to three days. Avoid stacking them too high to prevent squishing. For the avocado pesto, use a small jar with a lid. Make sure to press plastic wrap against the surface. This helps reduce air exposure, which can cause browning. The pesto will stay fresh for about two days. When reheating, gently warm the zucchini noodles. Use a skillet over low heat. This method helps them stay firm. Avoid the microwave as it can make them mushy. For the avocado pesto, add a bit of water when reheating. This will help keep it creamy. Stir well to combine. Both ingredients can handle gentle reheating without losing their taste. Can you freeze zucchini noodles? Yes, you can! However, they may lose some texture. To freeze, spread them on a tray first. Once frozen, transfer them to a bag. They can last up to three months in the freezer. For the avocado pesto, freezing is also possible. Pour it into ice cube trays. Once frozen, pop them out and store in a bag. This way, you can use small portions later. It’s perfect for quick meals! You can make zucchini noodles without a spiralizer! Use a knife to cut the zucchini into thin strips. Another method is to use a box grater. Grate the zucchini lengthwise. You can also use a vegetable peeler to create wide, flat noodles. Each method gives a unique shape and texture. Yes, you can use store-bought pesto. It saves time and offers great taste. However, homemade pesto can taste fresher and brighter. Store-bought options may have preservatives. Check the label for quality and ingredients. Choose a brand with fresh ingredients for the best flavor. Yes, this recipe is low-carb. Zucchini is low in carbs and calories. It is a great substitute for traditional pasta. If you're on a low-carb diet, this dish fits well. The avocado in the pesto adds healthy fats without many carbs. You can serve zucchini noodles with many things. Grilled chicken or shrimp adds protein. Roasted vegetables add color and flavor. A simple side salad pairs well too. You can also serve garlic bread for a nice crunch. Zucchini noodles last about 2 to 3 days in the fridge. Store them in an airtight container to keep them fresh. If you notice excess moisture, use a paper towel to absorb it. For the best taste, eat them within the first day after cooking. This recipe for zucchini noodles with avocado pesto is both simple and tasty. You learned how to prepare fresh ingredients, create a creamy pesto, and cook zucchini noodles for the best texture. I shared tips to enhance flavor and offered variations to keep meals exciting. Remember, you can store leftovers efficiently and even freeze them. This dish is perfect for a light meal, full of nutrients. Enjoy making it and feel great about your simple, healthy choices. Happy cooking!](https://emmasdish.com/wp-content/uploads/2025/05/ba5b18e9-9034-4260-9cd7-8f72d5cd19f9-300x300.webp)
Crispy Baked Chicken Tenders Simple and Tasty Meal
Looking for a quick and easy meal? These Crispy Baked Chicken Tenders are your answer! This simple recipe focuses on fresh chicken breasts soaked…
![To make crispy baked chicken tenders, you need these key ingredients: - 1 pound chicken breast, sliced into strips - 1 cup buttermilk - 1 cup breadcrumbs (preferably panko for extra crunch) - 1/2 cup all-purpose flour - 1 teaspoon garlic powder - 1 teaspoon onion powder - 1 teaspoon paprika - 1/2 teaspoon salt - 1/2 teaspoon black pepper These ingredients work together to create a tender center and a crunchy outside. The buttermilk is crucial. It tenderizes the chicken and adds flavor. You can add a few optional ingredients for extra flair: - 1/4 teaspoon cayenne pepper (for heat) - Fresh parsley, for garnish Cayenne pepper gives a nice kick. Fresh parsley adds a pop of color and freshness. Using the right tools helps make this dish easier: - Baking sheet - Parchment paper - Shallow dishes The baking sheet holds your chicken tenders. Parchment paper prevents sticking and makes cleanup easy. Shallow dishes help with coating the chicken. For the full recipe, check out the complete guide above. Start by soaking the chicken strips in buttermilk. This step is key. It makes the chicken tender and juicy. You can soak them for at least 30 minutes, or up to 2 hours in the fridge. While the chicken soaks, preheat your oven to 425°F (220°C). Line a baking sheet with parchment paper. This helps your chicken bake evenly and makes cleanup easy. Next, it’s time to coat the chicken. In a shallow dish, mix together the flour, garlic powder, onion powder, paprika, salt, black pepper, and cayenne pepper if you like some heat. This mix gives the chicken lots of flavor. Take the soaked chicken strips out of the buttermilk. Let any extra buttermilk drip off. Dip each strip into the flour mix, shaking off the extra. Then, dip it back into the buttermilk. After that, roll it in the breadcrumbs, pressing down to make sure they stick. Once your chicken strips are fully coated, arrange them on the baking sheet. Make sure they are not touching each other. This helps them get crispy all around. Drizzle a little olive oil over the chicken. It adds crunch and flavor. Bake the tenders in the oven for about 20-25 minutes. They should turn golden brown and reach an internal temperature of 165°F (75°C). After baking, let them rest for a few minutes. This makes them even better. Don’t forget to check the [Full Recipe] for more details! To get the best crunch, use panko breadcrumbs. Panko is light and airy, making your chicken tenders crispy. Regular breadcrumbs can be fine and dense, which don’t give the same effect. Another key step is to drizzle olive oil over the chicken before baking. The oil helps to crisp the coating as it cooks. It also adds a nice flavor. Just a little oil goes a long way. You can jazz up your chicken tenders by adding spices or herbs to the breadcrumbs. Try mixing in garlic powder, Italian seasoning, or even a touch of parmesan cheese. This adds depth to the flavor and makes them even more delicious. If you want to switch things up, consider using alternative coatings. Crushed nuts like almonds or walnuts can add a unique crunch. They also bring a nutty flavor that pairs well with chicken. To make your meal special, think about the dips and sides you serve with the chicken tenders. Classic options include honey mustard, ranch dressing, or barbecue sauce. These dips enhance the tender's flavor and give a fun twist. For sides, serve with fresh veggies, a simple salad, or crispy fries. You can also add a colorful garnish, like fresh parsley, to the plate. It makes the dish look more appealing and brightens up the flavors. For the full recipe, check out the detailed instructions above. {{image_2}} Each serving of these chicken tenders has about 300 calories. They provide a good mix of nutrients. You get around 25 grams of protein, which is great for muscle health. The dish also has 14 grams of fat and 30 grams of carbs. These tenders are packed with protein. Protein helps build strong muscles and keeps you full. The chicken breast is lean, making it a smart choice for healthy eating. The seasonings add flavor without extra calories. Plus, using olive oil gives you healthy fats. If you're gluten-free, you can swap out the breadcrumbs. Use gluten-free breadcrumbs or crushed nuts instead. This keeps the taste and texture. To cut calories, use less oil or skip it. You can also bake them longer for extra crispiness without added fat. For the full recipe, check out the details above. To keep your chicken tenders fresh, store them in an airtight container. Make sure they cool to room temperature first. Place a paper towel at the bottom of the container to absorb moisture. This helps keep them crispy. Refrigerated tenders will stay good for about 3 to 4 days. When it’s time to enjoy your leftovers, reheating is key. Preheat your oven to 375°F (190°C). Place the chicken tenders on a baking sheet. Bake for about 10 to 15 minutes. This method keeps them crispy and warm. You can also use an air fryer. Set it to 350°F (175°C) for about 5 to 7 minutes. This gives a nice crunch back to the tenders. Freezing is a great way to save chicken tenders for later. Let them cool completely first. Wrap each tender in plastic wrap, then place them in a freezer bag. Make sure to squeeze out extra air to prevent freezer burn. They can last up to 3 months in the freezer. When ready to eat, thaw them in the fridge overnight before reheating. Enjoy your tasty meal anytime! For the full recipe, check out the Crispy Baked Chicken Tenders. To make crispy chicken tenders, use the baking method. Start by soaking your chicken in buttermilk. This step helps make the chicken tender. Next, coat the chicken in flour, then dip it back in the buttermilk. Finally, roll it in breadcrumbs. I like to use panko for extra crunch. Drizzle olive oil on the chicken before baking. Bake at 425°F for 20-25 minutes. This method gives you a crispy outside without frying. Yes, you can use frozen chicken. However, you need to thaw it first. I recommend placing the frozen chicken in the fridge overnight. Once thawed, pat it dry with paper towels. Then, follow the same steps from the recipe. If you skip thawing, the chicken will cook unevenly. Always ensure your chicken reaches 165°F for safety. Many dipping sauces pair well with chicken tenders. Here are a few easy ones to try: - Honey mustard: Mix honey with mustard for a sweet and tangy dip. - BBQ sauce: A classic choice that adds a smoky flavor. - Ranch dressing: Creamy and cool, perfect for dipping. - Ketchup: Always a favorite, especially for kids. Feel free to experiment with your favorite sauces! This blog post covered how to make delicious chicken tenders. You learned about key ingredients like chicken, breadcrumbs, and buttermilk. I shared tips for maximum crispiness, various flavor options, and serving suggestions. Remember, you can customize these tenders to fit your taste. Baking is a healthier way to enjoy them. With proper storage and reheating, your leftovers can stay tasty. Enjoy making and sharing your chicken tenders!](https://emmasdish.com/wp-content/uploads/2025/06/4bfc5954-182f-42e7-9a90-e67bfbd9568b.webp)
