

Latest & Greatest
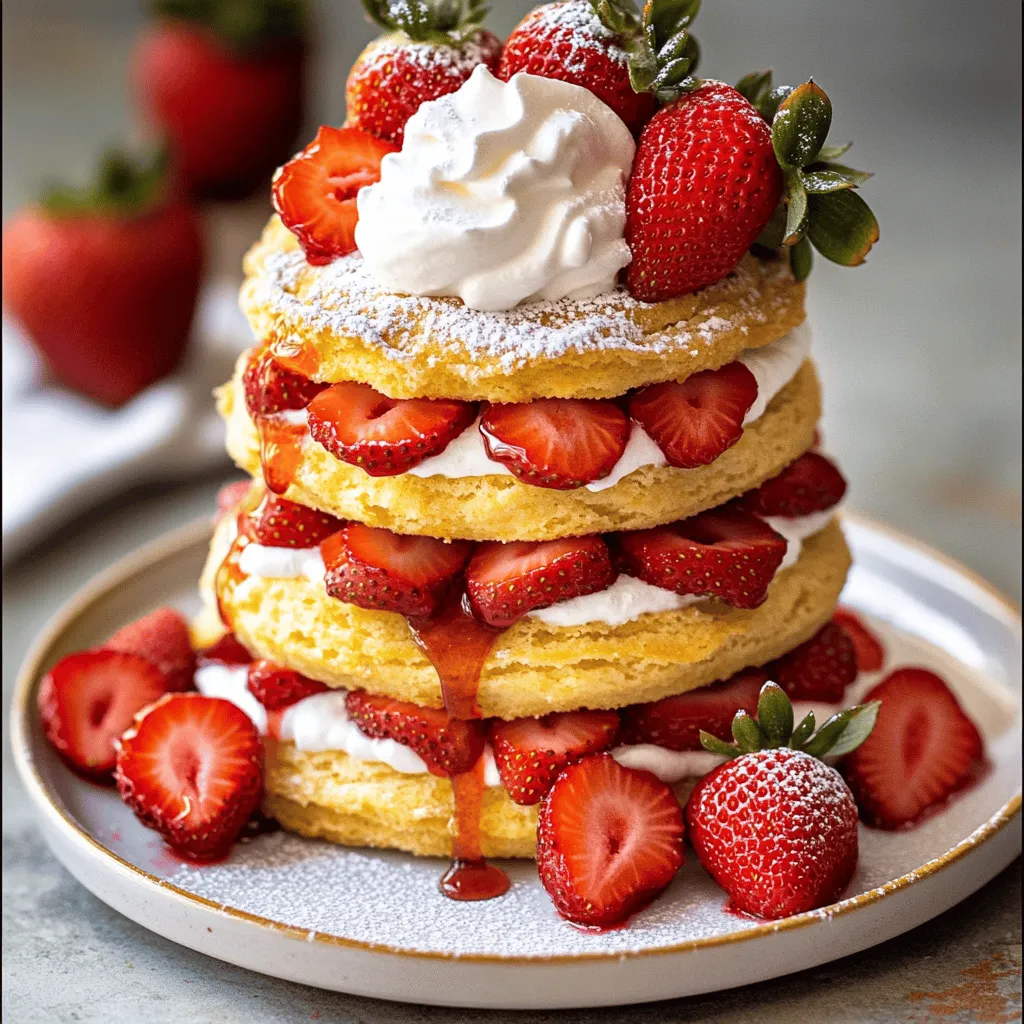
Easy Strawberry Shortcake Simple and Sweet Delight
If you crave a dessert that’s simple and sweet, you’re in the right place! I’ll show you how to make
Read more…
Savory Chicken Spaghetti Easy and Flavorful Recipe
Are you ready to whip up a meal that’s both easy and packed with flavor? My savory chicken spaghetti recipe
Read more…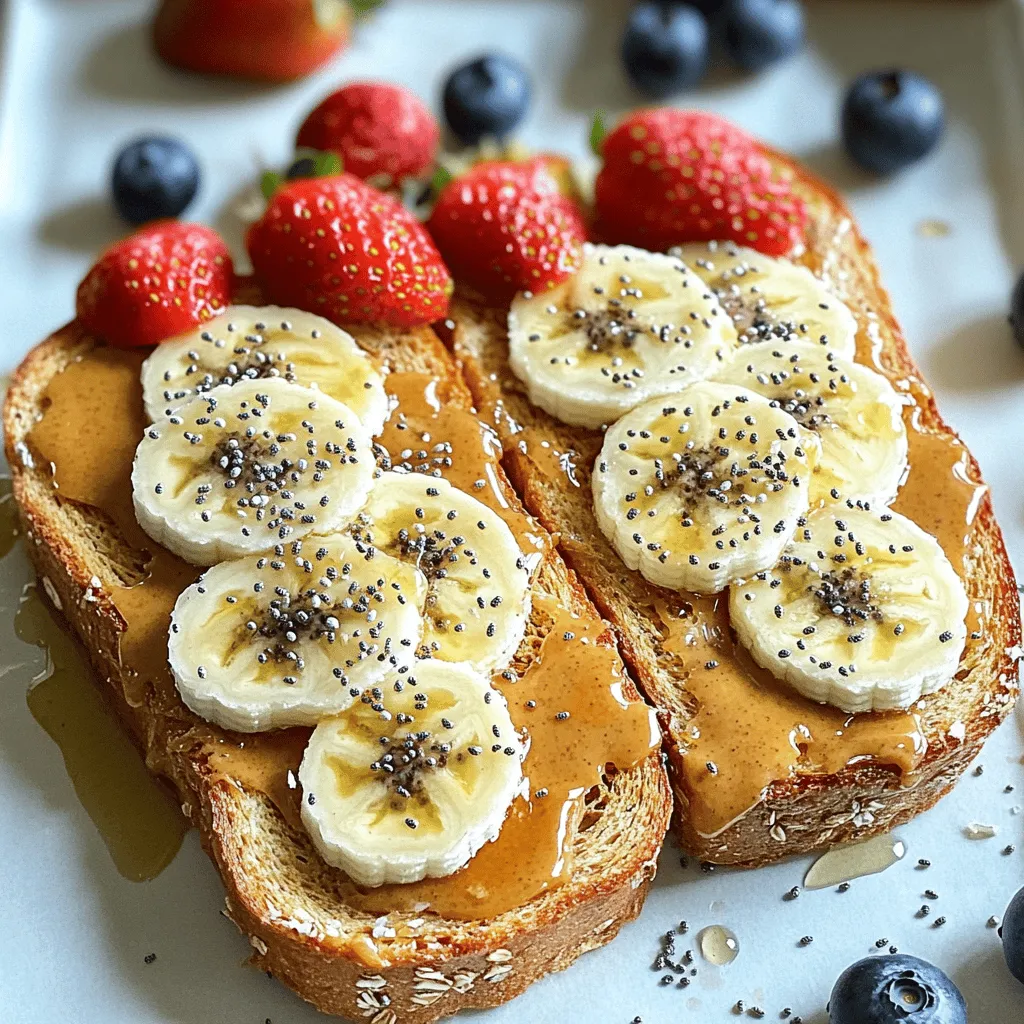
Peanut Butter Toast Delightful and Nutritious Treat
Peanut butter toast is not just a quick snack; it’s a delightful treat packed with nutrition! You can whip up
Read more…
Cheesy Beef and Bowtie Pasta Satisfying Family Meal
Looking for a hearty, warm meal the whole family will love? Look no further! This Cheesy Beef and Bowtie Pasta
Read more…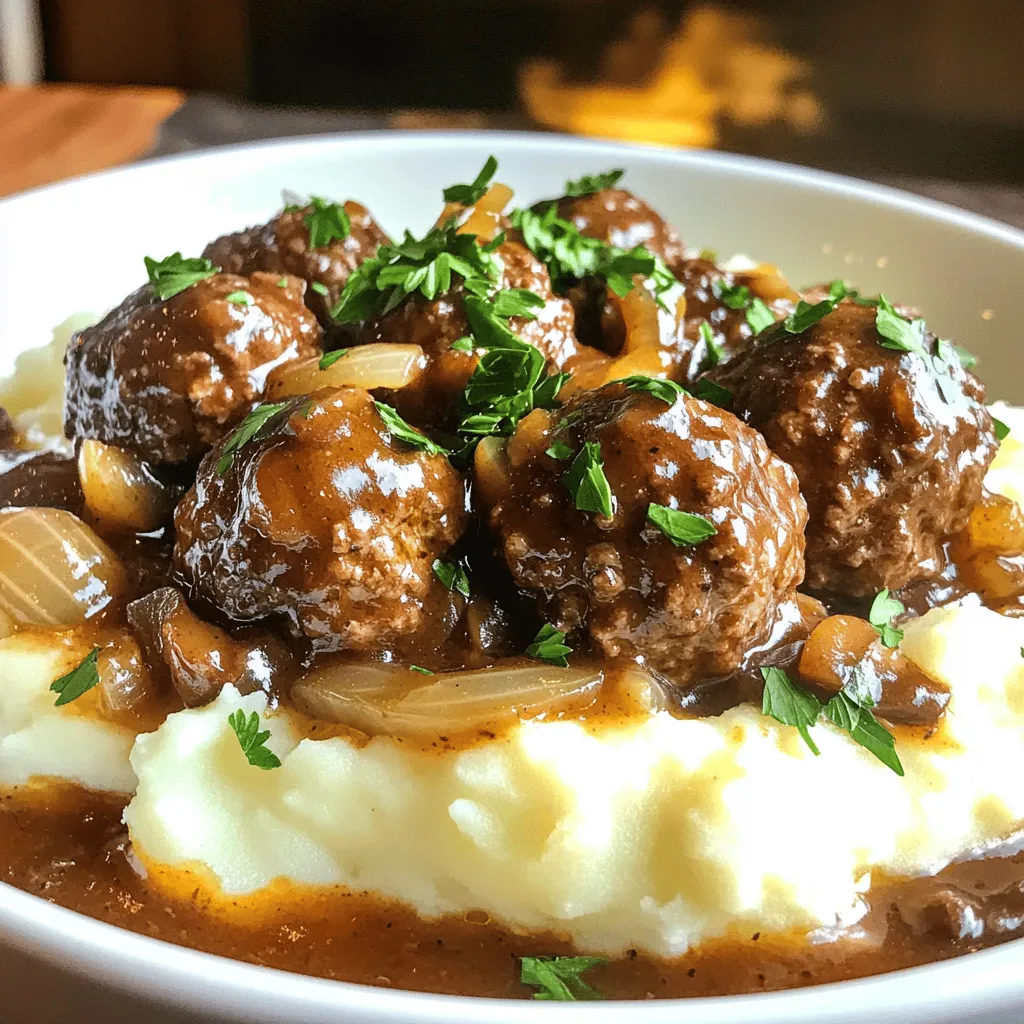
Slow Cooker Salisbury Steak Meatballs Easy Recipe
Are you craving a hearty meal that’s simple to make? Look no further! Slow Cooker Salisbury Steak Meatballs are your
Read more…
Crockpot Angel Chicken Heavenly Dinner Recipe
Are you searching for a simple yet delicious dinner idea? Look no further! This Crockpot Angel Chicken recipe is creamy,
Read more…
Smothered Pork Chops Rich and Flavorful Recipe
Welcome to my kitchen! Today, I’ll share my recipe for smothered pork chops that burst with flavor and comfort. These
Read more…
Mouthwatering Pork Chops with Garlic Sauce Recipe
Get ready to impress your family with a simple yet mouthwatering dish: Pork Chops with Garlic Sauce! This recipe combines
Read more…browse recipes


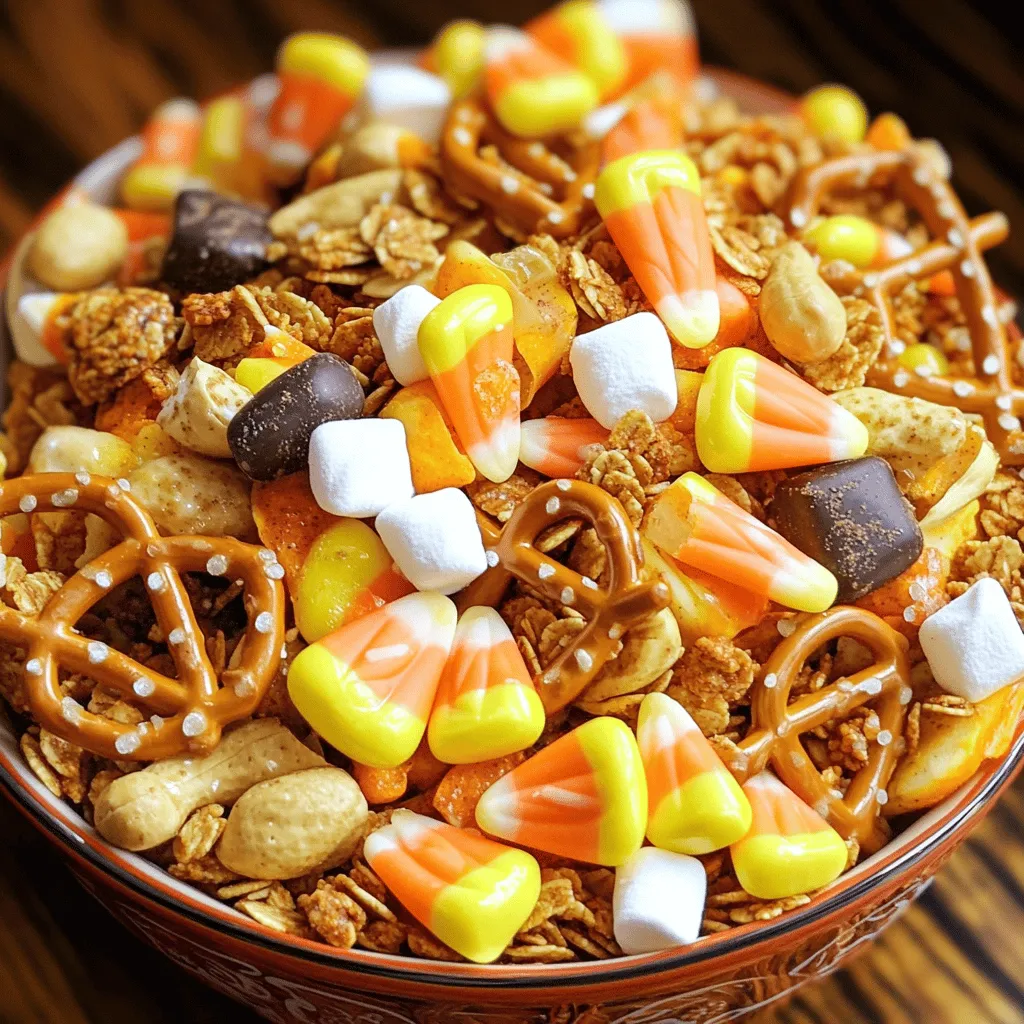
Candy Corn Snack Mix Tasty Fall Treat for Everyone
Looking for a fun fall treat? Candy Corn Snack Mix is perfect for you! It combines sweet candy corn with crunchy snacks for a…
My Latest Desserts
-
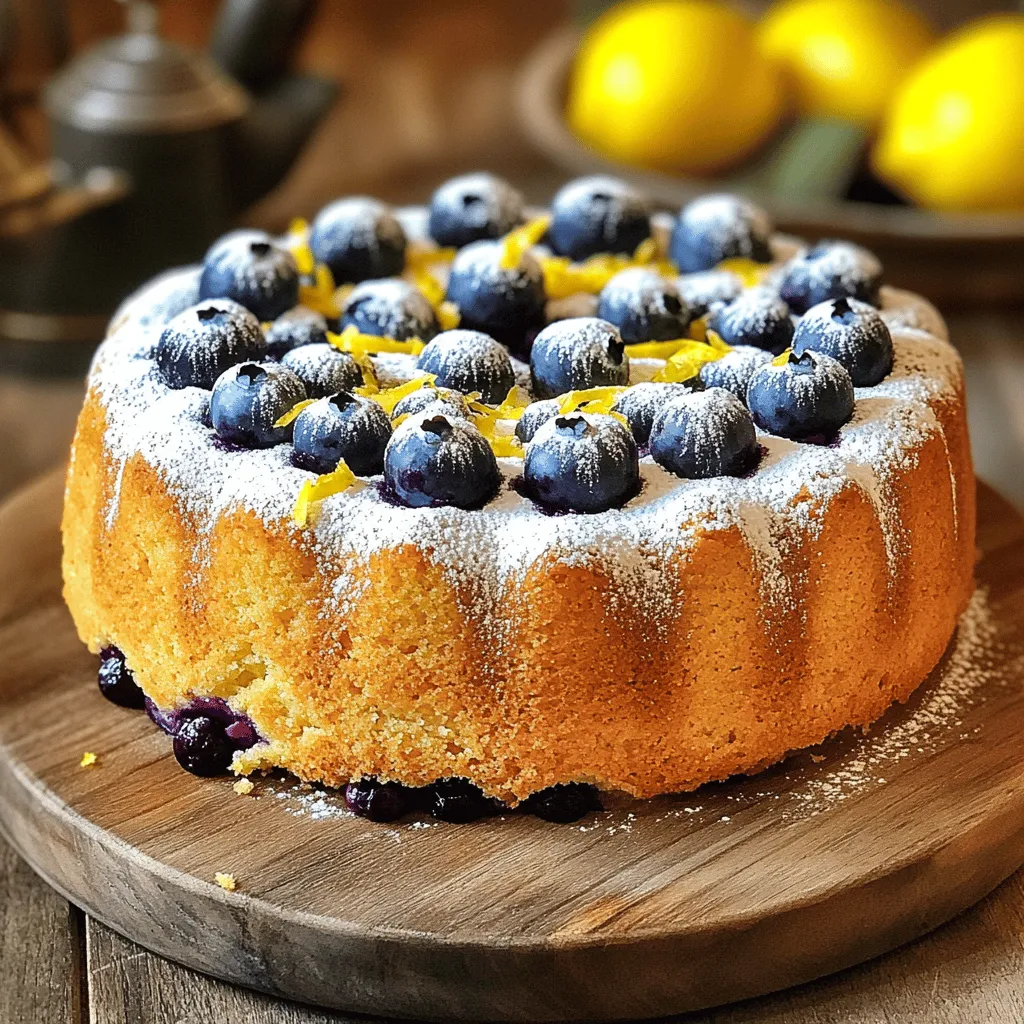
Lemon Blueberry Pound Cake Delightful Easy Recipe
Are you ready to indulge in a sweet treat that’s as bright as a sunny day? This Lemon Blueberry Pound Read Full Recipe -
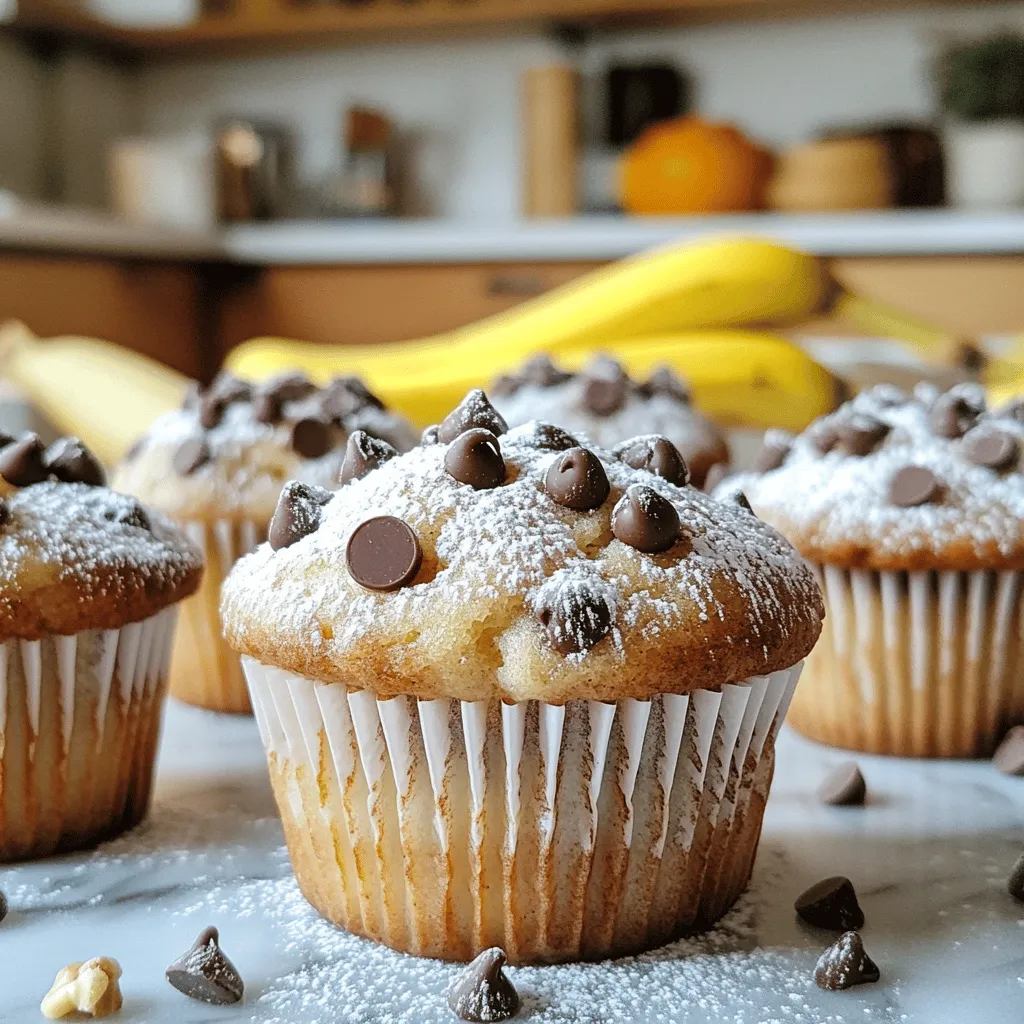
Chocolate Chip Banana Bread Muffins Delightful Treat
Are you ready to bake something scrumptious? These Chocolate Chip Banana Bread Muffins are a delightful treat you won’t want Read Full Recipe -
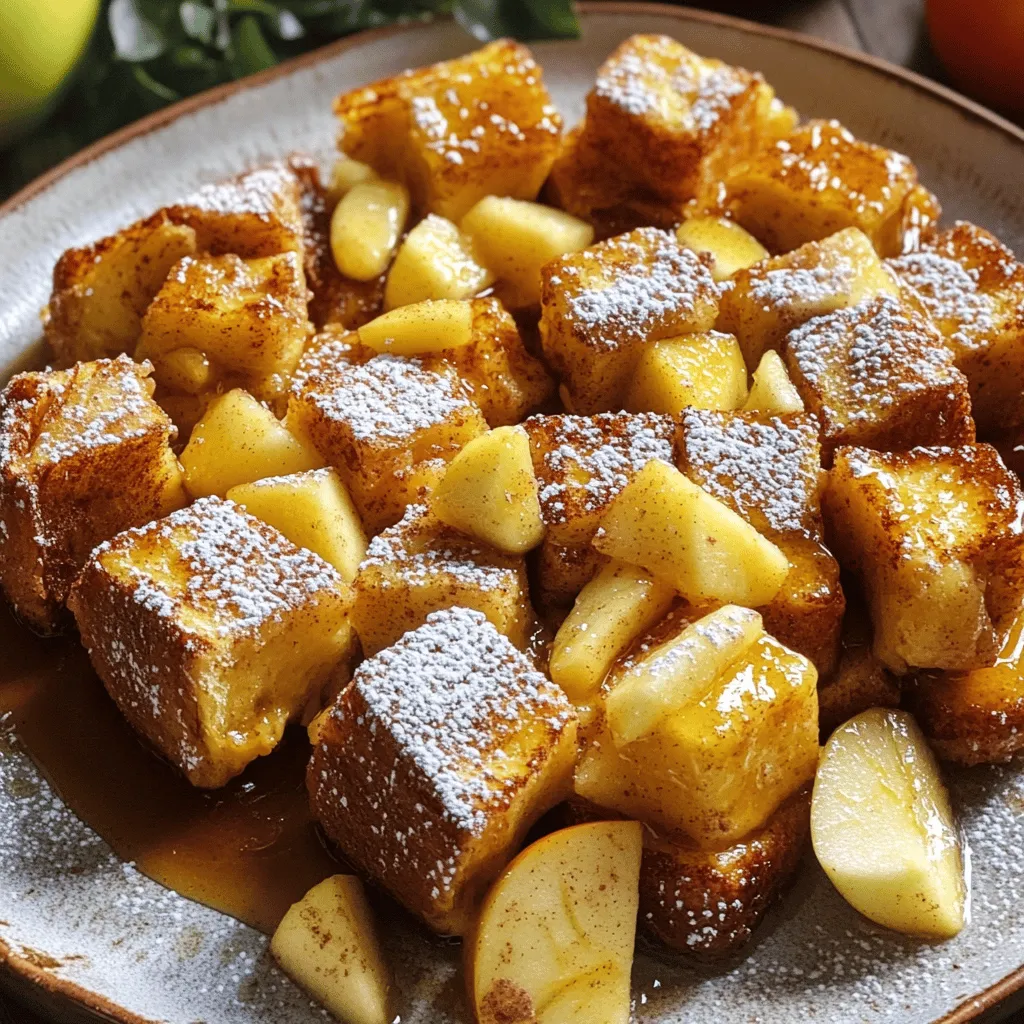
Apple Cinnamon French Toast Bake Deliciously Simple
Are you ready to whip up a cozy breakfast that will impress everyone? My Apple Cinnamon French Toast Bake is Read Full Recipe -
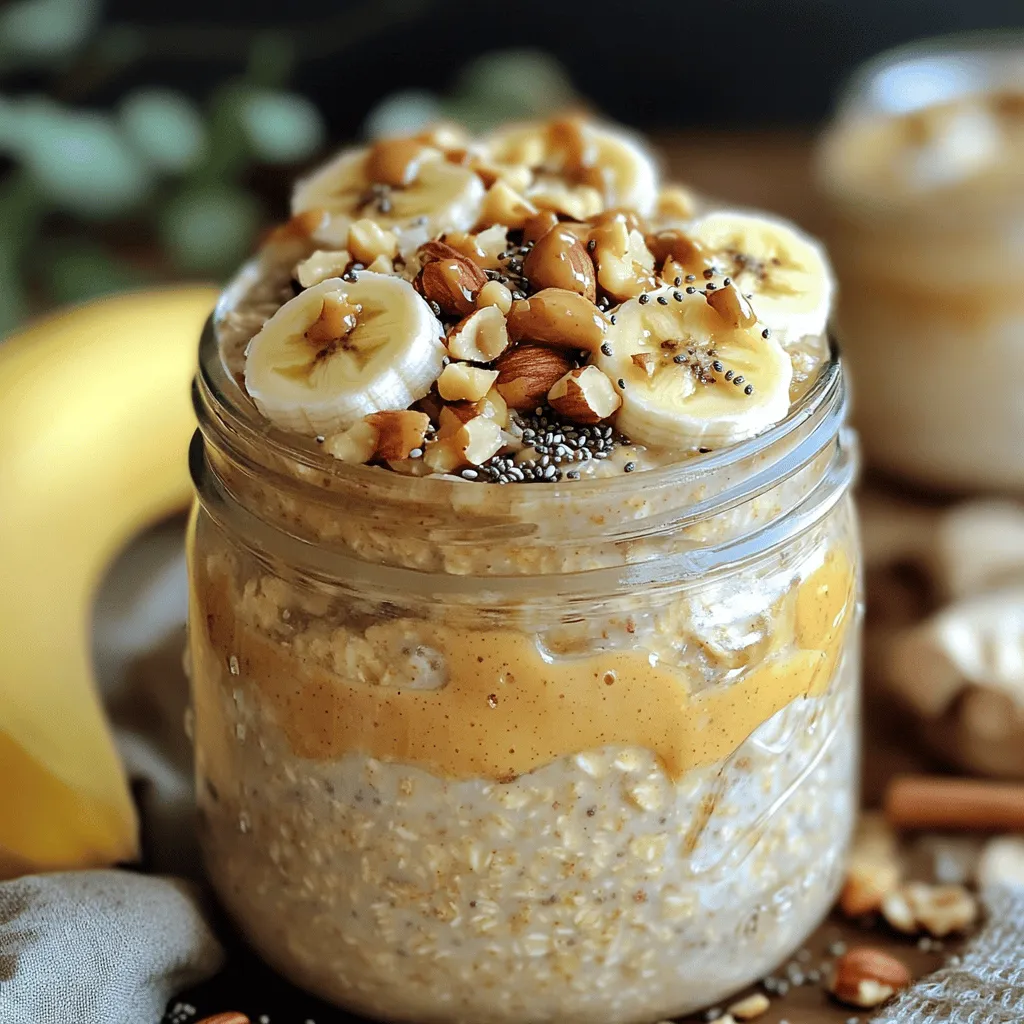
Peanut Butter Banana Overnight Oats Simple Breakfast Recipe
Start your day right with my Peanut Butter Banana Overnight Oats recipe! This simple, tasty meal takes just minutes to Read Full Recipe -

Chocolate Dipped Pretzel Rods Irresistible Treat Recipe
Are you ready to create a fun and delicious treat? Let’s dive into making chocolate dipped pretzel rods! This easy Read Full Recipe -
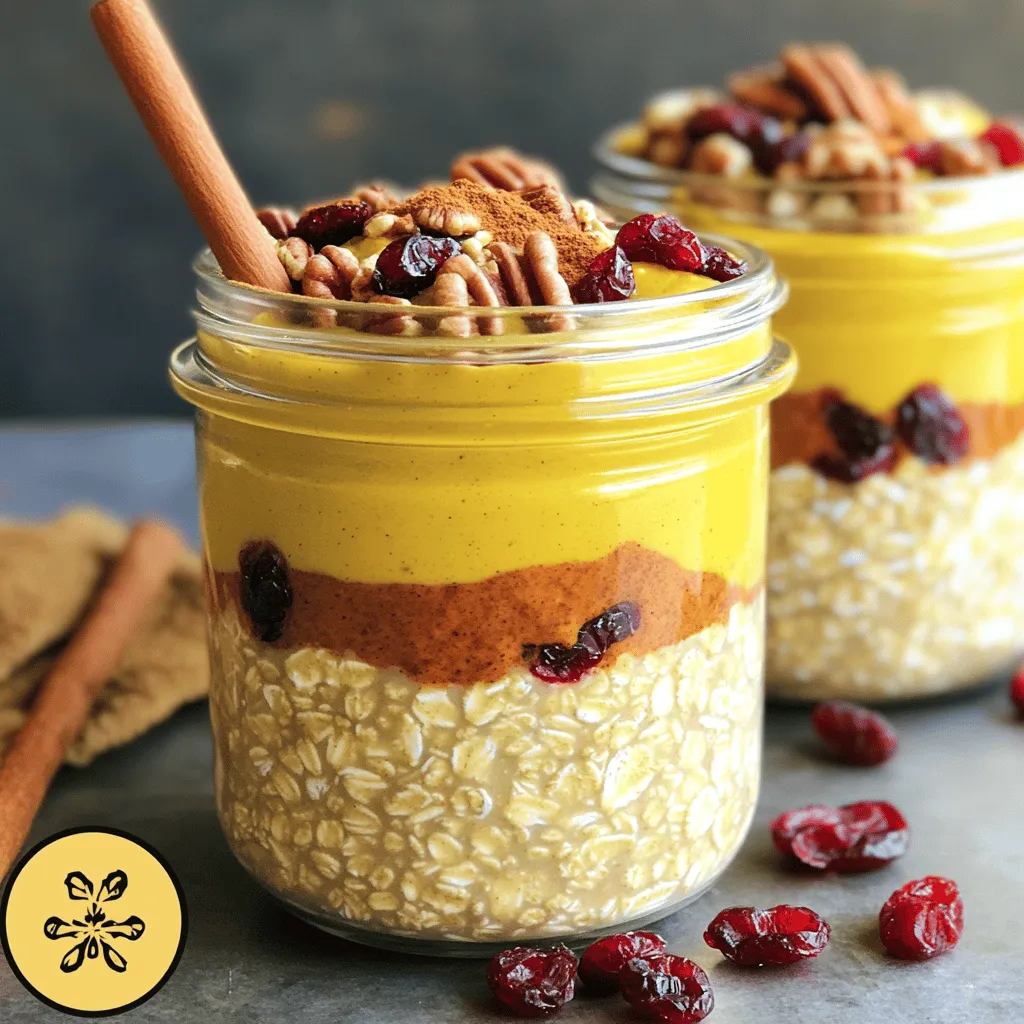
Pumpkin Spice Overnight Oats Simple and Tasty Recipe
Are you ready to dive into the cozy flavors of fall? Pumpkin Spice Overnight Oats are easy to make and Read Full Recipe -
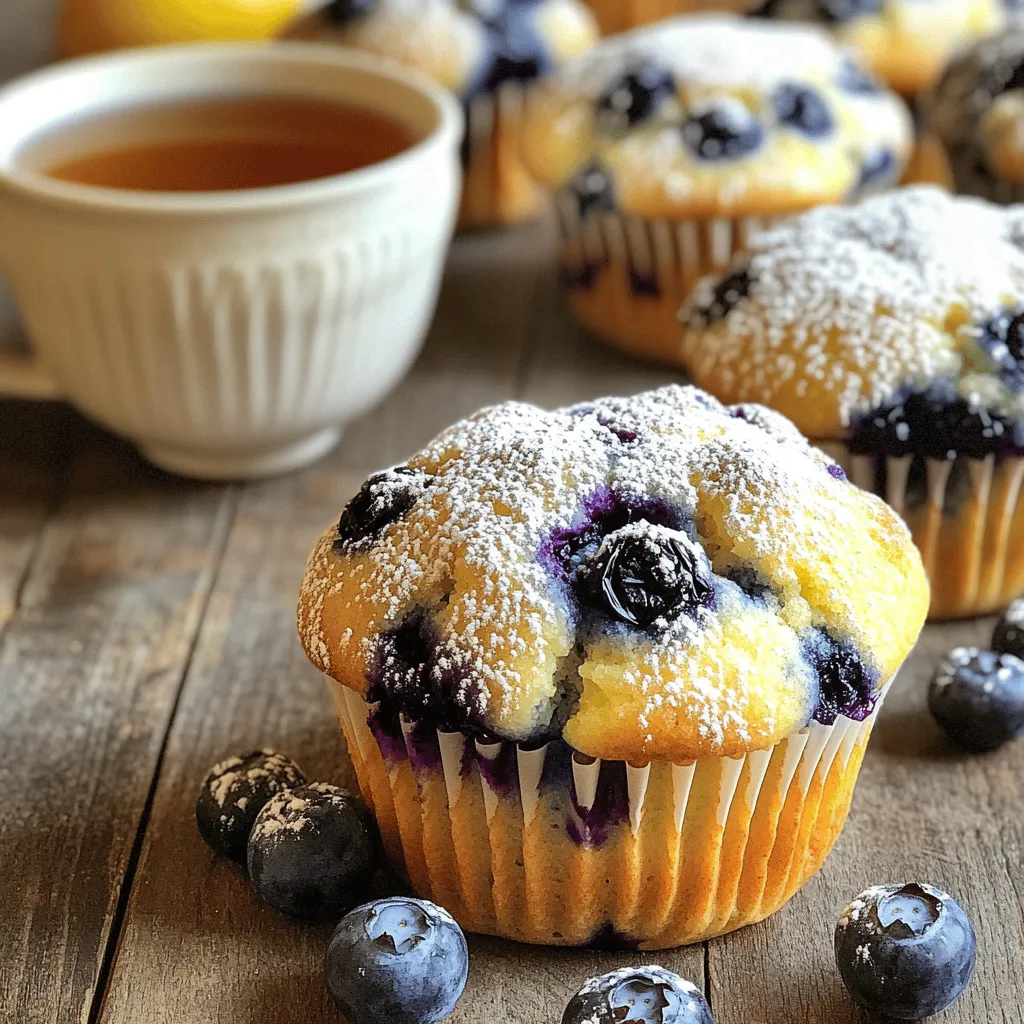
Blueberry Lemon Yogurt Muffins Savory and Healthy Treat
If you’re looking for a tasty and healthy snack, you’ve come to the right place! My Blueberry Lemon Yogurt Muffins Read Full Recipe -

Chocolate Covered Strawberry Bark Delicious Treat Recipe
If you love sweet treats, this Chocolate Covered Strawberry Bark recipe is a must-try! I’ll guide you through the steps Read Full Recipe -

Mocha Oreo Icebox Cake Delicious and Easy Recipe
Are you ready to impress your friends with a dessert that’s both easy and delicious? This Mocha Oreo Icebox Cake Read Full Recipe -
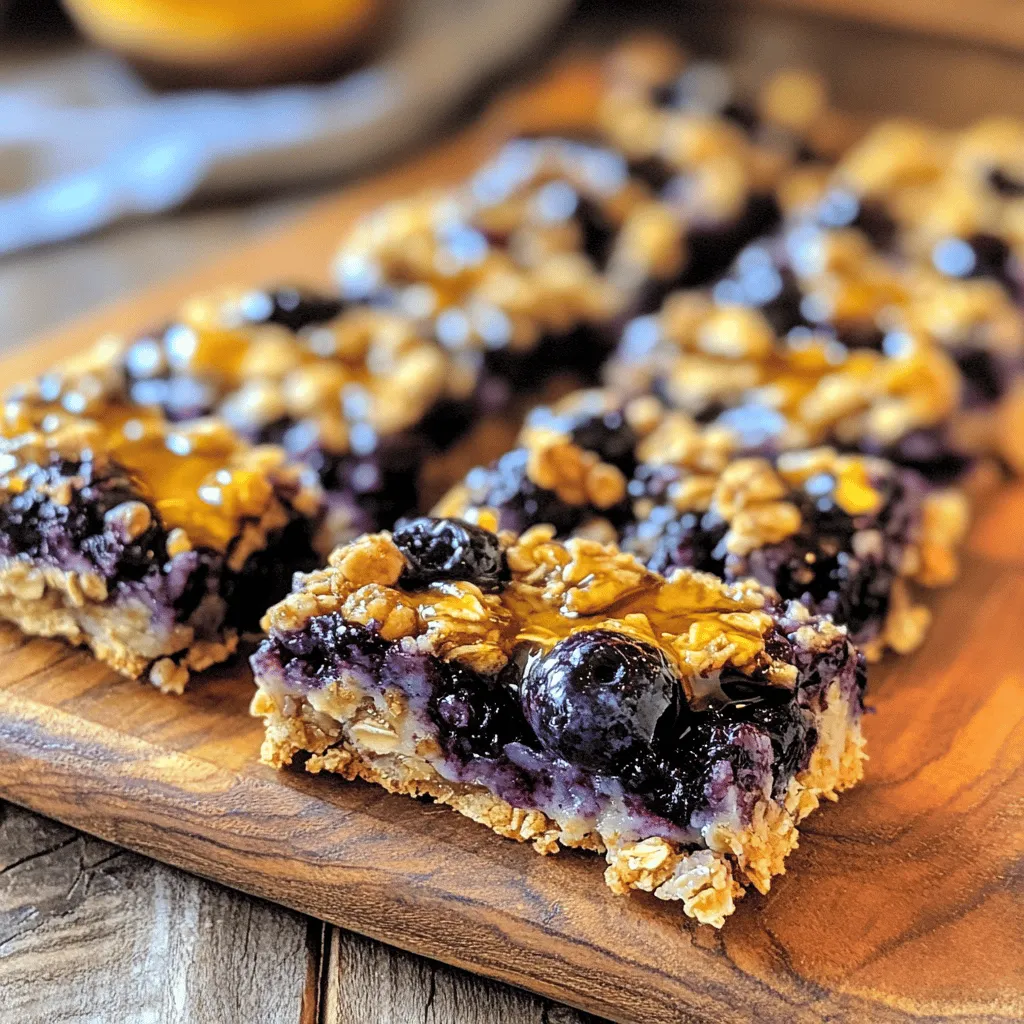
Blueberry Oatmeal Breakfast Bars Healthy and Tasty Snack
Looking for a healthy snack that’s both tasty and easy to make? Try my Blueberry Oatmeal Breakfast Bars! These bars Read Full Recipe
My Latest Recipes

hey,
i’m !
I’m so happy you’re here!
I’m not just sharing recipes I’m sharing a piece of my heart. I hope these dishes bring you comfort, joy, and maybe even a new favorite.


Roasted Red Pepper Hummus Flavorful and Simple Dip
Want a dip that’s bursting with flavor and super easy to make? Meet my Roasted Red Pepper Hummus! It combines smooth chickpeas, zesty roasted…

