

Latest & Greatest
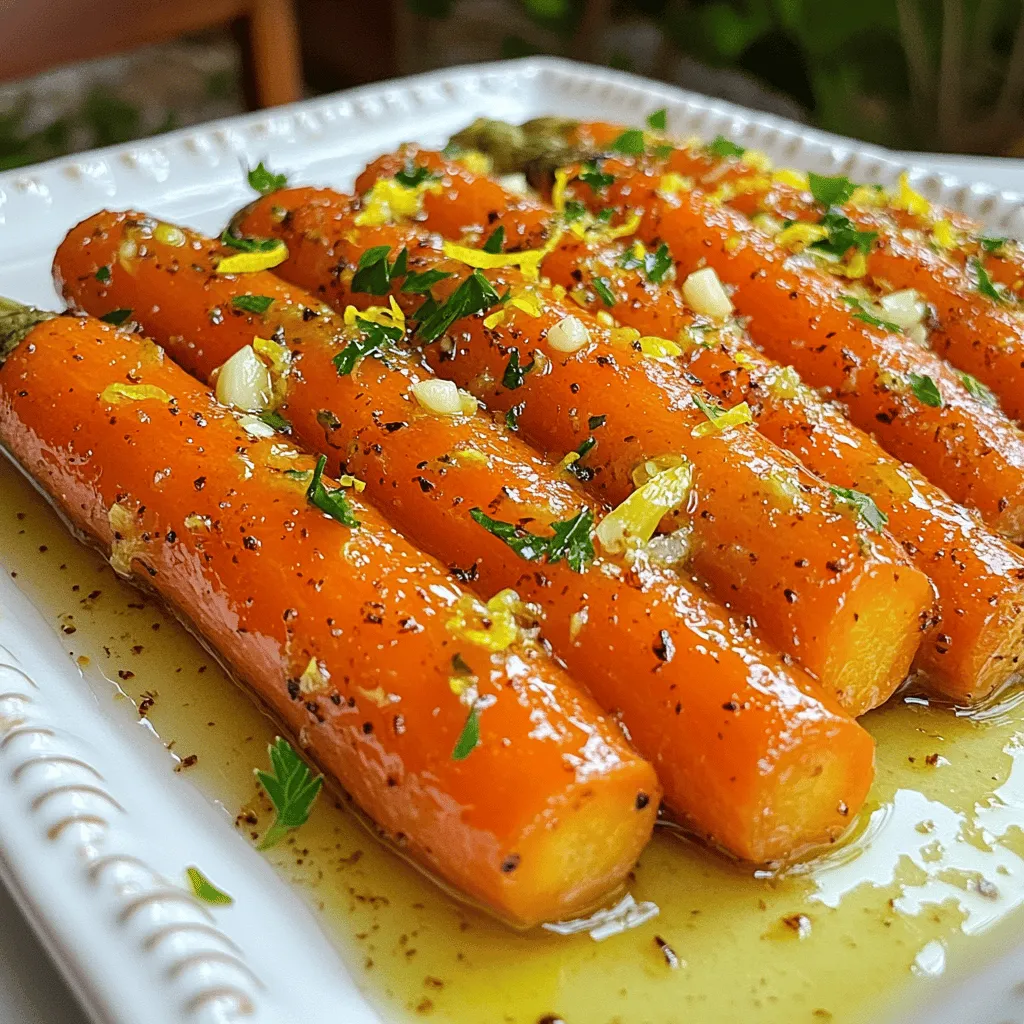
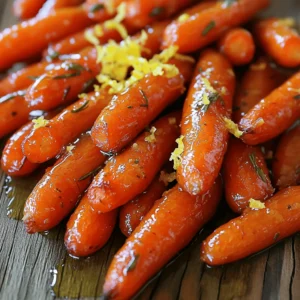
Tangy Lemon Garlic Roasted Carrots Flavorful Side Dish
Looking for a vibrant side dish that adds zest to your meals? Try my Tangy Lemon Garlic Roasted Carrots! With
Read more…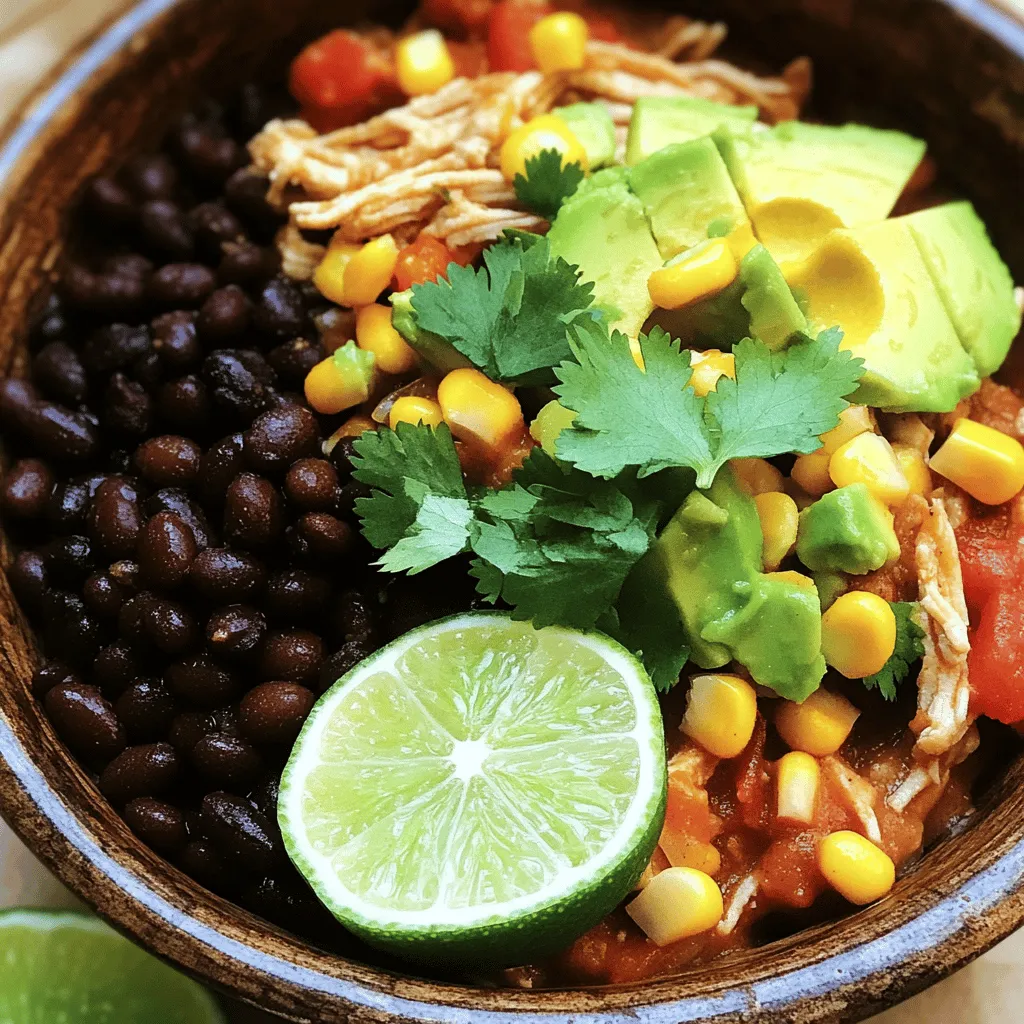
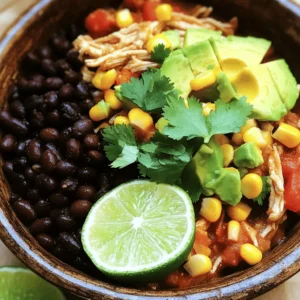
Crockpot Mexican Chicken Flavorful and Easy Meal
Are you in search of a simple yet delicious dinner idea? Look no further than my Crockpot Mexican Chicken! With
Read more…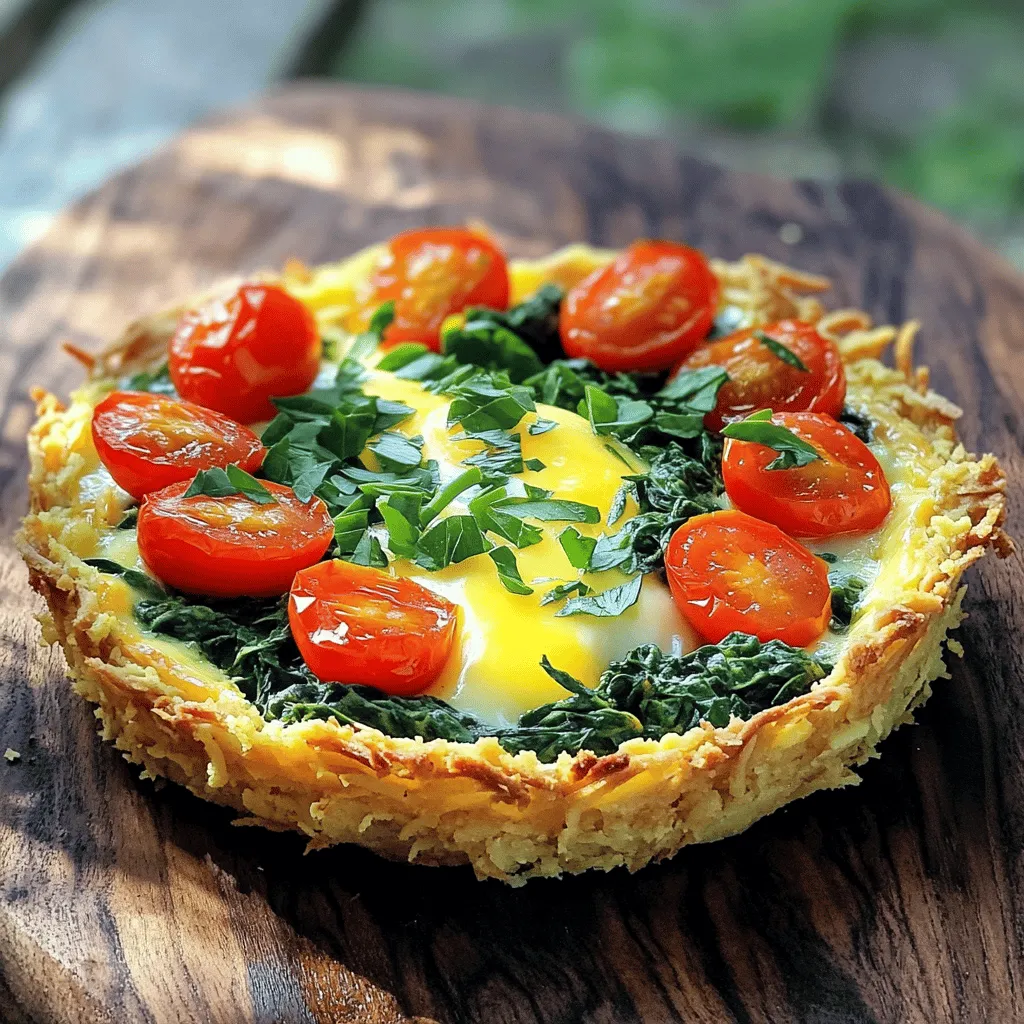
Spring Hash Brown Crust Quiche Flavorful Easy Recipe
Looking for a delicious and easy recipe to brighten your spring brunch? This Spring Hash Brown Crust Quiche is just
Read more…browse recipes

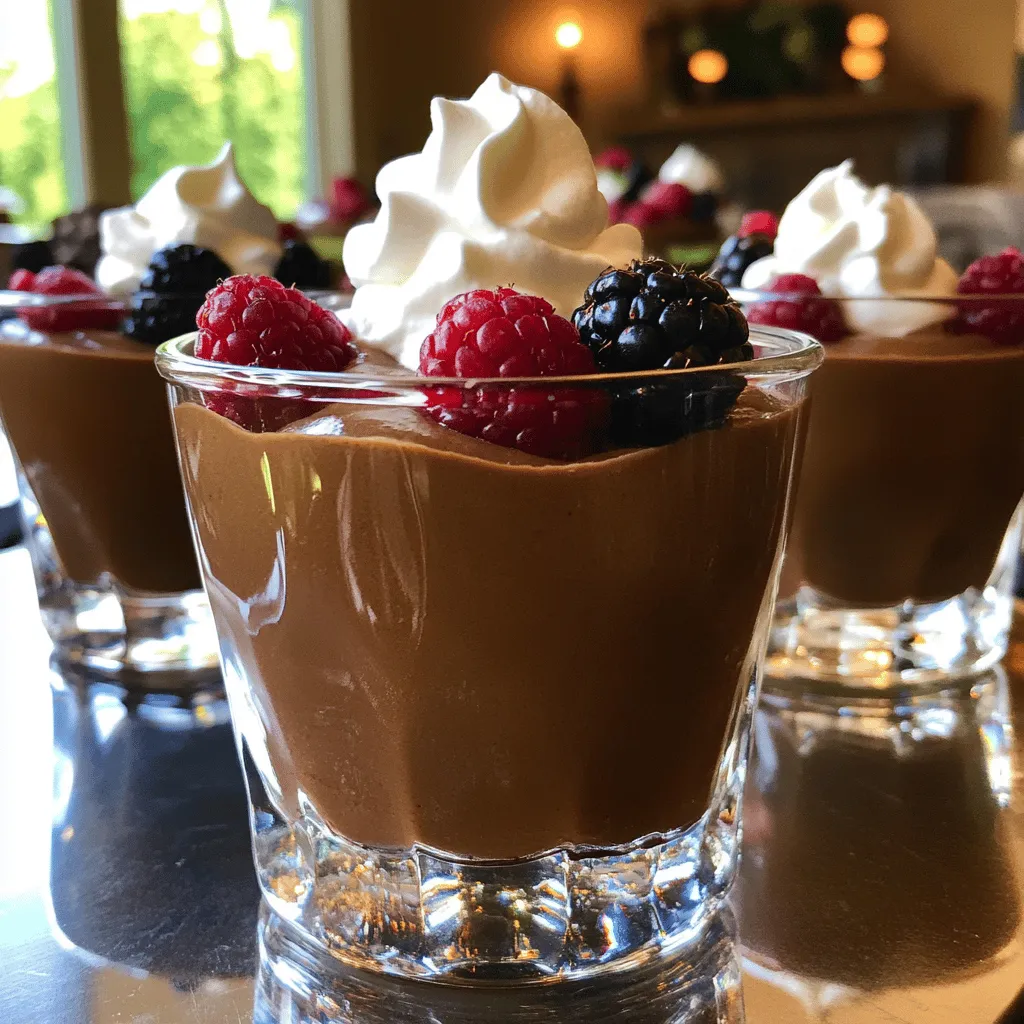
Chocolate Avocado Mousse Rich and Creamy Dessert
Are you ready to indulge in a dessert that’s both rich and healthy? Chocolate Avocado Mousse is your new go-to treat! With creamy avocado…
My Latest Desserts
-
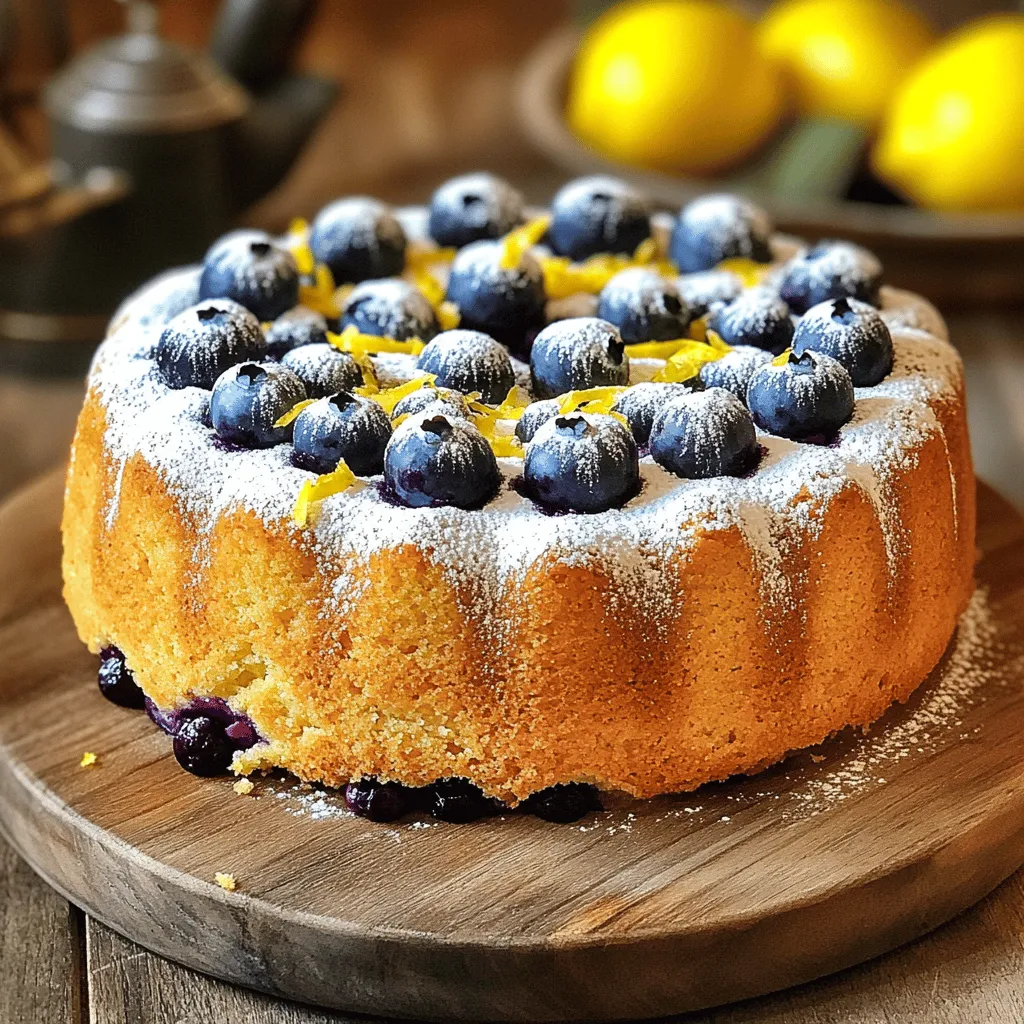
Lemon Blueberry Pound Cake Delightful Easy Recipe
Are you ready to indulge in a sweet treat that’s as bright as a sunny day? This Lemon Blueberry Pound Read Full Recipe -
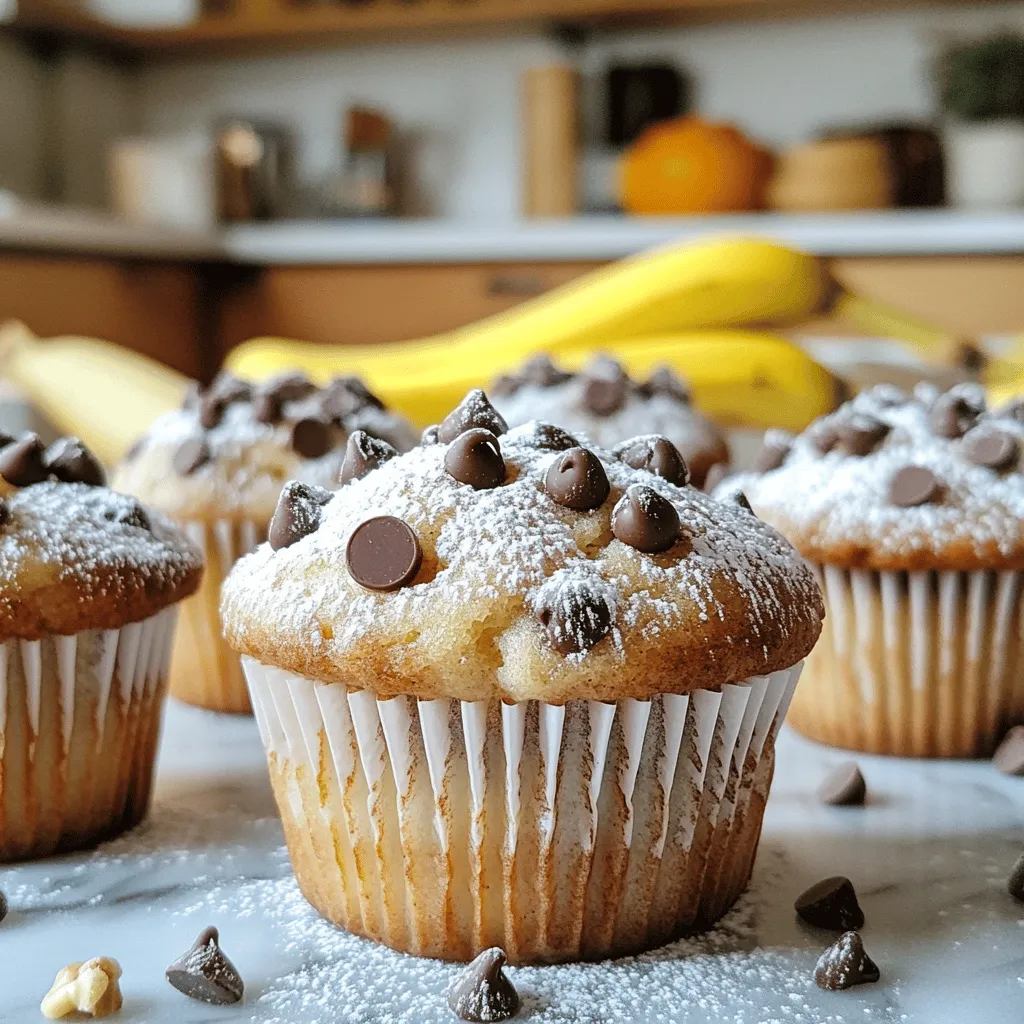
Chocolate Chip Banana Bread Muffins Delightful Treat
Are you ready to bake something scrumptious? These Chocolate Chip Banana Bread Muffins are a delightful treat you won’t want Read Full Recipe -
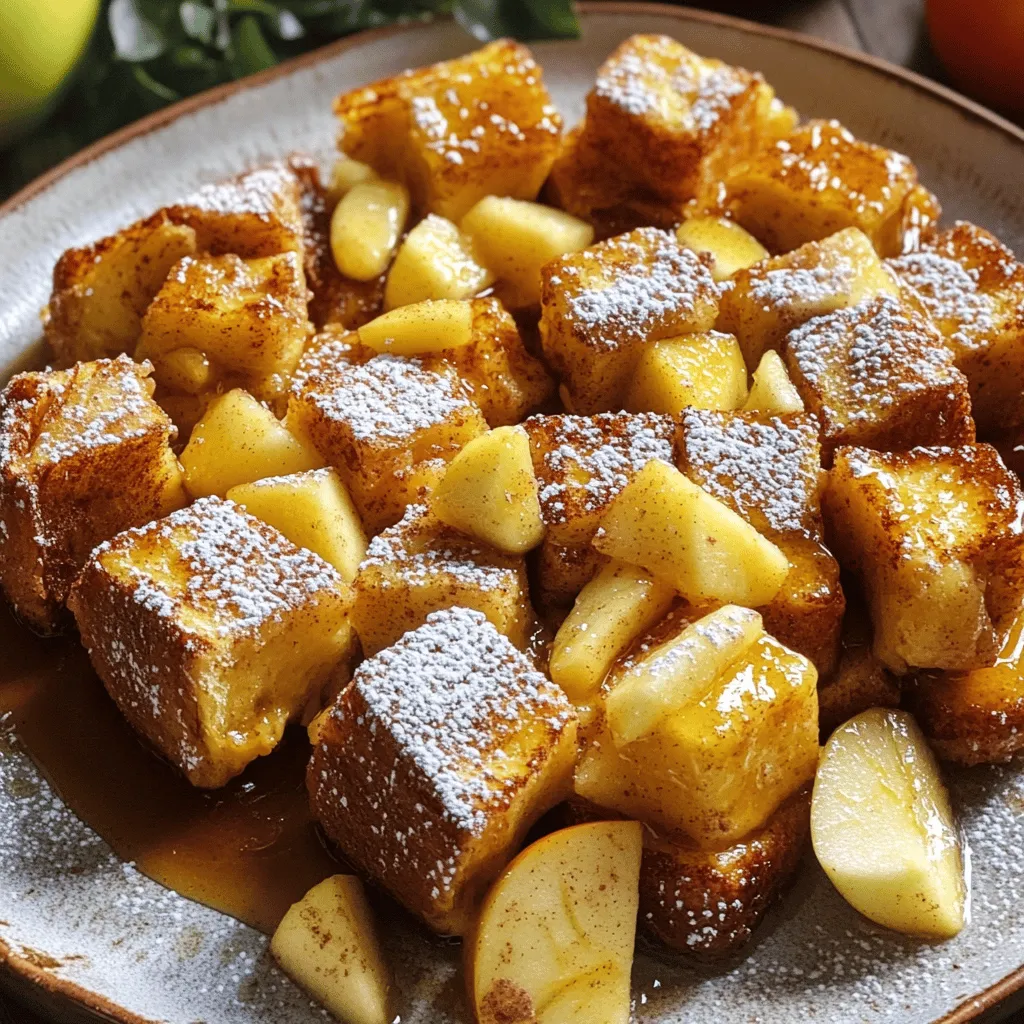
Apple Cinnamon French Toast Bake Deliciously Simple
Are you ready to whip up a cozy breakfast that will impress everyone? My Apple Cinnamon French Toast Bake is Read Full Recipe -
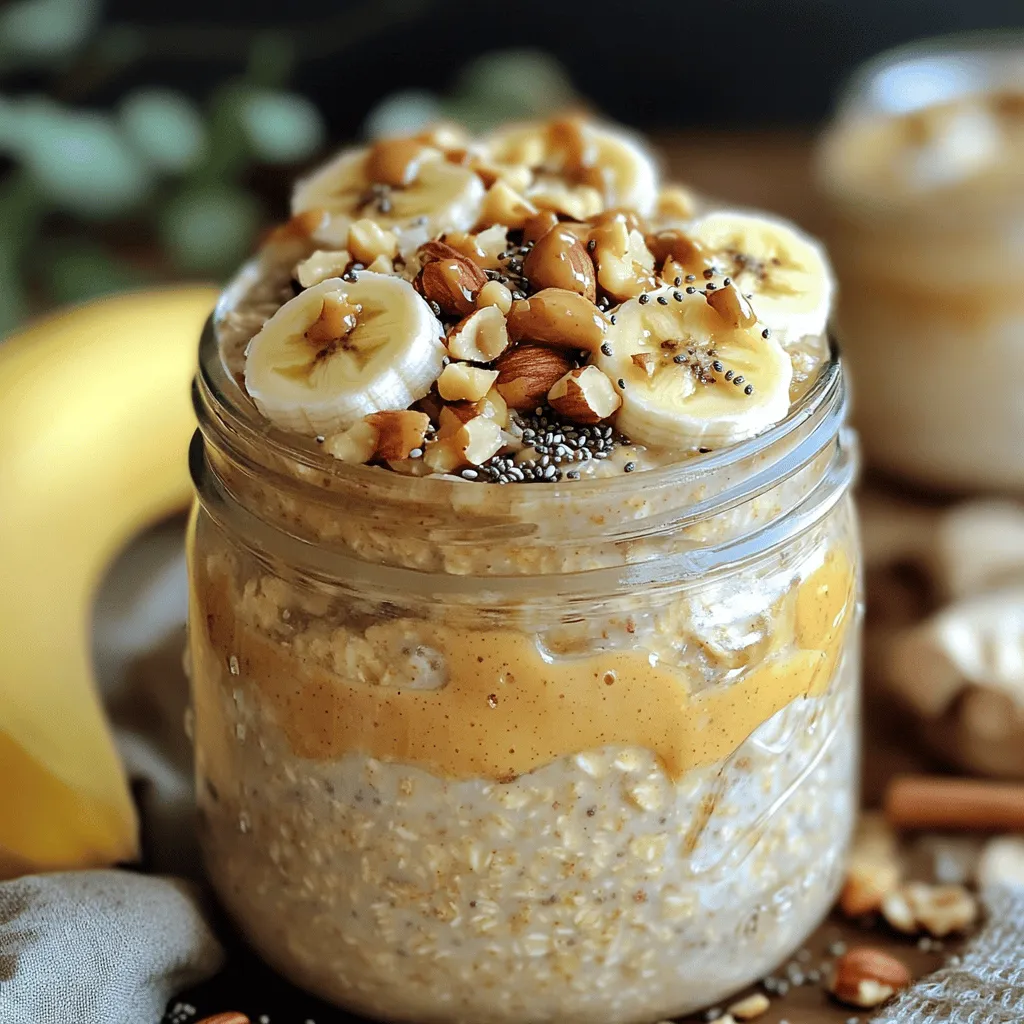
Peanut Butter Banana Overnight Oats Simple Breakfast Recipe
Start your day right with my Peanut Butter Banana Overnight Oats recipe! This simple, tasty meal takes just minutes to Read Full Recipe -

Chocolate Dipped Pretzel Rods Irresistible Treat Recipe
Are you ready to create a fun and delicious treat? Let’s dive into making chocolate dipped pretzel rods! This easy Read Full Recipe -
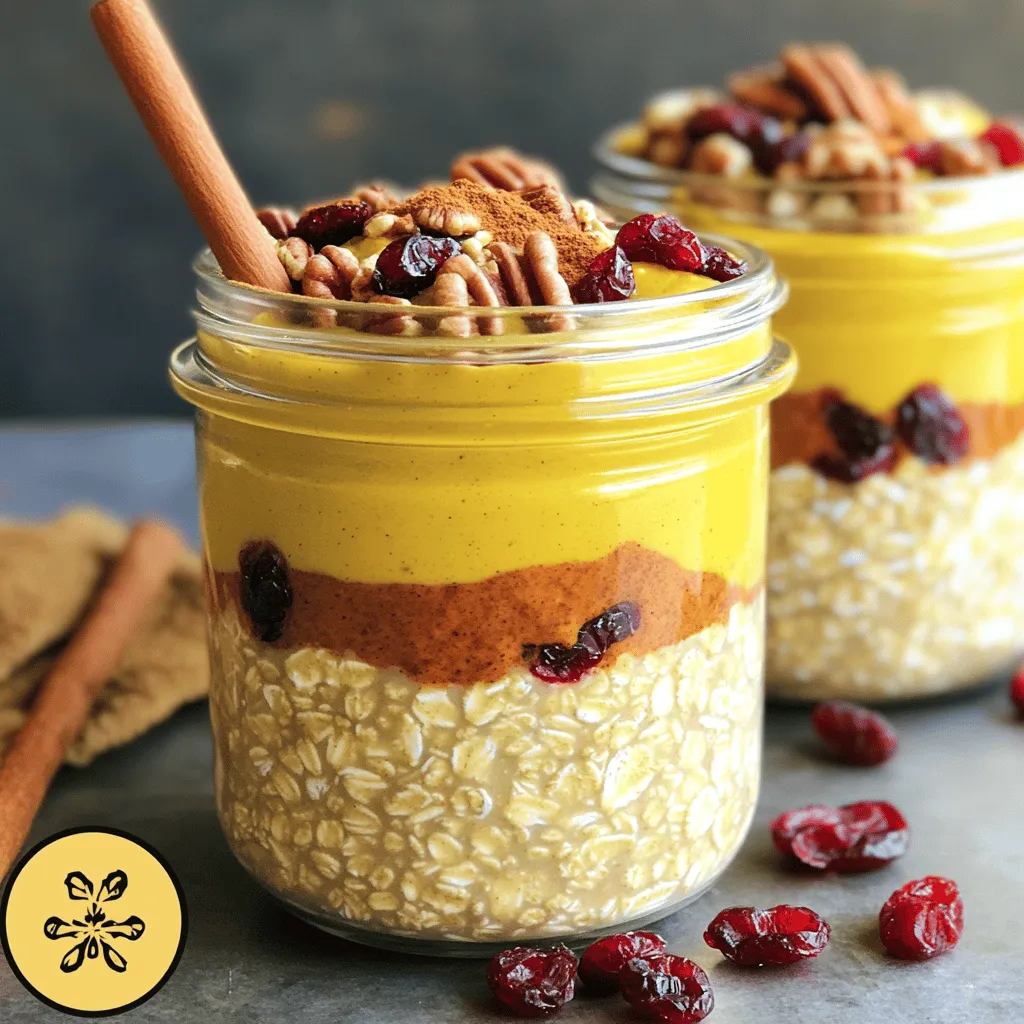
Pumpkin Spice Overnight Oats Simple and Tasty Recipe
Are you ready to dive into the cozy flavors of fall? Pumpkin Spice Overnight Oats are easy to make and Read Full Recipe -
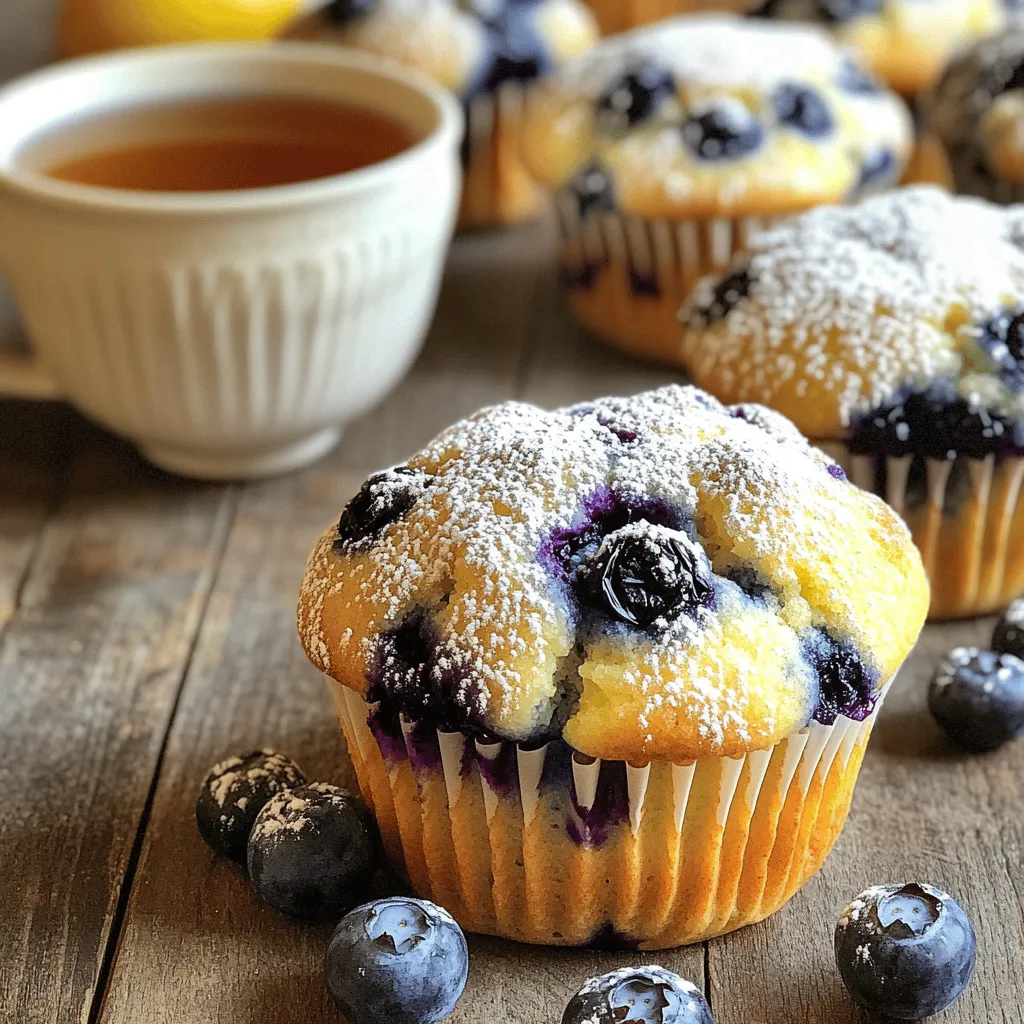
Blueberry Lemon Yogurt Muffins Savory and Healthy Treat
If you’re looking for a tasty and healthy snack, you’ve come to the right place! My Blueberry Lemon Yogurt Muffins Read Full Recipe -
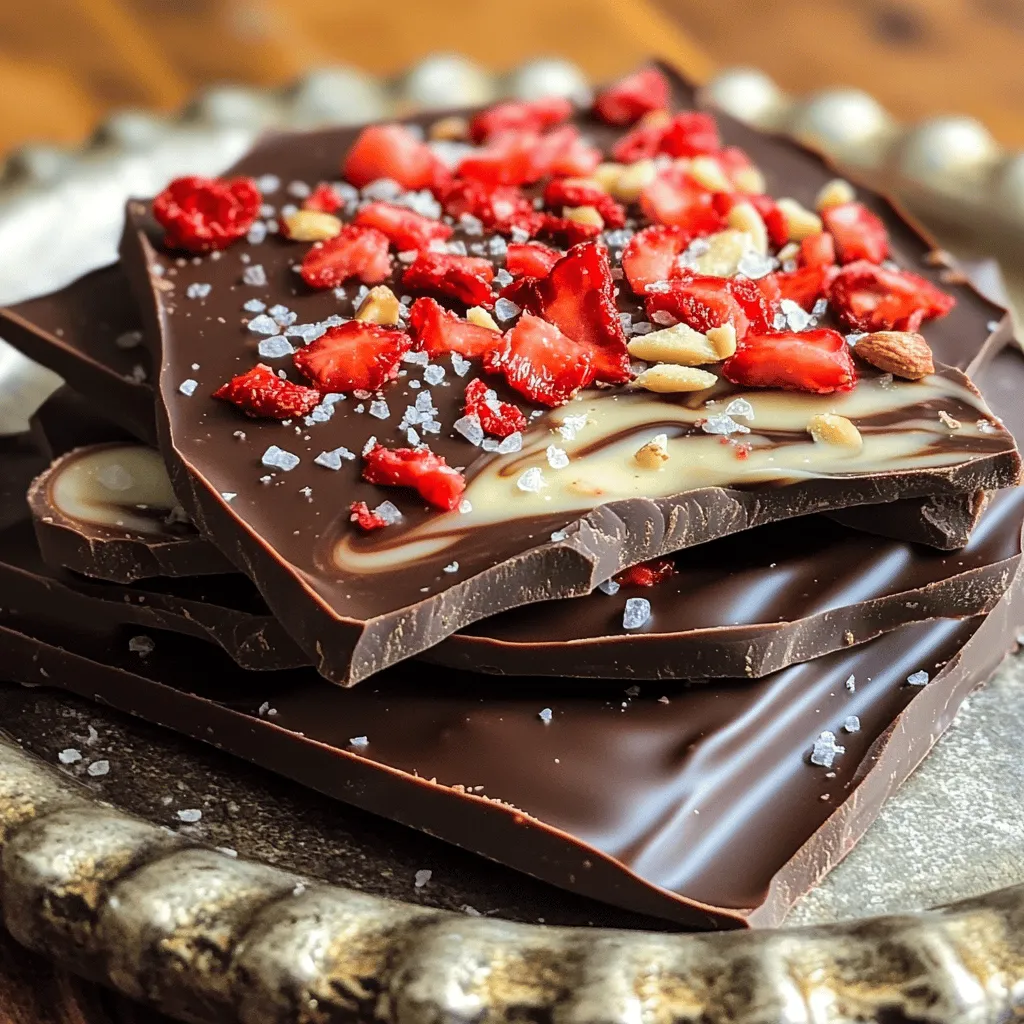
Chocolate Covered Strawberry Bark Delicious Treat Recipe
If you love sweet treats, this Chocolate Covered Strawberry Bark recipe is a must-try! I’ll guide you through the steps Read Full Recipe -
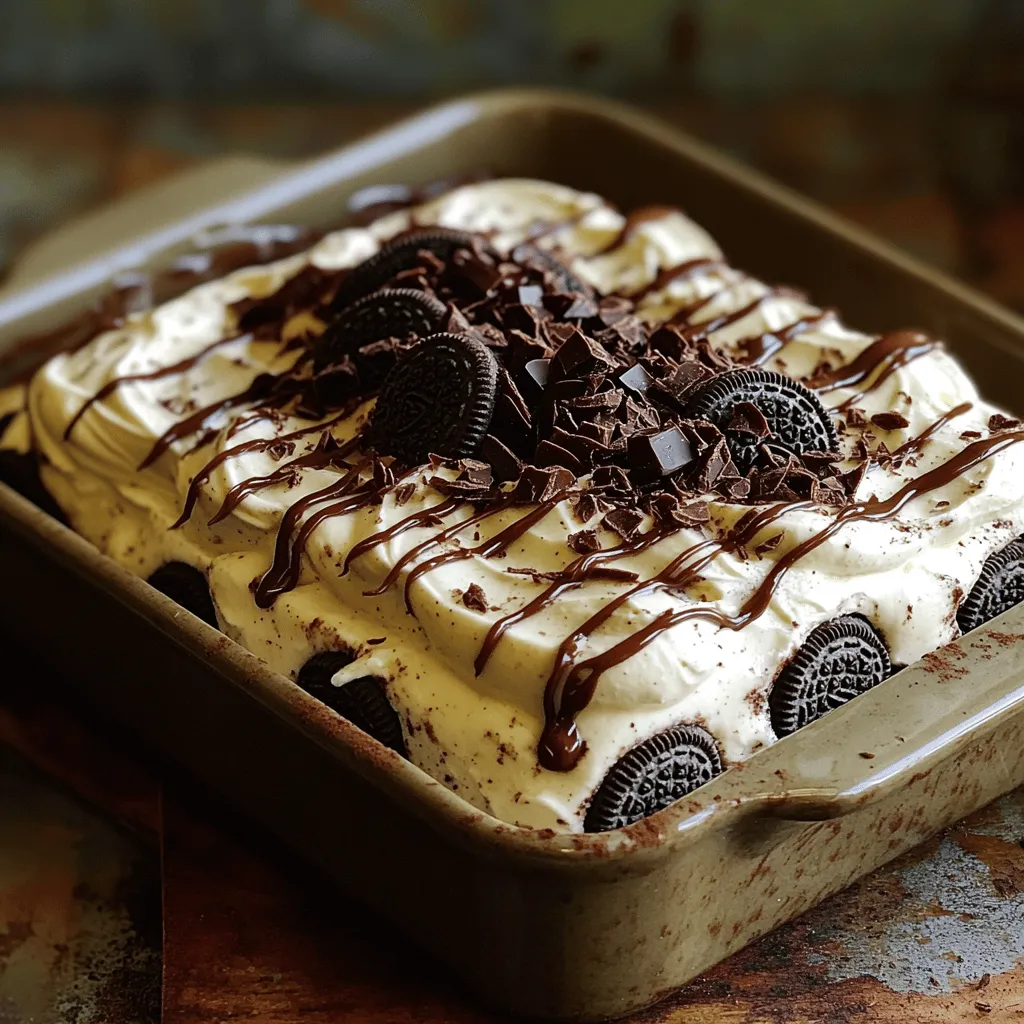
Mocha Oreo Icebox Cake Delicious and Easy Recipe
Are you ready to impress your friends with a dessert that’s both easy and delicious? This Mocha Oreo Icebox Cake Read Full Recipe -
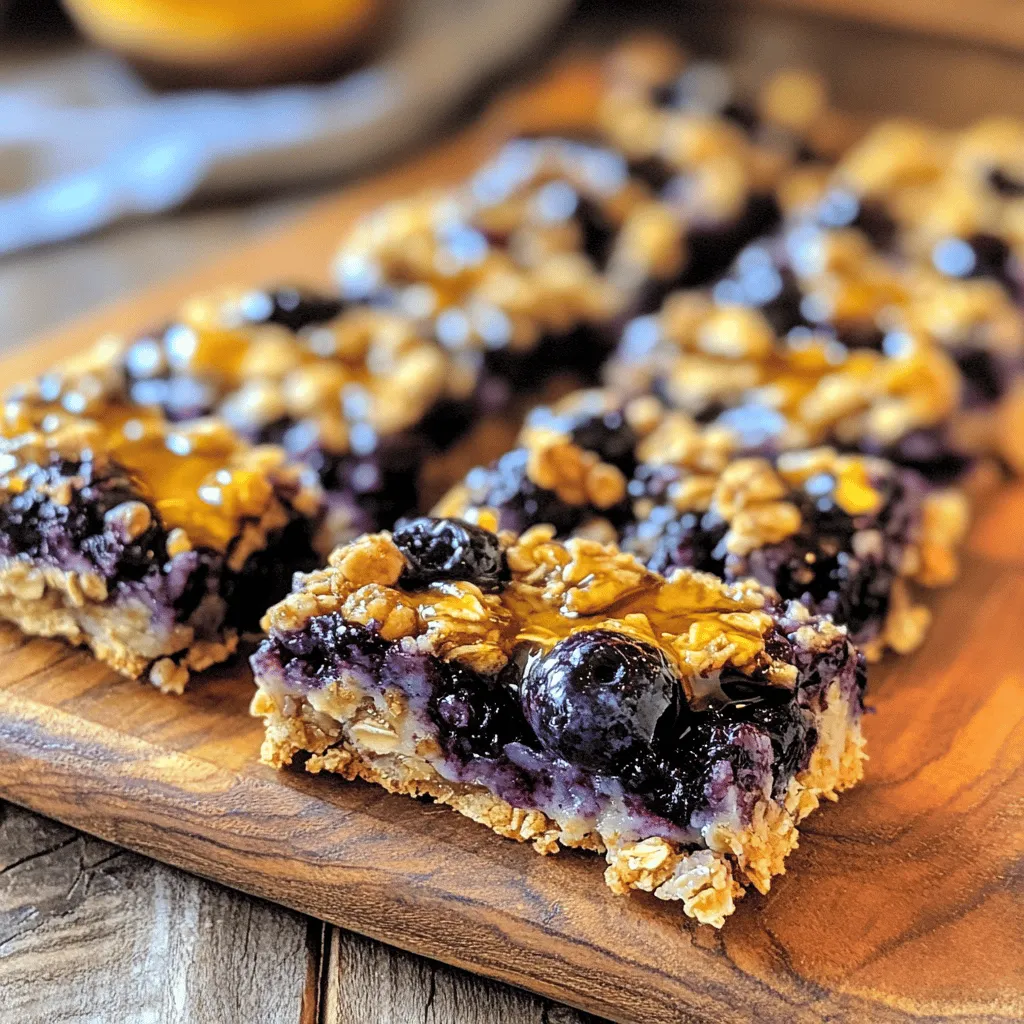
Blueberry Oatmeal Breakfast Bars Healthy and Tasty Snack
Looking for a healthy snack that’s both tasty and easy to make? Try my Blueberry Oatmeal Breakfast Bars! These bars Read Full Recipe
My Latest Recipes

hey,
i’m !
I’m so happy you’re here!
I’m not just sharing recipes I’m sharing a piece of my heart. I hope these dishes bring you comfort, joy, and maybe even a new favorite.

![- 1 lb large shrimp, peeled and deveined - 4 tablespoons unsalted butter - 4 cloves garlic, minced - 1 teaspoon red pepper flakes (adjust to taste) - 1 cup heavy cream - 1 cup shredded mozzarella cheese - 1/2 cup grated Parmesan cheese - Salt and black pepper to taste - 2 tablespoons fresh parsley, chopped - Lemon wedges (for serving) To make Cheesy Garlic Butter Shrimp, you need some key ingredients. The shrimp is the star. I love using large shrimp because they cook quickly and taste great. You want to peel and devein them before cooking. Next, you’ll need unsalted butter. This adds richness and flavor to the dish. Garlic is essential too. Fresh minced garlic gives a strong taste that pairs well with shrimp. For an extra kick, consider adding red pepper flakes. You can adjust the amount based on your spice preference. Heavy cream makes the sauce creamy and smooth. Mozzarella cheese is what makes it cheesy and delicious. Don’t forget Parmesan cheese for that salty finish. You can season with salt and black pepper to taste. Fresh parsley adds color and a fresh taste. Finally, lemon wedges are perfect for squeezing on top before eating. For the full recipe, check the full recipe section. Start by melting the butter in a large skillet over medium heat. Once it melts, add the minced garlic. Sauté the garlic for about one minute. You want it fragrant but not burnt. Next, sprinkle in the red pepper flakes. This adds a nice kick to the dish. You can adjust the amount based on your taste. Now, increase the heat to medium-high. Add the peeled and deveined shrimp to the pan. Season them with salt and black pepper. Cook the shrimp for about 2 to 3 minutes. They should turn pink and opaque when done. This means they are perfectly cooked. Once the shrimp are ready, turn the heat back to medium. Pour in the heavy cream and stir gently. This will form the base of your sauce. Gradually add the mozzarella and Parmesan cheese. Keep stirring until the cheeses melt. You want a creamy and smooth sauce that clings to the shrimp. Allow the sauce to simmer for 2 to 3 minutes. This will help it thicken slightly. Taste and adjust the seasoning with more salt and pepper if needed. Finally, remove the skillet from heat. Garnish with fresh chopped parsley. Serve hot with lemon wedges on the side. Drizzle some extra sauce over the shrimp for an appealing look. This recipe is a fun way to enjoy a savory dish at home. For the full recipe, check the earlier sections. To prevent shrimp from overcooking, watch the color closely. When shrimp turn pink and opaque, they are done. Remove them from heat right away. This keeps them tender and juicy. For sautéing garlic, use medium heat. Too high can burn the garlic, making it bitter. Cook it for just one minute until it smells great. This will give your dish a lovely flavor. To adjust the spice level, add more or less red pepper flakes. Start with a small amount. You can always add more later. This lets you control the heat to match your taste. For cheese, mozzarella and Parmesan work well together. You can also try cheddar or Gouda for a twist. Each cheese adds a different flavor and texture. Serve Cheesy Garlic Butter Shrimp with crusty bread. It’s perfect for soaking up the sauce. You can also serve it over pasta for a filling meal. For presentation, use shallow bowls or plates. Drizzle extra sauce on top and sprinkle more parsley for color. This makes your dish look as good as it tastes. Explore the [Full Recipe] for more tips on serving! {{image_2}} You can switch up the protein in this dish. Scallops cook quickly, just like shrimp. They add a sweet taste. Chicken is another option. Use boneless, skinless chicken breasts for a tender bite. Cut them into small pieces. Cook them until they are golden brown. For vegetarian adaptations, try using mushrooms or tofu. Both soak up flavors well. If you use mushrooms, choose large ones for a hearty bite. Tofu can be marinated for extra flavor. Cook it until crispy for great texture. Want to add more flavor? Toss in some veggies like spinach or sun-dried tomatoes. Spinach wilts nicely in the sauce. Sun-dried tomatoes bring a tangy kick. You can also play with herbs. Try basil or thyme for a fresh twist. These herbs add depth and aroma. Do not be afraid to experiment! Each change can create a new dish. You can choose between creamy or non-creamy sauces. A creamy sauce is rich and comforting. If you prefer a lighter dish, use broth instead of cream. This will still taste great. For vegan options, swap out dairy. Use coconut milk or almond milk for creaminess. Nutritional yeast can replace cheesy flavors. This gives you a savory kick without dairy. These variations let you make the dish your own. Check out the Full Recipe for more ideas! To store leftovers, place them in an airtight container. This keeps the shrimp fresh and safe. Label the container with the date you made the dish. This way, you know when to use it. The shelf life in the fridge is about 2 to 3 days. After that, the shrimp may lose quality. For freezing, use freezer-safe containers or heavy-duty bags. Make sure to remove as much air as possible. This helps prevent freezer burn. Shrimp can last in the freezer for up to 3 months. To thaw, move the container to the fridge for about 8 hours or overnight. For quick thawing, you can run cold water over the bag. The best method for reheating is on the stove. Use low heat to warm the shrimp gently. This keeps them tender and moist. Stir occasionally to heat evenly. You can also reheat in the microwave. Use a microwave-safe dish and cover it with a lid. Heat for 1 to 2 minutes, stirring halfway through. Aim for a temperature of 165°F for safe eating. Enjoy your Cheesy Garlic Butter Shrimp with the rich flavors intact! What wine pairs well with Cheesy Garlic Butter Shrimp? A crisp white wine works best. I recommend a Sauvignon Blanc or Pinot Grigio. They balance the rich sauce and fresh shrimp flavors. A chilled glass enhances your meal. Can I make this dish ahead of time? Yes, you can prepare the shrimp and sauce ahead. Cook the shrimp until just pink. Cool it quickly, then store it in the fridge. When ready to serve, reheat gently on low heat. How many calories are in Cheesy Garlic Butter Shrimp? Each serving has about 400 calories. This may vary based on the amount of butter and cheese you use. It’s a rich dish, so enjoy in moderation. Is this recipe suitable for gluten-free diets? Yes, this dish is gluten-free. Just ensure all your ingredients are gluten-free. The heavy cream and cheeses do not contain gluten. Where did Cheesy Garlic Butter Shrimp originate? Cheesy Garlic Butter Shrimp has roots in Mediterranean cuisine. It combines classic flavors from Italian and Spanish dishes. Shrimp is popular in many coastal regions worldwide. How can I customize the recipe to my taste? You can add vegetables like spinach or bell peppers. For some heat, use more red pepper flakes. Try different cheeses like cheddar or gouda for unique flavors. You’ve now learned how to make Cheesy Garlic Butter Shrimp. We explored key ingredients and step-by-step cooking instructions. I shared tips on enhancing flavors and offered variations to keep things exciting. Don’t forget about storage tips to keep your leftovers fresh. Remember, this recipe is flexible. You can swap proteins or adjust the spice level based on your taste. Enjoy your cooking adventure and impress your friends with this delicious dish!](https://emmasdish.com/wp-content/uploads/2025/06/69fa4acd-26ff-4cad-83d7-673042a39f6e-300x300.webp)
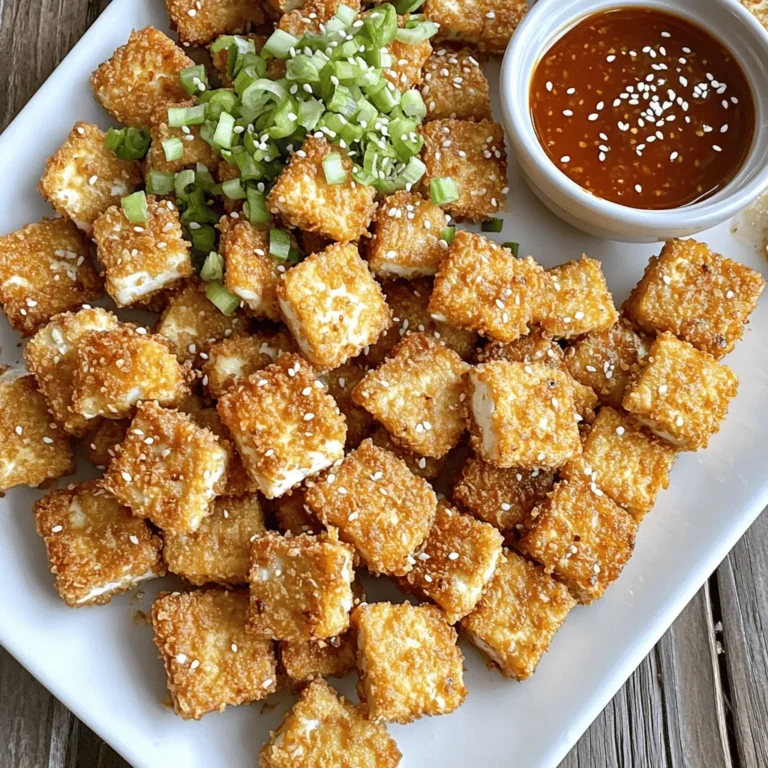
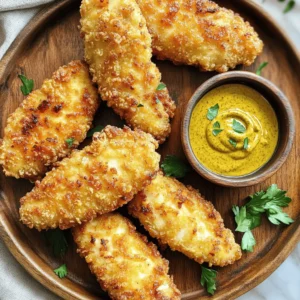
Japanese Katsu Bowls Simple and Flavorful Meal Guide
Are you ready to take your dinner game to the next level? Japanese Katsu Bowls are simple, tasty, and fun to make at home.…
 for more details on making your katsu bowls! To keep your katsu bowls fresh, store them properly. First, let the katsu cool down. Place it in an airtight container. You can keep the rice and toppings in separate containers. This way, the katsu stays crispy, and the rice does not get soggy. Refrigerate your leftovers within two hours of cooking. They will last for about three days. For best flavor, eat them within the first two days. Want to save your katsu bowls for later? Freezing them is a great choice. First, make sure the katsu is completely cool. Wrap each piece tightly in plastic wrap. Then, place the wrapped katsu in a freezer-safe bag or container. You can also freeze the rice separately. When you are ready to eat, remove the katsu from the freezer. Thaw it in the fridge overnight. To keep the texture nice, reheat the katsu in the oven. Set it to 375°F (190°C) for about 10-15 minutes. This helps keep the crunch! If you microwave it, the katsu may turn soggy. Enjoy your meal with the miso sauce once it’s heated through. Katsu originated in Japan during the late 19th century. It comes from the French dish, "côtelette," a breaded meat cutlet. The Japanese adapted this idea, creating a crispy and tender dish. Katsu became popular as a quick meal and comfort food. You can find it in many Japanese homes and restaurants today. Yes, you can use gluten-free breadcrumbs for Katsu Bowls. They work well as a substitute. Look for brands made from rice flour or cornmeal. This option helps those with gluten allergies enjoy Katsu without worry. Just ensure the rest of your ingredients are also gluten-free. Serve Katsu Bowls with simple garnishes. Shredded cabbage adds crunch and freshness. Edamame gives a pop of color and nutrition. You can also sprinkle sesame seeds for a nutty flavor. A drizzle of miso sauce ties all the flavors together nicely. Enjoy it warm for the best taste! For authentic Katsu Bowls, seek out Japanese restaurants in your area. Look for places with a good reputation for traditional cuisine. Many cities have spots known for their Katsu. Ask locals for their favorite recommendations. You might discover hidden gems that serve excellent Katsu Bowls. Check out the full recipe for Crispy Katsu Bowls with Miso Zing [here](#). It includes all the steps you need for a delicious meal! In this guide, we've explored the essential ingredients and tools for making katsu bowls. You learned how to properly prepare your protein, achieve the perfect crunch, and assemble delicious bowls. I shared tips for making ahead and offered variations for everyone, including vegetarian options. Remember, katsu bowls are versatile and can be enjoyed in many ways. With these steps and tips, you'll impress anyone who tries your katsu bowl masterpiece. Enjoy cooking and let your creativity shine!](https://emmasdish.com/wp-content/uploads/2025/05/4db78e3c-262b-47ca-8e55-a86bc27469cf.webp)
