

Latest & Greatest
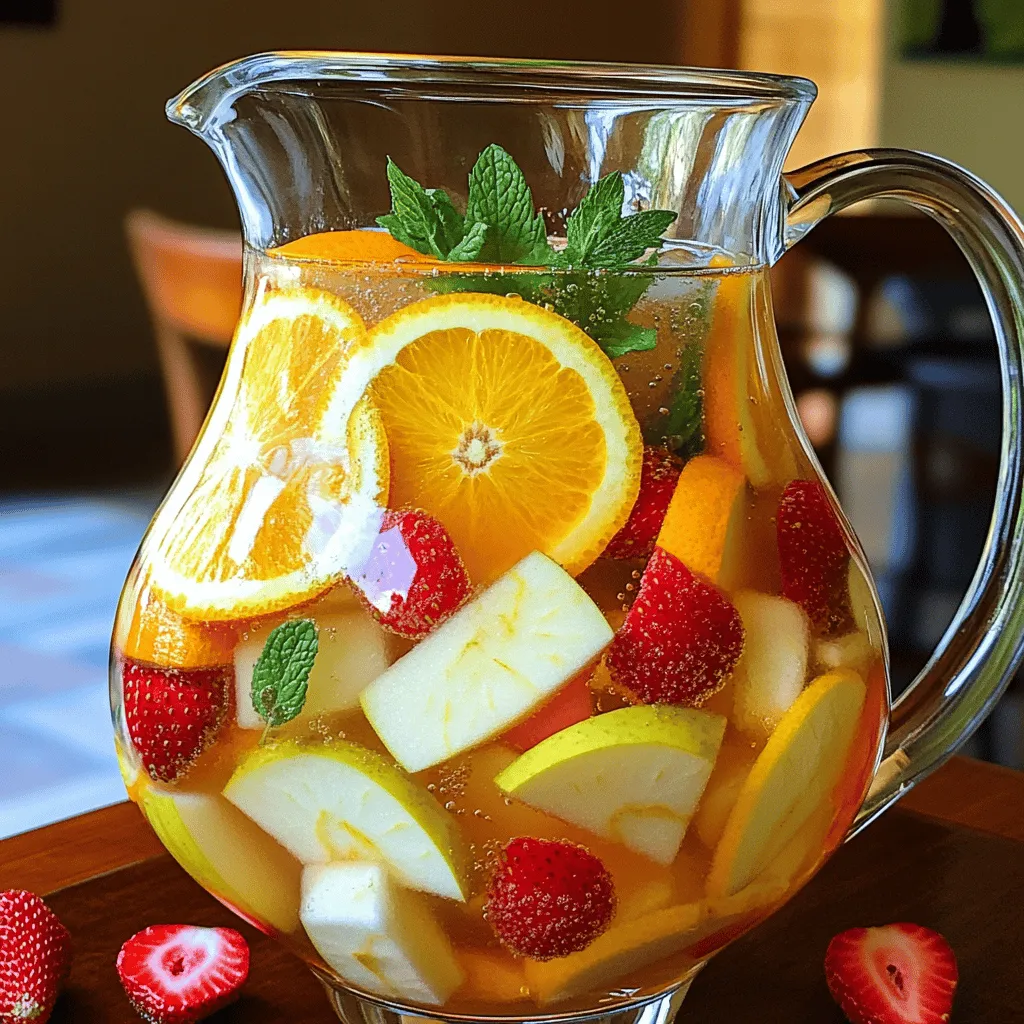
White Sangria Refreshing and Fruity Recipe Guide
Are you ready to beat the heat with a glass of refreshing white sangria? This fruity drink combines sparkling water,
Read more…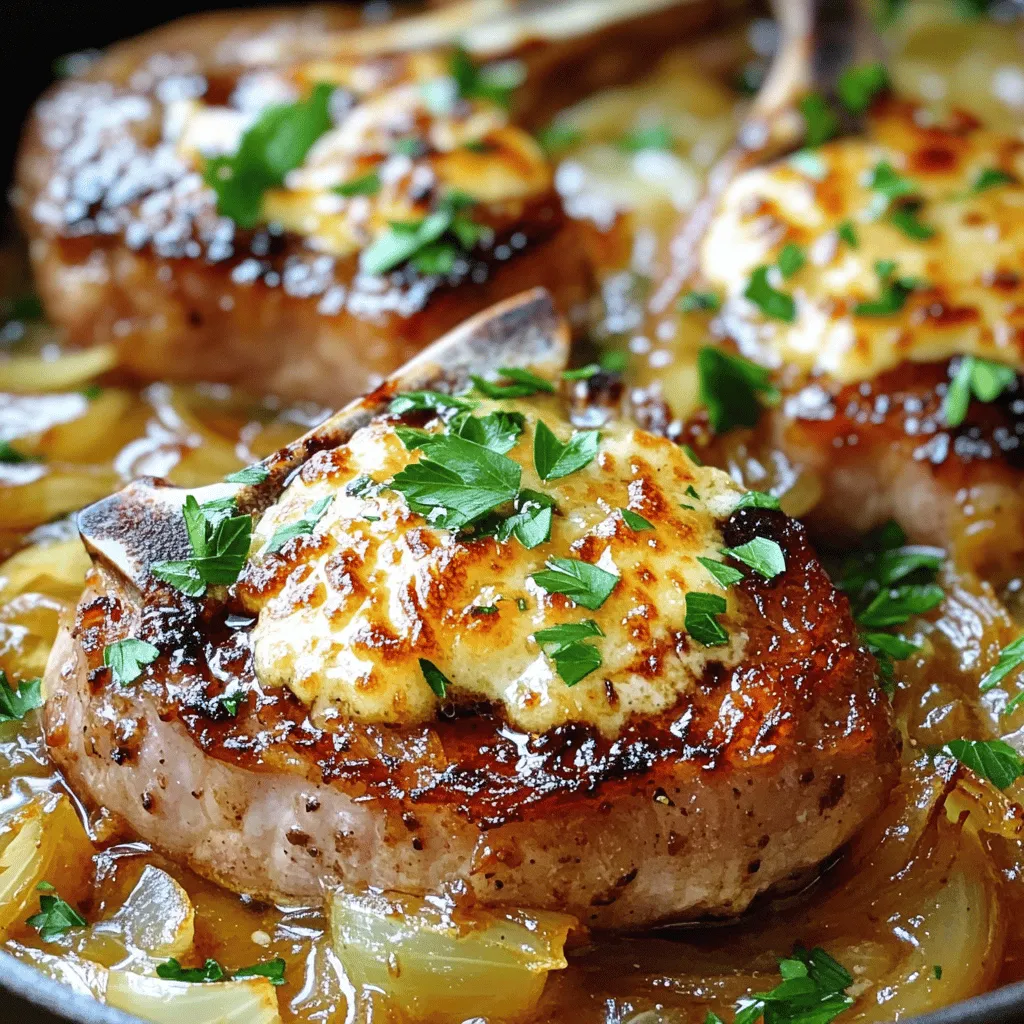
French Onion Smothered Pork Chops Flavorful Comfort Dish
Welcome to the cozy world of French Onion Smothered Pork Chops! This dish brings rich flavors and warmth to your
Read more…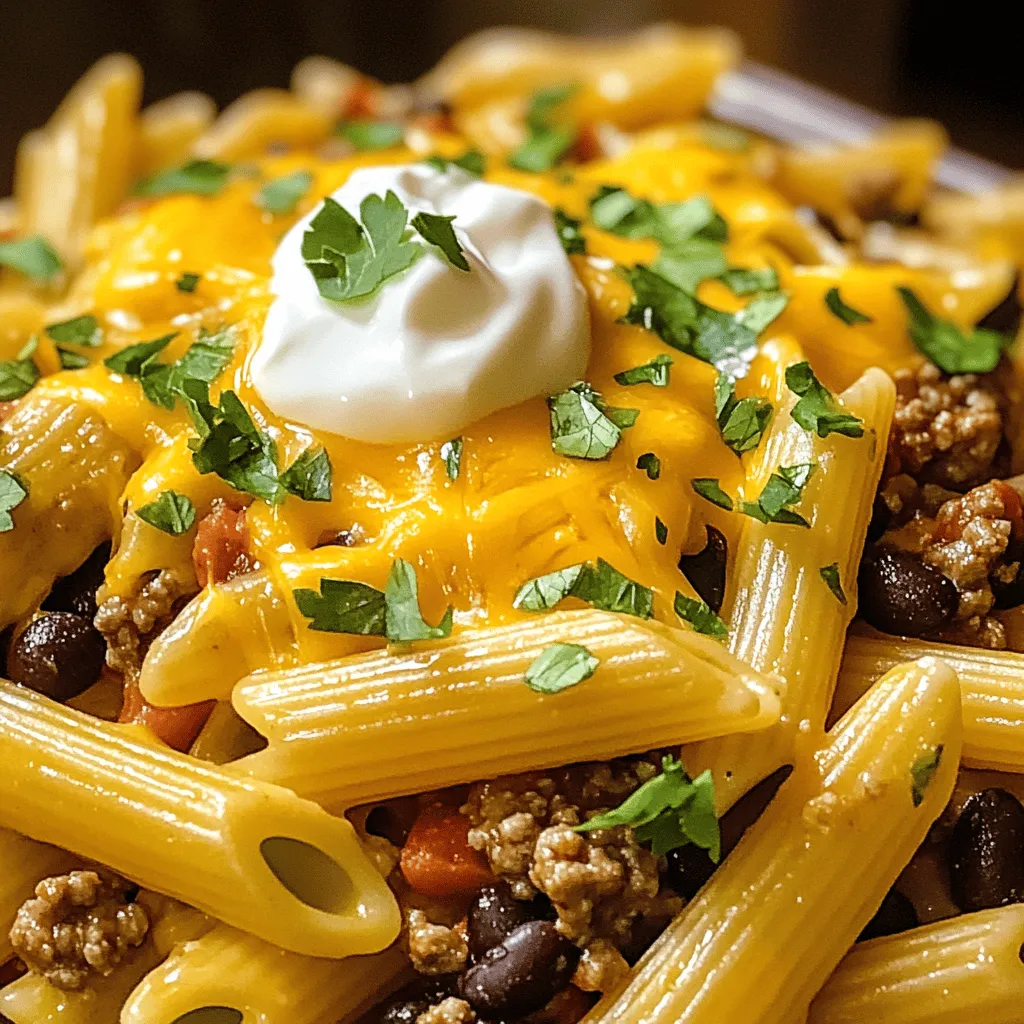
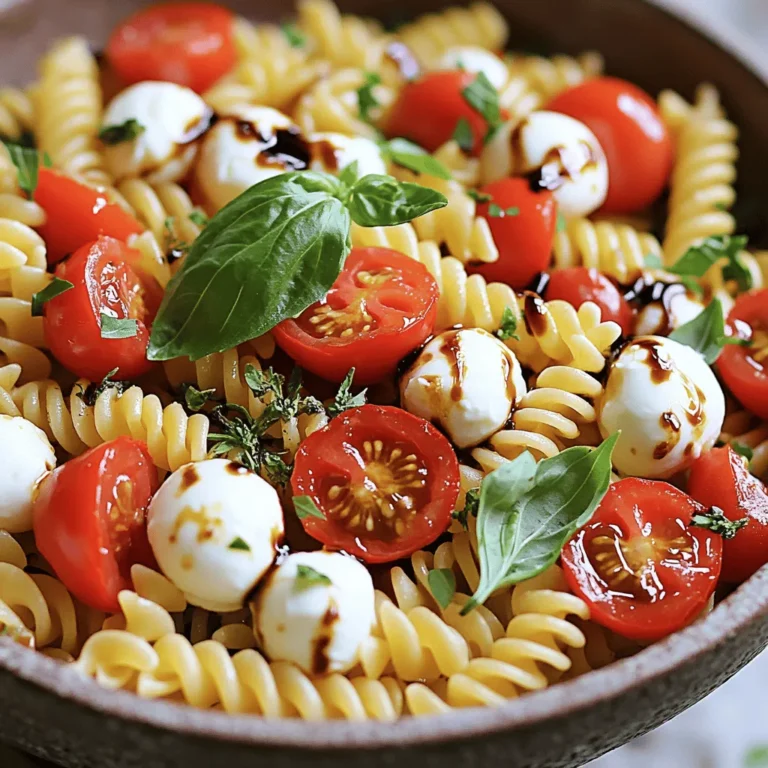
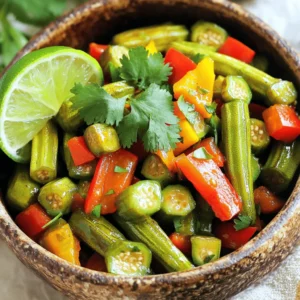
Cowboy Pasta Flavorful Journey in Every Bite
Welcome to your next kitchen adventure! Cowboy Pasta promises a flavorful journey with every bite. This dish fuses hearty ingredients
Read more…
Easter Hummingbird Cake Delight for Your Celebration
Spring is here, and so is the perfect cake to brighten your Easter celebration! This Easter Hummingbird Cake is moist,
Read more…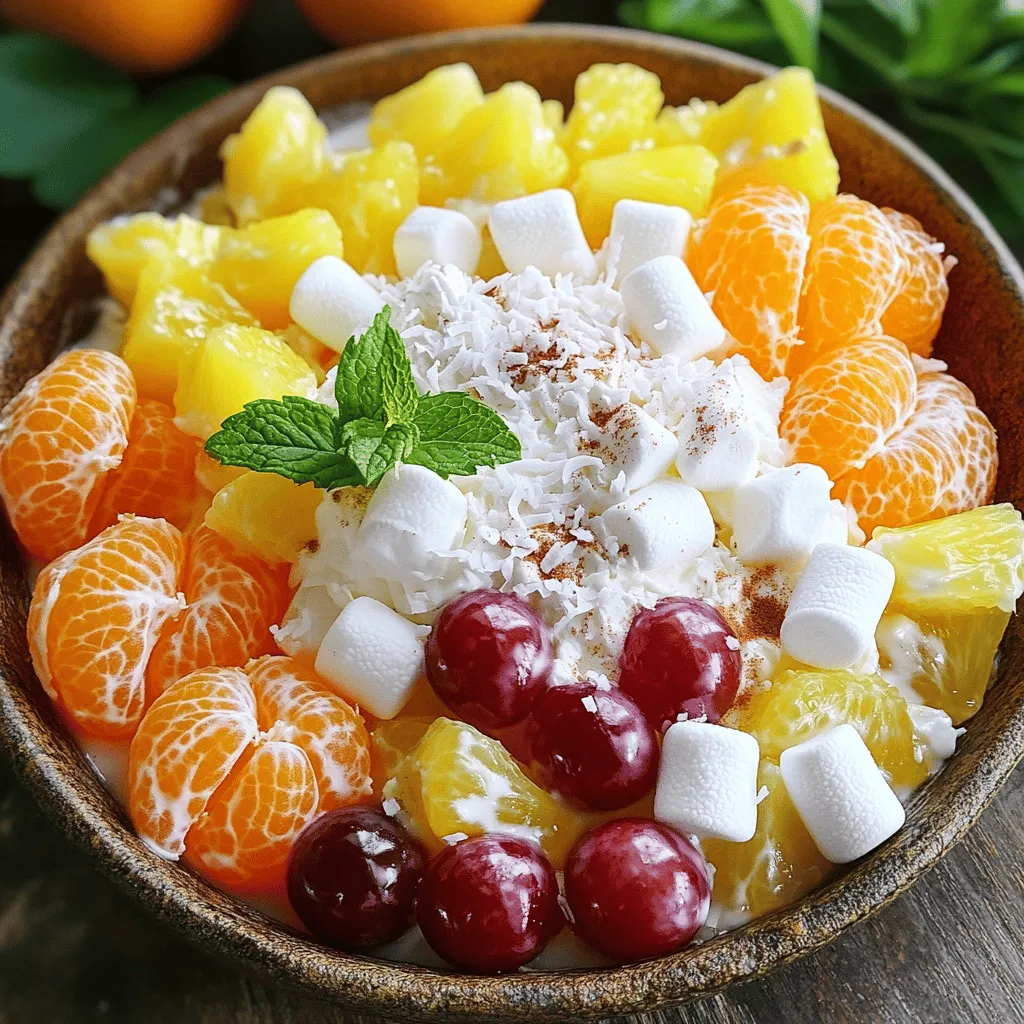
Ambrosia Salad Delightful Fruit and Creamy Treat
Are you ready to dive into a bowl of fruity bliss? Ambrosia Salad is the perfect blend of creamy goodness
Read more…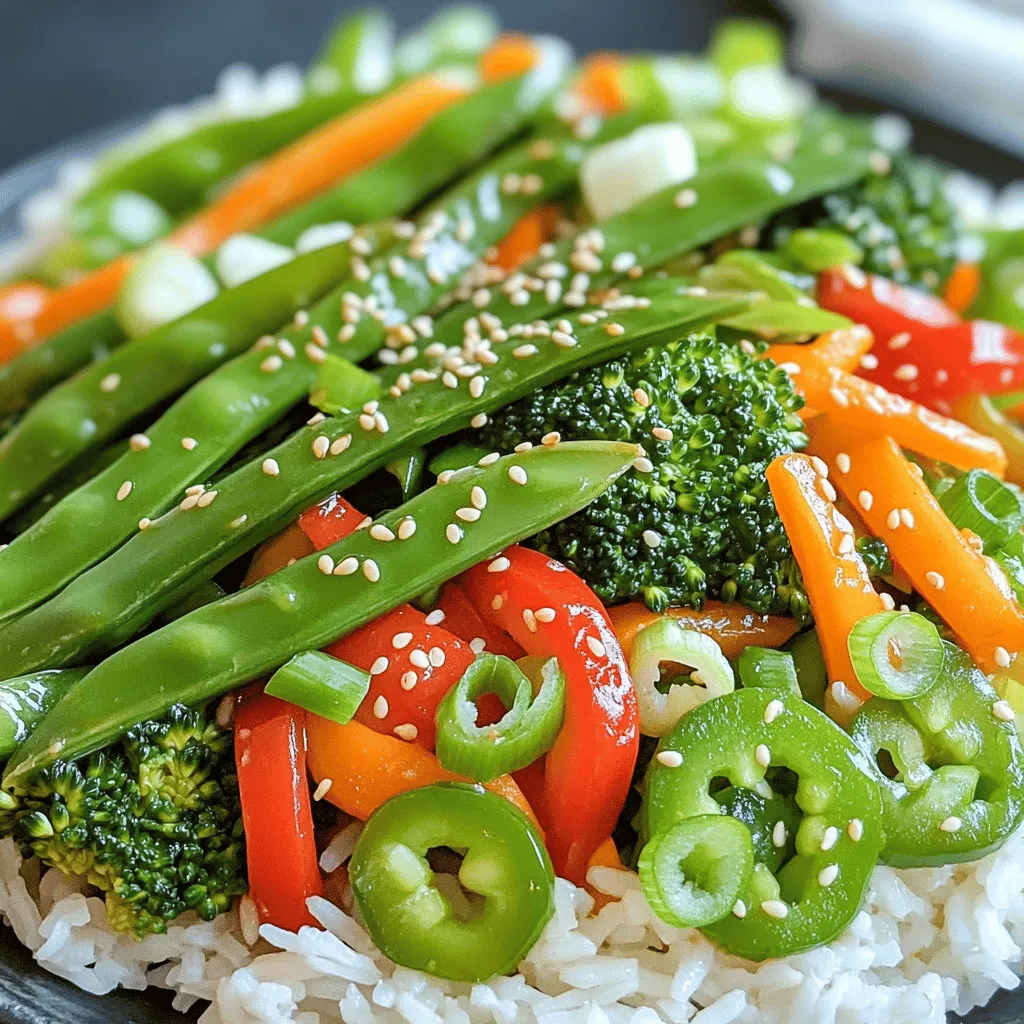
Spring Vegetable Stir-Fry Quick and Flavorful Meal
Spring brings fresh veggies bursting with flavor, and a stir-fry is the perfect way to showcase them. In this post,
Read more…
Easy Italian Baked Chicken Flavorful and Simple Meal
If you’re looking for a meal that’s both simple and packed with flavor, you’re in the right place! My Easy
Read more…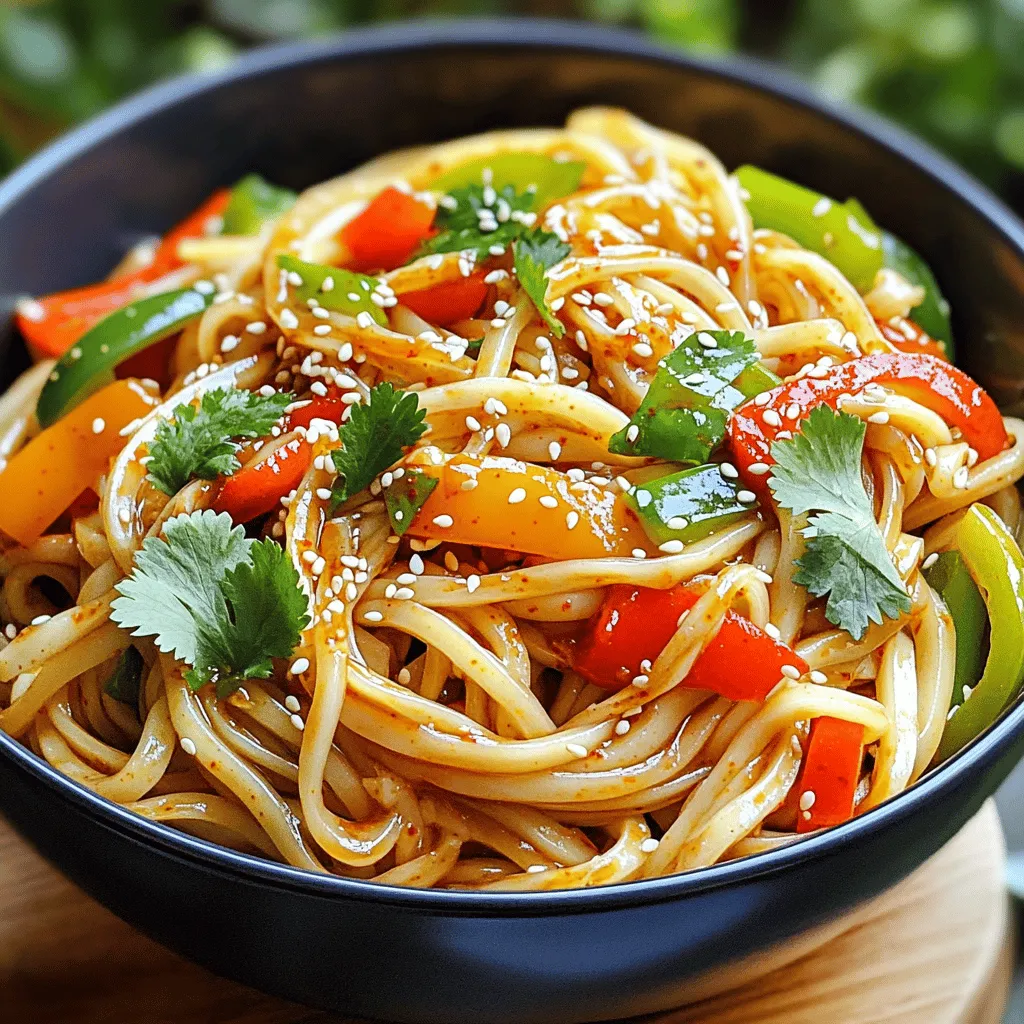
Chili Oil Udon Noodles Quick and Flavorful Meal
Are you craving a quick and tasty meal? Chili Oil Udon Noodles are the answer! This dish blends chewy udon
Read more…browse recipes


Easy Breakfast Burritos Flavorful and Simple Recipe
Are you ready for a breakfast that’s quick, tasty, and satisfying? These easy breakfast burritos are packed with flavor and simple to make. With…
My Latest Desserts
-

Cinnamon Roll French Toast Bake Irresistible Treat
If you love breakfast and sweet treats, you’re in for a real delight! Imagine waking up to the rich aroma Read Full Recipe -

Chocolate Covered Banana Bites Tasty and Easy Recipe
If you love sweet treats but want something simple, chocolate-covered banana bites are perfect for you. These tasty snacks combine Read Full Recipe -

Cinnamon Roll Mug Cake Quick and Tasty Treat
Craving something sweet but short on time? This Cinnamon Roll Mug Cake is your quick fix! In just minutes, you Read Full Recipe -

Raspberry Almond Thumbprint Cookies Simple Delight
Looking for a delightful treat that’s simple to make? Raspberry Almond Thumbprint Cookies are just the answer! These cookies combine Read Full Recipe -

Chocolate Chip Pumpkin Bread Easy and Flavorful Treat
If you’re craving a sweet treat, let me introduce you to Chocolate Chip Pumpkin Bread! This easy recipe combines warm Read Full Recipe -

No Churn Oreo Ice Cream Simple and Delicious Treat
Craving a sweet, creamy treat but don’t own an ice cream maker? No worries! My No Churn Oreo Ice Cream Read Full Recipe -

Raspberry Almond Thumbprint Cookies Easy Treat Recipe
Are you ready to whip up a treat that’s as fun to make as it is delicious? Raspberry Almond Thumbprint Read Full Recipe -

Chocolate Lava Mug Cake Delicious and Simple Recipe
Craving a sweet treat but short on time? You’ve landed in the right place! This Chocolate Lava Mug Cake recipe Read Full Recipe -
Lemon Blueberry Pound Cake Delightful Easy Recipe
Are you ready to indulge in a sweet treat that’s as bright as a sunny day? This Lemon Blueberry Pound Read Full Recipe -

Chocolate Chip Banana Bread Muffins Delightful Treat
Are you ready to bake something scrumptious? These Chocolate Chip Banana Bread Muffins are a delightful treat you won’t want Read Full Recipe
My Latest Recipes

hey,
i’m !
I’m so happy you’re here!
I’m not just sharing recipes I’m sharing a piece of my heart. I hope these dishes bring you comfort, joy, and maybe even a new favorite.
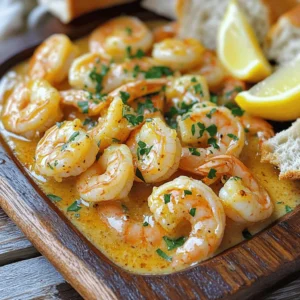
![- 1 pound large shrimp, peeled and deveined - 2 cups broccoli florets - 1 cup cherry tomatoes, halved - 1 medium yellow bell pepper, sliced - 3 tablespoons olive oil - 4 cloves garlic, minced - Zest and juice of 1 large lemon - 1 teaspoon dried oregano - 1 teaspoon dried thyme - Salt and pepper to taste - Fresh parsley, chopped (for garnish) - Large baking sheet - Parchment paper - Mixing bowls - Whisk Gather these ingredients for a quick and tasty dinner. You will love how easy it is to make. The shrimp cooks fast and soaks up all the flavors. The veggies add color and crunch. You can find the full recipe linked above for the complete cooking steps. - Preheat the oven to 400°F (200°C). - Prepare the baking sheet with parchment paper. Start by getting your oven nice and hot. This helps the shrimp cook evenly and fast. Lining the baking sheet with parchment makes cleanup a breeze later. - Combine shrimp, broccoli, cherry tomatoes, and yellow bell pepper in a bowl. - Whisk together olive oil, garlic, lemon zest, juice, oregano, thyme, salt, and pepper. Next, gather your shrimp and veggies in a big bowl. You want them to mix well. In another bowl, mix the olive oil, garlic, lemon zest, lemon juice, oregano, thyme, salt, and pepper. This lemon herb mix packs a punch, adding great flavor to your dish. - Toss shrimp and vegetables with the lemon herb mixture. - Spread the mixture on the baking sheet and bake for 12-15 minutes. Now, pour the lemon herb mix over the shrimp and veggies. Toss everything until it’s well coated. Then, spread this mixture evenly on your prepared baking sheet. Bake for about 12-15 minutes. Your shrimp should turn pink and opaque. The veggies will become tender and tasty. For the full recipe, check out the earlier section. Enjoy your cooking! - Ensure shrimp are fresh and properly deveined. - Use vegetables of your choice for added variation. - Check shrimp for doneness by ensuring they are pink and opaque. Fresh shrimp makes a big difference in taste. You can find them at most grocery stores. When buying shrimp, look for a clean smell and firm texture. Properly deveining shrimp is simple. Just run a knife along the back and remove the dark vein. Feel free to mix in your favorite veggies! Bell peppers, zucchini, or snap peas are great choices. They add color and nutrients to your dish. To check if your shrimp is ready, look for a bright pink color. It should also be opaque, not translucent. Overcooking shrimp can make them tough, so keep an eye on the timer! - Serve directly on the sheet pan for a casual presentation. - Drizzle with extra lemon juice for enhanced flavor. Serving the shrimp right on the sheet pan makes for a fun, easy meal. It’s perfect for family dinners or casual gatherings. You can also add a drizzle of fresh lemon juice just before serving. This adds a burst of flavor that brightens the dish. - Overview of calorie count and health benefits of shrimp and vegetables. Shrimp is low in calories but high in protein. A serving has about 120 calories and 24 grams of protein. It also contains omega-3 fatty acids, which are good for your heart. Pairing shrimp with vegetables increases vitamins and minerals. Broccoli and bell peppers are rich in vitamin C and fiber. This dish not only tastes great but is good for you too! For the full recipe, check out the details provided above. {{image_2}} You can switch shrimp for chicken or tofu. Both options taste great with lemon and herbs. Chicken adds a hearty touch. Tofu gives a nice plant-based flair. You also can use seasonal vegetables. Try zucchini in summer or root veggies in winter. Each swap brings new flavors to the dish. Want more heat? Add chili flakes to the mix. They give a nice kick. You can also try different herbs. Basil adds a sweet touch. Cilantro gives a fresh twist. Mix and match to find your favorite flavor! Serving style can change your meal. Try serving shrimp on a bed of rice or quinoa. They soak up the lemon juice well. You can also pair this dish with crusty bread. It makes for a hearty, filling meal. Enjoy it your way! For the full recipe, check out the Sheet Pan Lemon Herb Shrimp . After your delicious meal, place leftover shrimp and vegetables in an airtight container. This keeps them fresh. You can store them in the fridge for up to three days. When you want to eat the leftovers, simply reheat them in the oven or microwave. Make sure they are heated all the way through. If you have extra, freezing is a great option. To freeze, let the shrimp and veggies cool down. Then, place them in a freezer-safe bag or container. Remove as much air as possible to avoid freezer burn. They will stay good for up to three months. When you want to enjoy them, thaw the container in the fridge overnight. For best results, reheat them in the oven to keep the shrimp tender. To make cooking easier, prep your ingredients ahead of time. Chop the broccoli, bell pepper, and garlic earlier in the day or even the night before. Store them in separate containers in the fridge. You can also marinate the shrimp in the lemon herb mix. This adds flavor and saves time later. This way, you can whip up your Sheet Pan Lemon Herb Shrimp in no time. - Answer: Total cook time is approximately 12-15 minutes at 400°F (200°C). Cooking shrimp is quick. When you bake them at 400°F, they cook fast. I love how the shrimp turn pink and opaque in just a few minutes. That’s when you know they are done. - Answer: Yes, but thaw the shrimp completely before cooking. Frozen shrimp are handy. If you have them, just make sure to thaw them first. You can do this by leaving them in the fridge overnight. A quick soak in cold water works too. - Answer: Great options include rice, quinoa, or a fresh salad. This dish pairs well with many sides. I like serving it with rice or quinoa for a filling meal. A fresh salad adds a nice crunch, too. - Answer: Yes, it stores well and can be reheated for meals throughout the week. Meal prep is a breeze with this recipe. Just store leftovers in an airtight container. You can reheat it in the oven or microwave for quick meals later. - Answer: Asparagus or green beans work well as substitutes. If you don't have broccoli, try asparagus or green beans. These veggies cook well and taste great. They also soak up the lemon herb flavor like broccoli does. For the [Full Recipe], you can explore more about how to make this delightful dish. This blog post shared a simple and tasty recipe for sheet pan lemon herb shrimp. We covered the main ingredients, seasoning, and important tips to make your meal shine. You can also switch shrimp with chicken or tofu for variety. Don't forget to store leftovers properly for easy meals later. With these insights, you can enjoy delicious meals with little fuss. Keep experimenting and have fun in the kitchen!](https://emmasdish.com/wp-content/uploads/2025/06/8195c318-04ef-4784-9bf9-d5c1a8395797-300x300.webp)
![To create the perfect Egg Roll in a Bowl, gather the following ingredients: - 1 lb ground turkey (or ground chicken) - 4 cups coleslaw mix (cabbage and carrots) - 1 tablespoon sesame oil - 2 tablespoons soy sauce (low sodium) - 1 tablespoon rice vinegar - 2 cloves garlic, minced - 1 inch fresh ginger, grated - 2 green onions, sliced - 1 tablespoon sriracha (optional, for heat) - Salt and pepper to taste - Sesame seeds for garnish Using fresh ingredients is key. Fresh vegetables give the dish a crisp bite. They also enhance the flavor. When you use fresh herbs, like green onions, you add a nice pop. Feel free to add some optional ingredients for variations. You can switch the ground turkey for shrimp or tofu. If you like more heat, add more sriracha or chili flakes. You can also toss in extra veggies like bell peppers or snap peas. Using the right amounts matters, too. This recipe gives you a hearty meal that’s packed with flavor. Enjoy the ease of this quick recipe, which you can find in the Full Recipe section. Start by prepping your pan with sesame oil. Heat it in a large skillet over medium-high heat until it shimmers. This oil gives your dish a nice nutty flavor. Next, add the ground turkey or chicken. Break it apart with a spatula and cook it for about 5-7 minutes. You want it browned and cooked through. Once your meat is ready, it's time to add aromatics. Stir in two cloves of minced garlic and one inch of grated ginger. Cook these for 1-2 minutes. The smell will be amazing! Now, add four cups of coleslaw mix to the skillet. Toss everything together so the meat and veggies combine well. Stir-fry this mixture for 3-5 minutes. You want the cabbage to start wilting but still have some crunch. Then, pour in two tablespoons of low-sodium soy sauce and one tablespoon of rice vinegar. Mix it all well to coat the veggies and meat. Adjust seasoning with salt, pepper, and sriracha for heat, if you like. Cook for another 2-3 minutes to let the flavors meld together. When you finish cooking, it's time to adjust your seasoning. Taste your dish and add more salt or pepper if needed. For garnishes, top with sliced green onions and a sprinkle of sesame seeds. This adds a nice touch and makes your dish look great. You can serve Egg Roll in a Bowl on its own or over rice for extra heartiness. This dish is quick, easy, and packed with flavor! For the complete recipe, check out the [Full Recipe]. - Best practices for even cooking: Start with a hot skillet. Heat your sesame oil until it shimmers. This helps cook the meat evenly. Stir frequently to avoid burning. - How to avoid soggy vegetables: Use fresh coleslaw mix. Don’t overcook the vegetables. Stir-fry for just 3-5 minutes until they wilt but stay crisp. - Timing tips for quick prep: Pre-chop your garlic and ginger. Have your ingredients ready before you start cooking. This saves time and keeps things moving smoothly. - Low-carb or keto-friendly options: Swap the ground turkey for minced chicken or beef. You can also use cauliflower rice instead of coleslaw mix. - Vegetarian alternatives: Use tofu or tempeh instead of meat. Cook them until golden for a tasty crunch. - Gluten-free adjustments: Choose gluten-free soy sauce. Check labels to ensure all ingredients fit your needs. This keeps your dish safe and delicious. For the complete recipe, check out the [Full Recipe]. {{image_2}} You can change this recipe in many fun ways. - Adding proteins: Try shrimp or tofu for a new taste. Each adds unique flavors and textures. - Different vegetable combinations: Swap the coleslaw mix for bell peppers or broccoli. Use whatever veggies you have on hand. - Spicy vs. mild variations: Adjust the heat by adding sriracha. You can also leave it out for a milder dish. Pair your Egg Roll in a Bowl with tasty sides. - Best side dishes: Serve it with rice or a fresh salad. These help balance the flavors. - Suggestions for toppings: Top your bowl with nuts or cashews for some crunch. You can also add a drizzle of soy sauce. - Meal prep ideas: Store leftovers in the fridge for quick meals. This dish stays tasty for a few days, making it great for lunch. For the full recipe, check out Egg Roll in a Bowl. To keep your Egg Roll in a Bowl fresh, use airtight containers. Glass or plastic containers work well. Fill them with the dish and seal tightly. Store the bowl in the fridge. It lasts for about 3 to 4 days. Make sure to let the dish cool before sealing it. This helps to avoid condensation. If you want to save some for later, freezing is a great option. First, let the dish cool completely. Then, scoop it into freezer-safe bags or containers. Be sure to remove as much air as possible. Label the bags with the date. It can last in the freezer for up to 3 months. When it's time to eat, take the bowl out and thaw it in the fridge overnight. To reheat, place it in a skillet over medium heat. Stir frequently until it’s hot. This method keeps the flavor and texture just right. You can also use the microwave, but stir halfway through to heat evenly. What is Egg Roll in a Bowl and where did it originate? Egg Roll in a Bowl is a deconstructed version of the classic egg roll. It combines ground meat, veggies, and sauces in one dish. This dish became popular in the U.S. as a quick and healthy meal. It takes the flavors of Chinese egg rolls and makes them easier to serve. You get all the taste without the frying! Can I make Egg Roll in a Bowl ahead of time? Yes, you can make this dish ahead of time! Cook it fully and let it cool. Then, store it in an airtight container in the fridge. It will stay fresh for about three days. When you’re ready to eat, just reheat it in a skillet or microwave. How can I make this dish vegetarian? To make Egg Roll in a Bowl vegetarian, swap the meat for tofu or tempeh. Use the same cooking method to sauté them. You can also add more veggies like bell peppers or mushrooms for extra flavor. What to do if the dish turns out too salty? If your Egg Roll in a Bowl is too salty, add more coleslaw mix to balance it out. You can also add a splash of water or low-sodium broth. This will dilute the saltiness. Fixing soggy veggies If your veggies turn out soggy, try cooking them longer over higher heat. This helps to evaporate excess moisture. You can also add them later in the cooking process to keep them crisp. Tips for balancing flavors To balance flavors, taste as you cook. Add more soy sauce or vinegar based on your preference. Fresh herbs like cilantro or basil can brighten the dish too. In this article, we explored how to make Egg Roll in a Bowl. We discussed the best ingredients, detailed cooking steps, and helpful tips. You learned variations to customize your dish and clever storage methods. This meal is fast and tasty, making it great for busy days. Remember, fresh ingredients and careful cooking create the best flavor. Enjoy exploring your options and personalizing this recipe to suit your taste!](https://emmasdish.com/wp-content/uploads/2025/06/377cf8b2-f9ec-4545-80ba-35236ab94890-300x300.webp)

Savory Mushroom and Spinach Quiche Delight Recipe
Are you craving a comforting and delicious dish? Look no further! In this Savory Mushroom and Spinach Quiche Delight Recipe, I’ll guide you through…