

Latest & Greatest
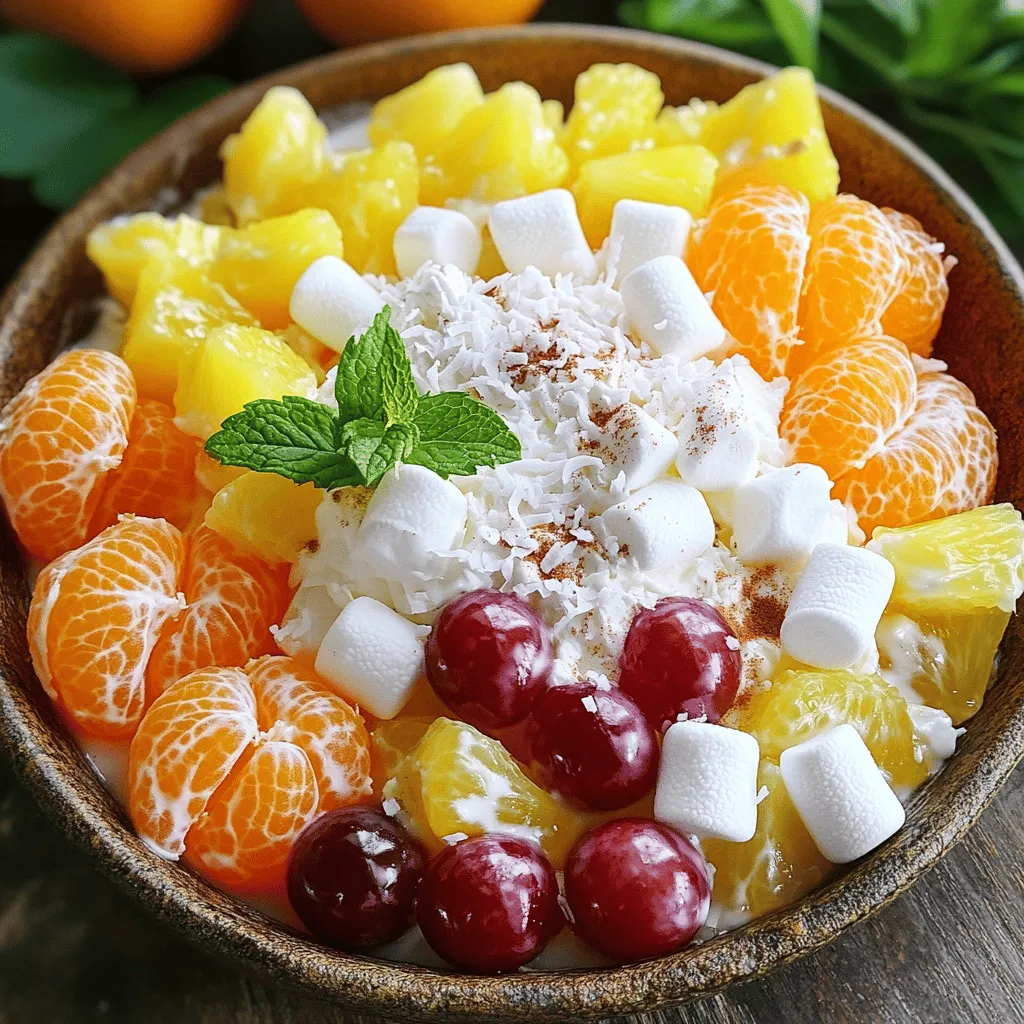
Ambrosia Salad Delightful Fruit and Creamy Treat
Are you ready to dive into a bowl of fruity bliss? Ambrosia Salad is the perfect blend of creamy goodness
Read more…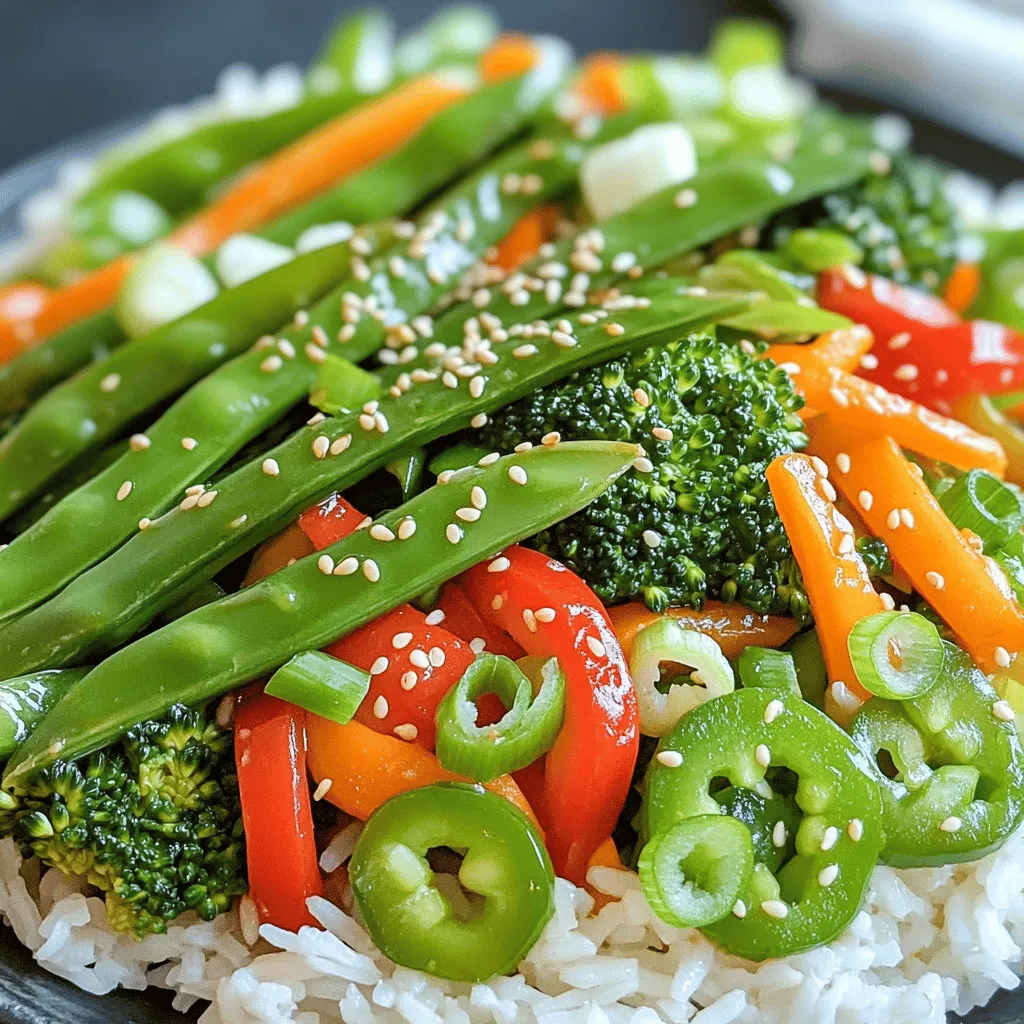
Spring Vegetable Stir-Fry Quick and Flavorful Meal
Spring brings fresh veggies bursting with flavor, and a stir-fry is the perfect way to showcase them. In this post,
Read more…
Easy Italian Baked Chicken Flavorful and Simple Meal
If you’re looking for a meal that’s both simple and packed with flavor, you’re in the right place! My Easy
Read more…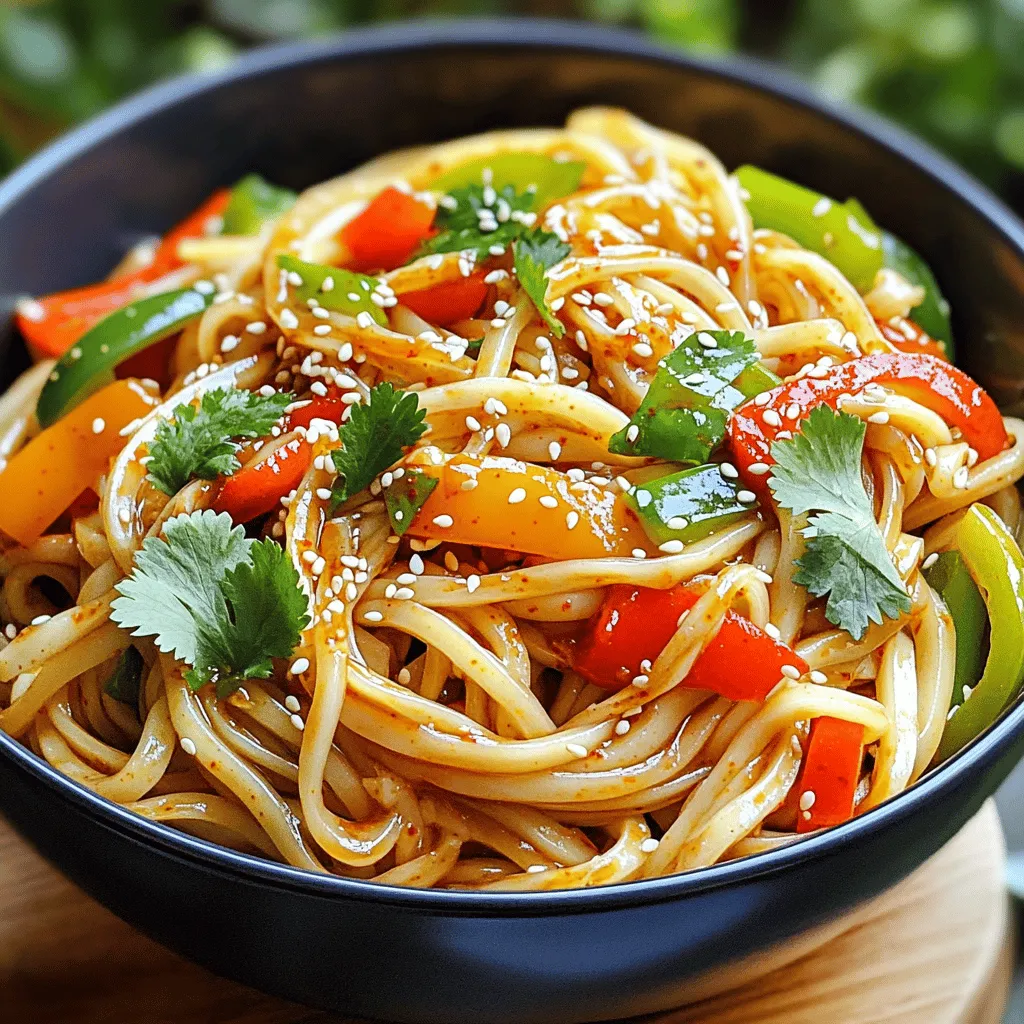
Chili Oil Udon Noodles Quick and Flavorful Meal
Are you craving a quick and tasty meal? Chili Oil Udon Noodles are the answer! This dish blends chewy udon
Read more…
Coconut Cream Pie Delightful and Easy Recipe Guide
Welcome to your ultimate guide for Coconut Cream Pie! If you crave a creamy, dream-like dessert that’s easy to make,
Read more…
Crispy Fried Chicken Irresistible Flavor At Home
Are you ready to master the art of crispy fried chicken at home? This recipe packs irresistible flavors and gives
Read more…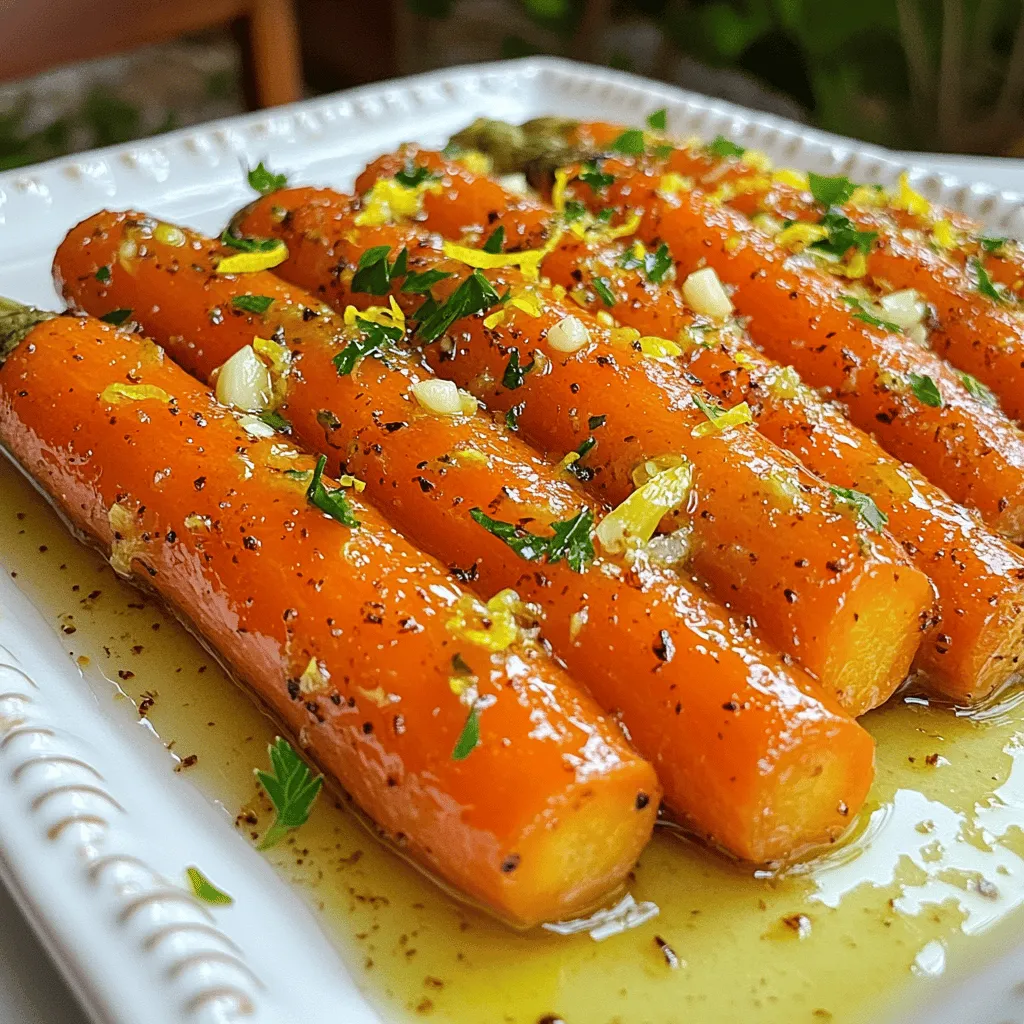
Tangy Lemon Garlic Roasted Carrots Flavorful Side Dish
Looking for a vibrant side dish that adds zest to your meals? Try my Tangy Lemon Garlic Roasted Carrots! With
Read more…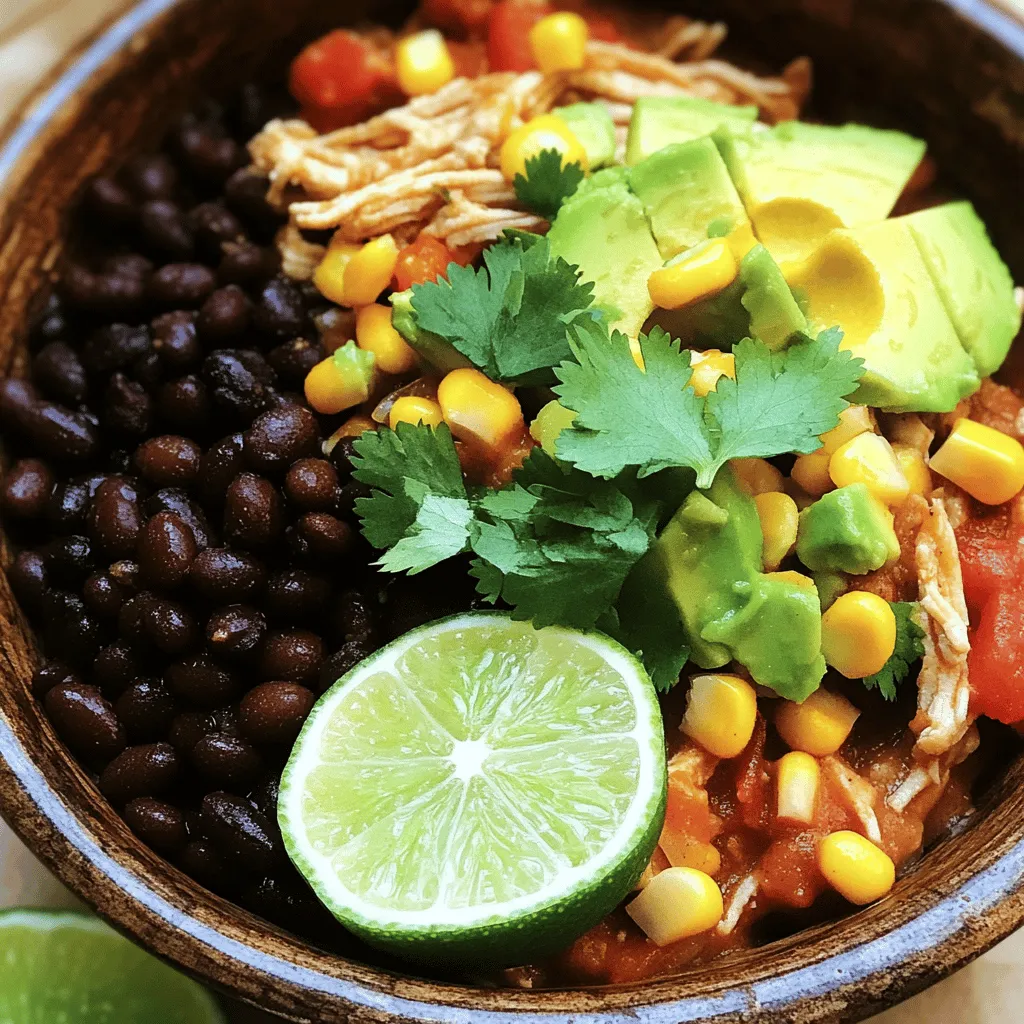
Crockpot Mexican Chicken Flavorful and Easy Meal
Are you in search of a simple yet delicious dinner idea? Look no further than my Crockpot Mexican Chicken! With
Read more…browse recipes


Pickle Ranch Snack Crackers Simple and Tasty Recipe
If you’re craving a snack that’s both tasty and unique, you’ve come to the right place! This Pickle Ranch Snack Crackers recipe is simple…
My Latest Desserts
-

Stuffed French Toast Roll Ups Delicious Morning Treat
Wake up your taste buds with my amazing Stuffed French Toast Roll Ups! They’re easy to make and perfect for Read Full Recipe -

Cinnamon Roll French Toast Bake Irresistible Treat
If you love breakfast and sweet treats, you’re in for a real delight! Imagine waking up to the rich aroma Read Full Recipe -

Chocolate Covered Banana Bites Tasty and Easy Recipe
If you love sweet treats but want something simple, chocolate-covered banana bites are perfect for you. These tasty snacks combine Read Full Recipe -

Cinnamon Roll Mug Cake Quick and Tasty Treat
Craving something sweet but short on time? This Cinnamon Roll Mug Cake is your quick fix! In just minutes, you Read Full Recipe -

Raspberry Almond Thumbprint Cookies Simple Delight
Looking for a delightful treat that’s simple to make? Raspberry Almond Thumbprint Cookies are just the answer! These cookies combine Read Full Recipe -

Chocolate Chip Pumpkin Bread Easy and Flavorful Treat
If you’re craving a sweet treat, let me introduce you to Chocolate Chip Pumpkin Bread! This easy recipe combines warm Read Full Recipe -
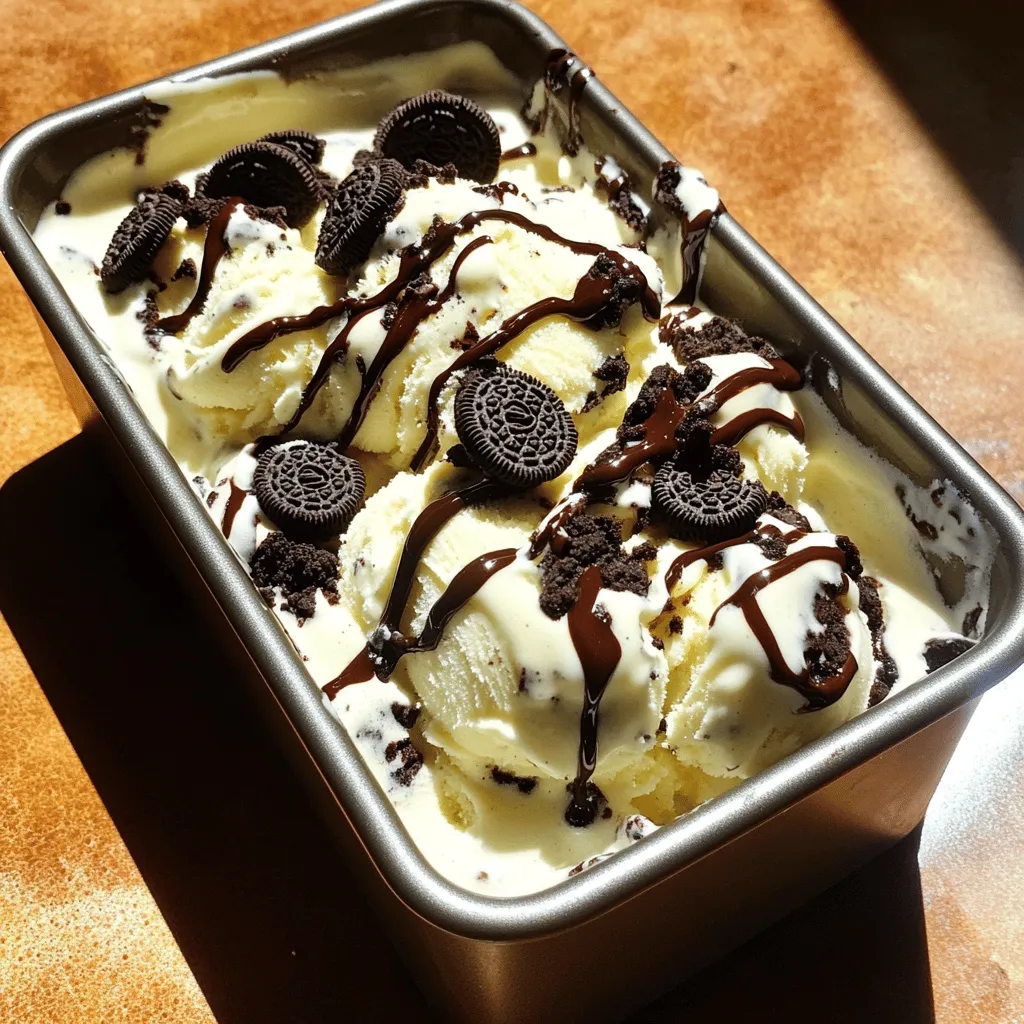
No Churn Oreo Ice Cream Simple and Delicious Treat
Craving a sweet, creamy treat but don’t own an ice cream maker? No worries! My No Churn Oreo Ice Cream Read Full Recipe -

Raspberry Almond Thumbprint Cookies Easy Treat Recipe
Are you ready to whip up a treat that’s as fun to make as it is delicious? Raspberry Almond Thumbprint Read Full Recipe -

Chocolate Lava Mug Cake Delicious and Simple Recipe
Craving a sweet treat but short on time? You’ve landed in the right place! This Chocolate Lava Mug Cake recipe Read Full Recipe -
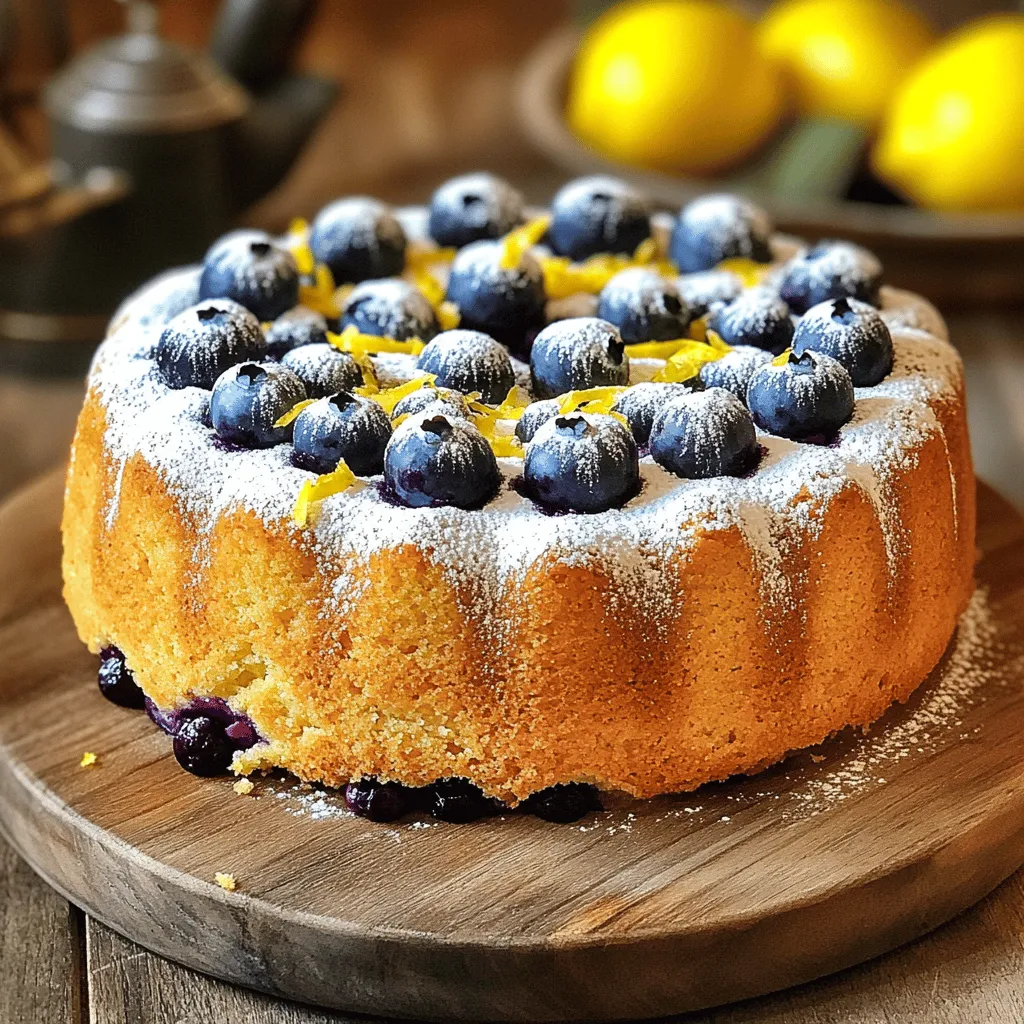
Lemon Blueberry Pound Cake Delightful Easy Recipe
Are you ready to indulge in a sweet treat that’s as bright as a sunny day? This Lemon Blueberry Pound Read Full Recipe
My Latest Recipes

hey,
i’m !
I’m so happy you’re here!
I’m not just sharing recipes I’m sharing a piece of my heart. I hope these dishes bring you comfort, joy, and maybe even a new favorite.
![To make Everything Bagel Cucumber Bites, gather these simple ingredients: - 2 large cucumbers - 8 oz cream cheese, softened - 1 tablespoon sour cream - 1 tablespoon lemon juice - 1 teaspoon garlic powder - 1 teaspoon onion powder - 2 tablespoons fresh chives, chopped - 2 tablespoons fresh dill, chopped - 3 tablespoons everything bagel seasoning - Cherry tomatoes, halved (for garnish) Each ingredient plays a key role in flavor and texture. The cucumbers provide a refreshing crunch, while the cream cheese adds creaminess. Sour cream and lemon juice brighten the mix. Garlic and onion powders deepen the flavor. Fresh herbs like chives and dill bring color and freshness. Lastly, everything bagel seasoning ties it all together with its savory blend. For the full recipe, you can check the detailed instructions following this section. - First, wash the cucumbers under cold water. - Next, slice the cucumbers into 1-inch thick rounds. - Finally, dry the slices with a paper towel to remove any moisture. - In a bowl, combine softened cream cheese, sour cream, and seasonings. - Add lemon juice, garlic powder, onion powder, chives, and dill. - Mix until the texture is smooth and creamy. - Use a piping bag or a spoon to dollop the cream cheese mixture onto each cucumber slice. - Generously sprinkle everything bagel seasoning over the cream cheese. - For a pop of color, place a cherry tomato half on top of each cucumber bite. - Arrange the cucumber bites on a platter and chill for 15 minutes. This recipe is simple and offers a fun twist on classic flavors. For the full recipe, check out the detailed instructions provided. Enjoy your tasty snack! To make your cucumber bites look great, slice the cucumbers evenly. Aim for 1-inch thick rounds. Use a sharp knife to make clean cuts. This helps each bite stay sturdy and presents well on the plate. If you have trouble, try using a guide or a ruler. Consistent slices not only look nice, but they also help with even flavor distribution. You can prepare these cucumber bites a few hours in advance. Just follow the recipe, but wait to add the toppings until you're ready to serve. This keeps the cucumbers crisp. After you assemble them, cover the platter with plastic wrap. Chill them in the fridge for up to four hours. This way, flavors blend, and you save time on busy days. Presentation matters! Arrange the cucumber bites in a circle for a stunning display. You can also layer them on a large platter or wooden board. For an extra touch, sprinkle some fresh dill around the bites. Adding halved cherry tomatoes on top of each cucumber adds color and taste. These small details make your snack look gourmet and inviting. {{image_2}} If you need a dairy-free option, use a plant-based cream cheese. Look for brands made from nuts or soy. These alternatives work well in this recipe. You can also try avocado for a creamy texture. Blend ripe avocado with lemon juice and seasonings for a tasty spread. This option keeps your cucumber bites fresh and light. Want to add some heat? You can easily spice up your cucumber bites. Just drizzle hot sauce on top of the cream cheese. You can also sprinkle red pepper flakes. Both options bring a kick to your snack. Adjust the heat level to suit your taste. Start with a little and add more if you like it spicy. Cherry tomatoes are great, but there are many other toppings to try. Thinly sliced radishes add crunch and color. You can also use olives or capers for a briny bite. Fresh herbs like cilantro or parsley give a pop of flavor. Try using smoked salmon for a gourmet touch. Experimenting with different toppings can keep this snack exciting. For more ideas, check out the Full Recipe. To keep your Everything Bagel Cucumber Bites fresh, store them in an airtight container. Place a layer of paper towel at the bottom to absorb moisture. Lay the cucumber bites flat and cover with another paper towel. This method helps prevent sogginess. When stored properly, these cucumber bites last about 2 to 3 days in the refrigerator. After that, they may lose their crispness and flavor. It's best to enjoy them fresh for maximum taste. You can freeze the cream cheese mixture separately, but not the cucumber slices. Freezing the whole bites changes the texture and makes them watery. For best results, prepare and serve them fresh. You can always make the filling ahead of time and assemble later. Check the [Full Recipe] for more details. Yes, you can swap cream cheese for other soft cheeses. Try using goat cheese or ricotta for a new taste. Each cheese brings its own flavor. Goat cheese adds a tangy kick, while ricotta is mild and creamy. If you prefer a lighter option, use Greek yogurt. It still offers creaminess without the fat of cream cheese. Adjust the seasoning to match your cheese choice. To make these cucumber bites gluten-free, check all your ingredients. Most items are naturally gluten-free, including cucumbers and cream cheese. However, some everything bagel seasonings may have gluten. Always read labels before buying. If you can’t find gluten-free seasoning, make your own. Combine sesame seeds, poppy seeds, garlic powder, and onion powder for a tasty mix. This way, you ensure every bite stays gluten-free. These cucumber bites pair well with light snacks and drinks. Try serving them with fresh veggies or a fruit platter. You can also add some deli meats for a heartier snack. For drinks, consider iced tea or sparkling water to keep it light. If you want to impress, serve a nice white wine or a light beer. These choices enhance the flavors of the cucumber bites and make your snack time more fun. This blog post covered delicious Everything Bagel Cucumber Bites. You learned about the tasty ingredients, simple steps, and helpful tips for perfect bites. Remember, you can make them with dairy-free options or spice them up to match your taste. They’re easy to prepare and even better to share. Enjoy serving these treats at your next gathering. They’ll impress your guests and make snack time fun!](https://emmasdish.com/wp-content/uploads/2025/07/f691604d-e217-470a-982b-068c0ab103fa-300x300.webp)
![To make sweet potato black bean tacos, gather a few key items. This recipe serves four and takes about 45 minutes. You will love how easy and tasty it is! - Sweet Potatoes: They add a natural sweetness and creamy texture. Roasting brings out their best flavor. - Black Beans: These beans offer protein and fiber. They make the tacos filling and hearty. - Olive Oil: This oil helps in roasting. It adds richness and helps spices stick. - Cumin: This spice gives a warm, earthy taste. It pairs well with sweet potatoes. - Smoked Paprika: This spice adds a smoky flavor. It enhances the overall taste of the tacos. - Garlic Powder: This gives a savory punch. It adds great depth to the dish. - Corn Tortillas: They are the base for the tacos. They add a nice texture and flavor. - Avocado: This creamy fruit adds freshness. It balances the spices in the meal. - Cilantro: This herb provides a bright, fresh taste. It is great for garnishing. - Lime Wedges: A squeeze of lime adds zing. It enhances the flavors in the tacos. For the best taste, choose fresh ingredients. Look for sweet potatoes that are firm and smooth. Choose avocados that yield slightly to gentle pressure. Fresh cilantro should be bright green and fragrant. These fresh ingredients will make your tacos even more delicious! For the full recipe, see the sections below to create these tasty tacos! First, peel the sweet potatoes. Cut them into small cubes. This helps them cook fast and evenly. Place the diced sweet potatoes in a large bowl. Add olive oil, cumin, smoked paprika, garlic powder, salt, and pepper. Mix well until each piece is coated. This step adds great flavor to your tacos. Now, preheat your oven to 425°F (220°C). Spread the sweet potatoes on a baking sheet. Make sure they are in a single layer for even roasting. Roast them for about 25-30 minutes. Stir them halfway through cooking. You want them tender and slightly caramelized. This step makes them sweet and tasty. While the sweet potatoes roast, heat the black beans in a saucepan. Warm them over medium heat until hot. Season with salt and pepper. Next, heat the corn tortillas on a dry skillet. Cook each side for about 30 seconds until warm. To build your tacos, place a few roasted sweet potato cubes on each tortilla. Add a generous spoonful of black beans next. Top with avocado slices and chopped cilantro. Serve with lime wedges on the side for a zesty kick. For the full recipe, check the earlier section. To make your sweet potato black bean tacos shine, use fresh spices. Fresh herbs like cilantro will add a bright taste. You can also squeeze fresh lime juice on top. This adds a zesty kick that makes each bite exciting. Try adding a pinch of chili powder for heat. It elevates the flavor profile without overpowering the dish. One mistake is overcooking the sweet potatoes. If they turn mushy, they lose their texture. Keep an eye on them while roasting. Also, don't skip rinsing the black beans. This removes extra sodium and improves taste. Lastly, avoid using cold tortillas. Warm them up to keep your tacos soft and pliable. Always preheat your oven for even cooking. This helps the sweet potatoes roast perfectly. When you season, mix well so every piece is coated. Use a single layer on the baking sheet to promote even roasting. For a colorful presentation, arrange tacos on a bright platter. Don’t forget to garnish with cilantro and lime wedges. These tips will help you create a meal that looks and tastes great. For the full recipe, check out the details above. {{image_2}} These sweet potato black bean tacos are perfect for everyone. They are naturally vegan and vegetarian. You can enjoy them without changing much. If you want a creamier texture, add cashew cream or a vegan yogurt. These options keep your tacos rich and tasty. You can swap ingredients based on your taste. Instead of sweet potatoes, try butternut squash or regular potatoes. These will still offer that sweet and savory flavor. For the beans, any canned bean works. Pinto beans or kidney beans are great choices. If you want, add some corn for extra sweetness and crunch. If you love heat, spice up your tacos! Add jalapeños or hot sauce to the mix. You can also sprinkle chili powder into the sweet potato mix before roasting. For toppings, try diced red onion for a bite. A drizzle of zesty salsa will bring a nice kick. Remember, lime juice adds brightness, which balances the heat. Enjoy making these tacos your own! For the full recipe, check the [Full Recipe]. To keep your sweet potato black bean tacos fresh, store leftovers in an airtight container. Make sure the tacos are cool before sealing. Place them in the fridge and use them within three days for the best taste. If you can, store the ingredients separately. This helps keep the tortillas from getting soggy. You can freeze the taco filling for later use. To do this, let the sweet potato and black beans cool completely. Then, place them in a freezer-safe bag. Remove as much air as you can before sealing. You can freeze them for up to three months. When ready to eat, thaw in the fridge overnight. To reheat, you can use the oven, microwave, or skillet. For the oven, preheat it to 350°F. Spread the filling on a baking sheet and heat for about 10-15 minutes. For the microwave, put the filling in a bowl and heat in short bursts of 30 seconds, stirring in between. If you prefer a skillet, warm it over medium heat until hot. Enjoy your tacos warm! Yes, you can use other beans. Pinto beans or kidney beans work well too. Each bean adds a different taste. Black beans give a rich flavor, while pinto beans are creamier. You can even mix beans for a fun twist. Just make sure to rinse and drain any canned beans before using. This keeps the tacos fresh and tasty. These tacos pair well with many sides. You can serve a fresh salad or rice. A simple corn salad adds sweetness and crunch. You might also enjoy guacamole or salsa on the side. These bright flavors complement the tacos nicely. Lime wedges are a must for squeezing over the top. They add a zesty kick that enhances every bite. To make these tacos gluten-free, use corn tortillas. They are naturally gluten-free and perfect for this dish. Always check the label to ensure no gluten is present. You can also use lettuce leaves as a wrap. This adds a light crunch and is great for a low-carb option. Enjoy your tacos without worry! For the full recipe, check out the Sweet Potato Black Bean Tacos section. This blog post covered the recipe for sweet potato black bean tacos. You learned about the key ingredients and their roles. We also explored preparation, roasting, and assembly steps. Plus, I shared tips to boost flavor and avoid mistakes. Variations cater to different diets, and storage tips help keep leftovers fresh. These tacos are tasty, simple, and adaptable. With the right ingredients and steps, you can enjoy them any time! Happy cooking!](https://emmasdish.com/wp-content/uploads/2025/07/9a455bc9-ca0e-4a6f-8a2f-66778ce461ef-300x300.webp)

Melt In Your Mouth Chicken Breasts Tender and Juicy
If you crave an easy, mouth-watering dish, you’re in the right place! Today, I’ll share my secret to making melt-in-your-mouth chicken breasts that are…
![- 4 boneless, skinless chicken breasts - 1 cup buttermilk - 1 teaspoon garlic powder - 1 teaspoon onion powder - 1 teaspoon smoked paprika - 1 teaspoon salt - ½ teaspoon black pepper The main ingredients make this dish special. The buttermilk helps the chicken stay moist. It adds a bit of tang too. Garlic and onion powders enhance the flavor. Smoked paprika gives a nice, smoky touch. Salt and black pepper round out the taste well. - ½ cup all-purpose flour - ¼ cup cornstarch - 1 teaspoon baking powder - ½ teaspoon dried thyme - ½ teaspoon cayenne pepper (optional for a kick) The coating ingredients create a crispy crust. All-purpose flour is the base. Cornstarch adds extra crunch. Baking powder helps the coating puff up. Dried thyme adds a nice herbal note. If you like heat, add cayenne pepper for a kick. - Fresh parsley for presentation Fresh parsley adds color and freshness. It makes your dish look beautiful. A little sprinkle of parsley can make a big difference. It’s a simple touch that elevates your meal. Follow the [Full Recipe] for the complete steps to create this tasty Melt In Your Mouth Chicken Breasts dish. To marinate the chicken, start by mixing the buttermilk, garlic powder, onion powder, smoked paprika, salt, and black pepper in a large bowl. Whisk it well until smooth. Then, add the chicken breasts, ensuring they are fully coated in the marinade. Cover the bowl and place it in the fridge. I recommend marinating for at least 2 hours. If you have time, letting it sit overnight will give you even better flavor and tenderness. For the coating, grab a separate shallow dish. In this dish, combine the all-purpose flour, cornstarch, baking powder, dried thyme, and cayenne pepper if you want some heat. Mix these dry ingredients thoroughly. An even coating is key to achieving that crispy texture. Make sure each piece of chicken is fully covered for the best results. Now, let’s cook that chicken! First, preheat your oven to 400°F (200°C). Line a baking sheet with parchment paper for easy cleanup. Heat a large skillet over medium-high heat and melt ¼ cup of butter. Once hot, add the coated chicken breasts to the skillet. Sear them for about 4-5 minutes on each side until they are golden brown. If your skillet is small, work in batches to avoid overcrowding. After searing, transfer the chicken to your baking sheet. Cut the remaining butter into small pieces and place them on top of the chicken. Now, bake in the oven for 20-25 minutes. Check that the chicken reaches an internal temperature of 165°F (75°C). This step ensures it's cooked through but still juicy. To make sure your chicken is tender, cook it at the right temperature. Aim for an internal temperature of 165°F (75°C). This ensures the chicken is safe to eat while keeping it juicy. Use a meat thermometer for accuracy. You can also keep the chicken moist by marinating it. Soaking it in buttermilk works wonders. The acid in the buttermilk helps break down protein, making it tender. Let it sit for at least 2 hours, or better yet, overnight. For more flavor, try different marinades. You can mix buttermilk with garlic powder, onion powder, and smoked paprika. This combination adds depth to the dish. If you like heat, add cayenne pepper to your spice mix. It gives the chicken a nice kick without overpowering the other flavors. Adjust the amount to your taste. When plating your chicken, arrange it neatly on a serving platter. Drizzle some melted butter on top for a shiny finish. This makes the dish look more appealing. Pair the chicken with sides like roasted vegetables or creamy mashed potatoes. These complement the flavors perfectly. Consider adding a sprinkle of fresh parsley for a pop of color. {{image_2}} You can change the taste of your melt in your mouth chicken breasts easily. Try different spice blends for fun. Here are some ideas: - Italian Blend: Use oregano, basil, and rosemary for an herbaceous kick. - Cajun Spice Mix: Add paprika, thyme, and cayenne for a spicy twist. - Lemon Zest: Grate fresh lemon peel for a bright, zesty flavor. - Garlic and Herb: Mix garlic powder with fresh parsley for a classic taste. Adding herbs or citrus lifts the dish. Fresh herbs like thyme or rosemary add flavor and aroma. Lemon juice or zest brightens up the chicken and makes it refreshing. This recipe can fit many dietary needs. For a gluten-free version, swap all-purpose flour with almond flour or coconut flour. Check labels to ensure they are gluten-free. To make it dairy-free, replace buttermilk with a plant-based milk. You can make your own buttermilk using almond milk and vinegar. Simply mix one cup of almond milk with a tablespoon of vinegar and let it sit for five minutes. Pair your chicken with healthy sides. Salads add freshness. Try a simple green salad with a light vinaigrette. You can also serve it with grains, like quinoa or rice. They soak up the juices well. For sauces, consider these options: - Garlic Butter Sauce: Drizzle melted garlic butter over the chicken. - Honey Mustard Dip: Mix honey and mustard for a sweet and tangy dip. - Creamy Avocado Sauce: Blend avocado with lime juice for a creamy touch. These ideas will make your meal even more delicious. For the full recipe, check out the instructions above. After enjoying your melt in your mouth chicken breasts, store any leftovers in an airtight container. Refrigerate them within two hours of cooking. This keeps the chicken fresh and safe to eat. It can last in the fridge for up to three days. If you notice any off smells or changes in color, it’s best to toss it. To reheat your chicken without drying it out, use the oven or stovetop. Preheat your oven to 350°F (175°C). Place the chicken on a baking sheet. Cover it with foil to retain moisture. Heat for about 15-20 minutes or until warm. On the stovetop, use a skillet over medium heat. Add a splash of chicken broth or water. This helps keep the chicken juicy while you reheat it. If you want to keep your chicken longer, freezing is a great option. First, let the chicken cool completely. Wrap each piece tightly in plastic wrap. Then, place them in a freezer-safe bag or container. This helps prevent freezer burn. You can freeze the chicken for up to three months. To reheat frozen chicken, thaw it in the fridge overnight. Then, follow the reheating methods mentioned above for the best results. Yes, you can make this recipe ahead of time. Marinating the chicken breasts is key. Mix the marinade in a bowl and add the chicken. Cover it and place it in the fridge. You can marinate it for at least two hours, but overnight works best. This helps the chicken soak up all the good flavors. You can also coat the chicken early. Just keep it in the fridge until you are ready to cook. This makes meal prep easy and saves time on busy nights. The best way to check chicken doneness is by using a meat thermometer. The chicken should reach a safe internal temperature of 165°F (75°C). Insert the thermometer into the thickest part of the chicken. Avoid touching the bone if using bone-in chicken. If you don't have a thermometer, cut into the chicken to check if the juices run clear. If they do, the chicken is done. To add more flavor, try using different spices or herbs. Garlic powder and onion powder are great starters. You can also add herbs like rosemary, thyme, or oregano. For a spicy kick, sprinkle in some cayenne pepper or chili powder. You can even mix in a splash of lemon juice or balsamic vinegar for brightness. Experiment with what you have in your kitchen to find your favorite combo. Yes, you can use bone-in chicken. However, cooking time may change. Bone-in chicken takes longer to cook than boneless pieces. Make sure to adjust the baking time to about 35-45 minutes. Always check the internal temperature to ensure it reaches 165°F (75°C). If you use bone-in chicken, sear it the same way and then bake it. The skin will get nice and crispy, adding great flavor. This blog post covered key steps to make the best tender chicken. You learned about essential ingredients, including spices and marinades. Proper marination and cooking techniques ensure flavor and moisture. I shared tips for variations and optimal storage methods. Don’t forget the presentation ideas, as they make your dish pop. Enjoy experimenting with flavors and impressing your friends and family with your tasty results. Following these steps will help you create a delicious meal every time.](https://emmasdish.com/wp-content/uploads/2025/04/b8c32008-2aea-48b7-975c-9e12fcb0fc54.webp)
