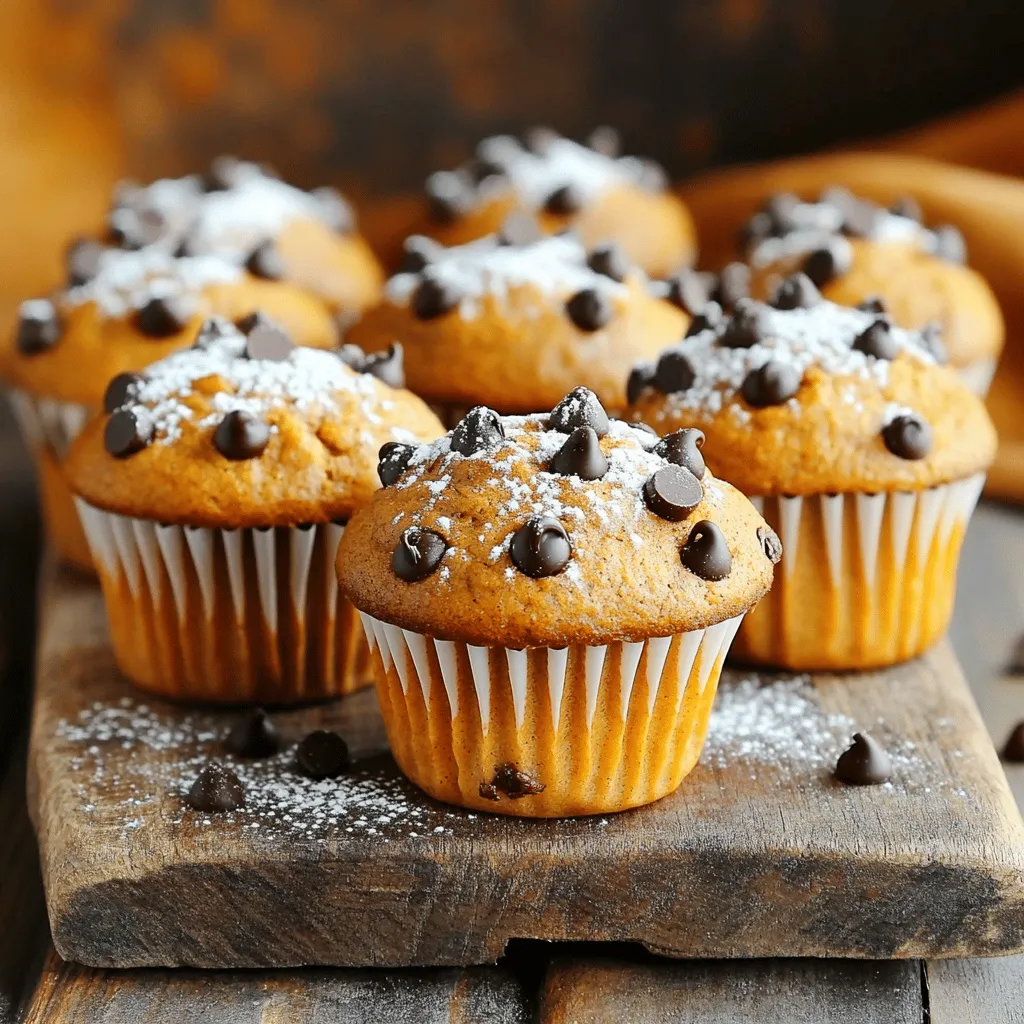
Are you ready to bake a delicious treat that blends sweet chocolate and cozy pumpkin flavors? In this guide, I’ll share my favorite recipe for Pumpkin Chocolate Chip Muffins. With their soft texture and rich taste, these muffins are perfect for breakfast or a snack. Get ready to impress your friends and family with these easy-to-make muffins that capture the essence of fall in every bite!
Ingredients
Required Ingredients
– 1 cup pumpkin puree
– ½ cup brown sugar
– ½ cup granulated sugar
– ½ cup vegetable oil
– 2 large eggs
– 1 teaspoon vanilla extract
These ingredients form the base of our muffins. Pumpkin puree gives a rich flavor and moist texture. The sugars add sweetness and help with browning. Vegetable oil keeps the muffins soft. Eggs bind the mixture, while vanilla adds depth.
Baking Essentials
– 1 ½ cups all-purpose flour
– 1 teaspoon baking powder
– 1 teaspoon baking soda
– ½ teaspoon salt
– 1 teaspoon ground cinnamon
– ½ teaspoon ground nutmeg
– ½ teaspoon ground ginger
All-purpose flour gives structure. Baking powder and baking soda are key for rising. Salt enhances flavor, while spices add warmth and a hint of spice. Cinnamon, nutmeg, and ginger create that cozy fall vibe.
Optional Add-Ins
– 1 cup chocolate chips
– ½ cup chopped walnuts
Chocolate chips bring sweetness and richness. They melt slightly, making each bite delightful. Walnuts add crunch and a nutty flavor. You can mix and match these add-ins to suit your taste.
Step-by-Step Instructions
Preheat and Prepare
First, set your oven to 350°F (175°C). This temperature ensures our muffins bake evenly. While the oven heats, line a muffin tin with paper liners. You can also grease it lightly if you prefer. This step helps the muffins come out easily after baking.
Combine Wet Ingredients
In a large bowl, whisk together the pumpkin puree, brown sugar, granulated sugar, vegetable oil, and eggs. Add in the vanilla extract for extra flavor. Mix until everything is smooth and blended. This mixture is the heart of your muffins, giving them moisture and sweetness.
Incorporate Dry Ingredients
In a separate bowl, sift together the all-purpose flour, baking powder, baking soda, salt, cinnamon, nutmeg, and ginger. Gradually add this dry mix into the wet mixture. Stir gently until just combined. It’s key to avoid overmixing here. Overmixing can make your muffins tough instead of soft.
Baking Process
Spoon the batter into the prepared muffin tin, filling each cup about ¾ full. Bake in your preheated oven for 18-20 minutes. To check for doneness, insert a toothpick into the center of a muffin. If it comes out clean, your muffins are ready. Let them cool in the pan for five minutes before moving them to a wire rack.
Tips & Tricks
Perfecting Muffins
How to Avoid Soggy Muffins
To keep your muffins from getting soggy, always use fresh pumpkin puree. If you use canned puree, check for added water. Adding too much liquid can make your muffins dense. Make sure to fill the muffin cups about three-quarters full. This allows them to rise nicely without spilling over.
Importance of Not Overmixing
Overmixing can lead to tough muffins. When you mix the wet and dry ingredients, stop as soon as they blend together. A few lumps are okay. This keeps the muffins light and fluffy. Remember, gentle folding is key when adding chocolate chips and nuts.
Serving Suggestions
Presentation Tips for Serving Muffins
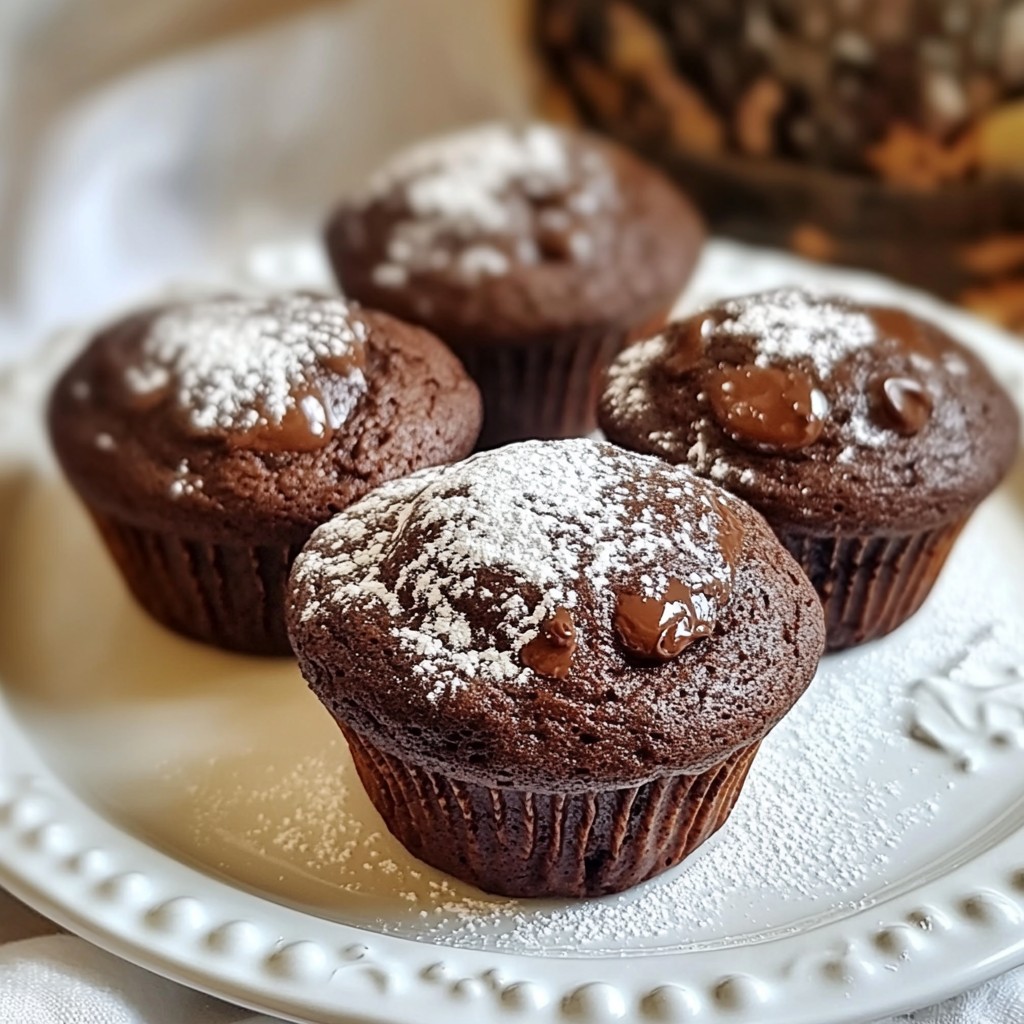
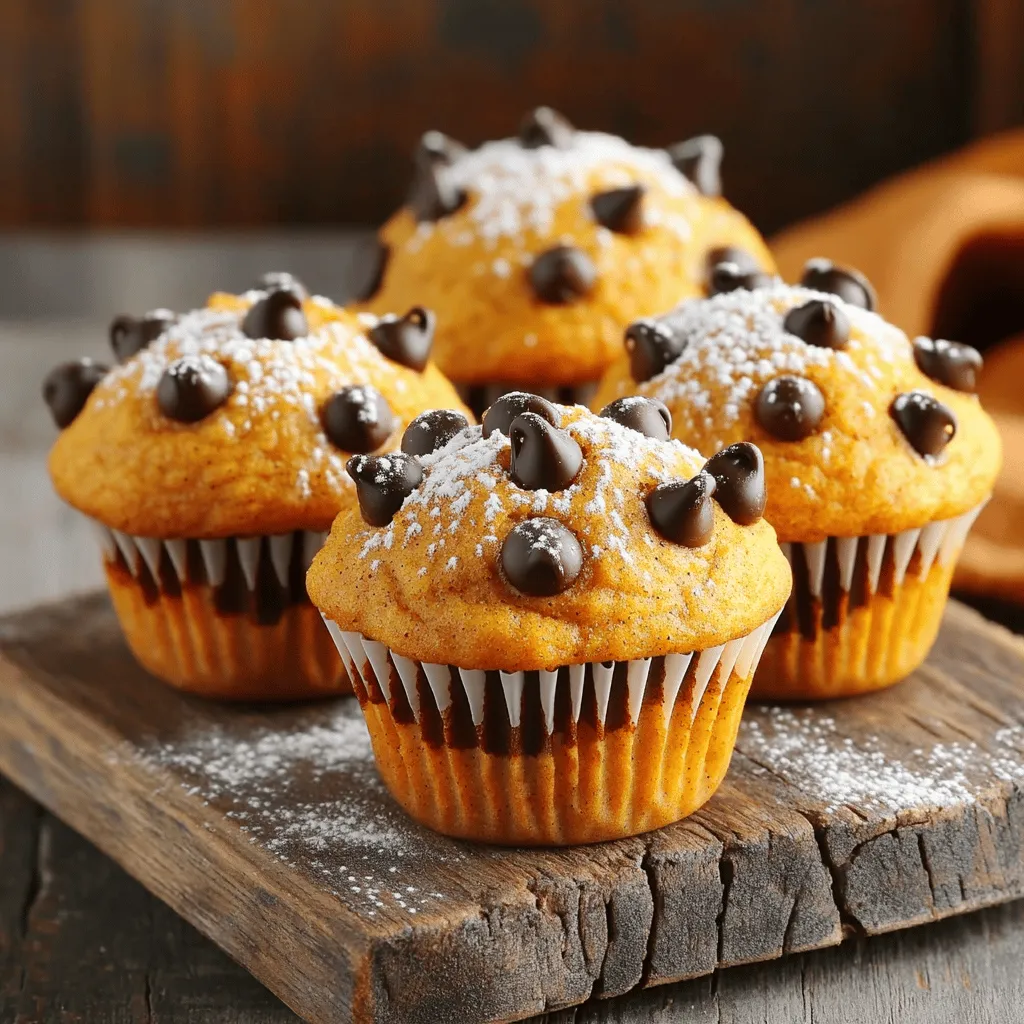
To make your muffins look great, dust the tops with powdered sugar. This adds a nice touch. Serve them on a rustic wooden board for a cozy feel. You can also place them in a pretty muffin stand to impress guests.
Enjoying Warm or Room Temperature
These muffins taste best warm from the oven. You can also enjoy them at room temperature. For a nice treat, spread a little butter on top. It melts and adds richness to each bite.
Baking Equipment
Recommended Tools for Easier Baking
Using a good muffin tin is crucial for even baking. I recommend a non-stick or silicone muffin pan. This helps muffins pop out easily. A whisk and mixing bowls are also key for smooth batter. Lastly, a toothpick is great for checking if muffins are done.
Variations
Gluten-Free Options
To make gluten-free pumpkin chocolate chip muffins, you can substitute all-purpose flour with a gluten-free flour mix. Look for a blend that includes rice flour, tapioca starch, and potato starch. This mix will help keep the muffins light and fluffy. You can use a 1:1 ratio, meaning if the recipe calls for 1 ½ cups of flour, use the same amount of gluten-free mix.
Vegan Adaptations
To make these muffins vegan, replace the eggs with flaxseed meal or applesauce. For flaxseed, mix 1 tablespoon of ground flaxseed with 2.5 tablespoons of water. Let it sit for a few minutes until it thickens. You can also use ¼ cup of applesauce for each egg. For a dairy-free option, use almond milk or coconut milk instead of regular milk. This keeps the muffins moist while ensuring they are plant-based.
Flavor Additions
You can boost the flavor of your muffins by adding spices or extracts. Try adding a pinch of cloves or a teaspoon of allspice for a warm, spicy kick. You can also enhance the flavor with a splash of maple syrup or orange zest. This simple addition will brighten the taste and make your muffins even more special.
Storage Info
Storing Muffins
To keep your pumpkin chocolate chip muffins fresh, store them in an airtight container. This helps prevent them from drying out. You can use a plastic container or a resealable bag. Just make sure to seal it tightly. You can store them at room temperature for up to three days. If you want them to last longer, consider freezing them.
Freezing Instructions
To freeze muffins for long-term storage, first let them cool completely. This keeps ice crystals from forming. Wrap each muffin in plastic wrap. Then, place the wrapped muffins in a freezer-safe bag. Squeeze out as much air as possible before sealing. Label the bag with the date. They can stay in the freezer for up to three months.
Reheating Tips
When you’re ready to enjoy your muffins, reheating them is easy. For best results, use the oven. Preheat it to 350°F (175°C). Place the muffins on a baking sheet and heat for about 10 minutes. This method keeps them soft and warm. If you’re in a hurry, a microwave works too. Heat each muffin for about 15-20 seconds. Just be careful not to overheat them, or they may become dry. Enjoy your delicious muffins anytime!
FAQs
How can I make my muffins more moist?
To make your muffins more moist, you can add extra pumpkin puree. This makes the muffins soft and rich. Another tip is to avoid overmixing. Mix just until the dry ingredients blend with the wet ones. This keeps the muffins light and fluffy. Adding a bit of yogurt or sour cream can also help. These ingredients add moisture and flavor.
Can I substitute pumpkin puree with fresh pumpkin?
Yes, you can use fresh pumpkin instead of pumpkin puree. First, cook the pumpkin by steaming or roasting it. After it’s soft, mash it until smooth. Strain it to remove excess water. This helps keep your muffins from getting soggy. Use the same amount as the recipe calls for. Fresh pumpkin will bring a lovely, earthy flavor.
What is the best way to tell when muffins are done baking?
The best way to check if your muffins are done is by using a toothpick. Insert it into the center of a muffin. If it comes out clean or with a few crumbs, they are ready. Another sign is the tops should look golden brown and spring back when touched. If they feel wet or sticky, they need more time.
How long can I store pumpkin chocolate chip muffins?
You can store your pumpkin chocolate chip muffins for about 3 to 5 days at room temperature. Place them in an airtight container to keep them fresh. If you want to store them longer, they freeze well. Just wrap them tightly in plastic wrap and place them in a freezer bag. They can last up to 3 months in the freezer.
Can I use mini chocolate chips instead of regular ones?
Absolutely! You can use mini chocolate chips in place of regular ones. They melt nicely and spread throughout the muffins. This gives every bite a sweet surprise. Plus, they look cute and can add a fun touch to the muffins. Feel free to adjust the amount to your taste.
In this guide, we covered how to make pumpkin muffins, focusing on key ingredients and steps. You learned to mix wet and dry ingredients, avoid sogginess, and explore fun variations. Remember, your muffins can be gluten-free or vegan with simple swaps. Proper storage helps keep them fresh, while reheating preserves their taste. With these tips, you can enjoy delicious muffins anytime. Happy baking!