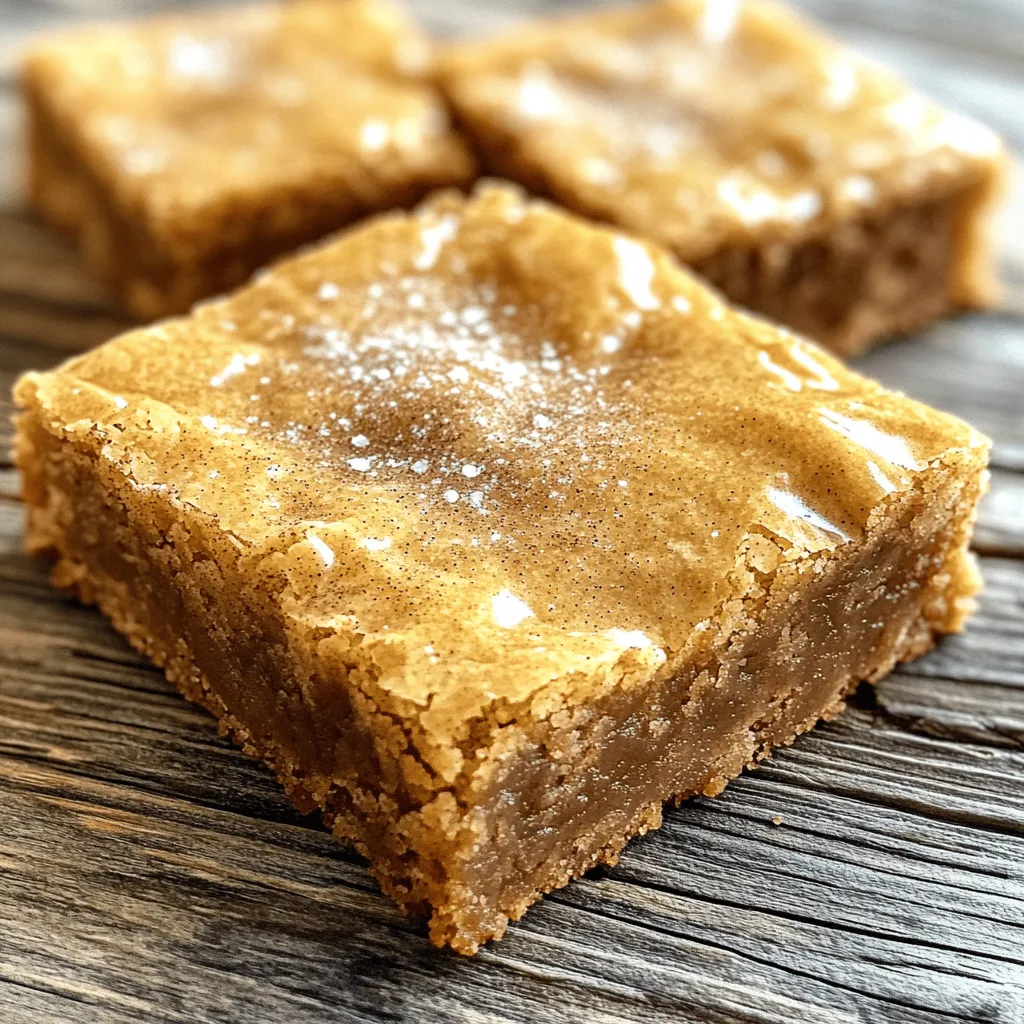
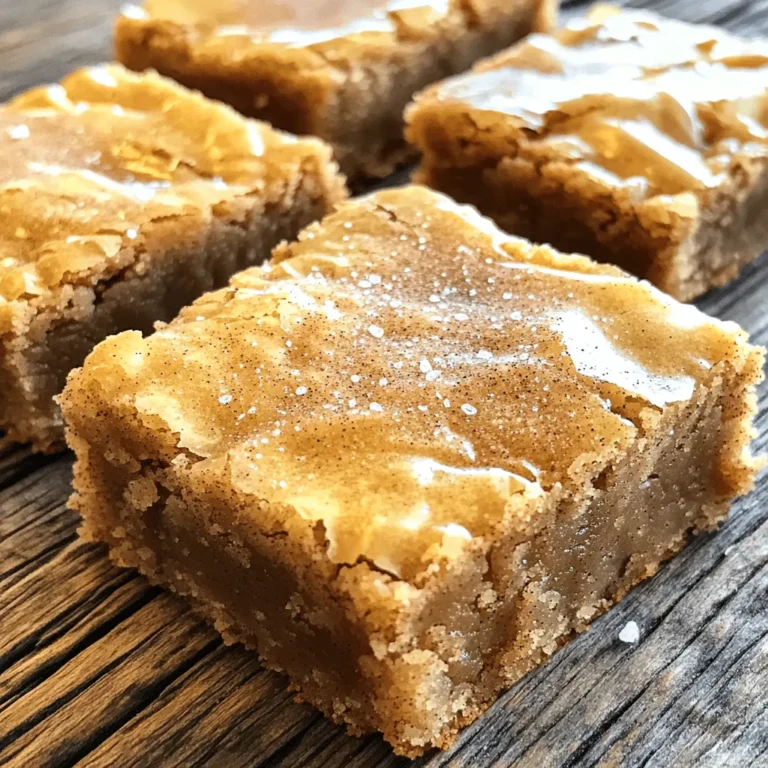
Are you ready to indulge in the ultimate sweet treat? My Ultra Chewy Snickerdoodle Blondies deliver the perfect blend of soft, chewy goodness in every bite. Unlike traditional cookies, these blondies are packed with warm cinnamon flavor and a buttery texture that will leave you craving more. In this post, I’ll guide you through the simple steps to create this delightful dessert, with tips and tricks to ensure your blondies turn out perfectly every time. Let’s get baking!
Ingredients
List of Ingredients
– 1 cup unsalted butter, melted
– 1 1/2 cups brown sugar, packed
– 2 large eggs
– 2 teaspoons vanilla extract
– 2 cups all-purpose flour
– 1 teaspoon baking powder
– 1/2 teaspoon baking soda
– 1/2 teaspoon salt
– 2 teaspoons ground cinnamon
– 1/4 cup granulated sugar (for topping)
– Sea salt flakes (for garnish)
Measurement Details
When baking, precise measurements matter. Use a dry measuring cup for flour and sugar. For the butter, melt it and measure it right after. Brown sugar should be packed tightly into the cup. This ensures you get the right sweetness and texture. Eggs should be large and at room temperature for better mixing.
Substitutions and Alternatives
If you need to swap ingredients, there are great options. Instead of unsalted butter, you can use coconut oil for a dairy-free treat. Light brown sugar can replace dark brown sugar if needed; just note it may change the flavor slightly. For a gluten-free version, substitute all-purpose flour with a 1:1 gluten-free flour blend. If you are out of eggs, use a flaxseed meal or unsweetened applesauce as a binder. Each alternative can create a unique twist on the blondies.
Step-by-Step Instructions
Prepping the Oven and Pan
Start by preheating your oven to 350°F (175°C). This helps the blondies cook evenly. Next, grab a 9×13 inch baking pan. Grease it with non-stick spray or line it with parchment paper. This will keep the blondies from sticking. It’s key for easy removal later.
Mixing Wet Ingredients
In a large mixing bowl, combine 1 cup of melted butter and 1 1/2 cups of packed brown sugar. Mix until it looks smooth and glossy. Then, add in 2 large eggs. Add them one at a time. Stir well after each egg. Finally, mix in 2 teaspoons of vanilla extract for flavor. This makes your base rich and tasty.
Incorporating Dry Ingredients
In a separate bowl, whisk together 2 cups of all-purpose flour, 1 teaspoon of baking powder, 1/2 teaspoon of baking soda, 1/2 teaspoon of salt, and 2 teaspoons of ground cinnamon. This blend creates the right texture. Gradually add this dry mix to the wet ingredients. Stir until just combined. Don’t overmix. You want a thick and chewy batter.
Baking the Blondies
Pour the batter into your prepared pan. Spread it out evenly for uniform baking. In a small bowl, mix 1/4 cup of granulated sugar with the remaining 1 teaspoon of cinnamon. Sprinkle this over the batter. This gives a sweet crust on top. Bake for 23-25 minutes. Check for light golden edges and moist crumbs on a toothpick. Remove the pan and cool for about 15 minutes. Cut into squares and enjoy your delicious blondies. For an extra kick, sprinkle sea salt flakes on top.
Tips & Tricks
Achieving Chewy Texture
To get that perfect chewy texture, use brown sugar. Brown sugar holds moisture well. This makes your blondies soft and chewy. Don’t overmix the batter. When you combine wet and dry ingredients, mix just until you see no flour. Overmixing can create a tough texture. Also, make sure to use melted butter. It helps to keep the blondies moist and chewy.
Avoiding Common Mistakes
One big mistake is baking too long. Keep an eye on your blondies while they bake. They should be lightly golden around the edges. A toothpick test is key. If it comes out with a few moist crumbs, they are done. Another mistake is not letting them cool properly. Letting them cool in the pan for about 15 minutes helps them set. This makes cutting them easier and keeps them chewy.
Serving Suggestions
These blondies are great on their own, but you can elevate them! Top them with sea salt flakes for a sweet and salty combo. Serve warm with a scoop of vanilla ice cream for a special treat. You can also pair these with a glass of milk or coffee. They make a fun dessert for any occasion.

Variations
Flavor Add-ins
You can easily change the flavor of your Ultra Chewy Snickerdoodle Blondies. Try adding nuts like walnuts or pecans for a crunchy twist. Chocolate chips also work great. A half cup of chocolate chips mixed in gives a nice sweet touch. You can even add dried fruit or coconut for a unique flavor.
Alternative Toppings
Toppings can make your blondies even better. Besides cinnamon sugar, try drizzling caramel or chocolate sauce on top. You can also sprinkle crushed cookies or candy for extra fun. For a more savory taste, add a light sprinkle of flaky sea salt right before serving.
Gluten-Free Options
Want to make these blondies gluten-free? Substitute all-purpose flour with a gluten-free blend. Make sure the blend has a good binding agent, like xanthan gum. This keeps the blondies chewy and delicious. Check labels to ensure all ingredients are gluten-free. Enjoy your treat without worry!
Storage Info
How to Store Leftovers
To keep your Ultra Chewy Snickerdoodle Blondies fresh, place them in an airtight container. Make sure they cool completely before sealing. Store at room temperature for up to three days. If you want to keep them longer, consider freezing.
Freezing Instructions
You can freeze these blondies for up to three months. Cut them into squares first for easy serving. Wrap each piece in plastic wrap. Then, place them in a freezer-safe bag or container. Label it with the date for tracking. To thaw, leave them in the fridge overnight.
Reheating Tips
When you’re ready to enjoy, you can reheat the blondies. Place a square on a microwave-safe plate. Heat for about 10-15 seconds. Check to see if it’s warm enough. You can also use the oven. Preheat it to 350°F. Warm them for about 5-7 minutes. This will bring back their chewy goodness. For the best taste, sprinkle a pinch of sea salt flakes on top before serving. This adds a nice touch. Enjoy them warm for the best experience!
FAQs
What makes these Snickerdoodle Blondies chewy?
These Snickerdoodle Blondies are chewy due to a few key factors. First, we use melted butter instead of softened butter. This helps create a dense texture. Second, we mix the batter just enough. Overmixing can lead to tough blondies. Lastly, the balance of brown sugar and flour keeps them moist. Brown sugar adds moisture and a slight chewiness.
Can I make these blondies ahead of time?
Yes, you can make these blondies ahead of time! They store well for a few days. Just let them cool completely before covering. Use an airtight container for best results. You can also freeze them for later. Wrap them tightly in plastic wrap. Then place them in a freezer bag. They will stay fresh for up to three months.
How do I know when the blondies are done baking?
To check if your blondies are done, look at the edges. They should be lightly golden. Insert a toothpick into the center. If it comes out with a few moist crumbs, they are ready. If the toothpick has wet batter, give them more time. Remember, you want them set but still soft.
What is the origin of Snickerdoodle cookies?
Snickerdoodle cookies have a fun history! They likely originated in New England. The name may come from a German word for a type of cookie. These cookies became popular in the United States in the 19th century. They often feature cinnamon sugar, which adds a warm flavor. The blend of flavors makes them a favorite treat.
You learned about making Snickerdoodle Blondies, including ingredients, steps, and tips. I shared methods for chewy texture and solutions for common issues. Variations let you customize your blondies to taste. You also found storage tips for leftovers and reheating.
Use this guide to create delicious treats with ease. Enjoy your baking journey!


