

Latest & Greatest

Savory Spinach Artichoke Dip Bites Simple Recipe
Are you ready to impress your friends with a tasty treat? Spinach Artichoke Dip Bites are quick, easy, and packed
Read more…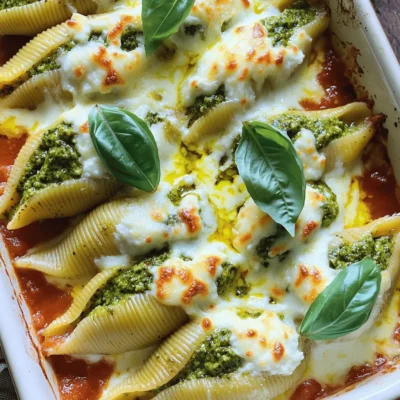
Pesto Ricotta Stuffed Shells Flavorful Dinner Delight
Are you ready to elevate your dinner game? Pesto Ricotta Stuffed Shells are a game-changer! Imagine large pasta shells filled
Read more…
Cranberry Orange Glazed Turkey Meatloaf Delightful Recipe
Looking for a tasty twist on a classic dish? This Cranberry Orange Glazed Turkey Meatloaf is just what you need!
Read more…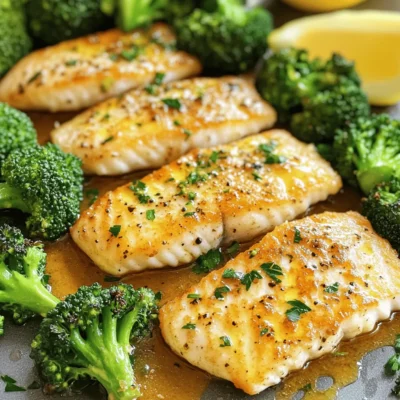
Savory Sheet Pan Garlic Butter Tilapia & Broccoli Dish
Are you ready to whip up a delightful dinner that’s both easy and tasty? My Savory Sheet Pan Garlic Butter
Read more…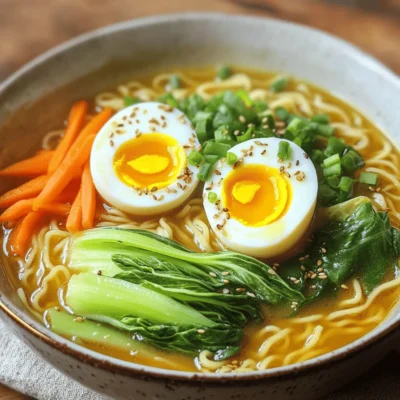
Mouthwatering Miso Ginger Ramen with Jammy Eggs
Are you ready to dive into a bowl of comforting goodness? My mouthwatering miso ginger ramen topped with jammy eggs
Read more…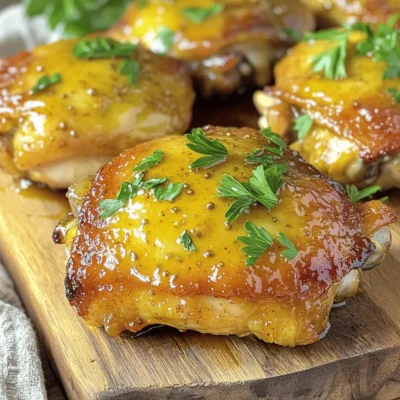
Air Fryer Honey Dijon Chicken Thighs Savory Delight
Craving a meal that’s both easy and packed with flavor? Let me introduce you to Air Fryer Honey Dijon Chicken
Read more…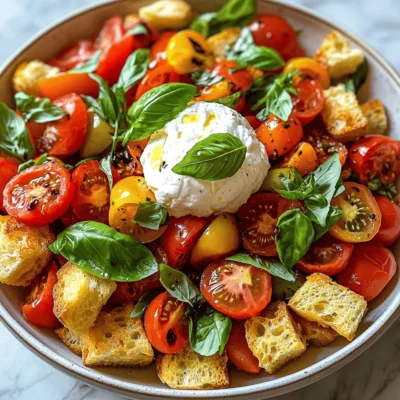
Savory Tomato Burrata Panzanella Salad Recipe
Looking for a fresh and tasty dish? Try my Savory Tomato Burrata Panzanella Salad! This salad combines sweet heirloom tomatoes,
Read more…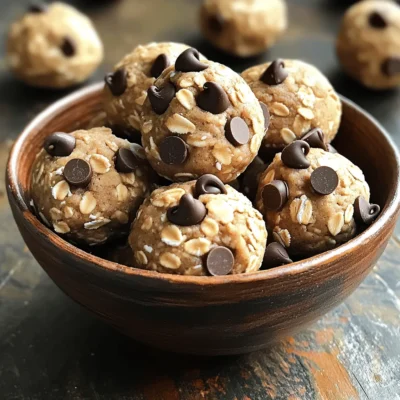
No Bake Cookie Dough Protein Bites for Energy Boost
Looking for a quick energy boost? Try my No Bake Cookie Dough Protein Bites! These tasty treats are simple to
Read more…browse recipes


![Making mini cheesecake bites is fun and easy. Here’s a detailed list of ingredients you need: - 1 cup graham cracker crumbs - 1/4 cup unsalted butter, melted - 2 tablespoons sugar - 8 oz cream cheese, softened - 1/2 cup powdered sugar - 1 teaspoon vanilla extract - 1/2 cup sour cream - Suggested toppings: Fresh berries, chocolate sauce, or caramel sauce Each ingredient plays a key role in making these bites delicious. The graham cracker crumbs give a nice crust. Melted butter helps bind the crumbs together. Sugar adds sweetness, while cream cheese brings that rich, creamy texture we love. Powdered sugar helps the filling stay smooth. Vanilla extract gives a lovely aroma and taste. Sour cream adds a tangy flavor that balances the sweetness. You can get creative with toppings. Fresh berries add color and taste, while chocolate and caramel sauces bring a decadent touch. For the full recipe, check the instructions. Enjoy creating this tasty treat! 1. Preheat your oven to 325°F (163°C). This makes sure your mini cheesecakes bake evenly. 2. In a medium bowl, mix the graham cracker crumbs, melted butter, and sugar. Stir until it looks like wet sand. 3. Line a mini muffin tin with paper liners. Press about a tablespoon of the crumb mix into each liner to make a crust. 4. Bake the crusts for 5 minutes. Take them out and let them cool. 1. In a large bowl, beat the cream cheese until it is smooth and creamy. 2. Gradually mix in the powdered sugar and vanilla extract. Keep mixing until everything is well combined. 3. Add the sour cream. Mix until the filling is smooth and creamy. 1. Spoon the cheesecake filling into the cooled crusts. Fill each one about three-quarters full. 2. Bake the mini cheesecakes for 15 to 18 minutes. The edges should set while the center jiggles slightly. 3. Once baked, let them cool at room temperature for about 30 minutes. Then, refrigerate for at least 2 hours before serving. For the complete process and tips, refer to the Full Recipe. To get the best texture, start with room temperature cream cheese. It blends smoothly. This helps you avoid lumps. Mix your filling well, but don’t overmix. Overmixing can add air, which may cause cracks. To prevent cracking, bake at a lower temperature. Also, don’t open the oven door too soon. Let them cool in the oven for a few minutes before taking them out. This gradual cooling helps keep the cheesecakes intact. For topping, fresh berries add color and taste. Strawberries, blueberries, and raspberries work great. You can drizzle chocolate sauce or caramel for extra sweetness. For a nice presentation, use a piping bag to add toppings. It makes each bite look fancy. Place them on a pretty plate to wow your guests. You can also sprinkle some crushed graham crackers on top for a fun crunch. Explore the [Full Recipe] for more details on making these delightful bites! {{image_2}} You can make mini cheesecakes in many flavors. - Chocolate mini cheesecakes: Just add melted chocolate to the cream cheese mix. This creates a rich, sweet treat. - Fruit-flavored versions: You can use fresh fruit or fruit puree. Strawberries, blueberries, or mango add a bright touch. Blend fruit into the batter for a tasty twist. You can change the crust to suit your needs or tastes. - Gluten-free options: Use crushed gluten-free cookies instead of graham crackers. Almond flour also works well for a nutty flavor. - Additional flavor-infused crust ideas: Try adding spices like cinnamon or cocoa powder to the crust. This gives a deeper taste and pairs nicely with the filling. Want to try these ideas? Check the Full Recipe for details! To keep your mini cheesecake bites fresh, store them in the fridge. Place the bites in a sealed container. They will last for about five days. This helps maintain their creamy texture and flavor. If you want to save some for later, freezing is a great option. Wrap each cheesecake bite in plastic wrap, then place them in a freezer-safe bag. They can stay frozen for up to three months. Just thaw them in the fridge before enjoying. For the best taste, serve mini cheesecake bites cold. Let them chill for at least two hours after baking. This gives them time to set and develop flavor. When hosting a gathering, consider serving them on a large platter. Cut each mini cheesecake bite in half for smaller portions. This way, guests can enjoy more without feeling too full. You can also mix and match toppings to create a fun dessert bar. Can I make these ahead of time? Yes, you can make mini cheesecake bites a day before. Just store them in the fridge. They taste even better after chilling overnight. This lets the flavors meld nicely. What are the best topping combinations? I love using fresh berries like strawberries, blueberries, or raspberries. Chocolate sauce adds a rich touch. Caramel sauce gives a sweet twist. You can mix and match to find your favorite. How long do mini cheesecakes last? Mini cheesecakes stay fresh for about five days in the fridge. Make sure they are covered to keep them moist. If you want to keep them longer, freeze them for up to three months. Local bakeries with mini cheesecakes Check out your local bakeries. Many offer mini cheesecakes in various flavors. They often use fresh ingredients, which makes them taste great. Online options for purchasing mini desserts You can find pre-made mini cheesecakes online too. Websites like Goldbelly or local grocery delivery services often have them available. This is a quick way to enjoy these treats without baking. In this post, we explored how to make delicious mini cheesecake bites. We discussed the key ingredients needed, from cream cheese to graham cracker crusts. I provided step-by-step instructions to ensure perfect results every time. You learned tips for achieving the best texture and fun topping ideas to impress guests. Don't forget about variations like chocolate or fruit flavors. Now you can confidently make and store these treats. Enjoy sharing your mini cheesecakes with friends and family anytime!](https://emmasdish.com/wp-content/uploads/2025/05/281277fd-5e0e-4277-bcd7-fccfee6c3d96.webp)
Mini Cheesecake Bites Tasty and Simple Delight
Craving a sweet treat that’s both tasty and easy? Mini cheesecake bites are your answer! These little delights pack a creamy punch but are…
My Latest Desserts
My Latest Recipes

hey,
i’m !
I’m so happy you’re here!
I’m not just sharing recipes I’m sharing a piece of my heart. I hope these dishes bring you comfort, joy, and maybe even a new favorite.


Minute Spicy Garlic Chicken Ramen Flavorful Dish
Are you ready to spice up your dinner? This Minute Spicy Garlic Chicken Ramen packs bold flavors into a quick dish. You’ll love how…

