If you’re looking for a tasty and healthy spread, my Raspberry Chia Seed Jam is perfect! It’s easy to make with just three main ingredients, plus optional flavor boosts. This jam is not only delicious but also packed with nutrients from chia seeds. Get ready to transform your breakfast or snack time with this fruity delight. Let’s dive into the simple steps to make your own jar of joy!
Ingredients
Main Ingredients Needed
To make this tasty jam, you will need just a few simple items:
– 2 cups fresh or frozen raspberries
– 2 tablespoons chia seeds
– 2 tablespoons honey or maple syrup
These ingredients are the stars of your jam. Raspberries give it a sweet and tangy flavor. Chia seeds help thicken the jam and add some healthy nutrients. Honey or maple syrup adds natural sweetness to balance the tartness.
Optional Sweeteners and Flavorings
You can change the taste of your jam by using different sweeteners. If you want it sweeter, try agave or stevia. For added flavor, consider adding a splash of vanilla extract. This will give your jam a warm, rich taste that pairs well with the fruit.
Tools and Equipment
You will need some basic tools to make this jam:
– Medium saucepan
– Fork or potato masher
– Jar or airtight container for storage
Using a medium saucepan helps cook the raspberries evenly. A fork or potato masher allows you to control how chunky or smooth you want your jam. Finally, store your jam in a clean jar or airtight container to keep it fresh.
Step-by-Step Instructions
Preparation Process
To start, I combine the raspberries, honey or maple syrup, lemon juice, and a pinch of salt in a medium saucepan. I cook this mixture over medium heat. It takes about 5 to 7 minutes for the raspberries to break down and release their juices. As they cook, the kitchen fills with a sweet and tangy aroma.
Once the raspberries soften, I use a fork or potato masher to mash them gently. You can mash them to your liking. If you prefer a smoother jam, an immersion blender works great. Just be careful not to blend too much!
Thickening the Jam
Next, I add the chia seeds to the raspberry mixture. This is where the magic happens! Chia seeds soak up liquid and help the jam thicken. I stir well to make sure the seeds are evenly mixed throughout.
I then cook the mixture on low heat for another 5 to 10 minutes. I stir frequently and check the thickness. If it gets too thick, I can add a little water to reach my preferred consistency.
Cooling and Storing the Jam
Once the jam has thickened, I remove it from the heat and let it cool for about 10 to 15 minutes. It will continue to thicken as it cools. After this, I transfer the jam to a clean jar or airtight container.
To store it, I place it in the refrigerator. This jam will last for up to 2 weeks, which is perfect for spreading on toast or pancakes.
Tips & Tricks
Perfecting Your Jam Consistency
To get the right thickness for your jam, you can adjust the chia seeds. If it feels too thin, add more chia seeds. For a thinner jam, add a bit of water. This will help you reach your perfect texture.
If your jam is too thick, don’t worry. Just stir in some water or fruit juice slowly. Heat it gently while stirring until you get a smooth mix. If the jam doesn’t set, it might need more chia seeds. Simply add a little more and cook it for a few more minutes.
Enhancing Flavor Profiles
You can boost the flavor of your jam with spices. A pinch of cinnamon or vanilla extract works great. You can also try adding a splash of orange juice for a citrus kick. These little tweaks make your jam unique and tasty.
For pairing, serve your jam with fresh bread or yogurt. It also pairs well with cheese. Try spreading it on a bagel with cream cheese for a delightful treat.
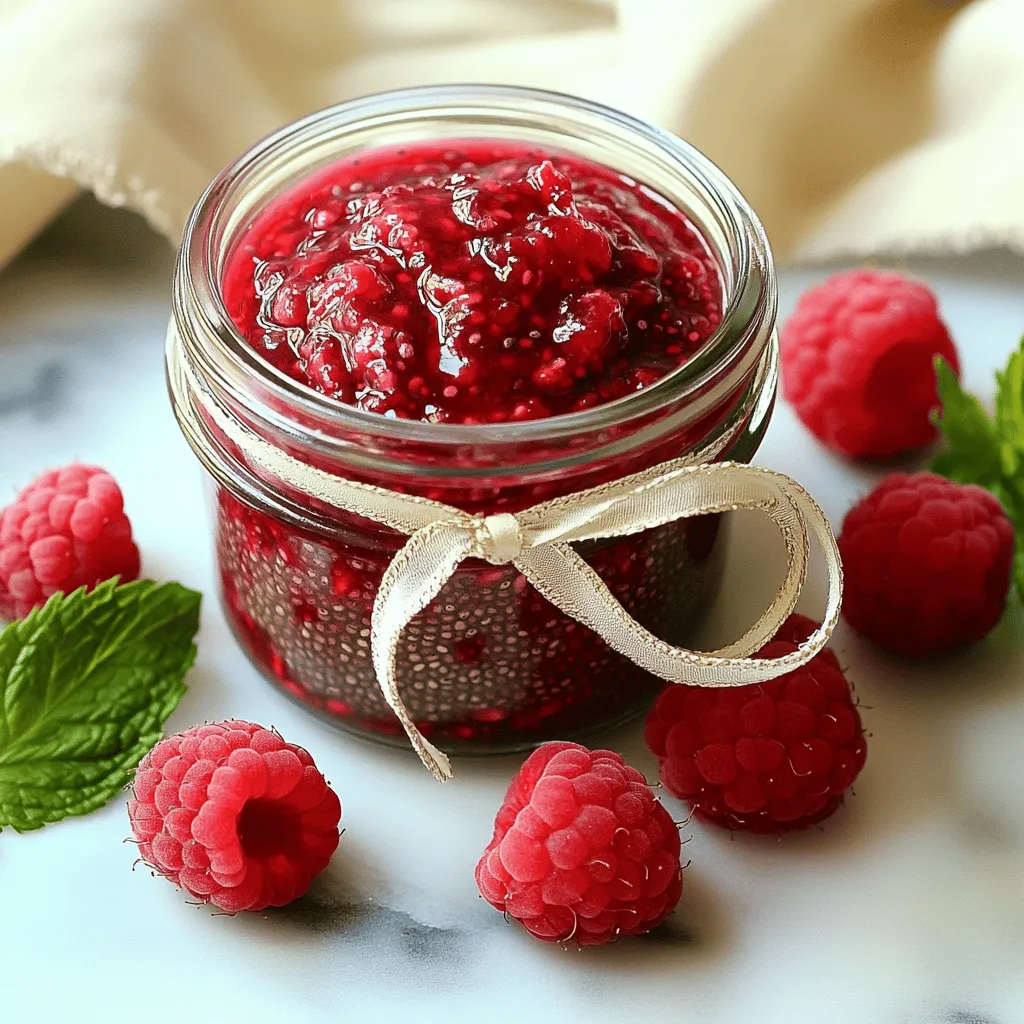
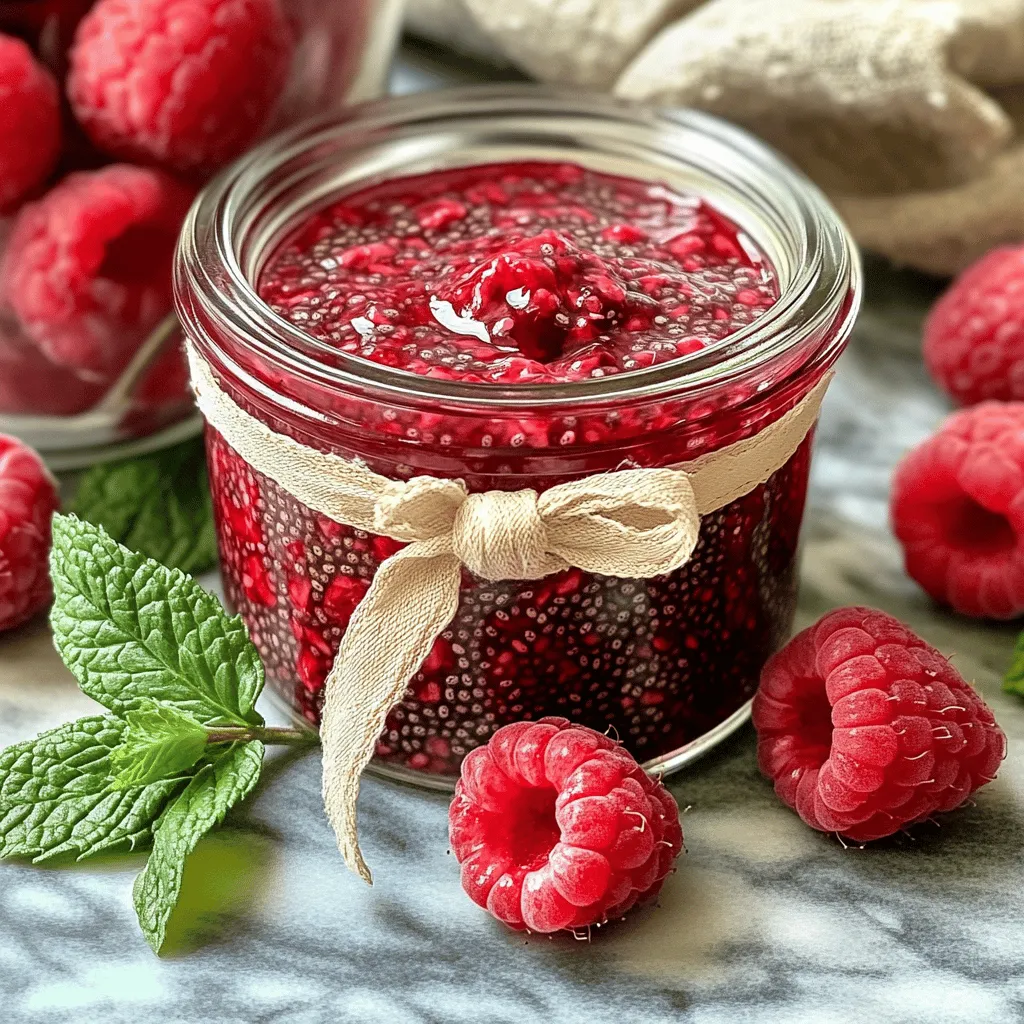
Presentation Suggestions
To serve your jam, think about using small glass jars. They look nice and keep your jam fresh. A simple ribbon around the jar adds a nice touch. This makes it perfect for gifts.
When serving, consider adding fresh raspberries on the side. A few mint leaves can also brighten the look. You can even set the jar on a pretty plate with toast or pancakes. This makes your jam not only tasty but also beautiful.
Variations
Different Fruit Combinations
You can mix raspberries with other berries for new flavors. Try blueberries, strawberries, or blackberries. Each berry adds its own unique taste. You can also use seasonal fruits. Think peaches in summer or apples in fall. These changes keep your jam fresh and exciting.
Sugar-Free or Low-Carb Variations
If you want a sugar-free jam, use alternative sweeteners. Stevia or erythritol works well. Just adjust the amount to your taste. You can also reduce the chia seeds if you prefer a thinner consistency. Start with one tablespoon and see how it goes.
Creative Uses for Raspberry Chia Seed Jam
Raspberry chia seed jam is not just for toast. You can fold it into yogurt or oatmeal for breakfast. It also makes a great topping for pancakes or waffles. Try using it in desserts, like cakes or muffins. You can even mix it into smoothies for a fruity boost.
Storage Info
Refrigeration Guidelines
You should store your raspberry chia seed jam in the fridge. It lasts up to two weeks. Look for signs of spoilage, like off smells or mold. If you see any, toss it out. Fresh jam should smell fruity and sweet.
Freezing for Longer Storage
If you want to keep the jam longer, freezing works well. Use an airtight container or freezer bag. Leave some space at the top for expansion. To thaw, place it in the fridge overnight. Stir well before using it again. The texture may change slightly, but it will still taste great.
Best Containers for Storage
Glass jars are a great choice for storage. They keep the jam fresh and let you see the color. Plastic containers can work too, but make sure they are airtight. Avoid containers that let air in. Keeping your jam sealed helps maintain its flavor and texture.
FAQs
How to make raspberry chia seed jam?
To make raspberry chia seed jam, follow these key steps:
1. Combine Ingredients: Start by putting 2 cups of raspberries, 2 tablespoons of honey or maple syrup, 1 tablespoon of lemon juice, and a pinch of salt in a medium saucepan.
2. Cook the Mixture: Heat the mixture over medium heat. Stir until the raspberries break down, which takes about 5-7 minutes.
3. Mash the Raspberries: Use a fork or potato masher to gently mash the raspberries to your liking. For smooth jam, blend it.
4. Add Chia Seeds: Once the mixture simmers, stir in 2 tablespoons of chia seeds. Mix them well throughout the jam.
5. Thicken the Jam: Cook on low heat for another 5-10 minutes. Stir often until it thickens. If it’s too thick, add a bit of water.
6. Cool and Store: Remove it from heat and let the jam cool for 10-15 minutes. Transfer it to a jar and refrigerate for up to 2 weeks.
What are the health benefits of chia seeds?
Chia seeds pack a punch when it comes to nutrition. Here are some key benefits:
– High in Fiber: Chia seeds help keep you full and support digestion.
– Rich in Omega-3s: They provide healthy fats that benefit heart health.
– Source of Protein: Chia seeds are a great plant-based protein source.
– Vitamins and Minerals: They contain calcium, magnesium, and phosphorus.
These tiny seeds help you feel great and support your overall wellness.
Where can I buy pre-made raspberry chia seed jam?
You can find pre-made raspberry chia seed jam in several places:
– Grocery Stores: Look in the jam aisle at stores like Whole Foods or Trader Joe’s.
– Health Food Stores: Visit local health shops for organic options.
– Online Retailers: Websites like Amazon or Thrive Market offer various brands.
When buying, check the ingredient list. Look for natural sweeteners and minimal additives. This way, you get a tasty jam that also aligns with your health goals.
Making raspberry chia seed jam is simple and rewarding. You need fresh raspberries, chia seeds, and sweeteners to start. Cook the mix, mash it, add chia seeds, and let it thicken. You can enhance flavors or try different fruits for variety. Store the jam properly to keep it fresh. Enjoy your tasty jam on toast or in desserts. Embrace this easy recipe and share it with friends. You’ll impress everyone with your homemade jam. Happy cooking!